
Dreaming of summertime swimming? Find out aboveground pool costs, including prices for materials, fun extras, and professional installation.
Before you dive into this DIY, make sure it’s something you can handle

There aren’t exactly a lot of DIY options when it comes to pool installation. That said, if you want something a little more permanent than an inflatable pool, you may want to consider installing an above ground pool kit. You could feasibly have your new pool up and running in a weekend as long as you have some construction experience and a helping hand. This guide will show you how to install an above ground pool on your own in as little as one day.
Above ground pools don’t require the same amount of prep work as an inground pool, but there’s a lot that goes into planning a pool. First, you’ll need to purchase an above ground pool kit either online or from a big box store. Make sure you purchase one that includes the necessary pool accessories, like a pump and filter. Typically, your kit will come with step-by-step instructions to make installation a little easier. Here are a few other things to consider before you start.
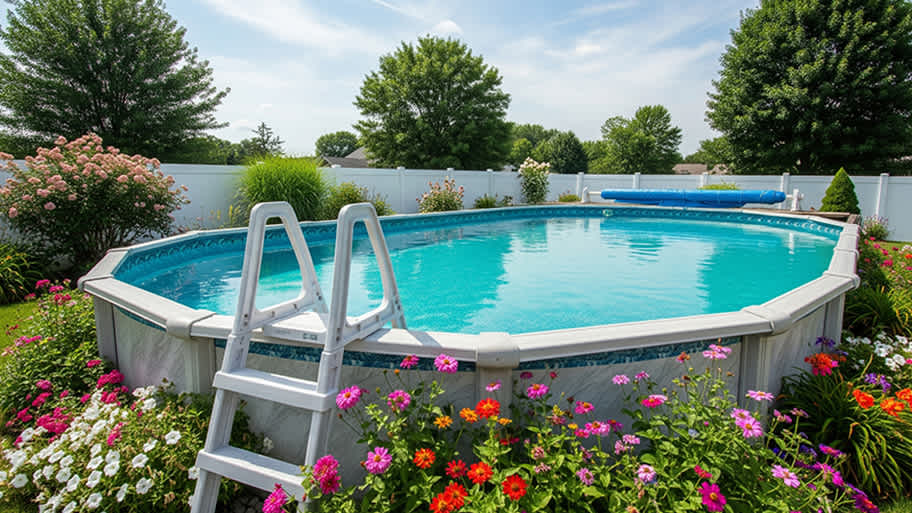
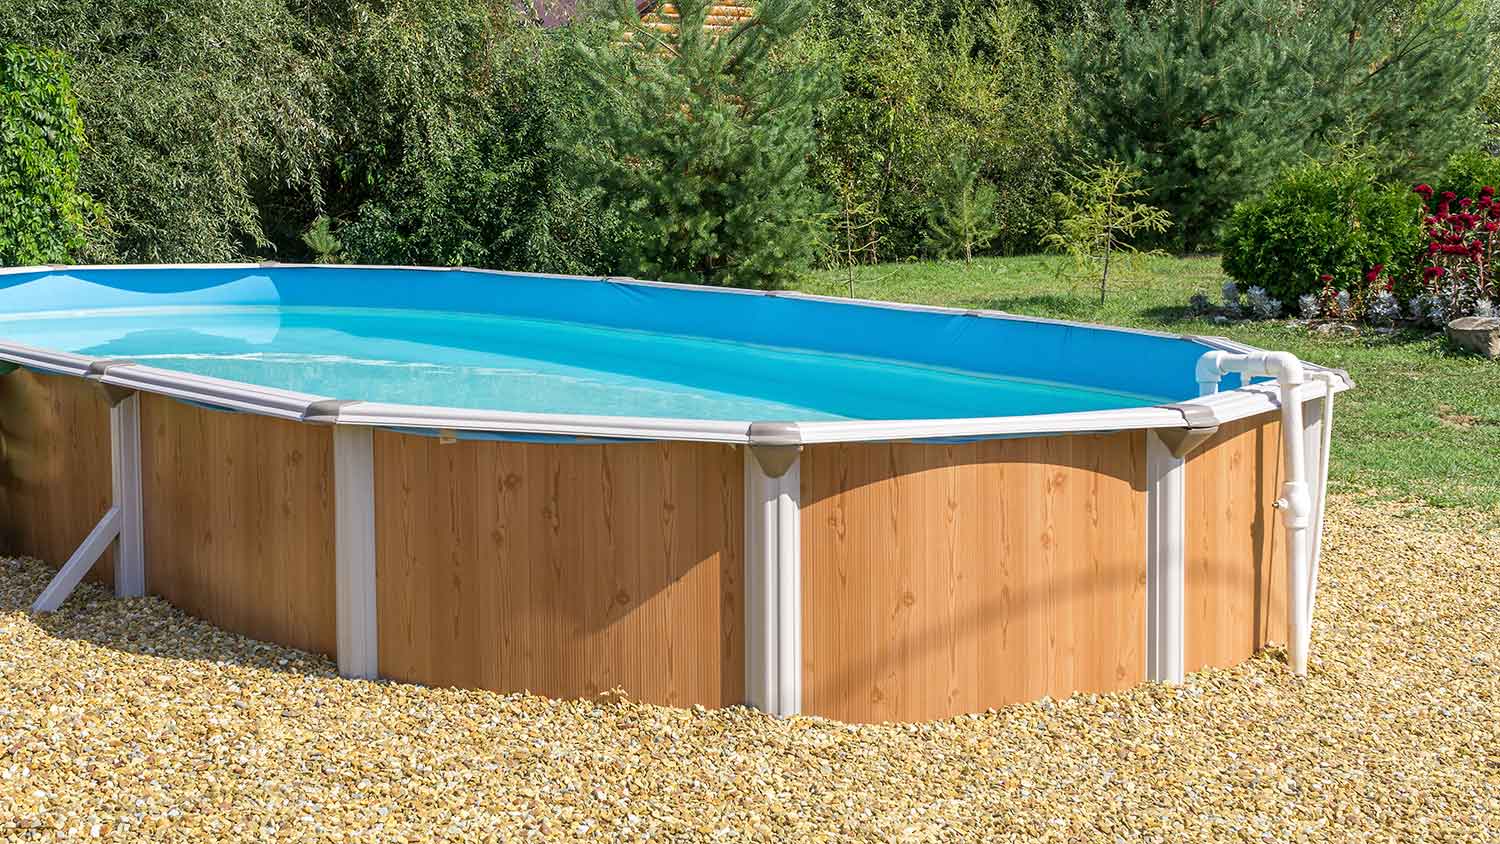
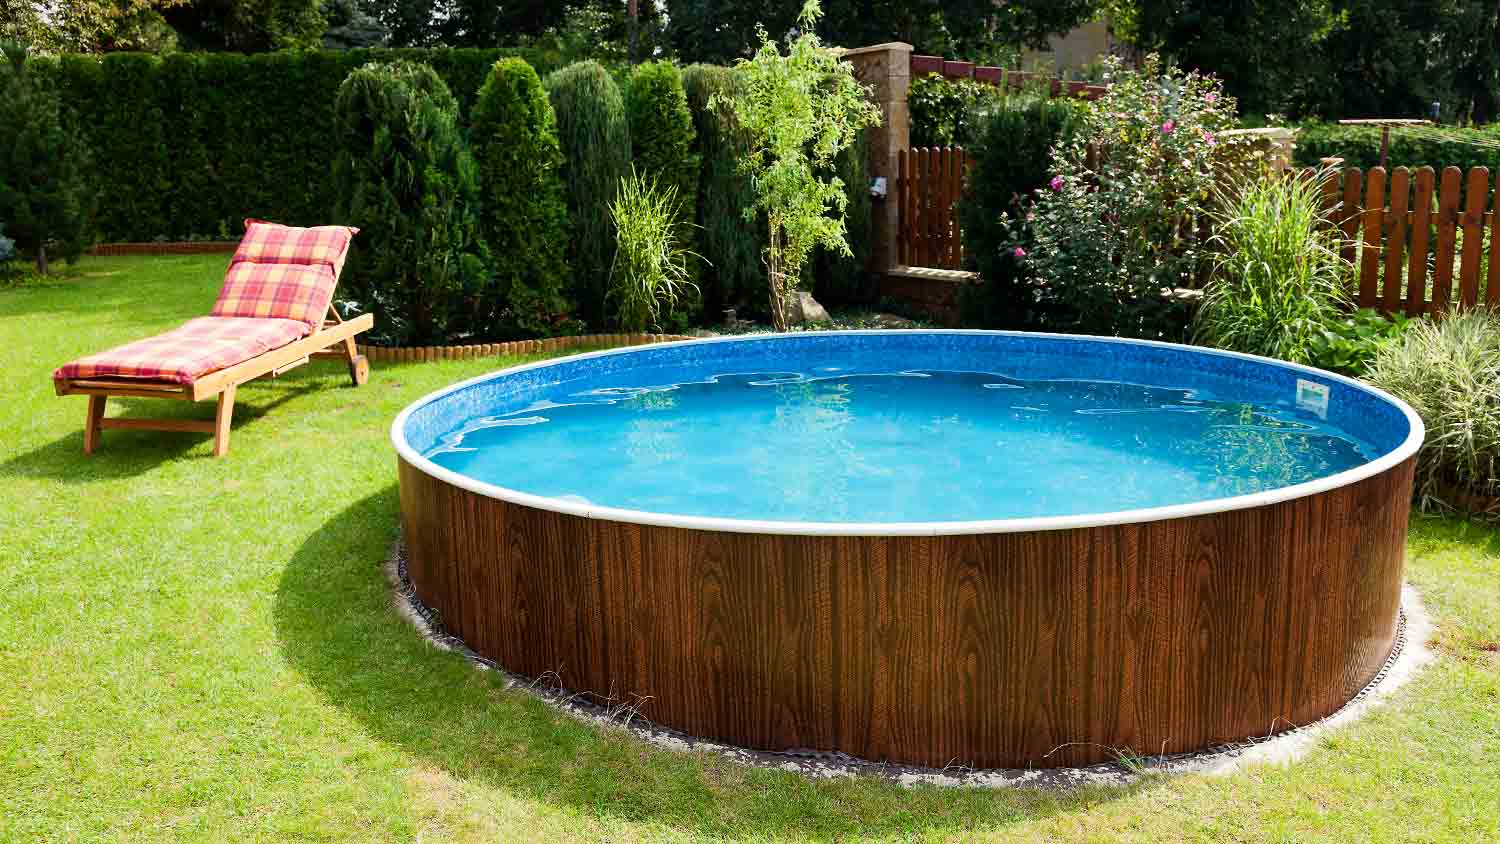
There are various sizes and shapes of above ground pools to choose from but make sure you pick one that best fits your space. When selecting a location for your new pool, remember that you’ll need a spot with stable ground that’s away from overhead power lines, trees, city easements, and other structures.
Don’t forget to leave enough room around the pool for accessibility and easy cleaning. Lastly, ensure you can plug in your pool pump and filter from the area.
Depending on your local laws, you’ll probably need a building permit before you can build an above ground pool on your property. Contact your city or local homeowner’s association before you start this project.
You can’t install your pool over shallow underground utility lines, under overhead utility lines, or on top of a septic tank or septic tank drain field. Call your utility company beforehand, and they will mark the utility lines so you can steer clear.
Most pool pumps require a 20-amp breaker, but don’t attempt to DIY electrical work—especially when it’s near a body of water. Instead, hire a local electrician who can make sure your pool has the power sources it needs to safely run.

Start your pool construction by marking out the pool area using stakes and string. The ideal location for an above ground pool is a flat surface that’s at least six feet away from a slope. Stake what will be the center of the pool, and tie a string to the stake. Make sure the string is half the diameter of your pool plus three inches. Use the string to measure the pool’s circumference and spray paint the pool outline. This is where you’ll lay the bottom track.

Once you’ve mapped out your pool area, clear away all debris. Get rid of any vegetation that could potentially grow through the pool liner, including roots from nearby plants. Remove grass and sod, which could make the bottom of your pool unstable. Make sure there aren’t any sharp rocks or twigs.

It’s extremely important that the bottom track of your pool is completely level—otherwise, your pool could collapse. Check the area with a leveler taped to a two-by-four board that’s longer than the pool diameter. If it’s not level, you’ll need to level the yard yourself. It’s simpler to dig out high spots with your shovel than to fill in low spots, but you can even level the ground for a pool without digging.
Once the ground is level, you can install the bottom ring. This is the ring that goes all the way around the bottom circumference of your pool and supports the walls. Your kit should include the key components—plates, stabilizers, and bottom rails—so assemble them per the manufacturer’s instructions. Generally, this involves spacing out the plates, sliding in the bottom rail, and attaching the stabilizer.

Once you have the bottom ring assembled, you’ll need to add some supports beneath the plates—this will keep your pool in place over the years. To do this, install patio blocks under each plate. Dig out a space for each block. Make sure the block is level with the rest of the ground, and that the track sits completely flush.

Sand is what supports the pool liner and protects it from damage (lest a foot kicks down and is met with a rock you missed during the land prep phase). Lay down a two- to four-inch layer of mason sand or playground sand inside the bottom ring, right over where you plan to install the pool liner.
This is where you need to bring in some extra hands. Pool walls come in a metal roll. You’ll need to unravel the roll while attaching the walls to the tracks along the bottom ring.
Start with one person holding the roll in the center of your pool. Line it up so the cutout for the skimmer (the square cutout) and the cutout for the return (the round cutout) are where you plan to install your pool accessories. Have another person carefully unravel the roll while placing the walls inside the metal tracks.
To prevent the walls from caving in, attach the top track as you go. You can also use landscape stakes as a temporary way to support the walls until they’re fully installed. Proceed until the whole roll is in place along the bottom ring.
Once the walls are in place, you’ll be left with a single seam down the side of your pool wall. If the two sides don’t meet, you may need to shimmy them together or adjust the wall along the bottom plates. This might be tough, but the walls will fit with some elbow grease. From here, install the bolts and tape over the seam with duct tape.
Install your wall supports. There should be one support for each metal plate. Once they’re installed, check to make sure that the supporting patio block is securely in place and won’t move—otherwise your pool will be unstable. If all looks good, install the top cap snugly on top of the pool wall.

Before you lay down your liner, level the sand. You can use a rake, starting in the center of your pool and pushing outwards. Gently wet the sand and tamp it down to create a solid base.
For extra support, create a cove along the inside edge of the bottom rail (where the rail meets the pool wall). You can either use angled foam (also called a foam pool cove) or sand. If you use sand, tamp it down with a hand tamp but don’t scratch the walls. This will take some stress off your liner when you fill your pool with water.
Since installing the liner is one of the last steps, check your measurements—then check again! Make sure the pool is the right shape and size and the sand under the pool is the right depth. Double-check that everything is level, and make any adjustments as needed.

Some liners snap into place using a separate track on the top of your pool wall. Others overhang the top of the wall and are secured using plastic coping strips. You’ll need to consult your manufacturer's instructions for the exact pool liner installation details.
Either way, start by spreading the liner out in the center of your pool. Gently work out the wrinkles and bubbles, taking care not to tear the liner. You can use a vacuum in the return to pull out air bubbles. You may need a second set of hands to help, since the liner is generally pretty heavy.
After the pool liner is installed, fill the pool halfway with water. This will settle the liner and help you identify the remaining wrinkles, so you can smooth them out. You can use your own hose and well or city water, or order a water truck delivery from a local pool service company.

Before you can install your equipment, you’ll need to create a space for the filter and pump. This is known as a filter and pump bed. The simple way is to use a stack of cinder blocks near the corresponding cutouts. Just make sure the ground is level so the blocks are secure.
When it comes to actual installation, it varies from manufacturer to manufacturer. For example, some types of pool filters use sand inside the body, while others don’t. Consult the manufacturer’s instructions to learn how to install your skimmer, filter, pump, and return.

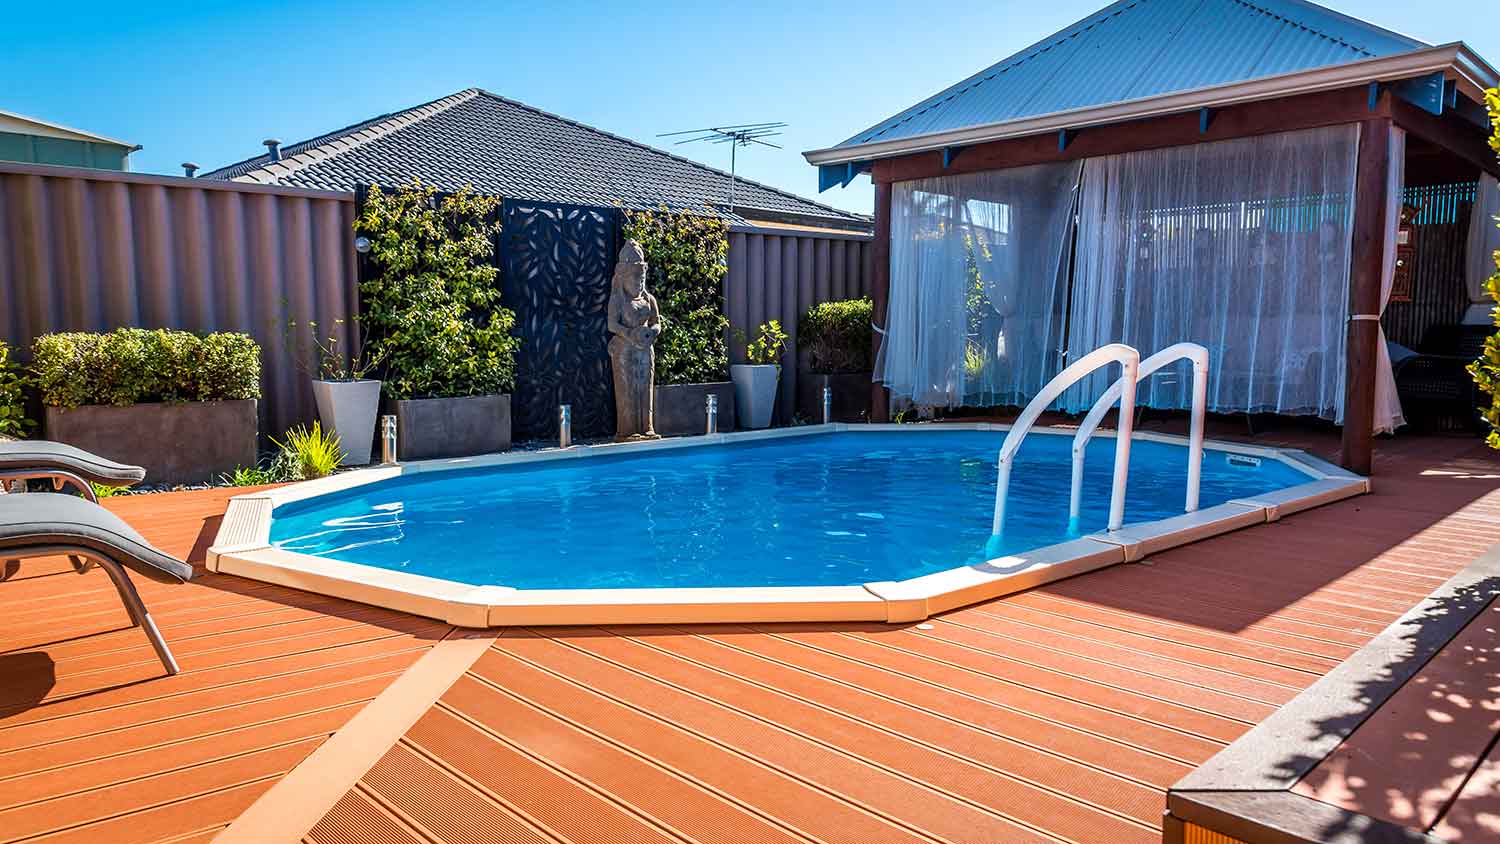
Finish your pool off by installing the top rail and the top plates above your support posts. From here, your pool should be totally stable. At this point, you can install steps or a ladder as long as they don’t rest on the top rail. Anything putting serious pressure on the top rail could collapse the pool wall.
The final step of pool construction is checking your work. Fill your pool halfway up to the skimmer mouth. Turn your pool on and check for leaks. If you notice a leak, you’ll have to troubleshoot. Sometimes the answer is as simple as tightening a hose. If you can’t figure out the problem, call a pool repair service near you. If your pool doesn’t have any issues, you can start adding pool cleaning chemicals and get ready to take your first dip.
The cost to install an above ground pool on your own is anywhere from $1,000 to $15,000 or more. It all depends on the specifications of your pool kit. You can get a basic 10-foot-wide kit for as little as $150. Professional labor typically adds $800 to $3,200 to the total cost.
That said, just because you could save money on a DIY, doesn’t mean you should. Unless you know what you’re doing, pool installation is tricky—and a collapsed pool is a serious hazard. Not only can you potentially flood your backyard, someone can get seriously hurt. For this reason, most homeowners hire a local above ground pool installer. This is especially the case if the installation also includes fencing (which is often a legal requirement) and decking.
Joseph did a great job with the staircase and trim. Timely and efficient, clear communication about the work, very fair pricing. For the stairs in particular, done very skillfully in an old house (1893) in a tight spiral, and very creative with how to do the handrail. Did a nice job with...
This company does it right. Firstly, I want to say that Landan was a joy to work with. He was so kind, transparent, and had everything under control. His entire team showed up ready to work and they were all very respectful of the fact that we were in an office space. A little backstory – we...
Professional Team, smooth to communication chain and schedule flexibility. Follows proper construction procedure and completes task on time.
Very professional, knowledgeable and helpful! Completed the install on time and as expected.
Cole has been handling plumbing and general contracting for our four properties over the past three years, and he’s always done a great job. Most recently, he installed a sink and countertop in our retail store where none existed before, and it turned out exactly how we needed. He’s...
 ANB Renovations LLC
Excellent, Prompt, Courteous Service!!! They were super friendly and quite personable. I felt very comfortable with the gentlemen that did the installation. They installed it exactly where I asked them to and they did an excellent job!! I loved their service so much.
I hired windows depot USA of central to install new windows in house in Oshawa. Ilya was very professional from the start, not only did he offered a great price, he also made sure the installation was on time. I am very satisfied with final outcome. The windows look great and the overall...
The guys did an outstanding job and we had a great experience with CarifaTile. I appreciated that Joe reviewed the quotes with me and set expectations prior to the install. The crews showed up as scheduled and always left the areas clean upon leaving the house. We will definitely use...
 CarifaTile
Did an amazing job transforming my yard. Also installed sod in places, would recommend to everyone.
Always been satisfied with the service work and how they have taken care of my pool.
From average costs to expert advice, get all the answers you need to get your job done.
Dreaming of summertime swimming? Find out aboveground pool costs, including prices for materials, fun extras, and professional installation.
Keep pool-side dreams from getting short-circuited by being aware of pool electrical installation costs and how they can affect your overall budget.
Considering a swimming pool for your backyard? Find out everything you need to know about in-ground pool costs, from materials to labor and more.
Above ground pools are more affordable than inground pools, so can you put an above ground pool in the ground to save money? Learn when it’s safe to do so.
Learn how to hire an above-ground pool installation. Discover questions to ask, qualifications to check, and tips for finding a reputable contractor.
Knowing the size of above-ground pools will help you choose the right one for you. Here are the measurements and types of above-ground pools to know.