
Reclaim pallets put out to the curb as your own to create a feature wall. Learn how to build a pallet wall in your home using this step-by-step guide.
Turn trash into treasure with a little bit of elbow grease

Pallet furniture ideas transform free or low-cost wooden crates into functional outdoor pieces like vertical gardens, bike racks, benches, and shelves for your patio.
You can find pallets for free at local garden supply, hardware, grocery, or appliance stores by asking for assembled or disassembled crates they no longer need.
Look for rot-resistant hardwood pallets stamped with IPPC or EPAL logos and the letters HT to confirm heat treatment and avoid toxins, insects, or mold.
Hiring a local handyman service professional provides reliable help with safely disassembling pallets, cutting wood to size, and assembling sturdy outdoor furniture pieces.
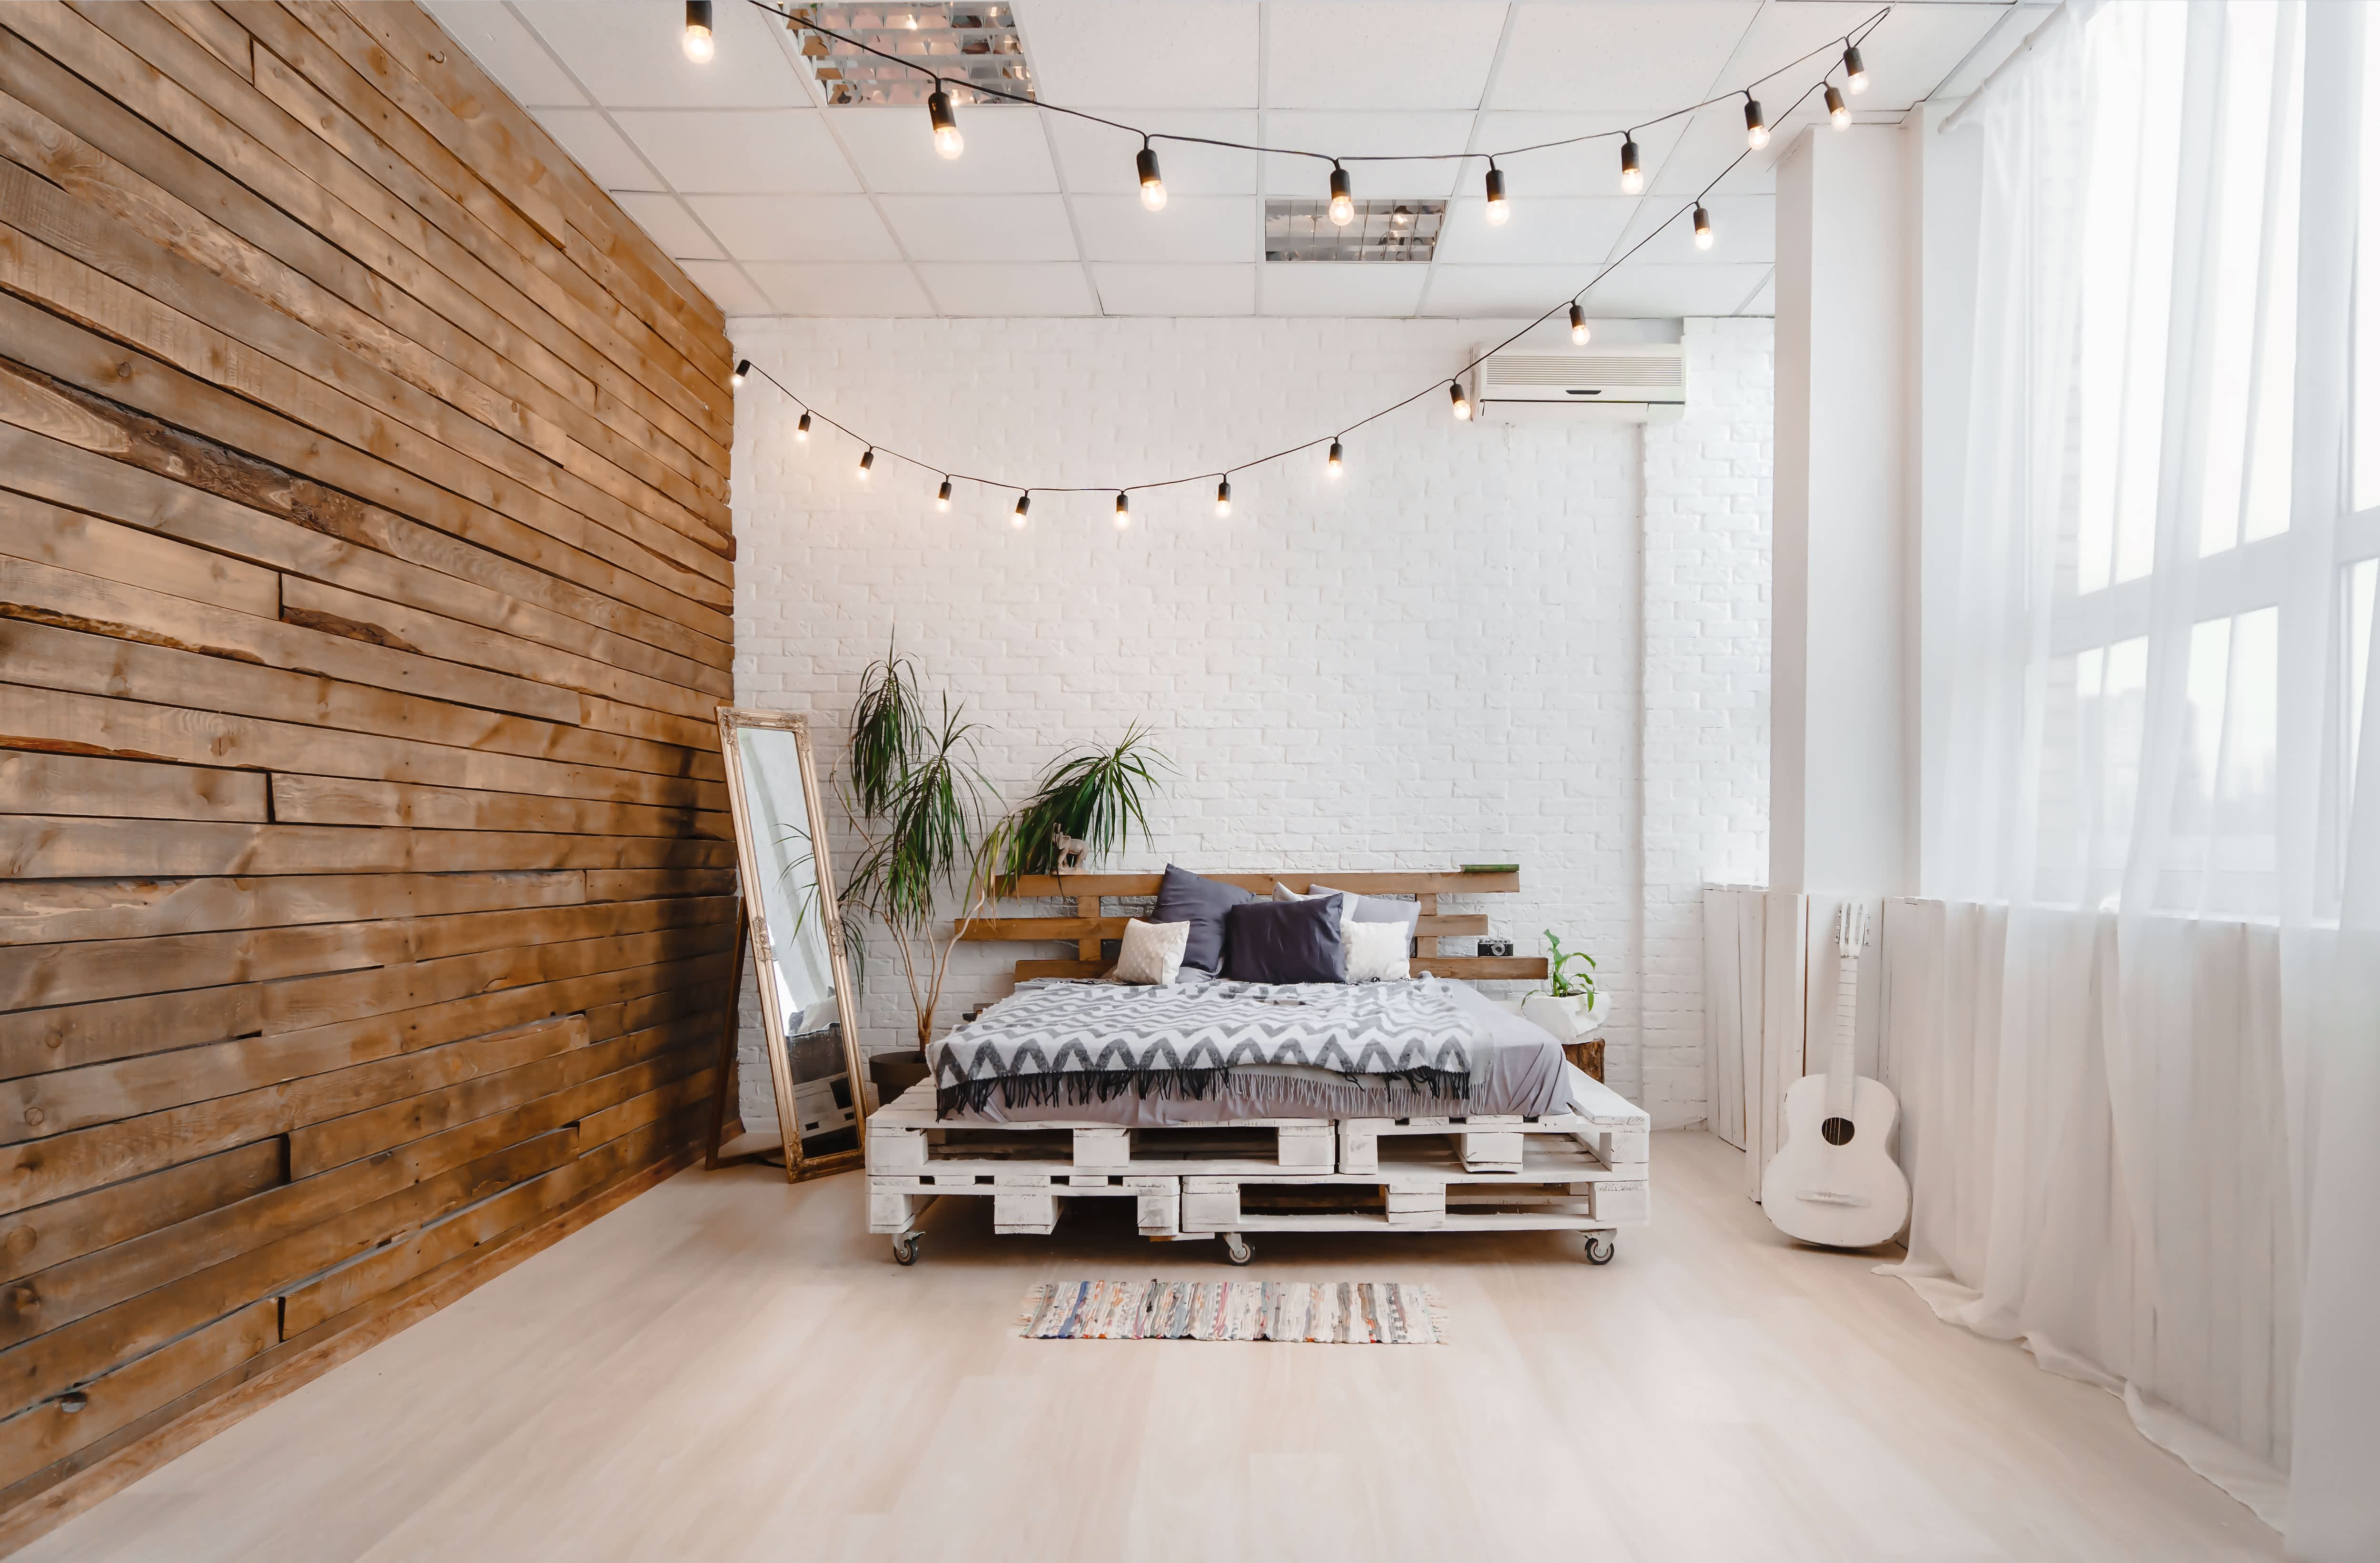
Chances are, you could have the makings of rustic outdoor furniture and decor lying around your garage. Enter pallets, a DIYer’s secret weapon.
To enhance your yard and patio, repurpose these wooden crates into vertical gardens, bike racks, potting benches, wall art, outdoor dog beds, and more. Read on for a few quick and fun project ideas for DIY pallet furniture.

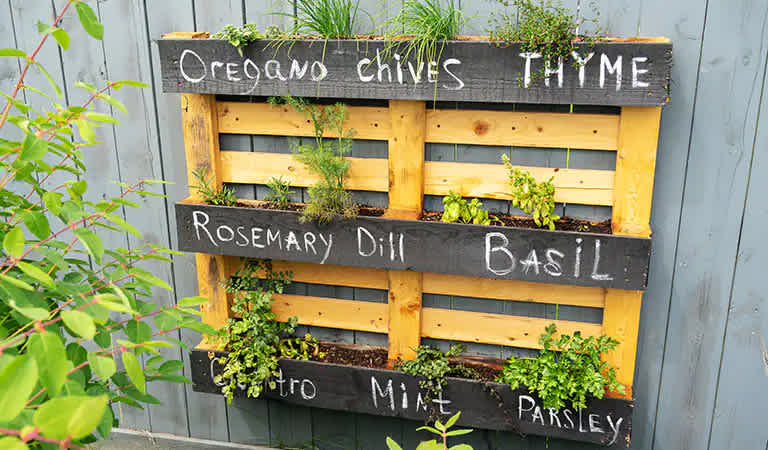
If you’re short on growing space, create a vertical garden for flowers and small vegetables as DIY pallet decor.
Cut landscape fabric to the size of your pallet
Wrap the fabric around the sides of the pallet and staple it on
Attach fabric until you cover the entire bottom of your pallet
Lay the pallet on the ground and fill it entirely with potting soil
Add your plants to the areas between the slats
Leave your garden horizontal for a week, watering it regularly
Lean the garden against a wall and continue to water plants on a regular basis
As an alternative, you can also make a DIY vertical garden featuring pots.
Attach screws and clamps to an old pallet
Secure your pots to the clamps
Add soil and a plant to each pot
Water your plants regularly
Craft a DIY pallet bike rack with enough storage for five or six bikes. You’ll need a pallet with boards spaced far enough apart to accommodate bike tires.
Remove splinters and old nails, which could damage tires
Cut your pallet in half along the side of the supporting beam in the middle
Place an additional supporting beam between the two sides of the supporting planks
Stack the other half of the pallet on top to make sure that the two pallet halves line up
Put the loose planks in place while nailing them down
Nail the bottom planks as well
Add an additional supporting beam to the back of the pallet
With two 90-degree wood brackets, attach the two pallets
Add supports by nailing more planks to the sides

Add a stylish element to your outdoor space while producing compost to nourish your plants. For the ultimate set-up, create a three-bin system to always have compost at three stages: new, in-process, and finished.
Start with seven rot-resistant hardwood pallets, all the same size. You’ll also need a drill and 3-inch all-weather deck screws. Begin assembly on the level surface you intend to use for your compost bins.
Attach one pallet (for an outer sidewall) to another (part of the bin’s back side).
Add an inner pallet (to serve as a divider), screwing it against the first back pallet. When attaching this inner pallet to the backside, offset it.
To establish the middle section of the backside, add another pallet and attach it to the pallet you added before.
For the four pallets that remain, work your way across in the same fashion to create the other two sections.
Enhance your patio with a rustic, farmhouse-style table that will mesh well with your hanging garden.
You’ll need two of the same size pallets, four metal casters, wood varnish or lacquer, and short and long screws to create this DIY pallet furniture project.
Remove the bottom planks from one of the pallets (which will ultimately be the top of the table).
Using a band, circular, or hand saw, cut the boards you just detached to make narrow planks to fill in the gaps between the spaces on the top pallet. Screw the narrow planks into the top pallet.
Stick the two pallets together using PVA or wood glue and long screws.
To attach all-metal caster wheels, mark and pre-drill holes for the screws (these should have hex heads).
Finish the table with acrylic lacquer or varnish.

To accompany your new coffee table, make a bench.
For this DIY furniture project, you’ll need a pallet (ideally with slats 1/2-inch-thick), an 8-foot-long pressure-treated 2-by-4, and a box of star-headed, no-drill-needed 2 1/2-inch deck screws.
Turn the pallet into a back and bench seat. Make the back by measuring, marking off, and cutting. Leave the remaining (longer) pallet section laying flat.
Stack the new back section vertically on top of the longer section, which will serve as the seat.
Cut the 2-by-4 into four pieces to serve as the legs and armrest supports.
Attach the legs to the bench, drilling into the sides of the seat bottom back.
With other pallet slats, create the armrests. Drill in with screws to attach.
Construct a shelf to hang over a potting bench.
You’ll need one pallet wood length, one old wood fence paling, and clear satin varnish.
Cut a wide pallet slat to your desired shelf length.
Cut fence paling into strips to form trim for the front and both ends of the shelf.
Using wood glue and screws, attach this trim to the pallet slat.
Hang your shelf and use it for potted plants and lightweight garden supplies.
Fortunately, pallets are abundant and cost-free. If you don’t have any handy, call your local garden supply, hardware, grocery, or appliance store (or another retailer that carries large items). Ask if they’re willing to give away any assembled or disassembled pallets.
If you can, seek out crates and planks made of rot-free hardwood (like pecan and cedar). These pallets will hold up best in moist outdoor environments.
Also, look for pallets with as few splits, cracks, and nails as possible. Since pallets are often treated with toxins, you’ll want wood stamped with the International Plant Protection Committee (IPPC) or European Pallet Association (EPAL) logos.
Ideally, you’ll also see the letters “HT” (heat-treated). Because of potential toxins, insects, and mold, it’s wise to restrict pallet projects to outdoor use.
When sanding and cutting, wear a respirator and safety glasses to protect yourself from toxins. You’ll also want to put on gloves to avoid getting splinters.
Since you will most likely need to disassemble pallets to yield individual planks, watch out for rusty nails.
Excellent, Prompt, Courteous Service!!! They were super friendly and quite personable. I felt very comfortable with the gentlemen that did the installation. They installed it exactly where I asked them to and they did an excellent job!! I loved their service so much.
Ace Fireplace Services' chimney sweep service is truly exceptional. They used advanced technology to ensure a thorough cleaning process, and my chimney has never looked better. I highly recommend their services.
 Ace Fireplace Services
Binion and Alex did such a good job. Fast, fair, efficient. Would def use them again. Best experience Iâ ve had in moving - someone should give them a raise. Will undoubtedly recommend this service.
Great customer service. The owner Ilia was wonderful to work with. Would definitely recommend this company.
I definitely recommend Ramonaâ s cleaning service! I have booked services with her many times and she arrives on time, ready to work and provides a great service.
Excellent experience! Left my place looking great. Friendly customer service too. Would recommend!
The service was excellent! They gave me a quote, and had it done 4 days later. My driveway looks amazing, very professional! I would definitely recommend their service to anyone. I have had neighbors stop by and ask for their information as well.
 All Star Paving and Sealing
Webb â s was priced well, flexible on scheduling, great with communication, and detailed in their work. Iâ ll definitely use their services again.
They’ve been great to work with. All of my clients that have used them have nothing but good things to say about the experience. Quick responses and fast service. They’re a trustworthy team!
 Total Home Roofing
Mary cleaning service does an amazing job cleaning my home. They go over and beyond the cleaning services that I have had in the past. They are very punctual and thorough with cleaning my home, I’m extremely happy with the service they provide and I highly recommend them.
From average costs to expert advice, get all the answers you need to get your job done.
Reclaim pallets put out to the curb as your own to create a feature wall. Learn how to build a pallet wall in your home using this step-by-step guide.
Repurpose, recycle, and enjoy great produce. Here's how to make an affordable and hip-looking pallet garden bed in five simple steps.
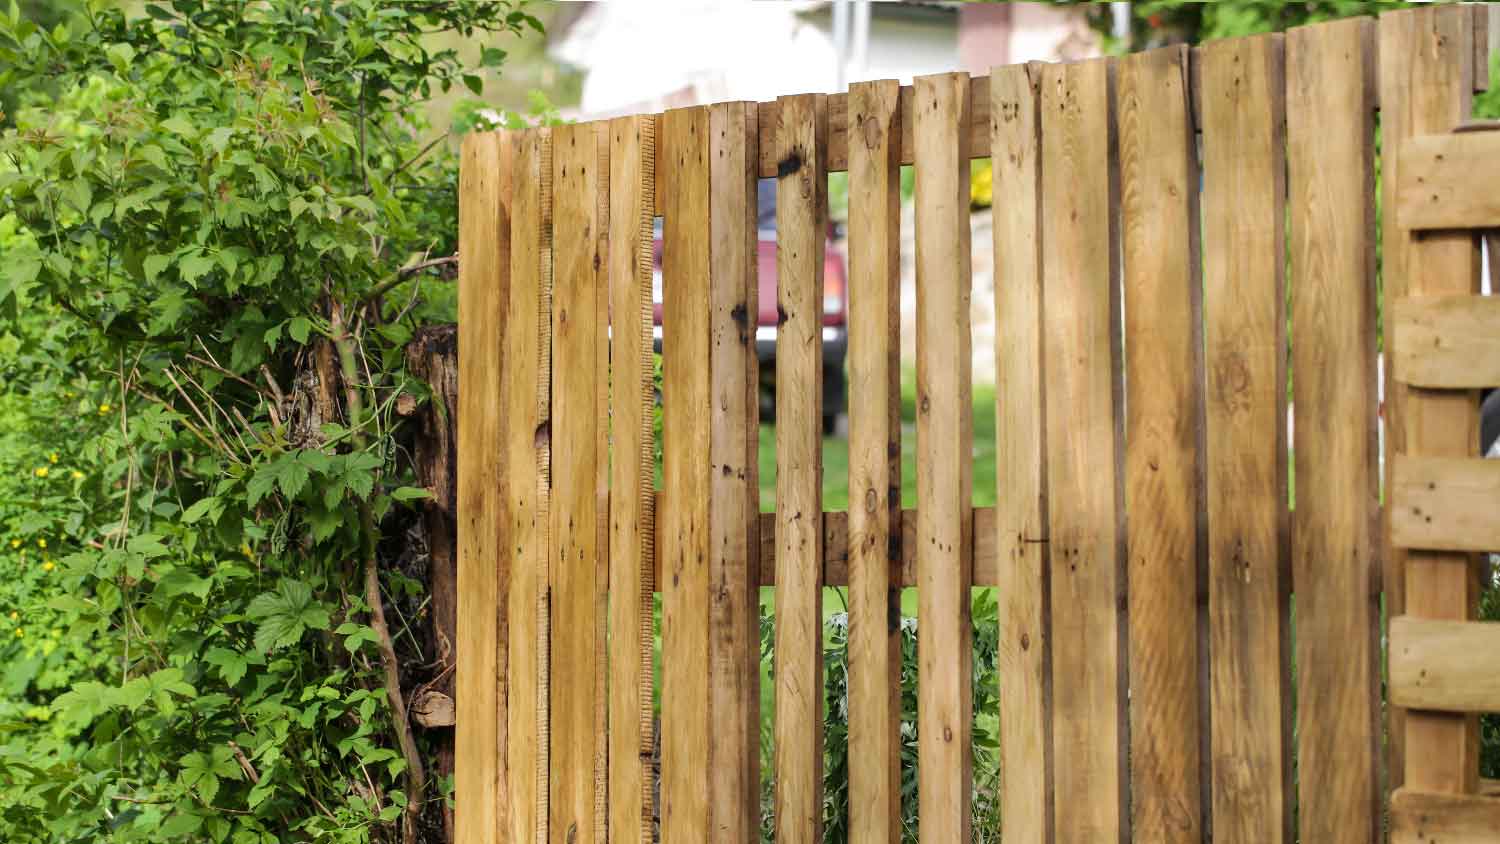
Learn how to build a pallet fence and make it stand out with creative flourishes.
What if you could revamp a room while saving money? Thrift store home decor is an easy way to refresh a space on a budget. Try these thrift tips and fun DIYs.
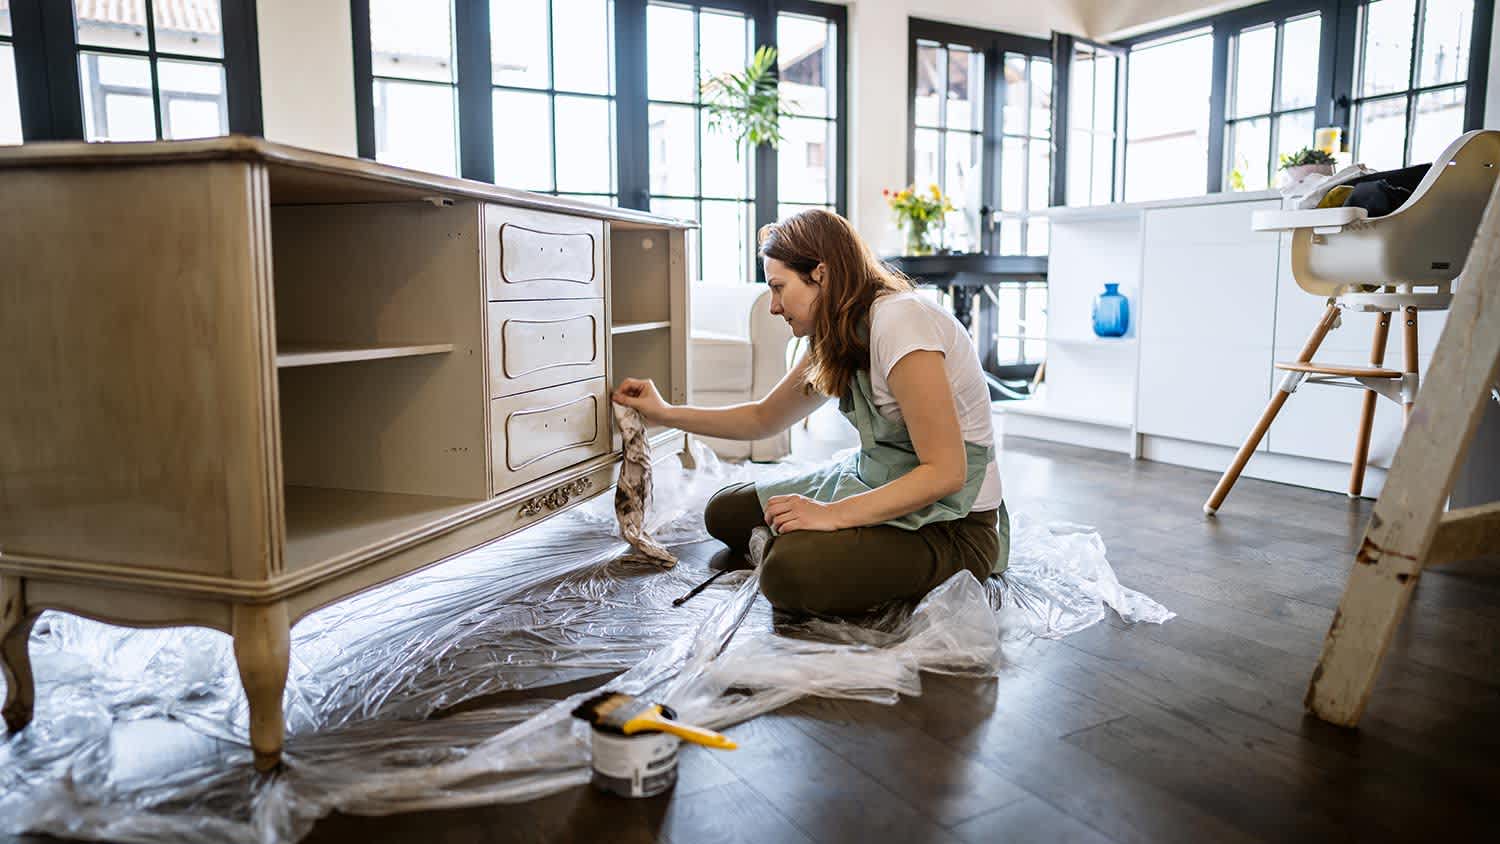
Repurposing furniture is an easy way to breathe new life into old, beloved pieces. With the right tools and a bit of time, just about anyone can DIY this project.

You don’t need to spend a fortune to make your home beautiful. Check out these 10 no-cost home decor ideas when you’re ready for an interior design refresh.