
Staining concrete floors can add a little something to a drab slab. Learn more about how much stained concrete floors cost and what factors impact it.
Mitigate moisture concerns before your concrete floors get swamped


Testing concrete moisture levels before installing flooring protects your investment, as hidden moisture can cause warping, mold, bubbling, and cracks in your new floors.
Professional flooring installation costs $1,530 to $4,859, with average costs around $3,160, and testing beforehand helps you avoid expensive moisture-related repairs later.
Your concrete floor needs at least 48 hours with HVAC running before you test moisture content, ensuring accurate readings for safe flooring installation.
Hiring a local basement waterproofing professional provides reliable moisture testing and solutions, including relative humidity tests and vapor barrier installation for long-term protection.
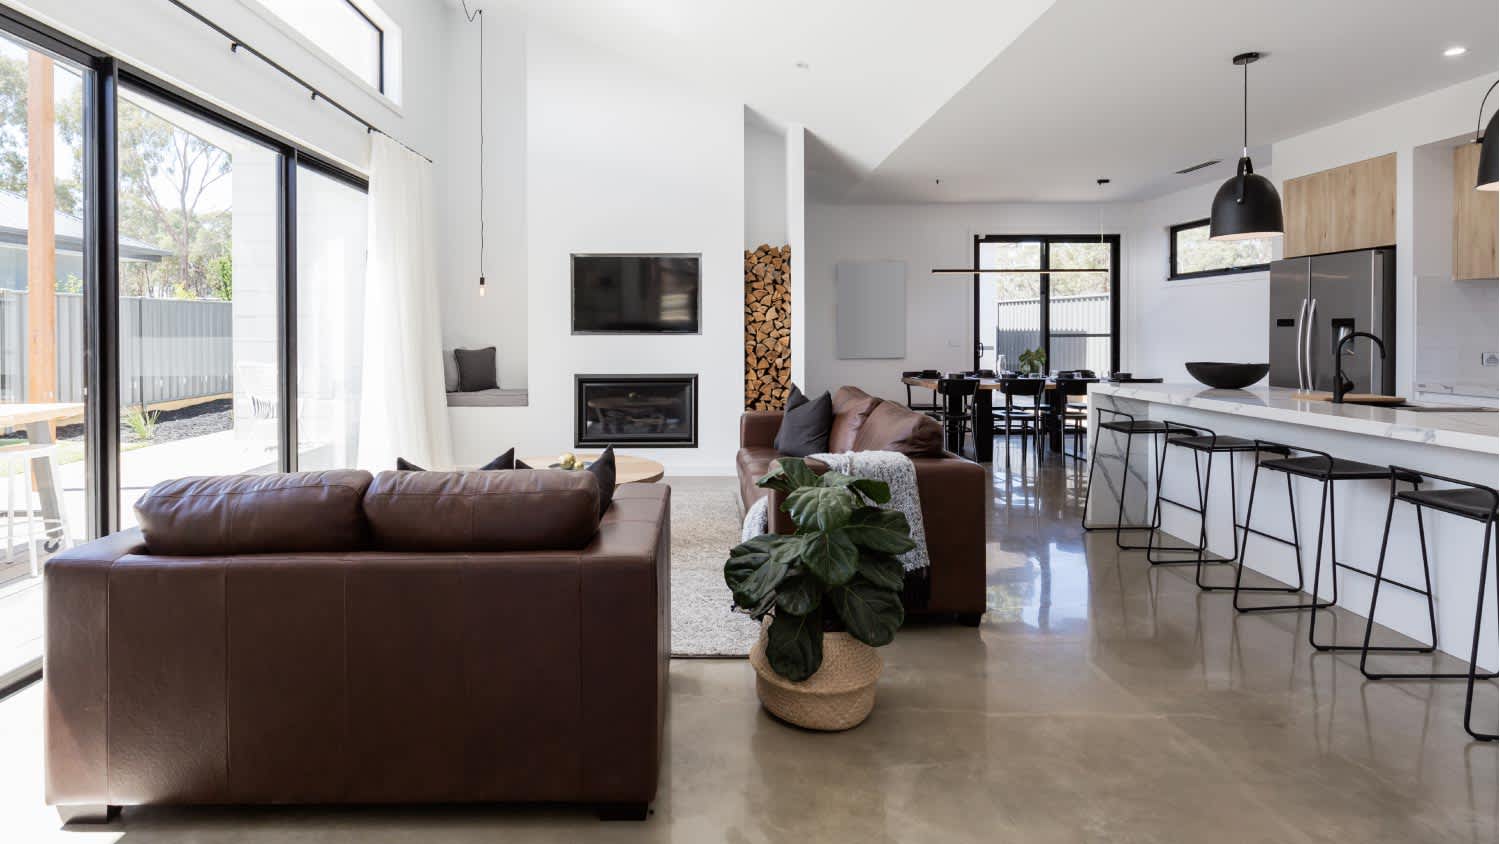
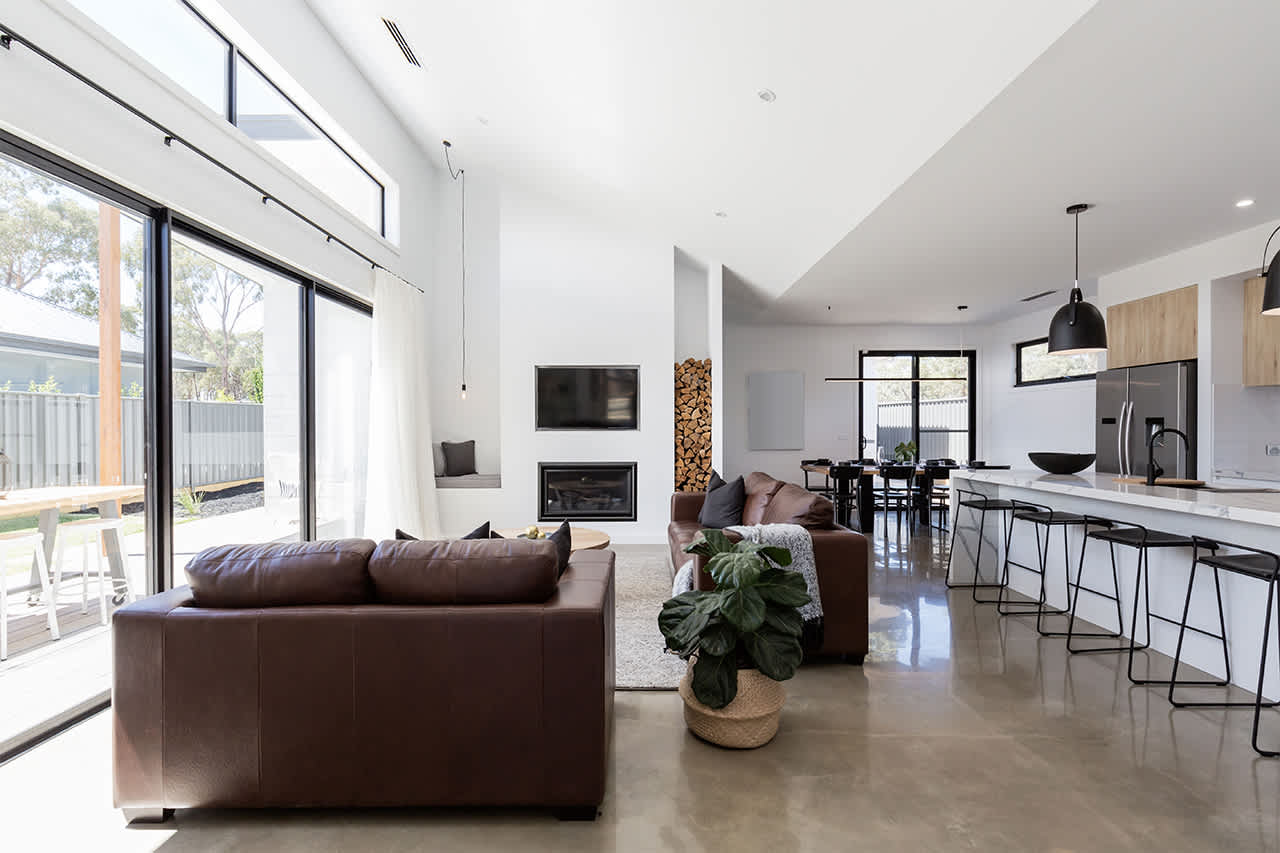
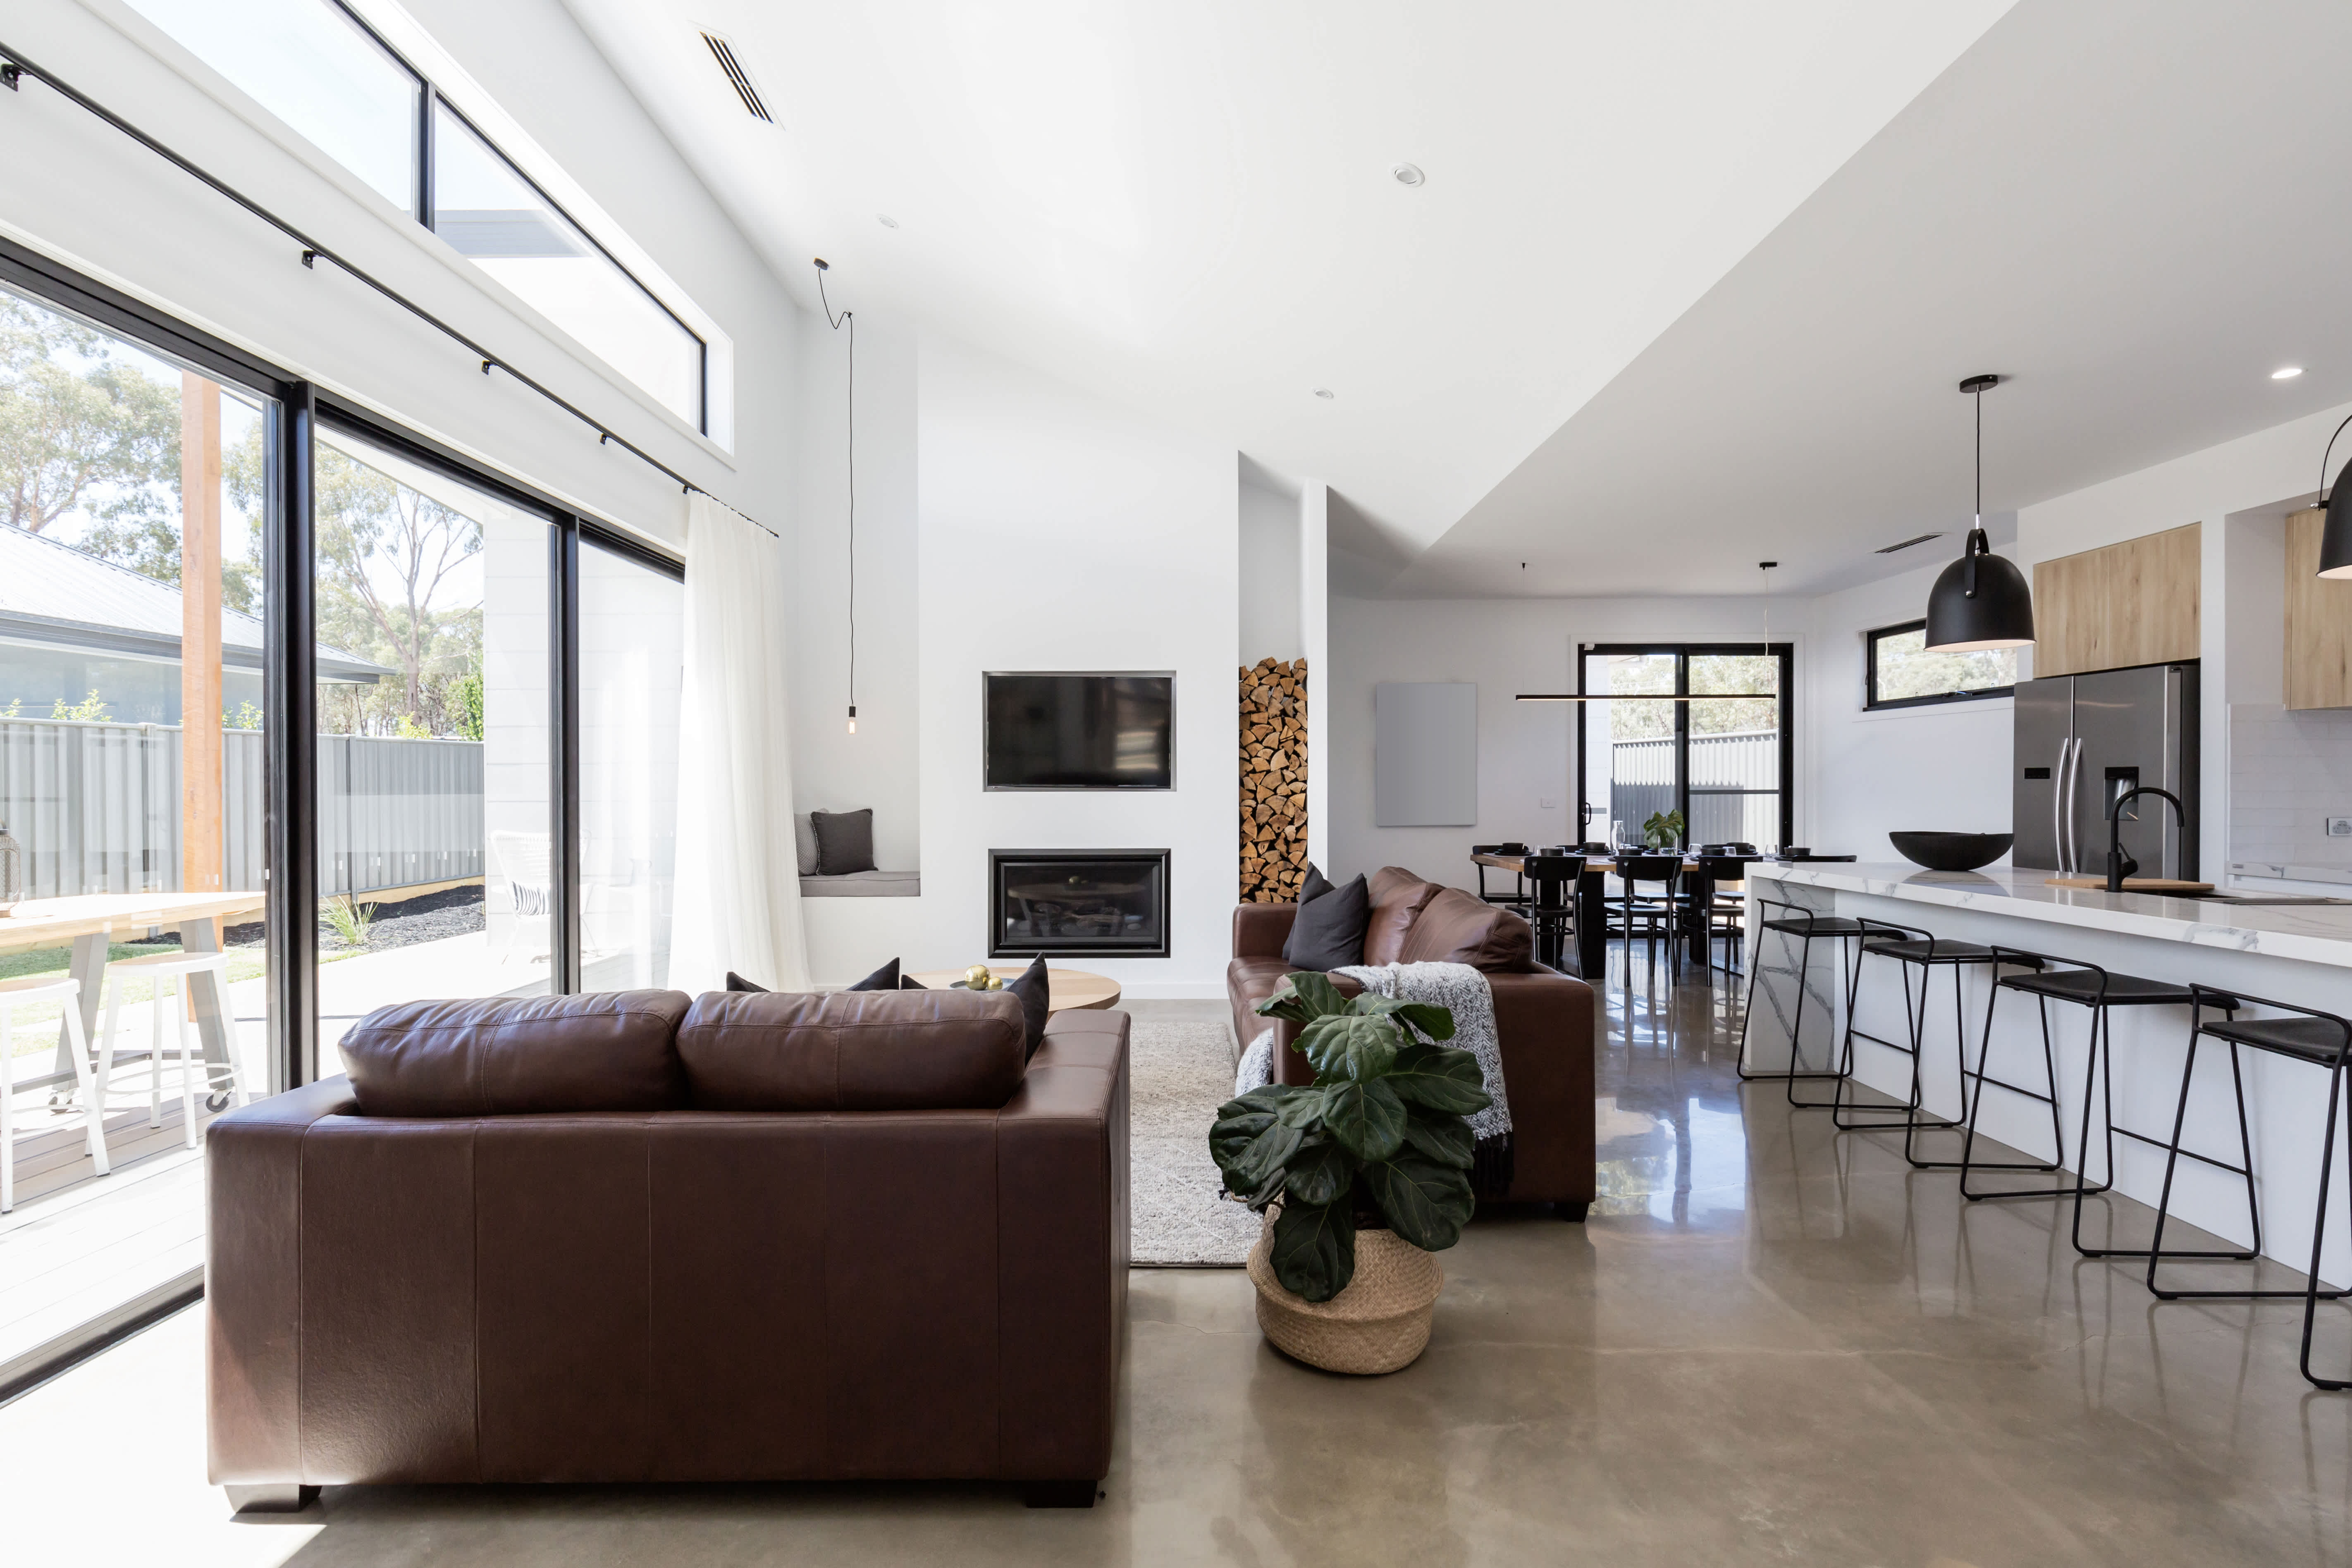
Moisture in a home can be highly problematic. Concrete in particular absorbs and releases moisture and can potentially warp any wood flooring you put down if it has an elevated humidity content. You can stay ahead of any issues by keeping tabs on your home's moisture level. Looking for a DIY way to start? Here is how to test moisture in concrete floors.
It is important to test a concrete floor for moisture before you install flooring or apply a coating, like primer. This is because, while your concrete can look dry, it actually has a moisture content. This can come from the ground if the floor lacks a proper vapor barrier or from moisture in the air.
Your coating and flooring materials can handle certain thresholds of moisture, so you need to test your concrete and make sure its moisture levels are OK for what you want to install.
Check the manufacturer’s instructions for your concrete coating product or flooring materials to find out how much moisture your concrete floor can have.
If you skip this step and your concrete floor’s moisture content is too high, you may have to deal with issues down the road, like cracks and bubbling in your flooring, mold, warping, and more. Protect your investment in flooring installation costs by doing the proper preparation beforehand.
You can choose between a couple of concrete moisture tests—the plastic sheet method or the calcium chloride test.
In order to test moisture emissions from concrete, you will need to create a plastic entrapment on the concrete that will show any beads of moisture. Measure out a square around two feet in length from a roll of polyethylene sheeting and carefully cut it with scissors or a razor blade, making sure not to create any tears or snags.
Choose a dry area of your concrete floor and tightly tape plastic all along the edge of your square so it creates an airtight seal that will trap any moisture within. Run your fingernail along each tape edge to ensure a proper seal.
After 48 hours, return to your test site to inspect the plastic. If there are droplets of moisture on top of the plastic, the room is humid and generating moisture. If you peel up the plastic and find it is damp beneath, you might have a moisture problem in your concrete. Conversely, if there are no immediate signs of water, moisture levels in the concrete are likely at safe levels.
If you find damp plastic, you can run a dehumidifier in the room and try the test again after a day or so to double-check your initial effort. You can also use a moisture meter for an accurate reading on levels and to measure the humidity in your home. Wagner Meters is one brand that produces these devices found at home improvement stores.
An alternate method to use is the calcium chloride test method. Place a dish of calcium chloride within the airtight plastic dome to get a visual of the moisture vapor emission (MVE) rate that your concrete slab produces. According to the Association for Materials Protection and Performance, once you place the dish beneath the plastic, wait for 60 to 72 hours, then weigh the dish to record pounds of water emitted per 1,000 square feet. This test can be effective, but it is not foolproof as it evaluates the top half-inch of the concrete slab, where 90% of MVE occurs. If you want to measure deeper than ¾ inch below the concrete surface, you will need to use a backup method to ensure that you are getting an accurate read on the moisture condition.
To get the proper reading for your concrete floor moisture level, it is best to conduct your test after you run the HVAC for 48 hours.
Also, if you want the most accurate reading possible, you can call in a pro to conduct a relative humidity (RH) test. They will drill holes into the floor and use a thermo-hygrometer to check readings deep in the concrete. This option will help you figure out the actual moisture levels inside the slab, rather than what is on the surface.
The best DIY methods for testing your concrete moisture levels are the plastic sheeting method and the calcium chloride test, which you can purchase for around $20. If you are familiar with drilling holes into concrete, you can get a RH test kit, although this can cost as much as $820. So, unless you are planning on doing multiple construction projects, it is likely better bang for your buck to call in a pro to do the thermo-hygrometer test for you.
If you suspect a more serious moisture issue in your home, you will want to hire a flooring company near you. You can also reach out to a waterproofing contractor or mold remediation company.
Joseph did a great job with the staircase and trim. Timely and efficient, clear communication about the work, very fair pricing. For the stairs in particular, done very skillfully in an old house (1893) in a tight spiral, and very creative with how to do the handrail. Did a nice job with...
This company does it right. Firstly, I want to say that Landan was a joy to work with. He was so kind, transparent, and had everything under control. His entire team showed up ready to work and they were all very respectful of the fact that we were in an office space. A little backstory – we...
Finished Basements Plus was wonderful from beginning to end! First, they came out quickly for an estimate. I had 4 estimates and theirs was by far the best. (2 of the estimates were more than $20K higher than for the exact same work). Beyond their fair pricing, the work was excellent. They...
 Finished Basements Plus Inc.
Very professional, knowledgeable and helpful! Completed the install on time and as expected.
Cole has been handling plumbing and general contracting for our four properties over the past three years, and he’s always done a great job. Most recently, he installed a sink and countertop in our retail store where none existed before, and it turned out exactly how we needed. He’s...
 ANB Renovations LLC
Excellent, Prompt, Courteous Service!!! They were super friendly and quite personable. I felt very comfortable with the gentlemen that did the installation. They installed it exactly where I asked them to and they did an excellent job!! I loved their service so much.
Window Depot did an amazing job installing the windows in my basement! The process from start to finish was by far more than what I expected. I would highly recommend Window Depot if you want professionalism from the the consultation to the installation. Dont settle for mediocre when you can...
AFS was excellent from start to finish. Jess, the sales associate, was fantastic...very knowledgeable and very professional. The installation crew was excellent. I couldn't be more pleased with the process. Best of all, my new floor looks fantastic!
 America's Floor Source
We were having 2”x 2” tile installed . There was a small installation error and the new additional replacement tile was from a different lot and the colors didn’t match. Joe assured us that he would rectify everything , which he did without hesitation. We decided to go with the 18” x 36” tile...
 CarifaTile
Did an amazing job transforming my yard. Also installed sod in places, would recommend to everyone.
From average costs to expert advice, get all the answers you need to get your job done.
Staining concrete floors can add a little something to a drab slab. Learn more about how much stained concrete floors cost and what factors impact it.
Polished concrete floor costs depend on the size of the area you’re targeting and the style of concrete floor. Our guide breaks down all the cost factors.
Allowing laminate flooring to acclimate prior to installation can lead to the best results. Here is how to do it.

Concrete needs to be the right consistency to be durable and stable. Learn what concrete slump is and how to achieve the correct slump for your project.
Concrete flooring is a durable, low-maintenance option for your home. Learn the pros and cons of concrete floors to decide if they’re right for you.
The best flooring to install over concrete can handle the material’s porosity. From vinyl to tile, this guide will run you through the best options.