•
Discover the cost to replace outlets in your home. Learn about price factors, labor rates, and tips to save on your outlet replacement project.
A user's guide to (safely) restore power to your outlets

If you discover a damaged, burnt, or overheating electrical outlet, it’s time to learn how to change an outlet, even if you hire an electrician to complete the task. Electrical outlets not working properly can make it impossible to use household devices and appliances, so it’s best to replace them quickly.
However, electrical work and handling wiring can be hazardous to your home and personal safety. Strongly consider hiring a local electrician to change your outlets unless you have prior electrical experience. In this guide, learn how to change an outlet safely (and signs you should look for that warrant calling in a professional).
Before doing any electrical work, you must shut the power off to the outlets in question to protect yourself from electrical shock or electrocution. Working on live electrical circuits is extremely dangerous and can cause serious injury or even death.
Find your circuit breaker box—located away from the home interior in a garage, basement, or exterior wall.
Examine circuit breaker labels and flip off the breaker to the area where the outlet is located.
Give lights in that area a quick test to make sure power is really off.
After turning off the power to the outlet, you need to double check that it’s off.
Use a testing tool like a voltmeter, outlet tester, or multimeter to ensure the power is off.
Plug the testing device into the outlet and look at the readings. Make sure there is zero voltage.
If there are any voltage readings, you need to check your breakers again.
Use your screwdriver (most standard outlets need a flathead), and carefully unscrew the faceplate screws.
Gently pry off the faceplate and set it aside.

Keep in mind that this step requires electrical work that is best handled by a professional electrician.
To remove the outlet receptacle, unscrew the top and bottom parts and lift out gently. Inspect for any visible damage and determine if it needs to be replaced.
Taking the outlet receptacle out will allow you to decide whether it needs replacing, too.
Cracked, chipped, or slippery outlet receptacles probably warrant replacement, but it’s necessary if upgrading to a new type of outlet, like a grounded three-prong outlet.
Next up: the wire configuration.
Look for the inside screws connecting the receptacle itself to its base.
Gently unscrew the receptacle. It will still be connected to wiring, so don’t tug or jerk it.
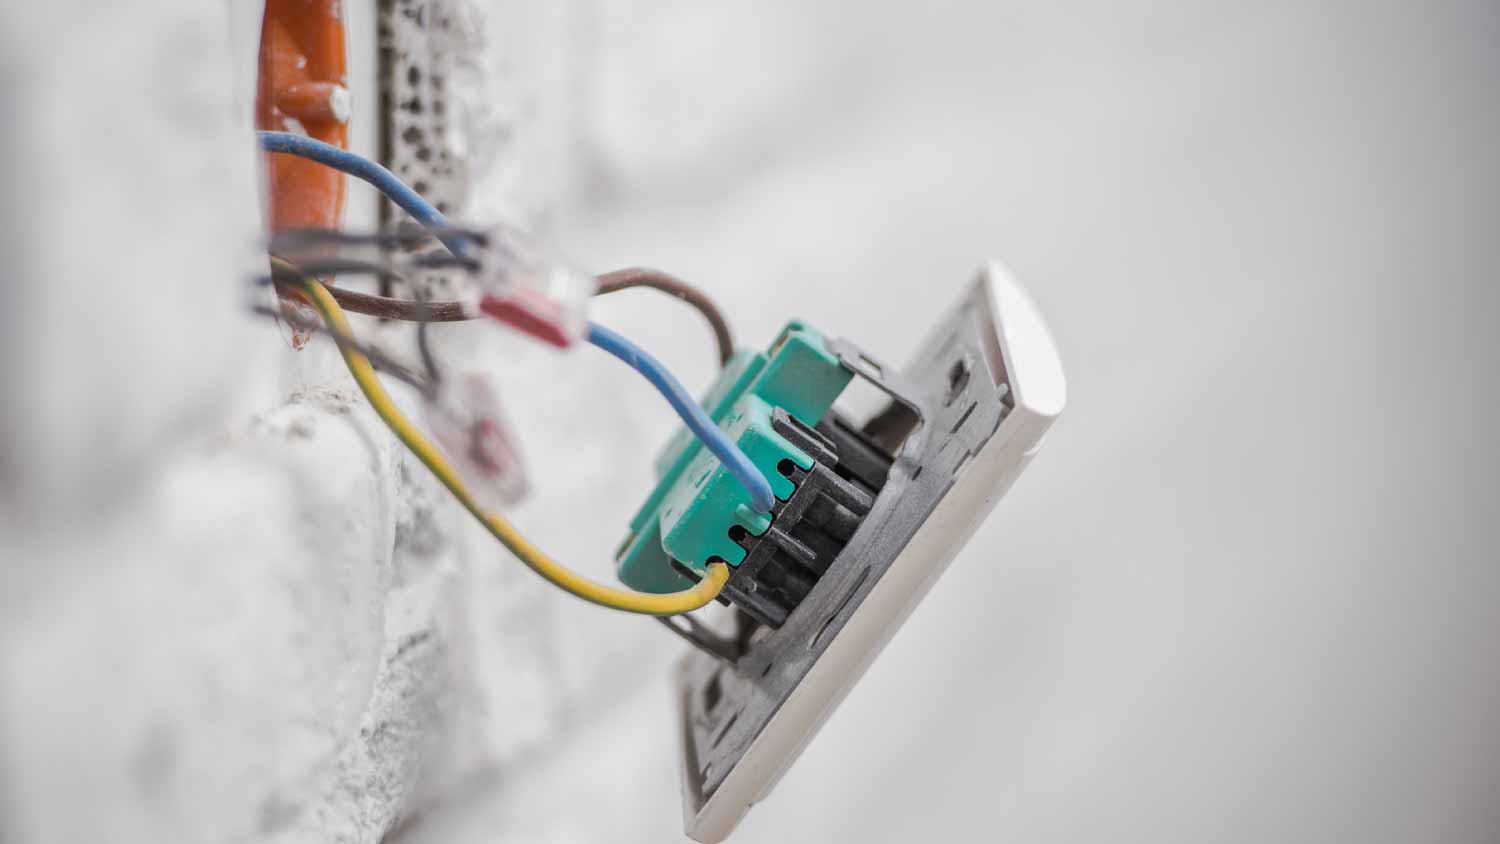
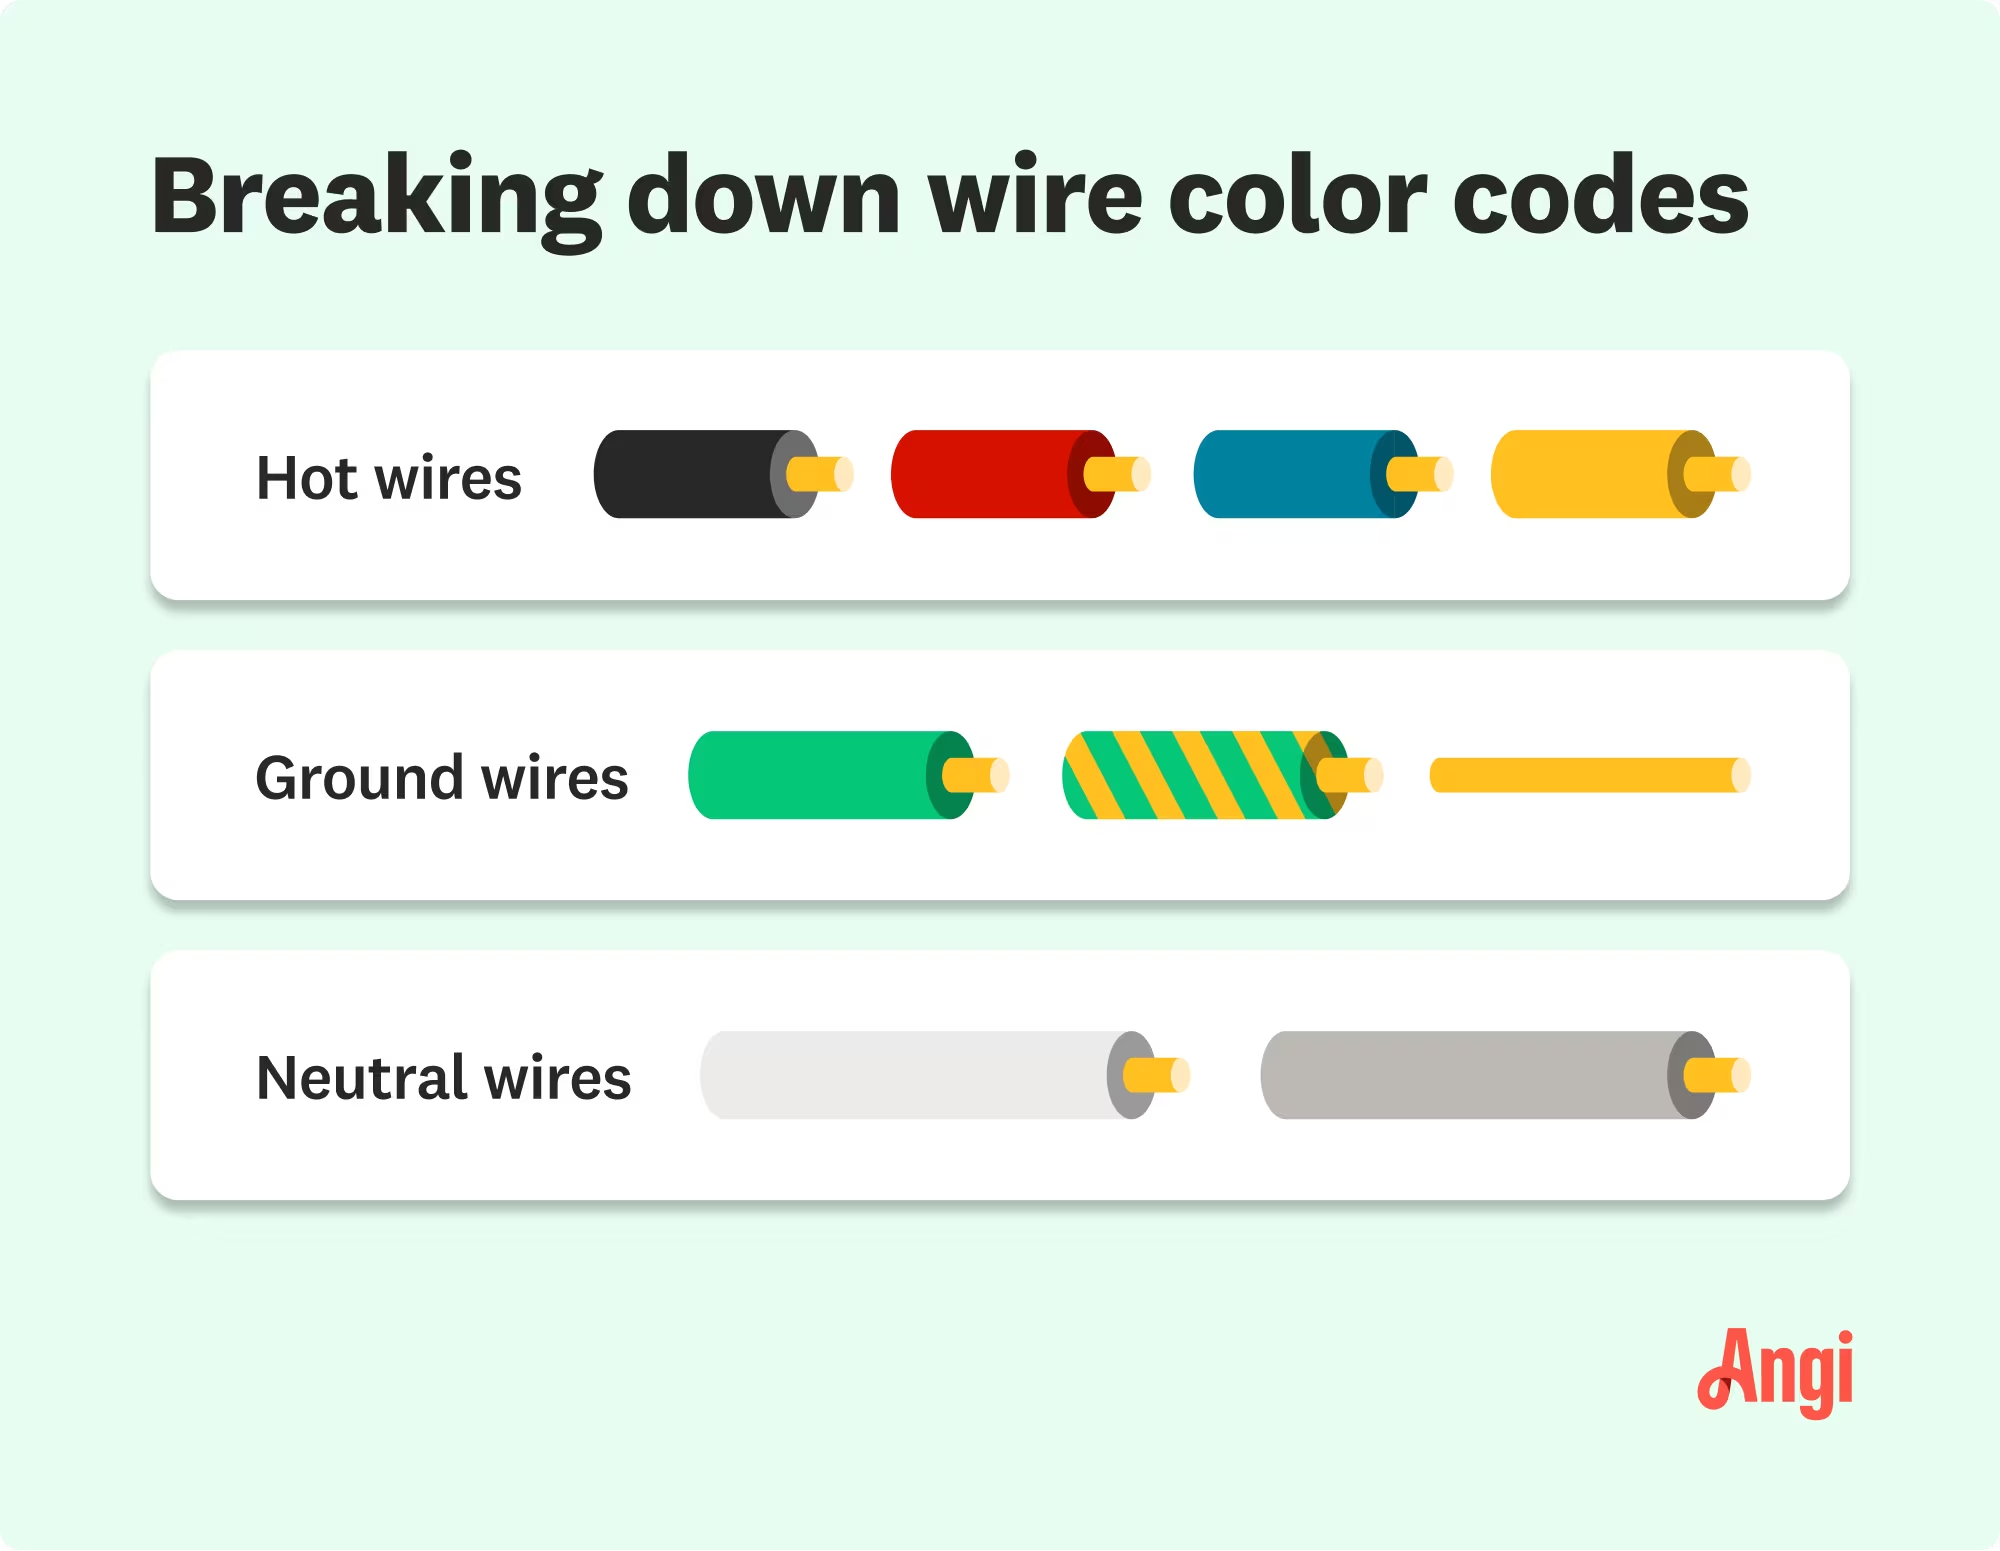
Look for three (sometimes more) wires connected to contact points on the back of the receptacle. They are generally black, white and copper or green.
Observe contact points and make sure wires are connected to the right spots.
You can snap a photo to remember the wire placements, if necessary.
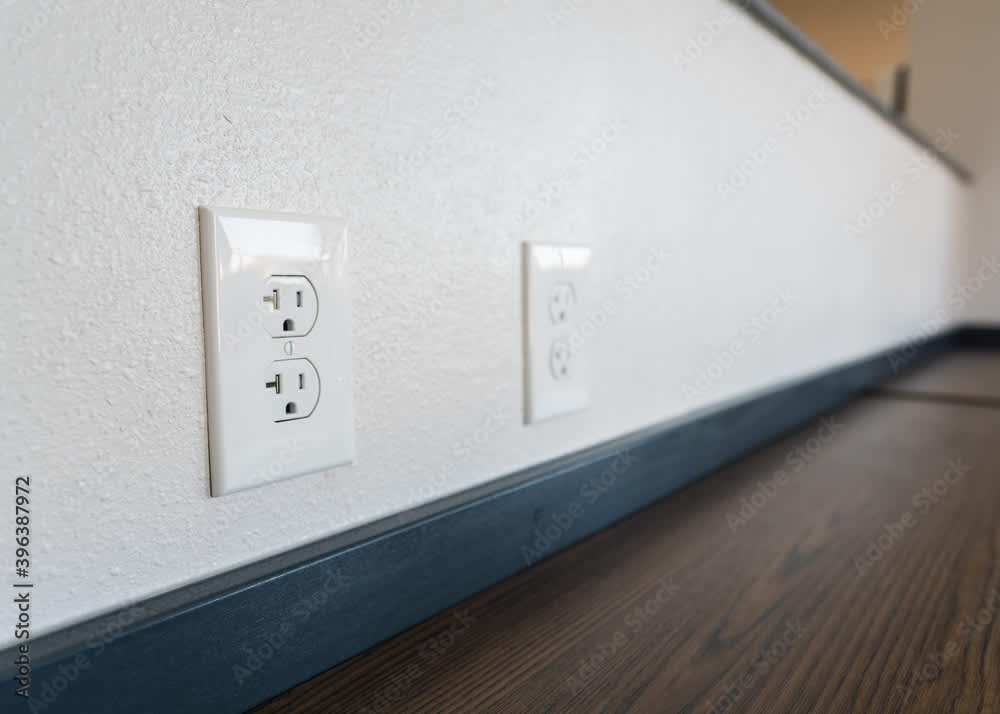
The back of the receptacle should have amp labels. The amps should always match the wires being used.
Most U.S. outlets and connected circuits are 15 amps. This should be matched by 14-gauge wire. Some receptacles are 20 amps, which require 12-gauge or 10-gauge wire.
If your wiring and receptacles don’t match, you need to replace the receptacle with a version with the correct amperage.
Contact a local electrician to inspect your electrical system and determine whether you need to replace wiring.
Loosen the contact points on your receptacle. They typically use tabs or screw-down contacts. Go slowly to avoid any damage.
When the contact points are open or loosen, carefully remove the wires from each point until the receptacle is free.
Set aside the old receptacle for disposal.
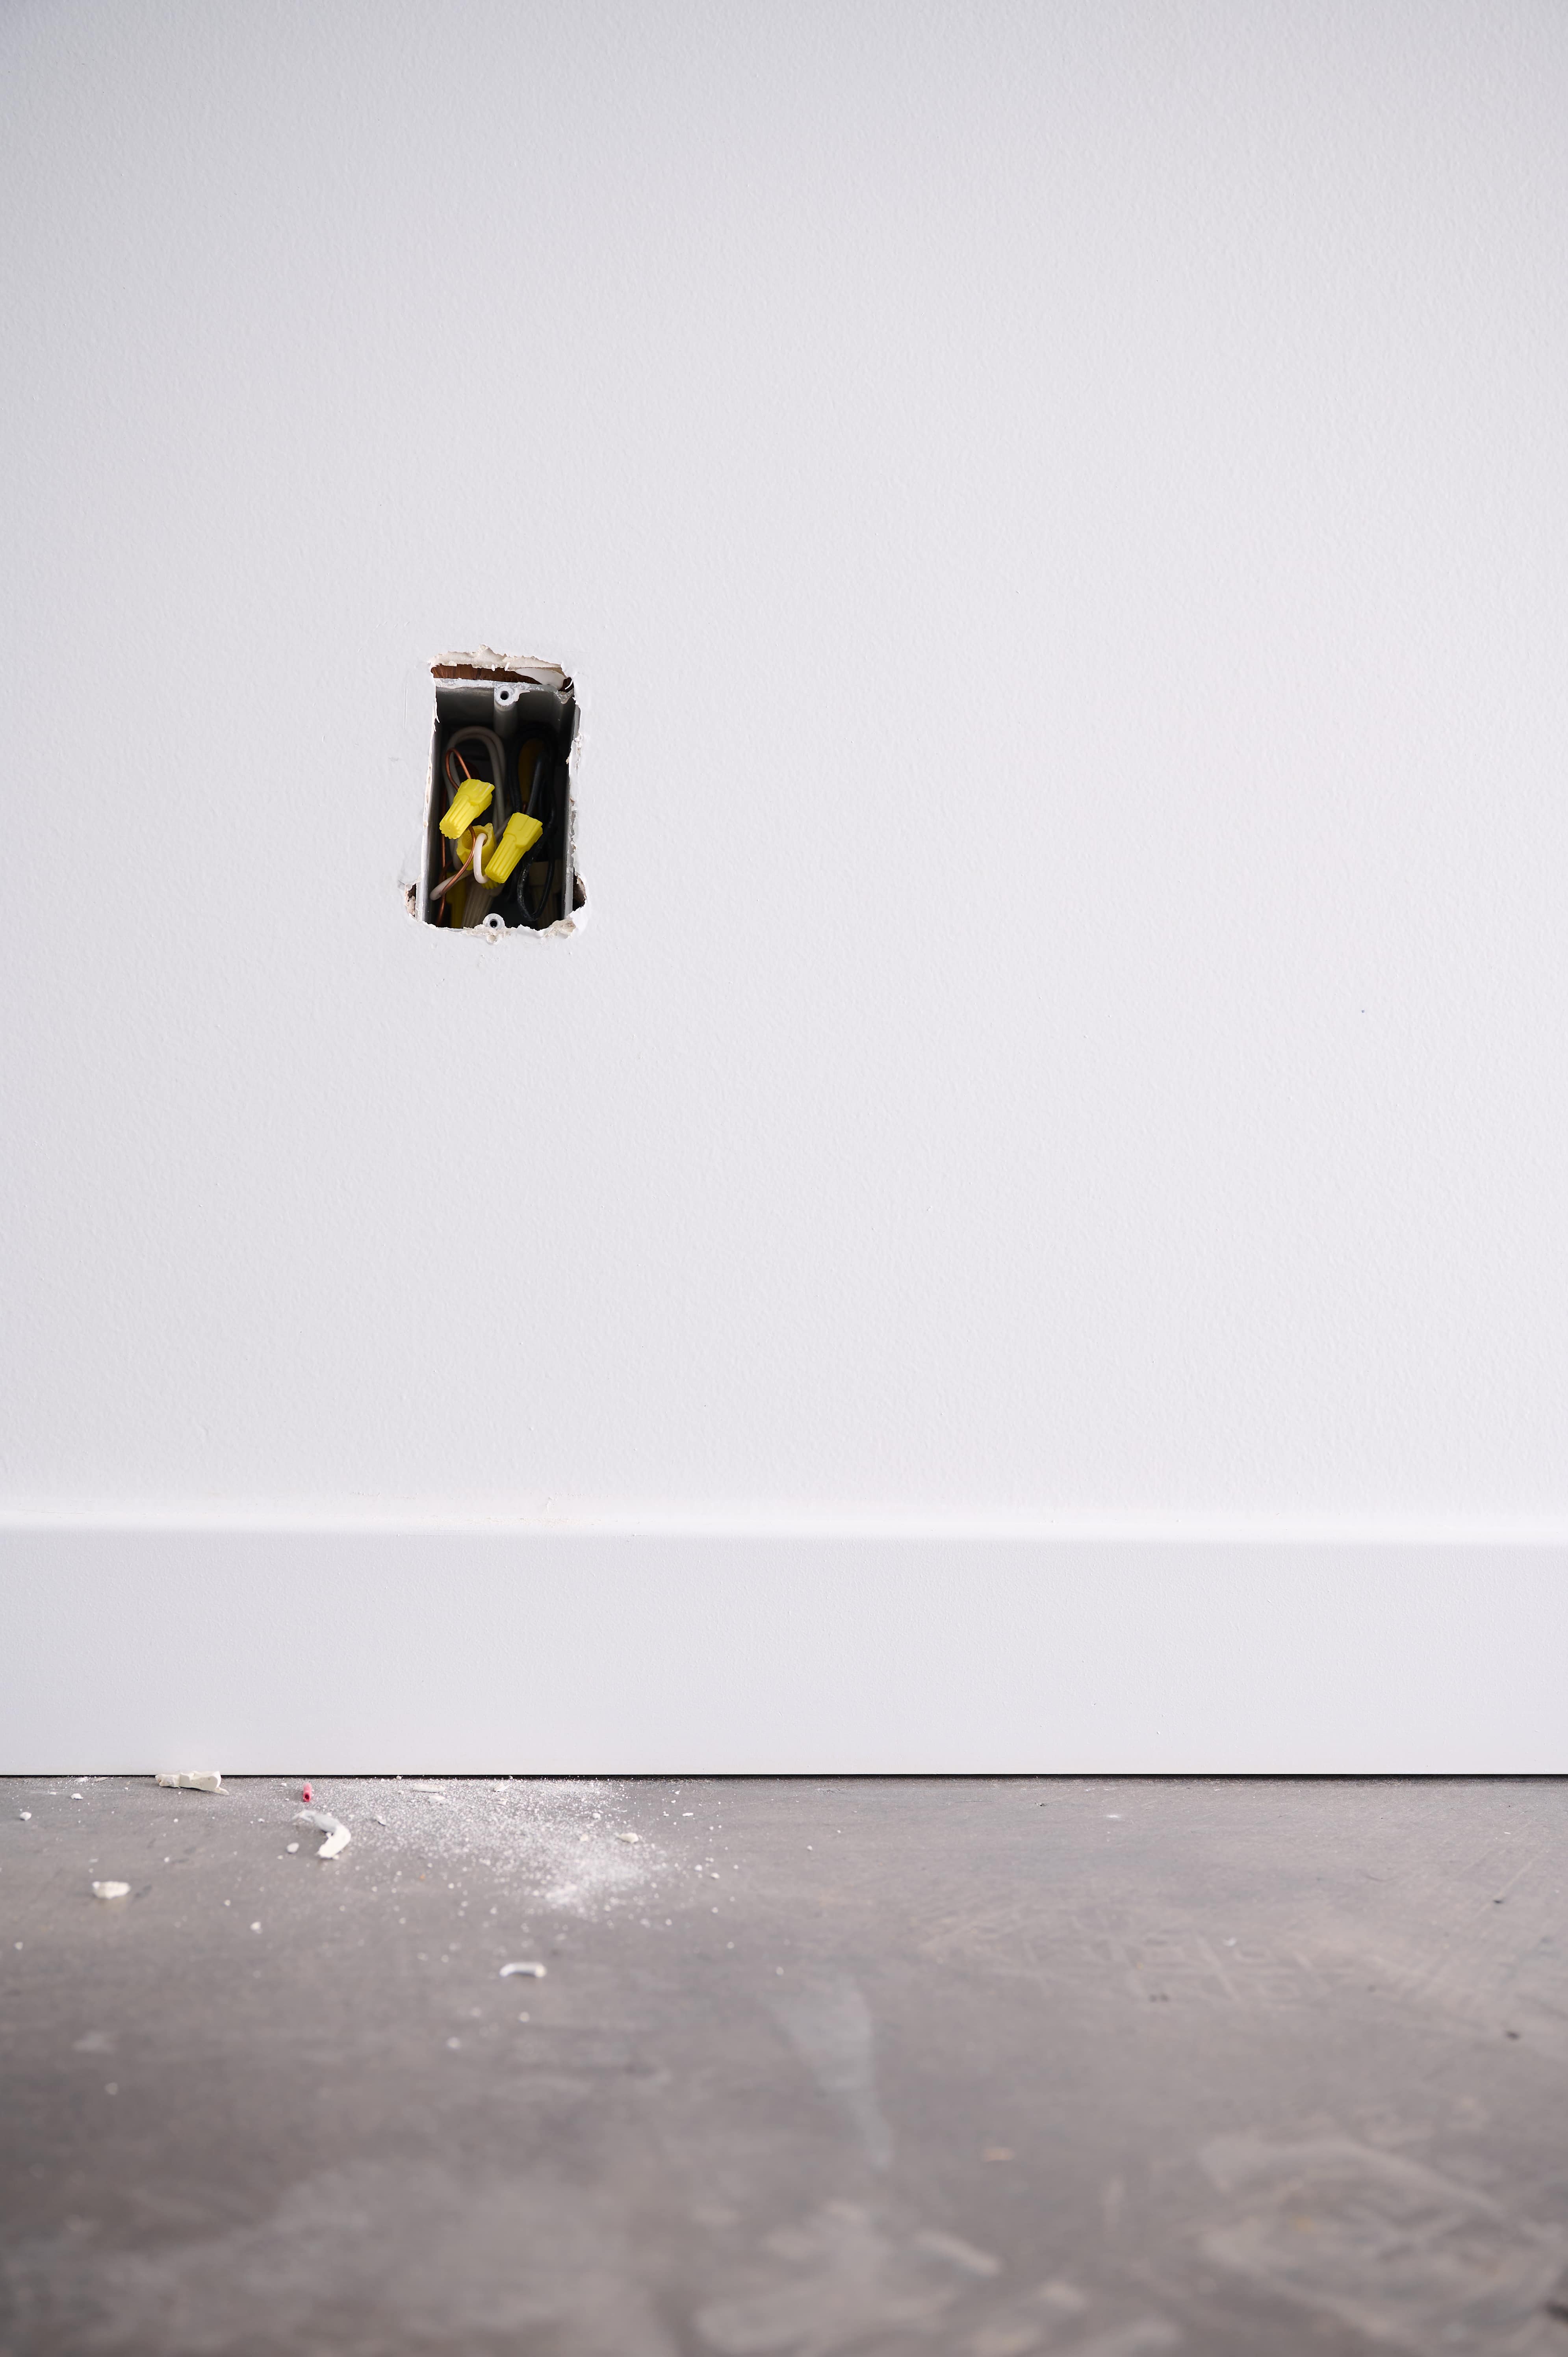
Examine the three outlet wires carefully. Now that they are disconnected, you can pull them slightly from the wall and inspect for signs of cracking, burning, and other damage.
If the wiring is damaged, use wirecutters to cut off the damaged portion. Be careful not to cut too much, as the wire still needs enough length to reach the receptacle.
Carefully strip the the covering off the wires to expose them (wirecutters typically have settings for different gauges). Many receptacles have information about how much to strip when exposing the wire, but you’ll want at least enough to fit into the contact.
Use your photo or labels on the receptacle, and re-attach wires to the contact points in reverse order.
Secure the contact points, ensure the connections are firm.
Screw the receptacle back into the wall until it is secure.

Turn the breaker for that room back on.
Use your plug-in voltmeter or tester to see if the outlet is functioning correctly. You can use a plug-in lamp or something similar if you don’t have a testing device.
If the outlet’s power seems to be working correctly, screw in the faceplate and dispose of the old receptacle.
If you run into problems, double check your breakers and contact points again.
If you observe these warning signs from your electrical outlets, it’s time to change them.
Age: If your outlets are more than 20 years old, they may be outdated and no longer meet current electrical safety standards. It's a good idea to have them inspected by a licensed electrician to determine whether to replace them.
Damage: If your outlets are damaged, cracked, or broken, they should be replaced. Damaged outlets can create a fire hazard and may not work properly.
Overheating: If your outlets feel hot to the touch, emit a burning smell, or cause sparks when plugging in or unplugging devices, it’s a clear indication there's a problem with the outlet or the wiring.
Loose or worn connections: If the prongs of plugs don't fit snugly into the outlet, or if the outlet feels loose when plugging in or unplugging devices, you likely need to replace it as it’s a safety hazard.
Outdated or unsafe design: If your outlets are not grounded or lack the GFCI protection required in wet areas such as bathrooms and kitchens, consider replacing them to ensure your safety.
Electricians typically charge between $9 to $35 per switch or outlet, plus the cost of materials. However, they may provide a price break for replacing a large amount of outlets in one job.
It’s best not to assume you can change an outlet yourself; working with electrical outlets can be dangerous if you aren't careful or lack experience. If the outlet is sparking, smoking, or giving off burning smells, put down your voltage tester and hire a local electrician immediately.
Great company! Price was competitive, technician showed up on time and completed the job (exterior electric Radon fan replacement) quickly. Would hire them again.
I conferred with 2 other contractors before Armstrong Electric. Nick and his crew showed me that the project was not as convoluted as the other contractors made it appear to be. They completed the entire project on time. They were professional, friendly and cleaned up after at completion. I...
 Armstrong Electric LLC
The techs on my project, Shawn and Cliff, were great. They were prompt, courteous, and efficient. I am very happy with the results and would definitely contact Mr. Electric for any future electrical projects.
Victor was wonderful. He was on time, professional, and explained everything he was doing. He was thorough and figured out that the problem was electrical instead of with my HVAC system. Very knowledgeable. I will be using this company in the future for any HVAC needs. Thanks!
 Hubbs Heating & Air LLC
They were excellent. They did a great job. I was totally satisfied. They put tremendous effort in making sure the work was completed. They were great. They provided immediate response to any inquires I made. I would hire them again. I would recommend them to anyone who needs electrical work....
 Property-Tech Industries, LLC
Initially, the repairman could not find the problem. Apparently, there was some electrical shortage, but he could not find the definite problem. He left, but called back later to say he had a new idea. He returned and replaced the light switches on the doors. The refrigerator seemed to return...
 Appliance Pro LLC
The initial quoted price from a walk-through seemed high, but we discussed that the quote represented worst case scenario (re-wiring to two floors) and we were excited about the opportunity to have the work done in a timely manner with closing for fire safety reasons, etc. When the job was...
I have to tell you I am all about customer service - I will go out of my way and even pay more for it if you give me great customer service. <br> <br>In a world where this is hard to find, these guys were awesome! I can not sing their praises enough. They were prompt, personable, funny, got...
 Waibel Electric
When I challenged the markup on the generator, Bruder Electric withdrew its bid. They only want naïve customers.
We had no power to any of the electrical outlets in the MBR. We'd had an intermittent problem for a few years and they finally went out all together. We live on the 3rd floor of a 100 year old building and I know from past experience the wiring has been added to in hodgepodge ways over the...
From average costs to expert advice, get all the answers you need to get your job done.
Discover the cost to replace outlets in your home. Learn about price factors, labor rates, and tips to save on your outlet replacement project.

Discover the electrical outlet repair cost of different outlet types depending on the problem, location, amperage, and other factors.
The average cost to install an electrical outlet is $133 to $296 each. This guide explains what factors impact the total cost of installing an outlet.
If your plugs are sliding out halfway after you insert them into the outlet, this is a fire hazard. Learn how to fix loose outlets in your home.
Adding an outlet to your home can be as straightforward as connecting to an existing circuit. Learn how to wire an outlet from another outlet in this advanced-level DIY guide.
A dead outlet is more than an annoyance. It can be a fire hazard, too. Here’s how to deal with a dead outlet to keep your home safe and prevent fire.