
Deck replacement costs depend on materials, any structural damage you need to fix, and more. This guide explores how much it costs to replace or repair a deck.
Swap out worn boards for a fresh look

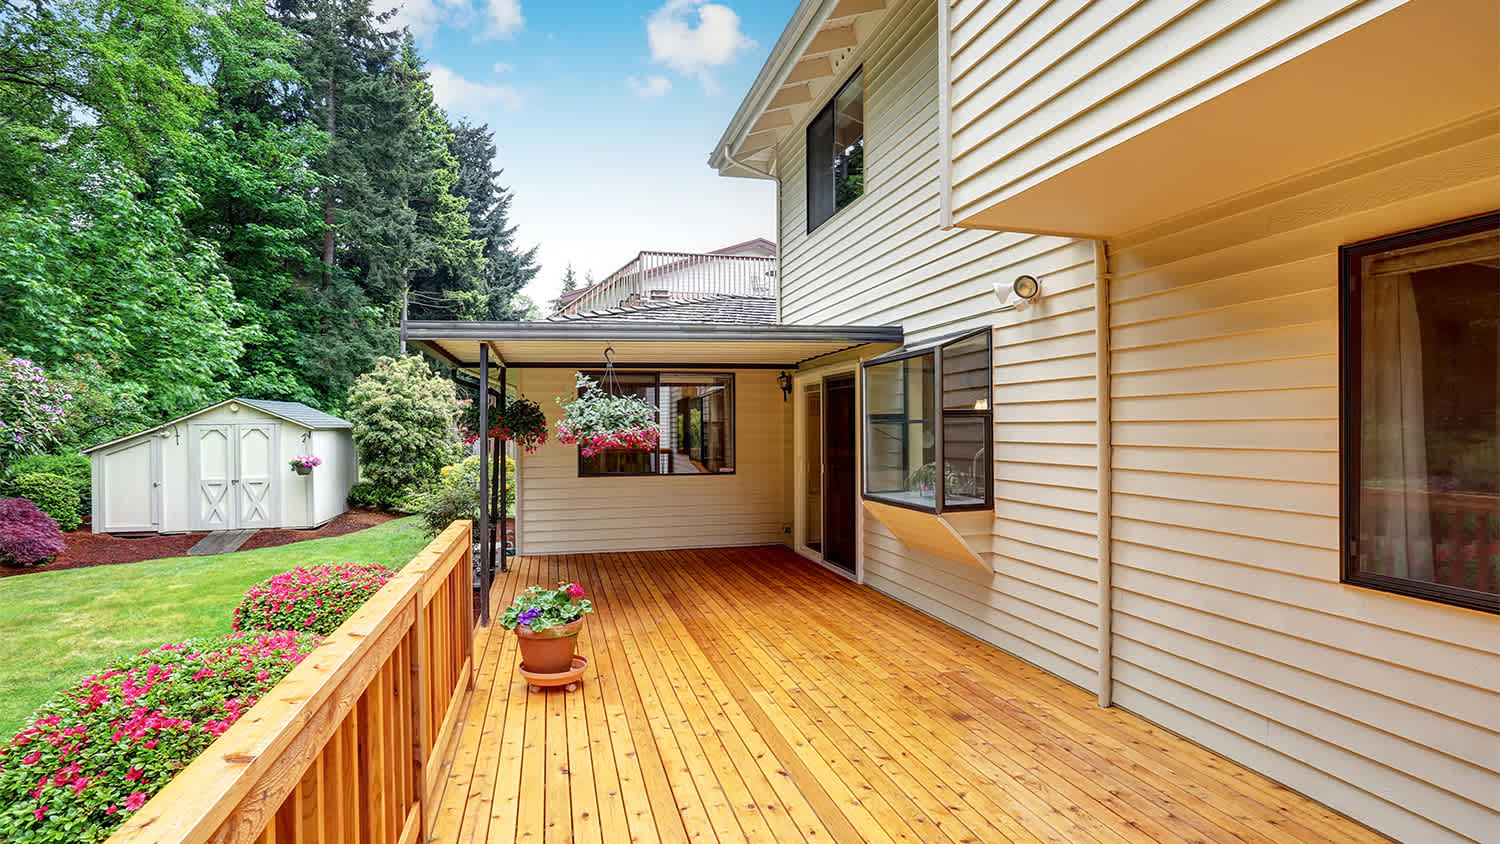
Decks are constantly exposed to the elements, from the blaring sun to pouring rain to heavy snow and everything in between. Over time, decking can wear and even pop off, meaning it’s time to replace deck boards. The process can be simple if your deck’s structure is sound. Just follow these steps to remove old deck boards and cut, lay, secure, and finish new ones.
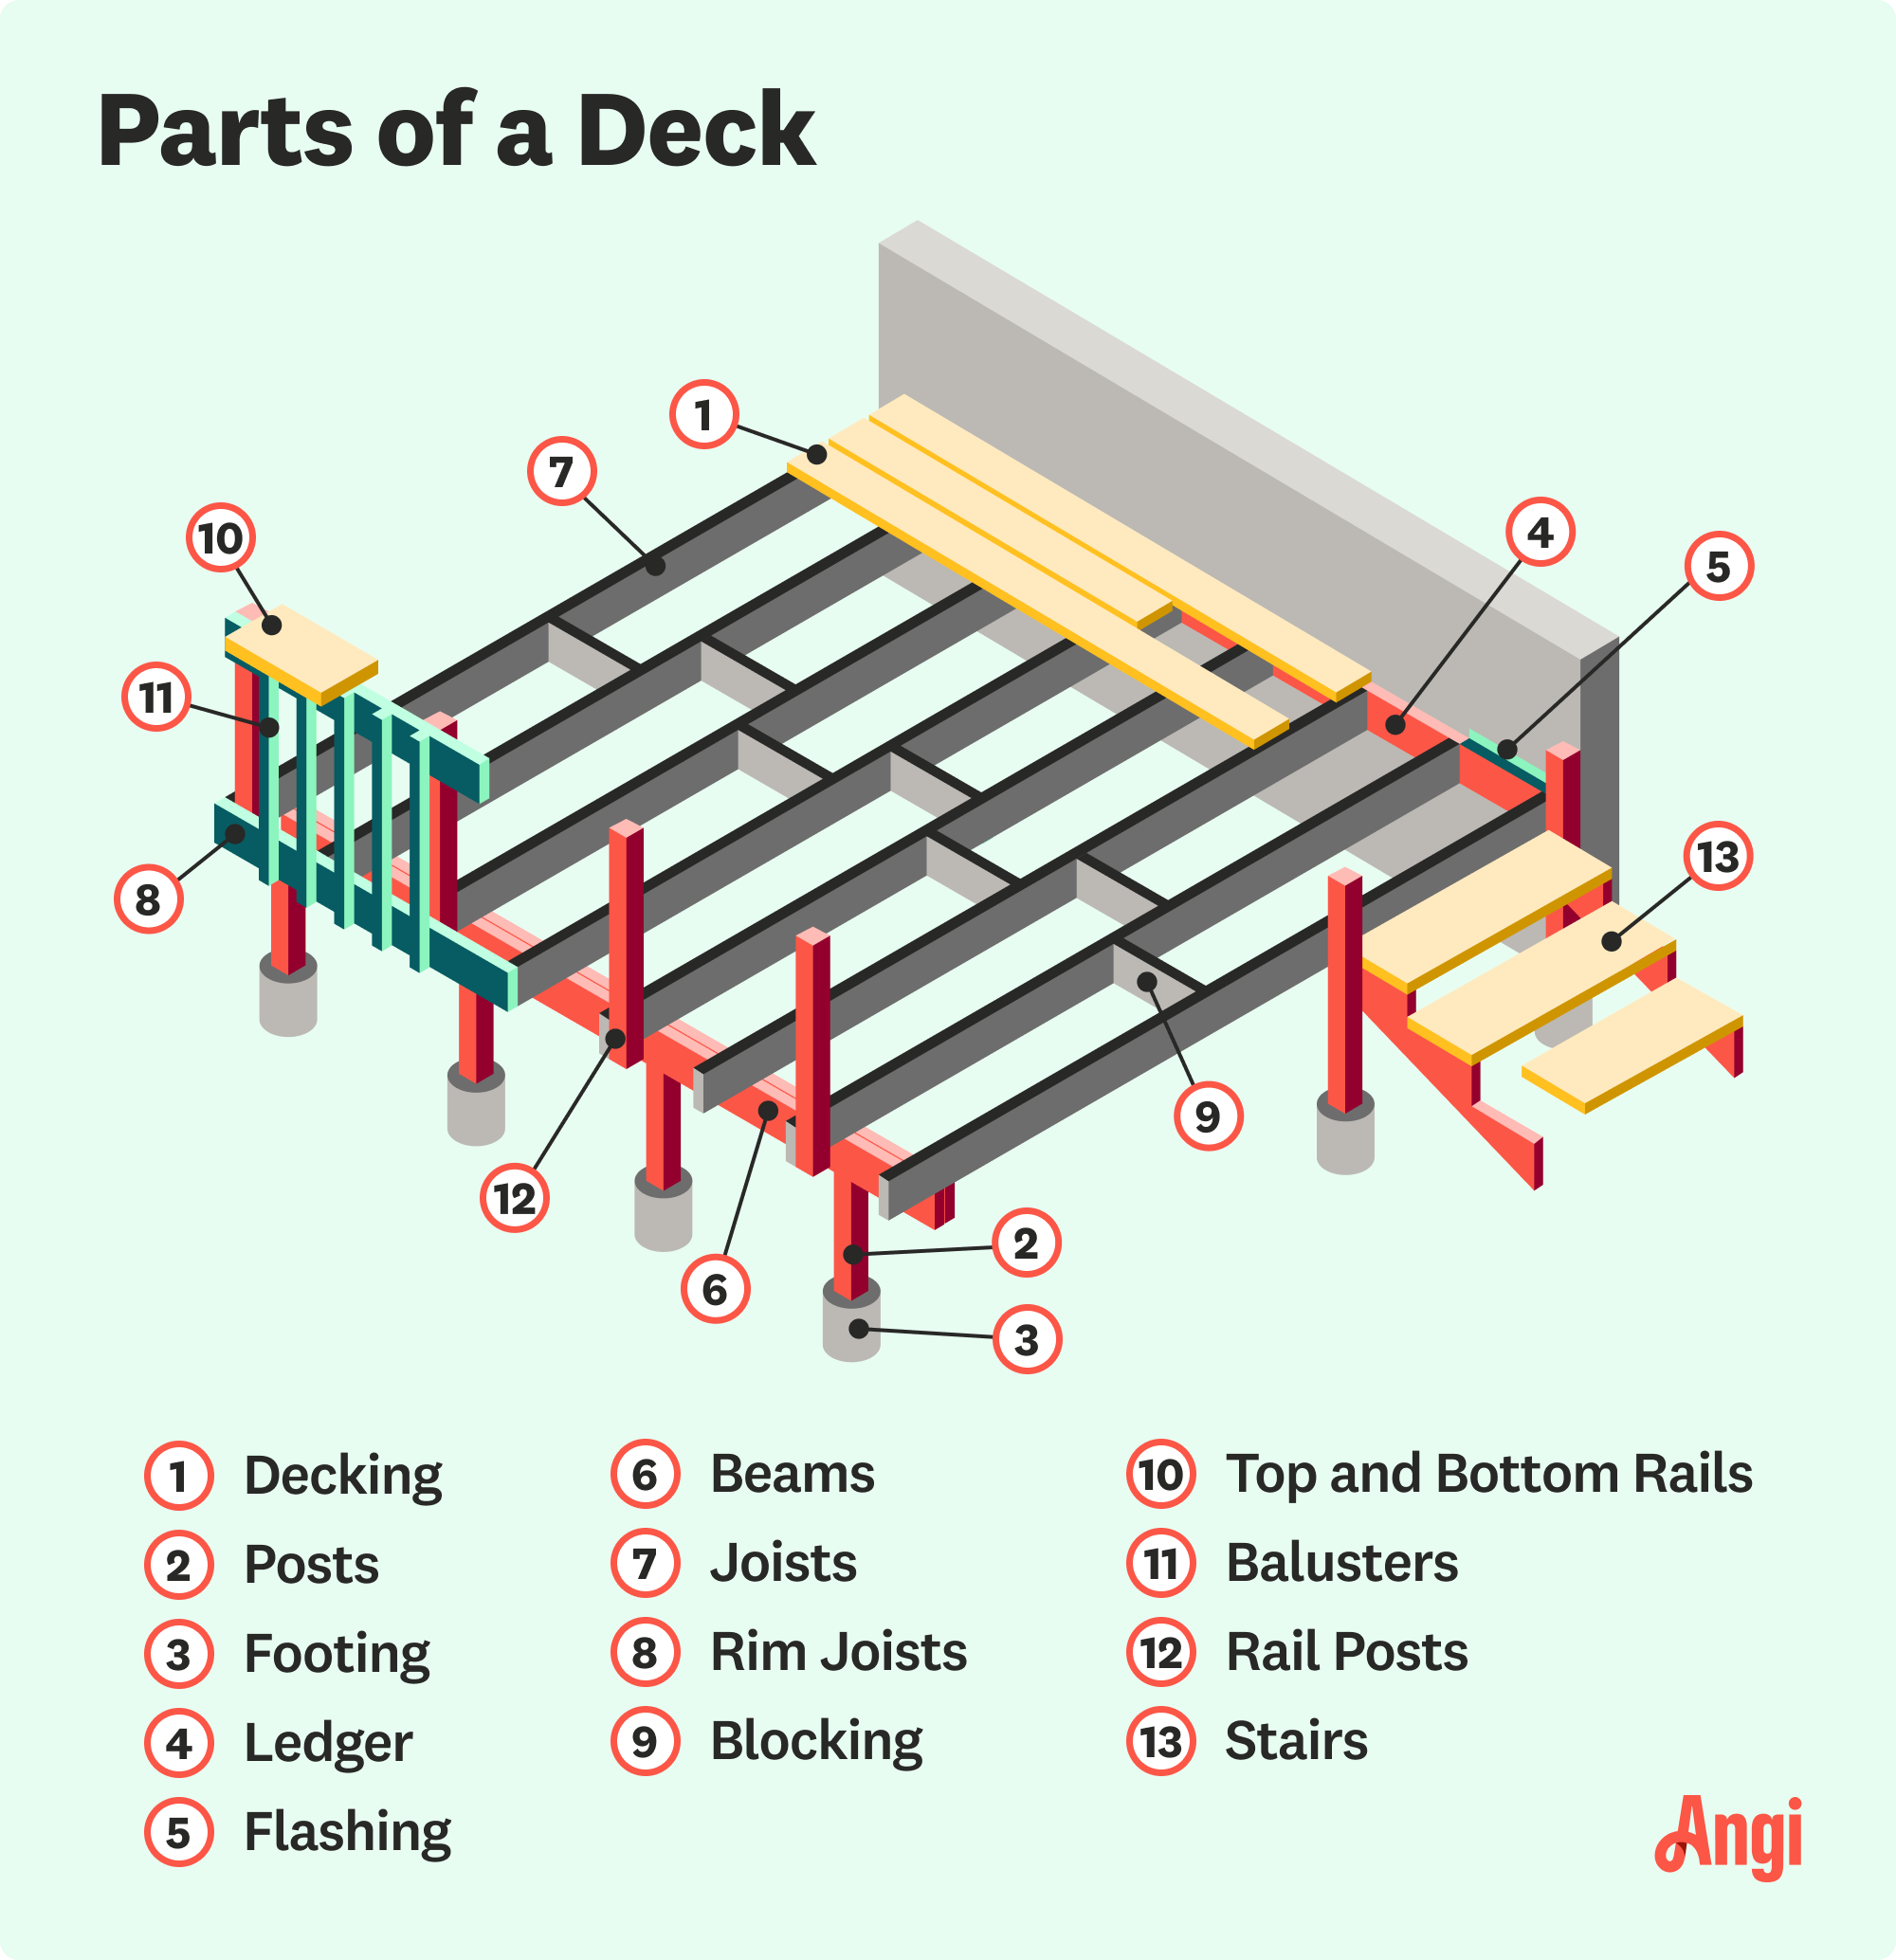
Before you tear up your deck or invest in materials, ensure its structure is in good condition. If the joists or other structural elements are damaged, you'll need to make more extensive repairs or a full replacement. Signs can include widespread rot, warping, mold, or termite damage on the joists or posts.
If your deck is too low to the ground, you may be unable to assess your joists without removing damaged surface boards. If this is the case, move on to the next step.

Remove any rotted, warped, cracked, seriously damaged, or dangerous deck boards. Drive a cat’s paw into the wood under any nail heads on each board and pull back on the handle to remove each nail. Use locking pliers to grab the nail shank if the nail head comes off. If your boards are screwed in, reverse the screws using your drill.
With fasteners removed, use a pry bar to gently lift the board, taking care not to put pressure on surrounding intact boards.
Your joists will likely have holes from previous fasteners. Treat these with a clear sealant to protect them from future rot.
Cut two one-foot cleats of 2x4 lumber. Drill two pilot holes in each cleat using a drill bit slightly smaller than your screws, then screw one into each joist at either end of the deck. The top of the cleat should be flush with the joist. The purpose of these cleats is to support the ends of the new board you put in place. Repeat this process for every board you removed.
Measure the length of each removed board with a tape measure and mark where cuts need to be made using a speed square and pencil. Use a circular saw to cut a matching replacement board to the same length. Ensure the width of the new boards is the same as the existing boards.

Lay your first board in place and use a drill bit slightly smaller than your screws to drill pilot holes centered over your support cleats and at every joist that the board spans. Drill 3-inch galvanized deck screws into each hole to secure the board.
Ensure that the edges of your new boards are all flush with one another and with the existing boards. Use a speed square, straight edge, and pencil to measure and mark where you need to do any trimming.
Use your circular saw to do most of the trimming, and use a reciprocating saw and multi-tool to make cuts close to your home or other structures.
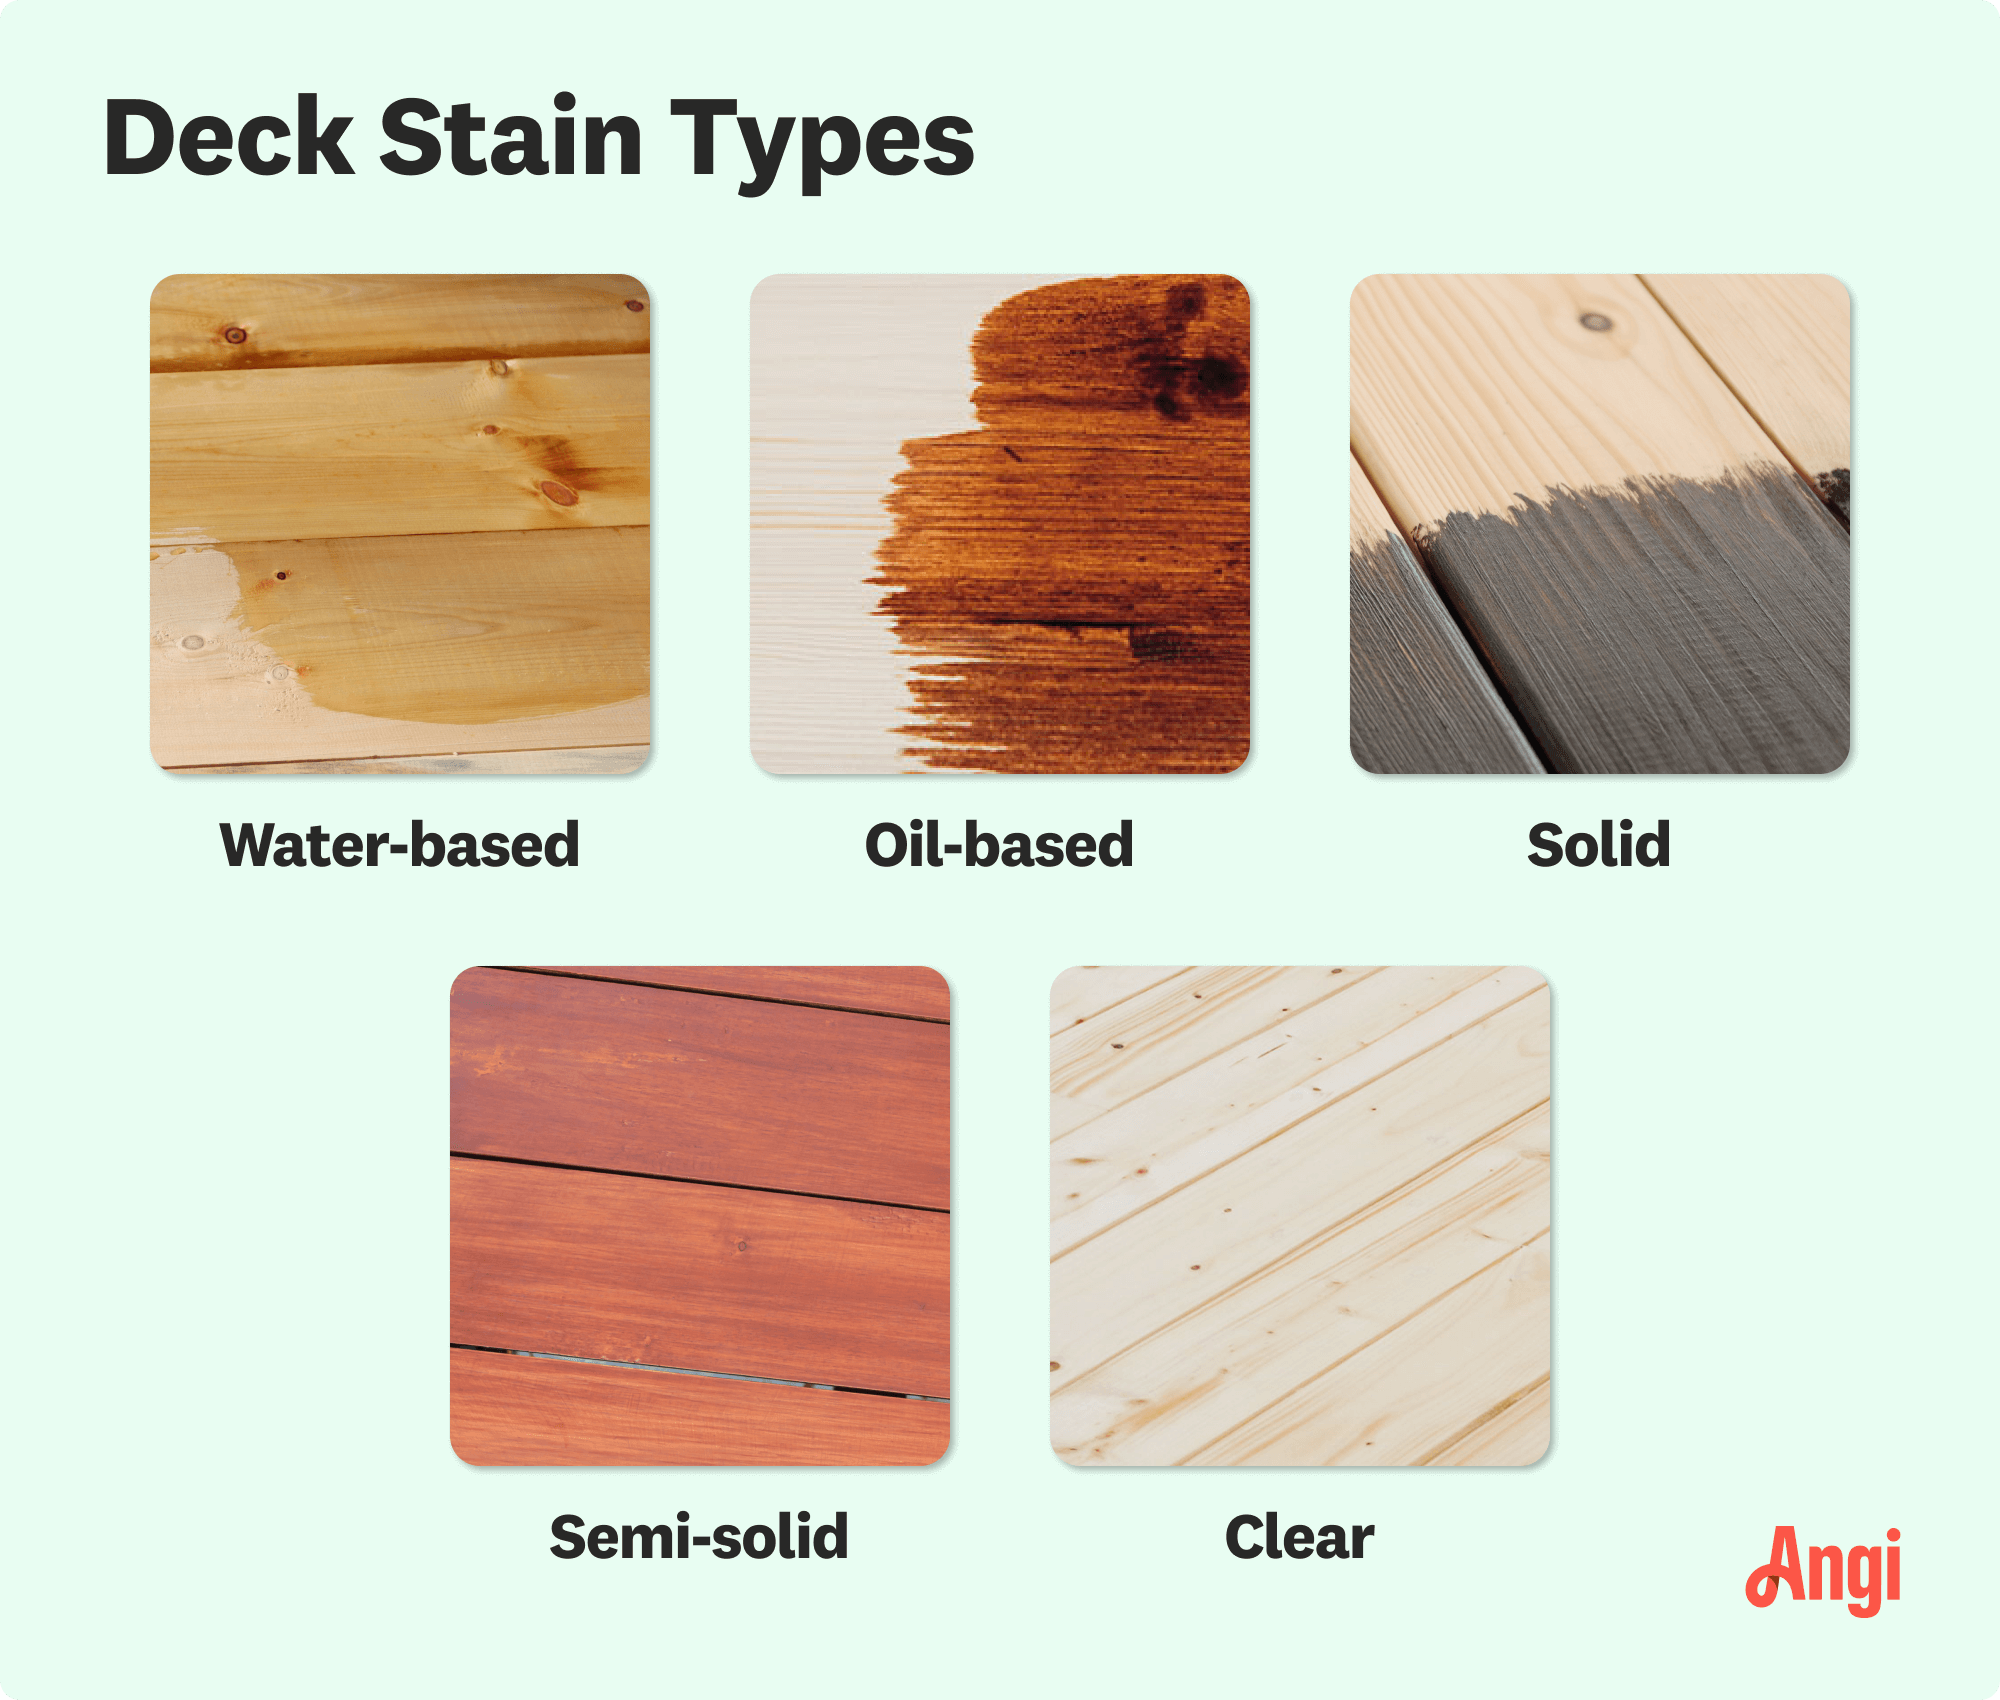
Use a stain of your choice to finish the new boards as directed on the product’s packaging. You may need to apply multiple coats. Once your finish has dried, apply a clear sealant to protect the wood from moisture.
Deck board replacement isn’t complicated, but it does require some skill. The price of lumber can make mistakes costly, so here’s what to avoid during your project:
Using good boards as leverage: When prying up old, nailed-in boards, don’t use good boards as leverage. This can end up damaging them and creating more work and costs for you.
Replacing wood with composite: Composite decking is more flexible than wood and has specific structural requirements. If your existing joists are spaced too far apart, for example, a composite deck could collapse under a normal load for a wood deck.
If you're interested in composite decking, consult a local deck builder to determine whether the project is a feasible DIY or if you need to hire a pro to help make adjustments or rebuild the deck structure.
The best time of year to replace deck boards is in the early fall. This is mostly due to the relatively low heat and humidity, allowing for comfortable working conditions for you and the best drying conditions for wood, stains, and sealants.
Plus, if you decide to skip the DIY and hire a pro, you can take advantage of lower demand for deck-building services. The busy season for deck builders is spring and summer, and some contractors offer end-of-season discounts in the fall.
The cost to repair a deck as a DIY project varies greatly by the deck’s size and the number of boards needing replacement.
You may pay as little as $250 for the materials to replace a single board or over $1,900 for the lumber to replace all boards in an average-sized deck. If you hire a local deck repair contractor to replace deck boards, you can expect to pay anywhere from $500 to $4,000 on average.
Despite the higher price tag, there are some key advantages to working with a pro. Making a mistake during DIY board replacement may cause problems with your deck, meaning additional costs for lumber and other materials. Hiring a contractor ensures that the job will get done properly the first time, minimizing your risk.
One of my old tall evergreen trees was suddenly leaning toward the busy street in front of my house. I submitted a request for an emergency tree inspection, and Alejandro, owner of Cajete Tree Service, contacted me immediately and arrived to look at it just 20 minutes later. We agreed the...
Mitchell and the crew were top tier i am so happy with my new roof
1 tree was cut down and 5 others including a large willow tree were trimmed. The Grant Tree Service men were professional and cleaned up afterwards. The cost of the 6 trees were affordable. I am very happy with the results. I would hire them again.
Archie did a good job cleaning up the driveway before he laid down the sealer. It looks good. He was gracious and even helped me bring up my groceries. His rate was comparable to another company who came out to give me a quote and he talked to me personally rather than just text me a quote...
We have bought and sold numerous times over the past 50 years. Sherman Hall and Top Line are top notch. Thorough and detailed, he explains every possibility, probability, and eventuality. High class and pleasant. The best.
 Top Line Home Inspections, LLC
D1 Roofing delivers outstanding service from beginning to end, backed by a strong warranty and expert teams. I highly recommend them for their excellence in meeting and surpassing expectations with unmatched communication. Choosing D1 Roofing was flawless decision
Couldn't ask for a better company. Josh and Dee were Very professional, efficient, courteous and takes major pride in their work. They will travel to come to your home and will still give you a fair price. They are honest and trust worthy. Their focus is on their work and their work is...
 Supreme brick & chimney
Window Depot did an amazing job on my deck. I wasnt sure what I wanted to do, but their composite decking was affordable and will last a long time. I am excited to have family over, and I am no longer embarrassed by my backyard. Jeff and the ground crew were polite, respectful, and caring for...
We were having 2”x 2” tile installed . There was a small installation error and the new additional replacement tile was from a different lot and the colors didn’t match. Joe assured us that he would rectify everything , which he did without hesitation. We decided to go with the 18” x 36” tile...
 CarifaTile
Maple Tree Service should serve as a mentor for other business! Customer service was superior and beyond expectation. Response to request was prompt. The representative was very courteous and proud of the company. Quote was given during initial visit and work date established. A follow up...
 Maplewood Tree Service
From average costs to expert advice, get all the answers you need to get your job done.
Deck replacement costs depend on materials, any structural damage you need to fix, and more. This guide explores how much it costs to replace or repair a deck.

Old and run-down porch railings can be an eyesore and pose a risk of falling. Find out how much it costs to replace your worn out porch railings with new materials.

Deck repair is a great way to stretch your DIY muscles while keeping your deck safe and stylish. Here are the common repairs and how to tackle them.

There are a wide variety of deck board sizes. Learn what factors affect which size is best for your decking project with this handy guide.
Knowing the warning signs of a damaged deck can help you catch issues early on. We’ve listed the most common signs your deck needs to be repaired or replaced.

Learn how much space between deck boards is right for your decking project. The gap you need depends on board material, climate, and fasteners.