

Ipe decking costs vary based on size, construction, finish, and whether you hire a professional. Learn more about how to budget for this project.
Help your deck help you enjoy the season


Sealing your deck once every year or two protects it from rain, snow, and harmful UV rays from the sun. To seal it properly, you'll need to clean and prepare the wood surface thoroughly. But don't worry—this is a great DIY project you can do on a mild weekend. Follow along to learn the best way to clean a wood deck so you can enjoy it for years to come.
Check your weather forecast before getting started. Look for a few rainless days in a row with a temperature of between 50 and 90 degrees Fahrenheit. If possible, avoid days in which morning dew will be present. If you get lucky enough to find a couple of overcast days, aim to do it then. Sunny days are fine for sealing. But get started early in the morning to minimize applying sealant in direct sunlight.
It may be tempting to work around deck chairs and tables without removing them from the deck, but you must clear the work area before starting the project. This way, you’ll ensure the entire area of your deck is properly cleaned and sealed. You're also less likely to damage the furniture with power tools or sealant if they're out of your way.
Sweep your deck in the direction of the wood grain to get into all the tiny cracks and remove large debris and dust. While sweeping, keep an eye out for large cracks, protruding nails or screws, loose boards, or rotten wood. Repair these spots with a hammer or screwdriver (depending on whether you need to remove or tighten any screws) before moving on to the next steps.
Protect nearby plants and shrubs by covering them with plastic or tarps. You won't need to keep them covered for long—only when you're cleaning and applying the deck sealant.
How you clean your deck is entirely up to you. Here are the two best options.
If you have access to a pressure washer, you can use it to deep clean your deck. However, use only the lowest pressure higher than the soap application setting or nozzle. Use caution not to damage the wood surface by keeping the nozzle about a foot from the surface you’re cleaning. If you’re uncomfortable with this method or concerned about causing damage, hire a local power washing service.
Oxygen bleach or specialized deck cleaners are excellent for deck cleaning. Mix a cleaning solution with water using the directions on the product you have. Apply it with a deck cleaning brush with a long handle that allows you to stand and work. When complete, thoroughly rinse the deck with a garden hose.
If you find stains, mold, or mildew spots that didn’t come off during general cleaning, apply additional solution to the area, allow it to soak for several minutes, and scrub again with the deck brush until you remove the stain. If it’s just not going to go away with the brush, grab a power sander or pole sander with 100-grit paper to remove the spot. Use the sandpaper method to remove any deep scratches you find as well.
Wood is especially good at soaking up water, which can render deck sealing products useless. Allow 24 hours of drying time after cleaning and before the next steps.
Using a power hand sander or a manual sander with an extension pole and 100-grit sandpaper, sand the entire deck surface. Your goal is to remove any old sealant that may remain on the deck and to create a porous surface that allows the sealant to soak into the wood.
After sanding, thoroughly sweep the entire deck, so it’s free of sanding dust. At this point, you can apply a deck brightener product to bring some shine back to old deck boards, but it’s completely optional. Follow the product directions and allow appropriate drying time afterward.
Follow the directions on the deck sealer you have. Apply the sealant with a brush, paint roller, or sprayer starting at the end farthest from where you’ll exit the deck when the job is complete. Thoroughly cover the wood surface, aiming for an even layer without any puddles or thin spots.
Sealant releases harmful gases, so make sure to wear a respirator mask while you’re applying sealant. Don’t let kids or pets play nearby during the sealing process.
Manufacturer directions may vary for drying time before you can use your deck again. However, allowing the sealant to remain undisturbed for 48 hours usually does the trick. Avoid walking on, or placing furniture or other items on the deck surface during that time, even if it looks and feels dry.
Cleaning and sealing your deck is relatively easy, but it does require a bit of elbow grease. It's not fun to repeat steps or experience aching muscles later. Here are a few tips to maximize your efforts.
Before applying any sealer, choose your exit strategy and avoid “painting yourself into a corner.”
If you don’t use a power sander, use a drywall pole sander for sanding to allow you to remain standing while you prep the surface.
If you choose not to use long-handled cleaning and sanding equipment, wear high-quality knee pads to protect you from protruding nails, screws, splinters, or whatever.
If you can’t avoid sealing your deck on a hot and sunny day, perform the sealing step as early in the day as possible to keep the product from evaporating before it soaks into the wood.
Never use chlorine bleach or products that contain it to clean your deck. It damages the wood at a cellular level, even though you may not see immediate signs of harm.
Wood is a natural product, vulnerable to nature’s system of breaking down organic material. Even treated wood falls victim in a surprisingly short time when it constantly must fight off rain, snow, and the sun’s UV rays. The combination of elements causes cracking, rot, and other damaging deck problems.
Sealing your deck means applying a chemical penetrant that prevents water from soaking in and wards off the sun's harmful rays. Thoroughly cleaning your deck removes debris and leftover sealant to prepare the surface for new sealer.
Performing the task once a year in harsh climates or every other year in more mild conditions keeps your deck looking and acting as close to brand new as possible and will make your deck last longer while minimizing deck repair costs.
If you DIY, cleaning and sealing a deck costs between $0.25 and $1 per square foot for materials, depending on the sealant you choose and the tools and supplies you already own. Hiring someone to do the job for you will raise the cost to about $0.75 to $4 per square foot for both the materials and professional labor.
Other costs to consider before committing to the project include any repair work you need to complete before sealing your deck. If you discover damage caused by insects or rodents, now is the best time to call a local exterminator to eliminate the problem so you’ll only have to do the repairs once. You may also hire a nearby deck repair company if your deck has extensive damage or you’re unsure how to tackle the task.
Cleaning and sealing your deck as a DIY project is an excellent weekend task that can save money over hiring a professional. It also lets you get up close and personal with your deck to check its condition and identify early signs of trouble.
However, deck cleaning and sealing isn’t always a walk in the park and is certainly not everybody’s favorite way to spend a summer weekend. If that sounds more like your situation, a local deck cleaning company can surely help, so you can get back to doing more enjoyable things.
From average costs to expert advice, get all the answers you need to get your job done.
Ipe decking costs vary based on size, construction, finish, and whether you hire a professional. Learn more about how to budget for this project.
Deck replacement costs depend on materials, any structural damage you need to fix, and more. This guide explores how much it costs to replace or repair a deck.

Are you wondering what factors might affect a wraparound porch’s cost? Budget for this rustic and charming addition with our cost guide.
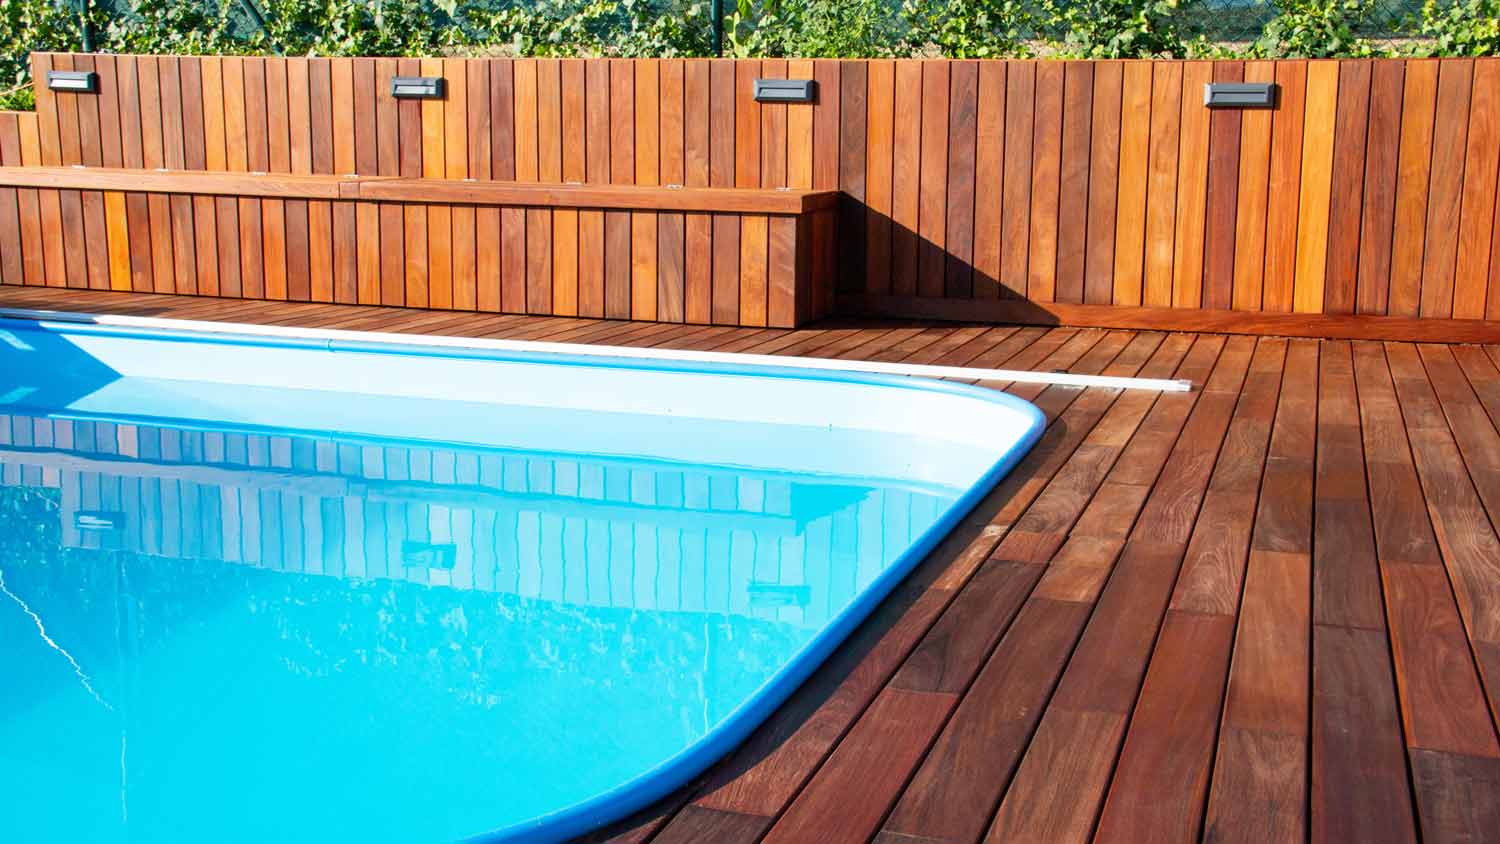
A worn-out pool deck is more than just unsightly. Learn the signs your pool deck needs to be resurfaced so you can address the issue ASAP.
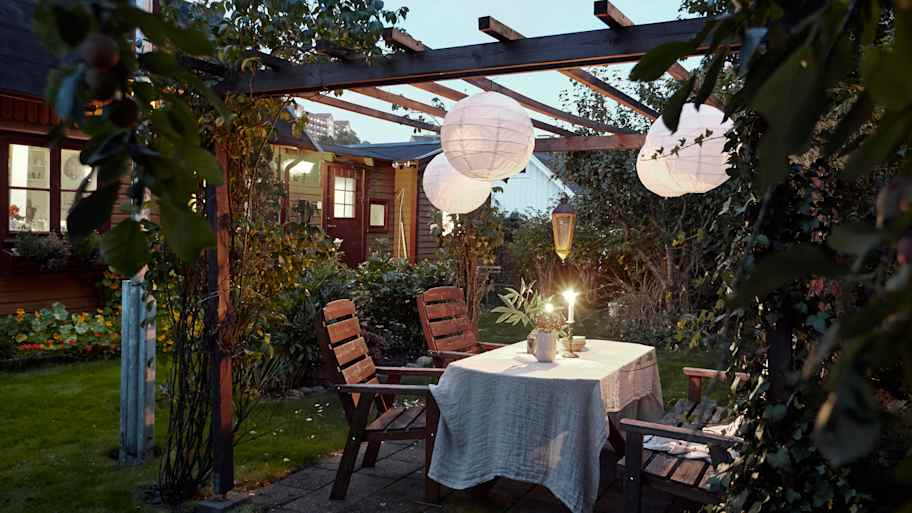
A pergola can add to your home value and yard utility. Learn about standard pergola sizes and how to choose dimensions for the most useful yard area possible.
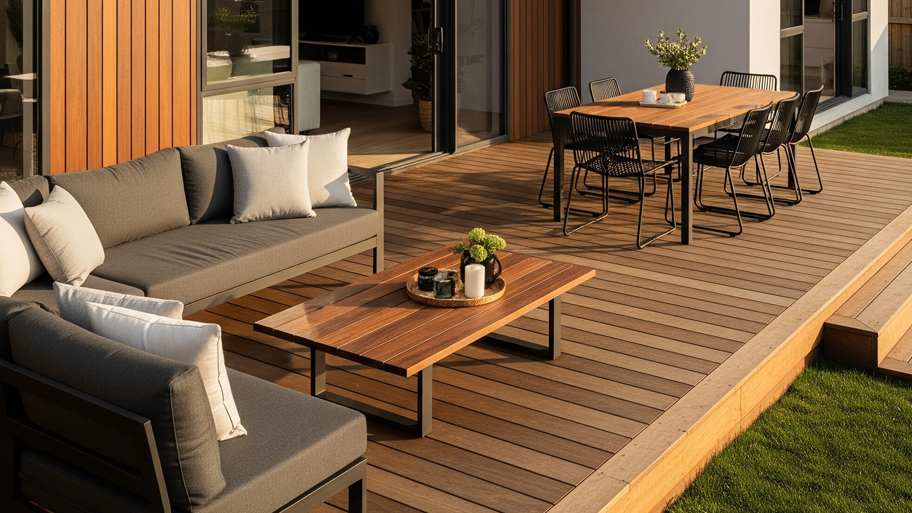
Outdoor living structures such as porches, stoops, decks, and patios are all common ways to make your house stand out. Here’s the difference between the four types of structures and what to consider when building one for your home.