

Find out how much it costs to refinish your porcelain sink and the factors that influence the final price to make it look like new, including size, type, and labor.
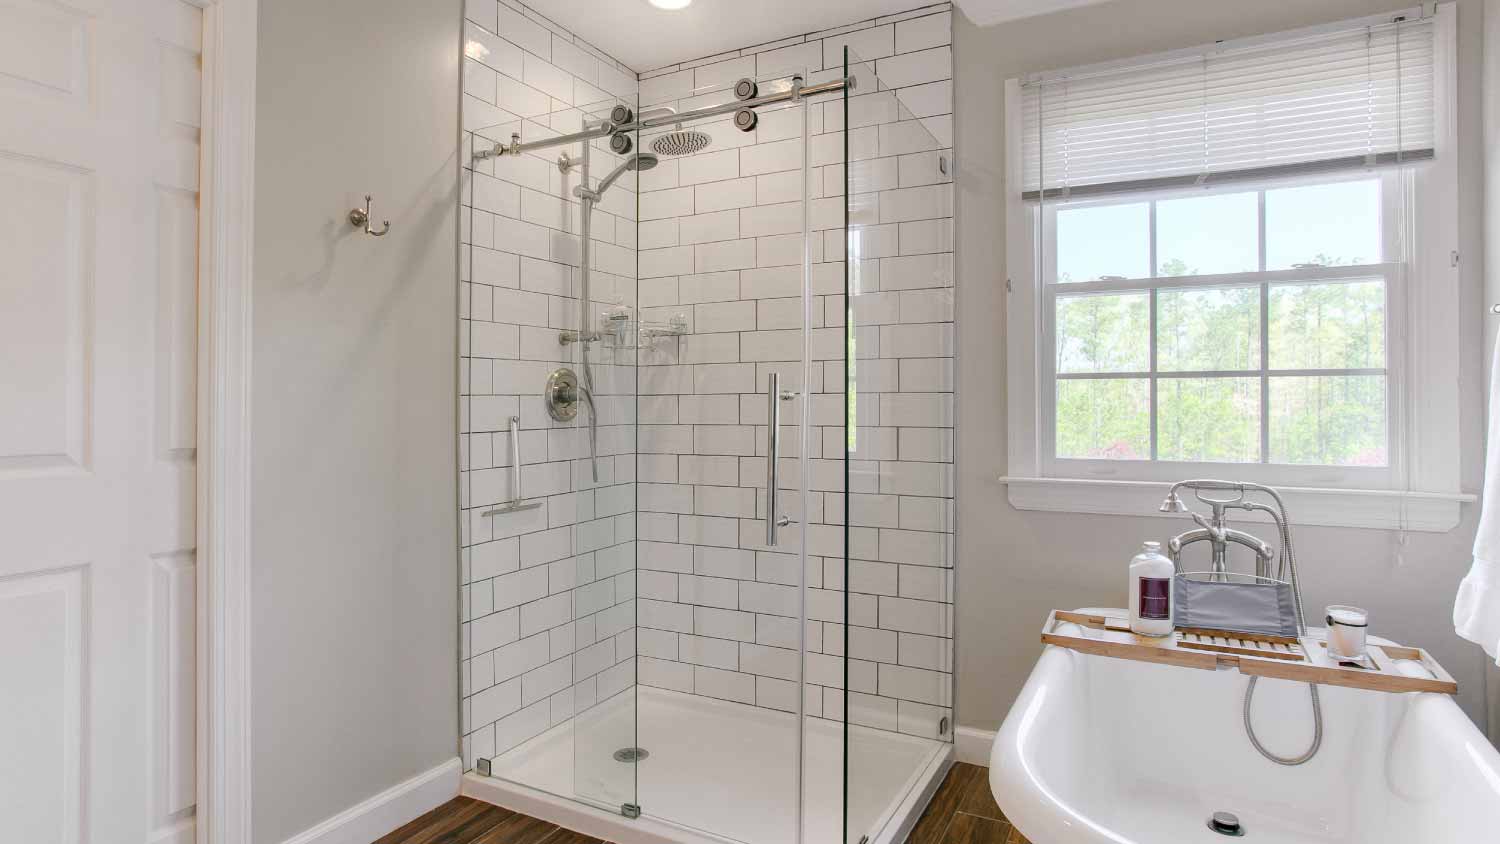
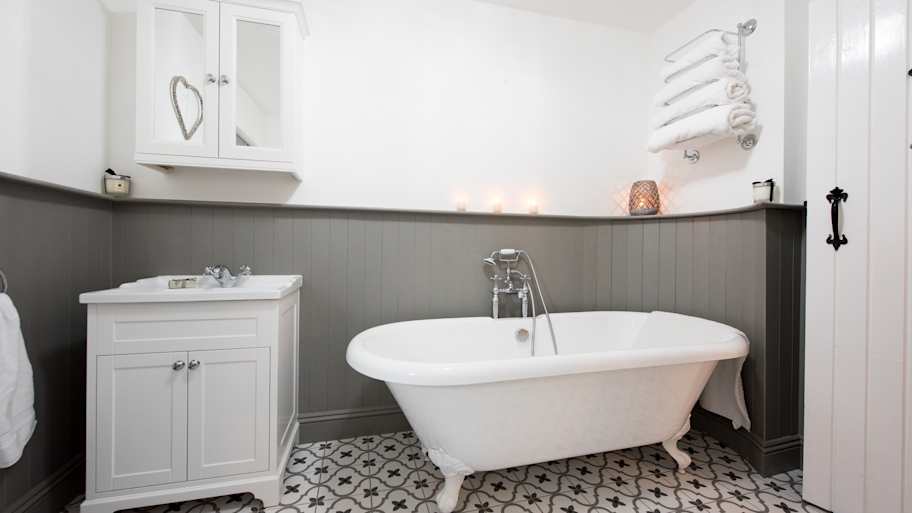
Scrub a dub without a hole in your tub


There’s nothing like taking a hot bath after a long workday. You get to set the mood with candles, music, and your favorite scented bath bomb. As you’re getting ready to wash your cares away, you accidentally drop something in your bathtub, creating a large hole.
Find out how to fix a hole in a bathtub so you can get yours back in business without paying $1,800 to $8,500 to replace your tub.
Before you begin, make sure that your mask, goggles, and gloves are on because you’ll be working with substances that can cause slight irritation. Open windows to increase ventilation as you’re working.
Wipe down holes using alcohol and a soft cloth to remove any soap residue or grime. Sponges and a mild detergent will help remove dirt, too.
Be on the lookout for smaller fiberglass fragments sticking out from the holes. When fiberglass gets damaged, these fragments tend to appear, hindering repairs. Use your utility knife to strip away loose fiberglass pieces around the holes to make them easier to fill.
“When prepping the hole, be sure to cut out all the fibers and anything higher than the tub surface,” says Bob Tschudi, Expert Review Board member and Raleigh, NC-based general contractor. “For the best repair, you don’t want to feel the slightest bump when the project is complete.”
Now it’s time to patch the holes. If you’re using a bathtub repair kit, it’ll come with resin and a hardening liquid that you’ll mix to create the compound. You can also buy a two-part epoxy kit, which will come with directions on how to make the filler substance.
Create a workstation by mixing the ingredients on disposable cardboard with the applicator. Put down painter’s tape to create visible guidelines for the repair areas. However, you’ll need to remove it after applying the epoxy so it doesn’t stick to the tub.
Use a small popsicle stick or spatula to smooth the epoxy into the holes and push it down further, filling the gap. Using smaller amounts of the compound will be easier because excess can be difficult to remove.
“We like to use a flexible putty knife to smooth the epoxy, which you can find in all automotive supply stores,” says Tschudi. “I’ve seen some contractors use a credit card or retail-rewards card with great results.”
Keep timing in mind—once the compound is mixed, it dries pretty quickly. So you’ll need to work at a reasonable speed to make sure that doesn’t happen, or you might have to mix more filler.
Don’t be too hasty; although the compound hardens quickly, the repair area still needs time to dry. The timing will depend on the size of the hole or the epoxy manufacturer’s guidelines, but it could be a few hours to an entire day. As hard as it may be, it would be best not to shower during this time because you’ll mess up the repair job.
Once the patch is dry, it’s time to break out the sandpaper. Again, put down painter’s tape to give yourself some guidelines because sandpaper can create visible scratches on your tub. The lower the grit, the more coarse the sandpaper. Start with coarse, then finish with fine.
Using 80-grit wet or dry sandpaper, thoroughly rub the patched area to smooth out the filling, removing bumps or ridges. As you’re sanding and the compound gets smoother, use 400- to 600-grit wet or dry sandpaper to finish it off. You’ll know you’re done when you can’t tell the difference between the repaired area and the rest of your tub.

You’re finally at the finish line—but there’s one more step left: Applying the finish. Since most tubs are white, your repair kit may come with paint similar to your tub’s color. Follow the listed instructions, and apply the paint with a paintbrush or roller. Or, if you don’t have a repair kit, buy a small can of white paint.
If painting isn’t your forte, some repair kits also come with polishing compounds. Apply it to the repaired area and buff with a soft cloth until it matches your tub’s sheen. Let it dry for another 24 hours before showering.
Note that if you purchase a bathtub repair kit, you may not need all of the tools and supplies above. Since fiberglass is one of the more common materials used for home bathtubs, this guide explains how to fix that type of tub. But it’s important to know which type of bathtub you have, so you can get the correct tools and supplies for your repairs.
You’ll likely find most items you need in fiberglass bathtub repair kits, which you can pick up at any home improvement store. Follow the instructions listed on the packaging, and your tub should be as good as new. But if you’re unable to find one, you can use the tools and materials listed above.
With a simple repair kit and a little patience, you can tackle this DIY project with ease.
Take time to assess the damage. You may have to replace your bathtub If you think the hole is too big to repair, in which case a fiberglass bathtub costs between $200 and $800.
Repairing a hole in your bathtub is an excellent opportunity to flex your DIY skills. Whether you buy a repair kit or gather materials separately, it’s a doable job, but it will take time to complete.
However, there might be more damage to the underlying structures of your tub that you weren’t initially aware of, increasing the project's difficulty. If you’re uncomfortable completing the repairs or think you’re better off getting a new tub, contact a local bathtub refinishing pro who can help you get your tub back in working order.
Check with your tub expert to find out if your tub is a good candidate for refinishing after repairing holes and cracks. In most cases, it’s a good idea to call a pro to refinish the bathtub unless you have high DIY skills.
Fixing a hole in a bathtub falls is a job for professional refinishers. Bathtub refinishing costs $350 to $650, fluctuating according to the size of the hole and any accompanying cracks or chips. The type of bathtub can impact the final price, as some materials are easier to work with than others. If the hole is extremely small, you could save money by opting for bathtub reglazing. This is around 75% cheaper than refinishing, but it’s only appropriate for minor cosmetic damage.
Mizuki Hisaka contributed to this piece.
From average costs to expert advice, get all the answers you need to get your job done.
Find out how much it costs to refinish your porcelain sink and the factors that influence the final price to make it look like new, including size, type, and labor.

Bathtub refinishing costs are relatively inexpensive and can make your bathroom look like new. Our guide gives you the information to learn more about this process.
If you’re installing or replacing your shower doors, you’ll be working with a glass installation pro. Here are the most common shower door questions for this project.

The short answer is yes, you can paint a fiberglass tub. But you need the right preparation and paint to transform your bathtub successfully.

Acrylic bathtubs are a common go-to, but are they right for your bathroom remodel? This guide breaks down the pros and cons of acrylic tubs.
Weighing the pros and cons of freestanding bathtubs? Learn the good, the bad, and the costs to decide which bathtub best fits your bathroom and budget.