

Light fixtures are important elements in any home. Find out how much it costs to install a light fixture based on factors like type, location, and labor.
Out with the old, in with the new

Are you sick of looking at that old light fixture and ready to replace it with something that fits the space better? Or maybe you’re looking to remove it altogether and change up the lighting in your home. In any case, it all begins with learning how to remove a light fixture from your ceiling safely. In this guide, we’ll break it down into 6 simple steps
When working with anything involving electricity, step one is to shut off the power. Head to your home’s fusebox, and switch off the circuit(s) that supply power to the light you’ll be removing. You can also remove the fuses altogether if you want to be extra safe. You should also make sure the switch in the room with your light fixture is set to the off position. Verify that the power is shut off to the fixture with your non-contact circuit tester before handling any wires.

First things first: You’ll need to figure out what type of lighting fixture you’re dealing with. With the exception of a few (such as certain kinds of recessed lights or larger, delicate fixtures like chandeliers), the process for removing any kind of light fixture is quite simple. Even still, you’ll need to figure out how yours works—is it a flush-mount light that has a knob to unscrew or a pendant light hanging from a downrod?
Generally, it should be pretty easy to figure out how your fixture is held together. But if you have the original manual, this will explain how it’s all attached. You could also try looking up the model number of your fixture to find information about it online. Taking a moment to figure this out will help you remove the fixture safely and efficiently.

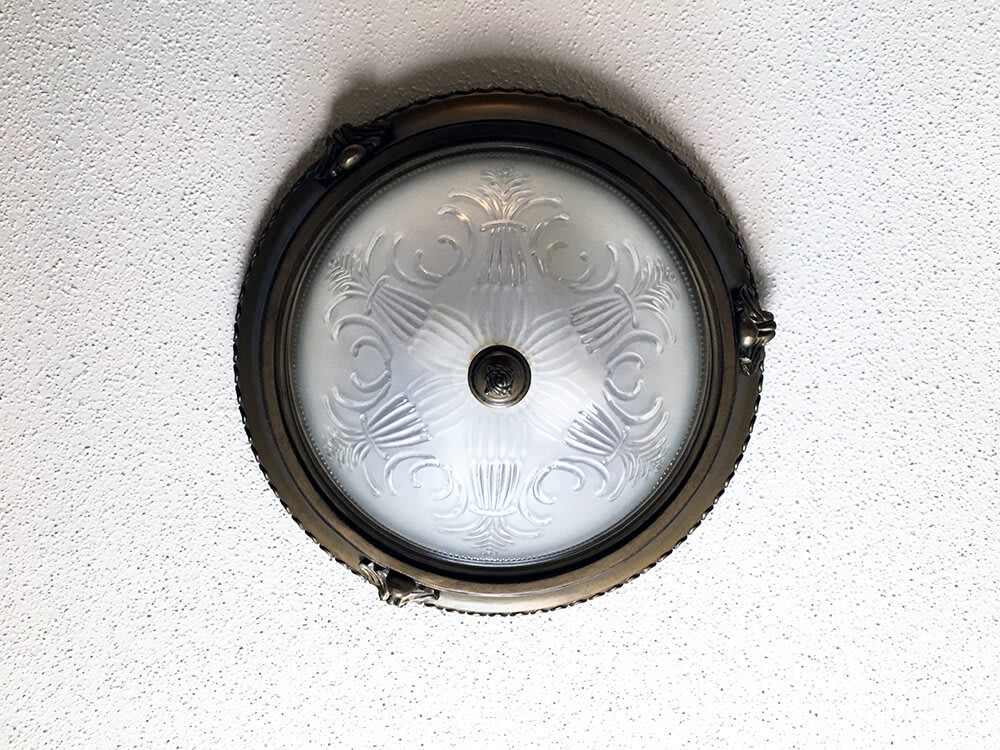
With most fixtures, you’ll need to start by unscrewing the cover that goes over the light bulbs. In the case of a flush-mount light, this will usually be a frosted glass globe or bowl that’s screwed onto the fixture. Remove it by either twisting off the metal knob at the bottom of the fixture or carefully unscrewing the glass piece itself. In some cases (such as when removing a ceiling fan light), you might have to grab your screwdriver and remove a couple of screws to take off the cover.
If you’re removing a different kind of fixture, it’s best to read up on that specific type before attempting to remove it. Learning how to remove a pendant light is quite different from learning the steps to remove a chandelier, for instance. Even if the cover isn’t in the way of removing the fixture from the ceiling, it’s still worth doing it in order to remove the lightbulbs.

Once the cover is off, you should be looking at the bare light bulbs. You’ve done this before—simply unscrew them (being careful not to break them), and set them aside.

Now that the bulbs and cover are out of your way, it’s time to remove the fixture’s hardware from the mounting bracket in your ceiling. This is usually just connected by a couple of screws—remove them with your screwdriver, being careful to support the fixture plate. You’ll want to make sure it doesn’t clatter to the ground when you take it off.
You’ve disconnected the fixture plate, but it should still be attached to the ceiling by a few wires. You might see some bare copper wires amidst the tangled cords—it’s a good idea to triple-check that they’re safely powered off with your non-contact voltage tester.
Once you’ve done that, you can go ahead and disconnect the wires attached to the light fixture. This should be a simple matter of unscrewing the plastic wire nuts and pulling the fixture ends out of the ceiling. Keep the wires connected to your home’s circuit organized so that it’s easier to wire your next installation.

There you have it—your light fixture is out of your ceiling, ready to be tossed or repurposed. All that’s left is to decide what you’ll do with your newfound hole in the ceiling. Will you install a different kind of fixture, such as track lighting or a pendant light? Maybe you don’t need the light there anymore, but you’re looking to add a ceiling fan instead. Or perhaps you’ll simply remove that wiring and cover the hole. If you’re not sure which option is best for your space, it could be worth coming up with a few questions to ask your electrician.
Considering the virtually nonexistent cost and relative simplicity of removing a light fixture, this is a great DIY project, even if you’re a beginner. With that said, it might be worth hiring a local light installation company if you plan to replace the old fixture with something new rather than simply covering it.
The cost to install a light fixture can vary greatly depending on the type and number of fixtures, the state of the existing wiring in your home, and the going rate for electrical installation experts in your area. The average price for new fixture installation is about $550 with labor and materials included.
Custom Paint Jobs LLC gave our office a fresh new look. Clients love it!
Best painters in the Greater Columbus, Ohio area. Quality of work second to none and customer service is head above shoulders than everyone else. I cant wait to work on another project with Silvio and Team!
The Mosby team went above and beyond for my project. They not only installed my light fixture; they also worked through an old, wonky, and as it turns out incorrect wiring issue from the work of prior contractors. Professional, thorough, conscientious, and kind. Five star experience. Thank you!
We had a 20+ year old landscape lighting system that needed replacement. Midwest Lightscapes worked with us to design a much improved lighting system, lighting the exterior of the house and the back yard. Installation of the 45 light system took one and one-half days, and went very smoothly....
 Midwest Lightscapes
Jeff was a consummate professional. Responsive, courteous, and focused on meeting our needs. I had a small project of installing and replacing two ceiling light fixtures. He responded to my Home Advisory inquiry within 24 hours and in a span of two weeks our light fixtures were installed. ...
For several months I was looking for somebody to tile a wall in my master bath and move lighting fixtures, and could not find anybody who was responsive. I contacted Rowe through Home Advisor and within days they came by to assess the job and provide an estimate. The cost was very...
A team of 2 spent 5 hours, cleaning top to bottom (removed all light fixture and cleaned.... impressive!!!)
 Luzia's Cleaning
It went very well. I was able to select the color blocks I wanted and where they would be placed in the window. All of the employees were very pleasant and patient. The guys who installed the window arrived promptly, did their job, and there was nothing for me to clean up. The window looks...
 Innovate Home Org - Columbus Glass Block
The initial quoted price from a walk-through seemed high, but we discussed that the quote represented worst case scenario (re-wiring to two floors) and we were excited about the opportunity to have the work done in a timely manner with closing for fire safety reasons, etc. When the job was...
Charlie recommended a separate fan with new lighting to clear steam from the room better. Several weeks ago I contacted Charlie via email to ask about pricing and scheduling, after one follow up he did reply with cost and said it would be about two weeks before he could do the work. I replied...
 Settle Muter Electric
From average costs to expert advice, get all the answers you need to get your job done.
Light fixtures are important elements in any home. Find out how much it costs to install a light fixture based on factors like type, location, and labor.
Wondering how much it costs to remove an acoustic ceiling? Get cost estimates, key factors, and expert tips to help you plan your ceiling update.
Popcorn ceiling removal costs depend on the size of your ceiling and any additional services like asbestos removal and resurfacing. Learn all the costs here.

Removing unwanted fixtures can give your home fresh appeal and a transformed look. Use this guide to learn how to remove can lights in seven easy steps.

You don’t always need a pro for recessed lighting fixes. Learn how to change a recessed light bulb on your own for an easy, affordable home repair.

Ceiling lights come in a wide array of styles and functions. Use this guide to learn about the types of ceiling lights to find one that suits your space.