
•
Discover the cost to install recessed lighting. Discover how price factors, labor, and other considerations can help you save on your lighting project.
Housing, housing, go away, don’t come back another day

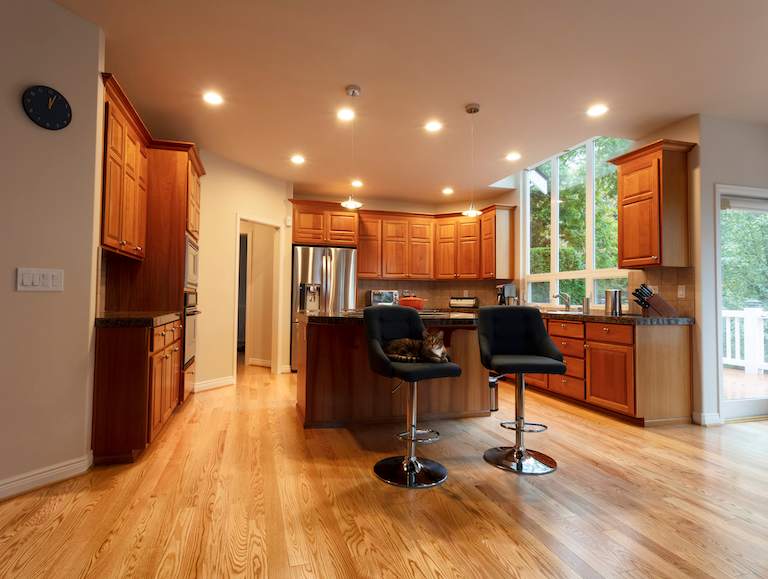
Saying goodbye isn’t easy—unless you’re talking to those old recessed lights in your ceiling! Looking to rethink the lighting of a space and need to make some space for a new fixture? Step one to any lighting makeover will be to learn how to remove a light fixture. In this guide, we’ll explain how to safely remove the housing for old recessed light fixtures in just seven steps.
As with any electrical project, step one to removing your light’s housing is to shut off the power to the fixture. Head to your circuit breaker, and turn off the appropriate switches so that no power is supplied to the fixture(s) you’ll be removing. You can cover these switches with painter’s tape to make sure no one switches them on by accident. You should also confirm that the power is off with your non-contact voltage tester before touching anything.
The other necessary prep step is to consider what you’ll be doing with the space that your recessed lighting is currently using. If you want to use the existing space for another fixture, you can have a look at guides that teach you how to change recessed lighting to a chandelier, pendant, or other fixture type.

With the power safely off, go ahead and remove the old light bulb from your recessed fixture as you normally would—simply turn it counterclockwise, remove it, and safely set it aside.
With the bulb out of your way, you’ll now turn your attention to the fixture’s light trim. The exact steps may vary depending on your fixture, but this is generally done by gently prying the trim away from the ceiling (try using a flathead screwdriver or putty knife for this). Don’t pry too hard with a tool—pull it straight down by hand when disengaging the clips. Set the loose light trim aside with the bulb.

This step may vary depending on whether you’re working with a remodel light or a new construction light.
This type of light is attached directly to your ceiling’s drywall, making it quite easy to remove. They usually have a spring-loaded clip inside—simply pry the metal clips open in order to remove the housing.
Most new construction lights are attached to wooden joists in the ceiling—you might need to get into your attic in order to remove this type of housing.

With the housing disconnected, it should now be freely hanging from the ceiling by the wires. Double-check that these are off with your circuit tester. Next, you’ll grab the small electrical box attached to the light and open it up by either flipping a clip open or unscrewing the door.
Inside the box, you should see plastic wire nuts connecting the wires from the light to the wires from your home circuit. Unscrew these plastic connectors (counterclockwise) to disconnect the wires. There will also be a retaining ring on the cable clamp—unscrew this as well, then pull out all light wires. If you don’t plan to use this fixture again, you can always skip this step and simply snip the wires with your wire cutters. You should now have the housing completely disconnected—set it aside.

Push your house-circuit wires into your old-work electrical box. If you snipped the wires in the last step, don’t forget to use your cable ripper to remove 3 or 4 inches of cable sheathing and paper. Do not strip the wires down to bare copper, as this will become an electrical or fire hazard.
To make sure the loose ends of your wires aren’t a hazard when power is on, you’ll need to terminate them. This is a simple process of screwing each wire end into its own plastic wire nut. Make sure you only use one wire nut per wire—don’t combine them. When this is done, make sure the connectors are securely on with your electrical tape.
Tuck the old-work box back into the ceiling, and use your drill or screwdriver to secure it to the attachment wings on the box. This will usually be a simple matter of inserting 2 or 4 screws.
With the cables rendered safe and tucked into the box in the ceiling, all that’s left is to cover the box with your non-metallic blank plate. Use your screwdriver for this step to make sure you don’t over-rotate the screws by accident.

If you power other fixtures or devices using the circuit you’ve been working with, it’s now safe to flip the power back on. If you’re not using the circuit, you could always leave it switched off to guarantee safety.

Lastly, you just need to paint over the blank plate to make it disappear into your ceiling! We recommend finding an exact match for your ceiling paint if possible for a more finished look—or else you could take this opportunity to repaint the ceiling with a fresh coat!
This is a fairly simple and inexpensive project to tackle yourself. Assuming you have the tools and just a little bit of knowledge (bonus points if you have experience in skills such as how to remove can lights), this is a totally approachable project.
If you’re not feeling confident about working with electrical fixtures, it’s never a bad idea to work with a local light fixture company. The average cost to remove an old recessed light fixture can range between $100 and $400 per light for labor and supplies. Your lighting expert can safely remove old fixtures and even provide useful guidance, such as where to place recessed light in the living room or kitchen.
Custom Paint Jobs LLC gave our office a fresh new look. Clients love it!
Best painters in the Greater Columbus, Ohio area. Quality of work second to none and customer service is head above shoulders than everyone else. I cant wait to work on another project with Silvio and Team!
The Mosby team went above and beyond for my project. They not only installed my light fixture; they also worked through an old, wonky, and as it turns out incorrect wiring issue from the work of prior contractors. Professional, thorough, conscientious, and kind. Five star experience. Thank you!
We had a 20+ year old landscape lighting system that needed replacement. Midwest Lightscapes worked with us to design a much improved lighting system, lighting the exterior of the house and the back yard. Installation of the 45 light system took one and one-half days, and went very smoothly....
 Midwest Lightscapes
Jeff was a consummate professional. Responsive, courteous, and focused on meeting our needs. I had a small project of installing and replacing two ceiling light fixtures. He responded to my Home Advisory inquiry within 24 hours and in a span of two weeks our light fixtures were installed. ...
For several months I was looking for somebody to tile a wall in my master bath and move lighting fixtures, and could not find anybody who was responsive. I contacted Rowe through Home Advisor and within days they came by to assess the job and provide an estimate. The cost was very...
A team of 2 spent 5 hours, cleaning top to bottom (removed all light fixture and cleaned.... impressive!!!)
 Luzia's Cleaning
It went very well. I was able to select the color blocks I wanted and where they would be placed in the window. All of the employees were very pleasant and patient. The guys who installed the window arrived promptly, did their job, and there was nothing for me to clean up. The window looks...
 Innovate Home Org - Columbus Glass Block
The initial quoted price from a walk-through seemed high, but we discussed that the quote represented worst case scenario (re-wiring to two floors) and we were excited about the opportunity to have the work done in a timely manner with closing for fire safety reasons, etc. When the job was...
Charlie recommended a separate fan with new lighting to clear steam from the room better. Several weeks ago I contacted Charlie via email to ask about pricing and scheduling, after one follow up he did reply with cost and said it would be about two weeks before he could do the work. I replied...
 Settle Muter Electric
From average costs to expert advice, get all the answers you need to get your job done.
Discover the cost to install recessed lighting. Discover how price factors, labor, and other considerations can help you save on your lighting project.
Light fixtures are important elements in any home. Find out how much it costs to install a light fixture based on factors like type, location, and labor.

You don’t always need a pro for recessed lighting fixes. Learn how to change a recessed light bulb on your own for an easy, affordable home repair.
Installing recessed lighting can be a difficult task, so it’s important to hire the right professional to do the job.

Do you want to brighten up a dim room? Learn how to install recessed lighting in any room with this easy-to-follow DIY guide.

Make sure you practice safety first when DIYing your shower light. Use this guide to learn how to remove a shower light cover effectively.