
If your ceiling fan stops working due to a bad motor or broken pull chain, here’s what you can expect to pay to get it fixed.
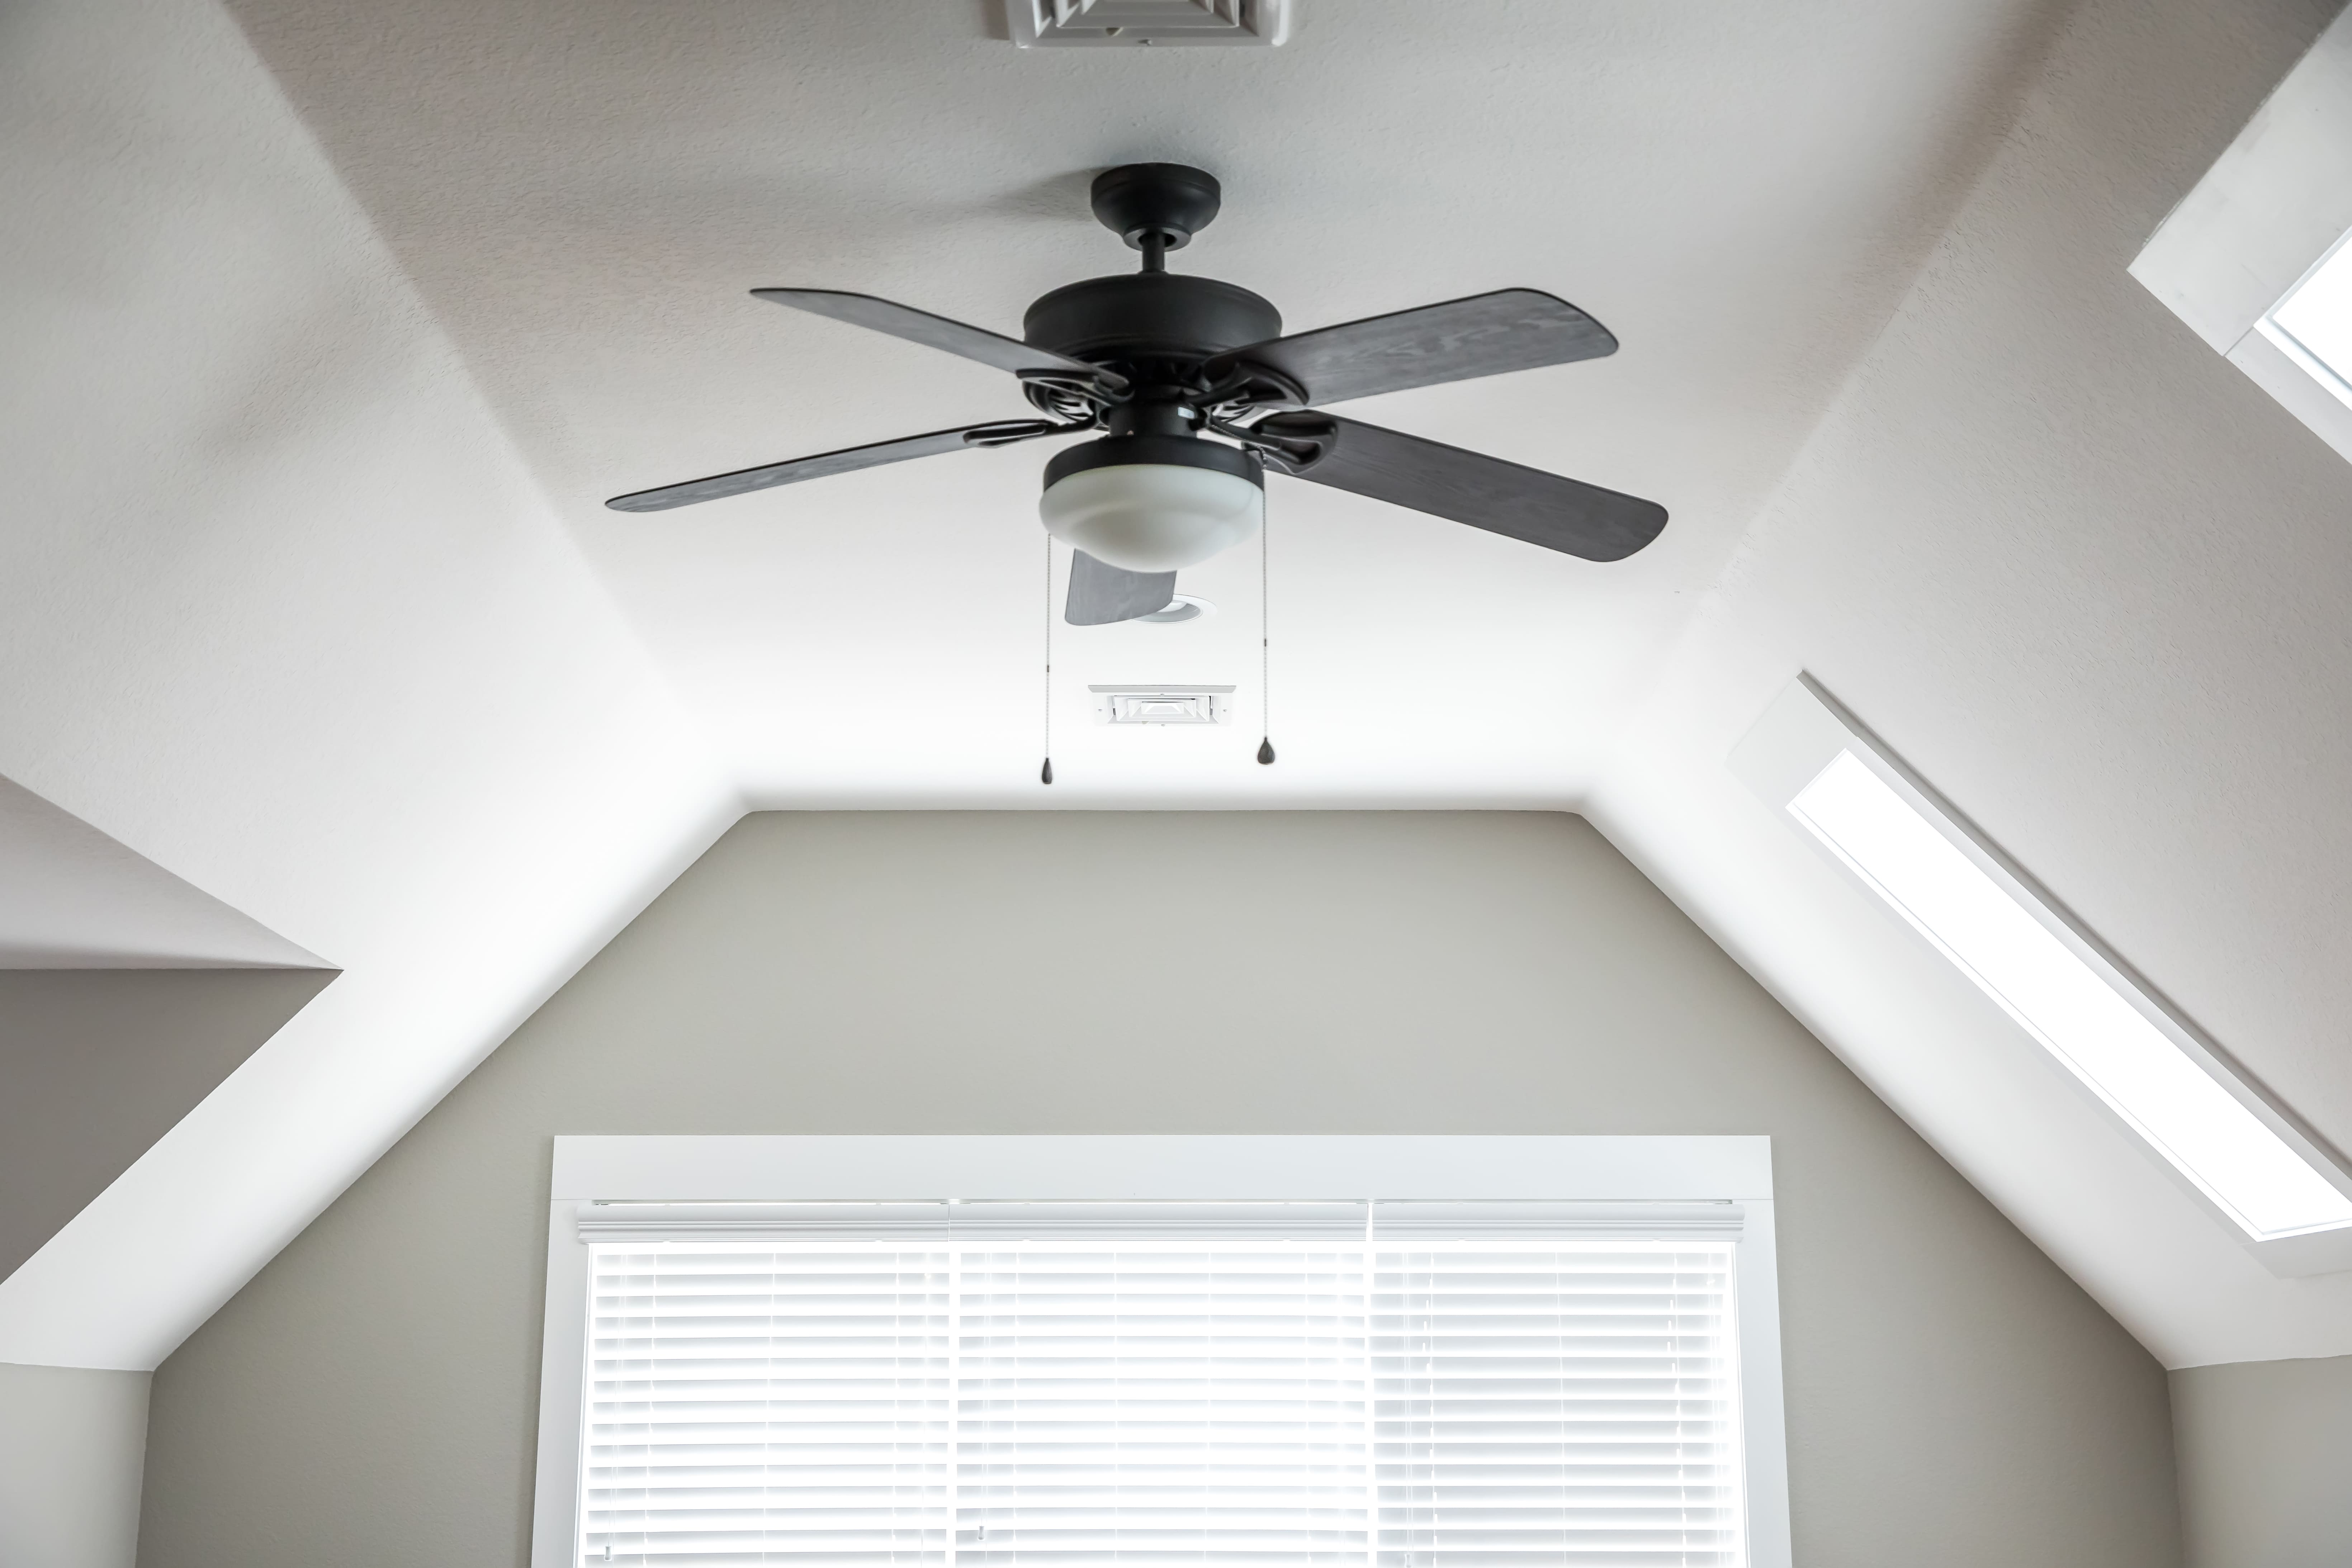
Taking down your ceiling fan is a breeze
 - Derek Rose.png?impolicy=thumbnail)
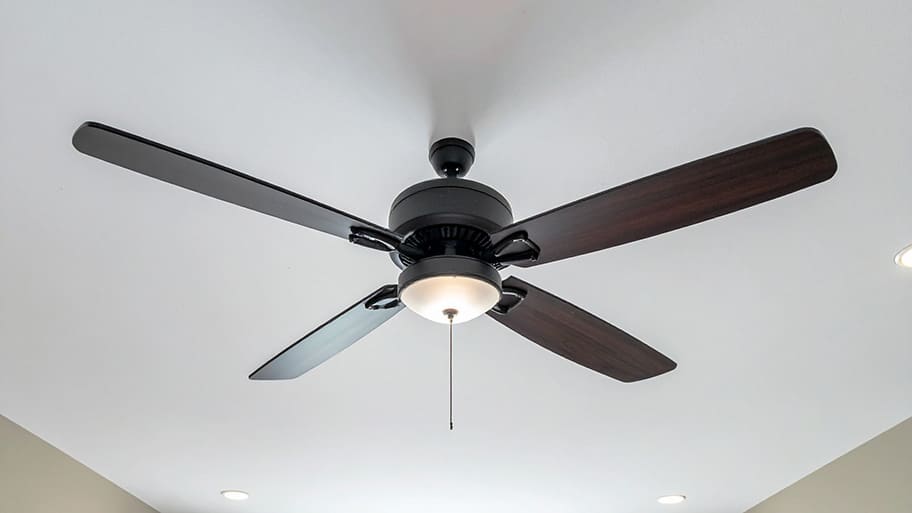
Ceiling fans provide your living spaces with a comfortable, cool breeze during hot summer days, help circulate air, and add style to your home decor. But if your ceiling fan wears out or you decide to replace it, it’s time to take it down. Fortunately, removing a ceiling fan is an easy job you can do yourself with only a few tools and DIY skills. Follow the steps in this guide to remove a ceiling fan like a pro.
Before you handle your ceiling fan or anything with electricity, practice safety first and cut off the power to your fan. This includes turning off the power at the circuit breaker and making sure the light switch powering your fan is switched off. As an added safety measure, consider using a voltage tester before disconnecting the wiring.

If your ceiling fan has lighting attached, you’ll need to remove the light bulbs and globes or covers first. Start by removing the globes if they cover the light bulbs. Some globes can be unscrewed by hand, while others may need a screwdriver to loosen and remove the screws holding the cover in place. Once you have the globes removed, unscrew the light bulbs and keep them in a safe place—you may be able to use them again.
Some flush-mount ceiling fans include a light kit that needs to be removed in order to reach the screws attaching the fan to the ceiling. Use a screwdriver to remove the screws from the light kit that secures it to the fan’s housing. Then, disconnect the wiring from the light kit to the fan.
In order to access the top of the fan, you’ll need to take off the fan blades. Use a screwdriver to remove the screws attaching the blade bracket to the fan’s housing. Leave the bracket attached to the blade to save you the work of removing more screws than is necessary. Repeat this step for all the other blades.

To disconnect the fan’s wiring from the wiring in the ceiling, the fan’s housing body will need to be removed.
Flush-mount fans: With flush-mount fans, remove the body of the fan directly from the ceiling bracket. Most of these fans are attached to the bracket by a screw on one side and a hinge on the other. Use a screwdriver to remove the screw and allow the body to hang from the hinge as you disconnect the wires. Then, remove the body from the hinge on the bracket.
Downrod fans: For downrod fans, you’ll first need to remove the canopy cover. Use a screwdriver to remove the canopy’s screws. With the canopy removed, you can access the wiring to disconnect it from the ceiling wiring. Remove the plastic caps that connect the wires, then cover the ceiling wires with the caps. Slide the ball at the end of the downrod out of the mounting bracket to remove the fan. Be careful—fans tend to be heavy. You may need another person to help you lower it carefully to the floor or a nearby table.
Once the fans are removed from the ceiling, your final step will be to remove the mounting bracket. This is especially important if you plan to replace a ceiling fan with a new one, as your new fan will have its own mounting bracket and may not match your old fan.
Use a screwdriver to remove the screws attaching the mounting bracket to the ceiling electrical box. Most mounting brackets contain at least two screws that secure it to the ceiling. Replace the screws in the electrical box in case you need it later. If you plan on reusing your old ceiling fan, keep the mounting bracket with the rest of the fan’s hardware.
Whether you’re a novice or an experienced DIYer, removing a ceiling fan is a task that is relatively easy to do. However, if you’re uncomfortable with the idea of handling electrical wiring or find the idea of handling the job yourself too daunting, hire a local ceiling fan professional to help. Not only will they remove your ceiling fan, but they can also investigate any concerns such as a wobbling ceiling fan, make any necessary repairs, and handle a new ceiling fan installation.
If you decide to go with a pro, the total cost to remove a ceiling fan is around $100 to $500, depending on the type and number of ceiling fans you have. A ceiling fan installation costs from $140 to $350, on average.
The cost to replace a ceiling fan ranges from $100 to $300. It’s similar to yet slightly cheaper than the price of installing a new ceiling fan, which is about $250 on average. If complex wiring is involved, the price may greatly increase. Fortunately, most ceiling fan replacements can utilize the existing wiring.
Like most home tasks, the DIY route is cheaper than hiring a pro. If you can replace a ceiling fan yourself, expect to save between $50 to $200 compared to paying for an electrician to do the job.
Great company! Price was competitive, technician showed up on time and completed the job (exterior electric Radon fan replacement) quickly. Would hire them again.
Best decision was going with PatchMaster. Greg was wonderful / responsive & Dave did wonderful work. Got me on the schedule quick, matched my popcorn ceiling perfectly, finished the job quick, and was so kind & reasonably priced. Will absolutely be hiring again
Jeff was a consummate professional. Responsive, courteous, and focused on meeting our needs. I had a small project of installing and replacing two ceiling light fixtures. He responded to my Home Advisory inquiry within 24 hours and in a span of two weeks our light fixtures were installed. ...
Involved an extensive bathroom remodel, including removing tub & installing walk in shower, new drywall, custome tile work to ceiling, plumbing, etc. Overall, job was done on time and on budget. Nick & his team were very professional and had high attention to detail. Quality was great. Highly...
 Stamos Flooring and Remodeling LLC
Mike and his crew did a great job working through a very challenging task. The job required a full demolition of our ceiling, removing the blown in insulation and removing all the material from the site daily. It involved multiple inspections from the city and many challenges to get the...
 Rising Height Unlimited
Awesome company. Had a jacuzzi tub taken out and replaced with huge walk in shower with partial glass enclosure. Onyx to the ceiling with a decorative border, moved plumbing and installed hand held shower, new ceiling, flooring, and paint. Replaced window with glass block. Everything was done...
 Columbus Bath Design
There isn't much I can add that hasn't already been said about Rhino Painting. Outstanding service and communication from the first phone call through the end of the project, we could not be happier with this company. They painted our kitchen, living room, ceiling, starirwell and wood work,...
 Rhino Painting & Color Consulting LLC
Charlie recommended a separate fan with new lighting to clear steam from the room better. Several weeks ago I contacted Charlie via email to ask about pricing and scheduling, after one follow up he did reply with cost and said it would be about two weeks before he could do the work. I replied...
 Settle Muter Electric
Scott was awesome! This job was not an easy one, especially the relocation of the cable in the Great Room. I had called several other companies on Angie's list only to be turned away due to the tight timeline I was under or the anticipated difficulty of the work. <br /> Scott was realistic...
 SIGNAL DIRECT SYSTEMS
After struggling throgh attempts to fix a persistently leaky skylight, I called Bob at Skylights Plus to check it out. Given the fact that previous attempts to repair the flashing/roofing around the skylight didn't work, he recommended a full replacement. <br /> Even though the weather...
From average costs to expert advice, get all the answers you need to get your job done.
If your ceiling fan stops working due to a bad motor or broken pull chain, here’s what you can expect to pay to get it fixed.

Discover the cost to install a ceiling fan, including labor, materials, and tips to save. Learn what impacts your price and how to budget for your project.
Learn how to wire a ceiling fan with a light directly from a power source or wall switch and add a convenient remote control. Follow this step-by-step guide.
Although the risk is low, there are a few telltale signs that a ceiling fan will fall off your ceiling. This guide explains when to worry (and when not to).
Use this ceiling fan maintenance checklist to stay on top of your daily, weekly, monthly, and seasonal ceiling fan maintenance tasks.
Ceiling fans need the help of lubrication to run smoothly and quietly. Learn how to oil a ceiling fan without taking it down in a few simple steps.