

Add a wow factor to your home with a chandelier. Chandelier installation costs depend on style, location, and labor, so learn what you can expect to budget.
Shedding some light on the chandelier removal process

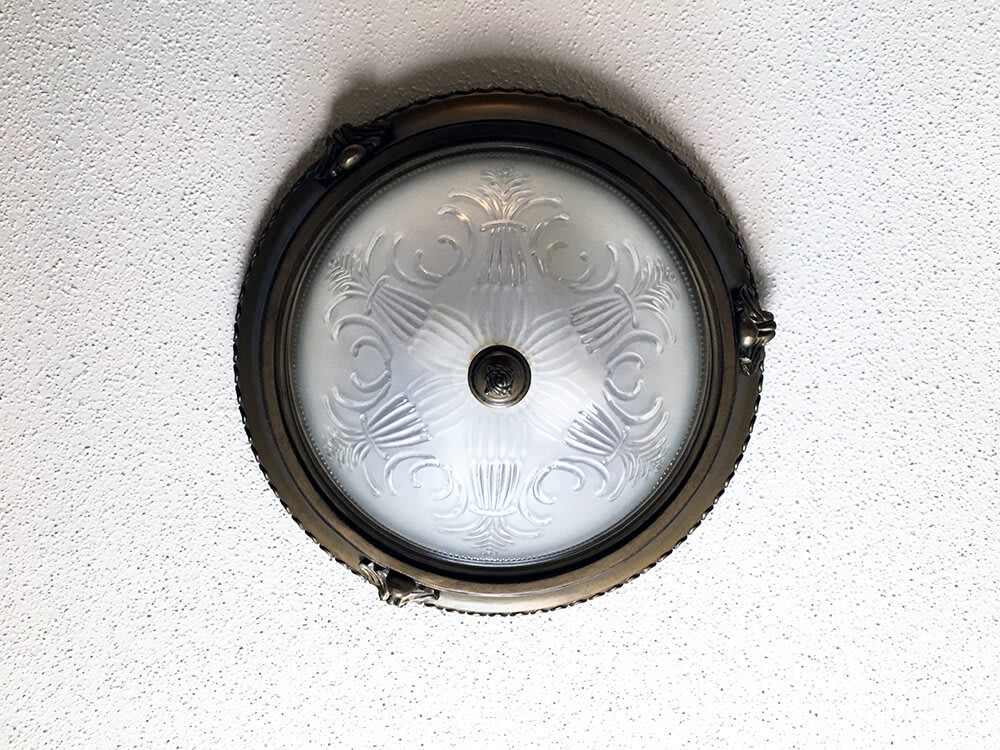
In the delicate dance of home decor, few fixtures make a statement quite like a chandelier. But when the time comes for a change, the prospect of removing this focal point can be intimidating. The good news is we’ve rounded up five simple steps for a DIY chandelier removal, so you can dismantle your chandelier with confidence and ease.
With the proper preparation, removing a chandelier can be smooth and stress-free. Here are a few points to ensure you're ready for the job:
Turn off the power: Stop electricity to the chandelier at the circuit breaker to ensure safety during the removal process
Gather the necessary tools: Including a screwdriver set, wire stripper, voltage tester, and an adjustable wrench
Get a sturdy ladder or step stool: Place it beneath the chandelier for safe access
Lay down a drop cloth or plastic sheeting: Protect the floor and surrounding area from dust and debris
Wear work gloves: Protect against sharp edges or delicate components
Get plastic baggies or small containers: Keep track of screws, nuts, and bolts during disassembly
Before taking anything apart, document the chandelier's current setup with high-resolution photos from various angles. Capture each detail, including the arrangement of crystals, shades, and decorative elements. This visual reference can help you if you ever want to reassemble the chandelier. It also serves as a troubleshooting guide if needed.
After this, confirm that the chandelier's power is off by testing it with a voltage tester. Then disconnect the chandelier from the electrical wiring.
Gently separate each wire, taking note of color coding or any unique identifiers. Use the wire stripper to remove any insulation carefully.

Begin the disassembly process by taking off any crystals, shades, or other decorative elements. Make sure to handle these components with care to prevent breakage.
Once the decorative elements are off, use the appropriate tools (such as screwdrivers or wrenches) to loosen and detach the chandelier from the ceiling bracket. Work systematically to avoid any damage to the fixture or surrounding area.
After disassembling the chandelier, inspect each component for signs of wear, damage, or dirt. Wipe down crystals, shades, and metal parts with a gentle cleaning solution to ensure they are pristine for reinstallation.
Cleaning the components maintains their aesthetic appeal and ensures the chandelier will function when reassembled. Additionally, check for any corrosion on metal parts and address it promptly to prevent any more deterioration.
As you disassemble the chandelier, secure any loose wiring and bundle it neatly using zip or twist ties. Ensure that the crystals or fragile parts are grouped together, cleaned, and wrapped to prevent breakage. Store all removed components, along with any screws or nuts, in labeled bags or containers.
Use packaging materials such as bubble wrap or foam padding to protect the chandelier and its components while it’s in storage. Place the cleaned and inspected parts into sturdy boxes, ensuring each item has its designated space and isn’t overpacked.
Label each container clearly with a detailed list of its contents and any special handling instructions. This can save time and frustration when reassembling the chandelier. Store the packed components in a cool, dry place away from direct sunlight to preserve their condition until you're ready to reinstall the chandelier or sell it.
With some electrical knowledge and a slow approach, you can remove a chandelier on your own with the right tools and storage equipment.
However, if you’re feeling hesitant about removing a chandelier on your own, contact a light fixture installation professional near you. Opting for a professional chandelier installation or removal service will provide you with a smooth process, mitigating the risk of damage to delicate fixtures or electrical issues. Their expertise guarantees safe disassembly and careful handling, especially in high or hard-to-reach spaces. By hiring a pro, you’re investing in a stress-free experience.
Custom Paint Jobs LLC gave our office a fresh new look. Clients love it!
Best painters in the Greater Columbus, Ohio area. Quality of work second to none and customer service is head above shoulders than everyone else. I cant wait to work on another project with Silvio and Team!
The Mosby team went above and beyond for my project. They not only installed my light fixture; they also worked through an old, wonky, and as it turns out incorrect wiring issue from the work of prior contractors. Professional, thorough, conscientious, and kind. Five star experience. Thank you!
We had a 20+ year old landscape lighting system that needed replacement. Midwest Lightscapes worked with us to design a much improved lighting system, lighting the exterior of the house and the back yard. Installation of the 45 light system took one and one-half days, and went very smoothly....
 Midwest Lightscapes
Jeff was a consummate professional. Responsive, courteous, and focused on meeting our needs. I had a small project of installing and replacing two ceiling light fixtures. He responded to my Home Advisory inquiry within 24 hours and in a span of two weeks our light fixtures were installed. ...
For several months I was looking for somebody to tile a wall in my master bath and move lighting fixtures, and could not find anybody who was responsive. I contacted Rowe through Home Advisor and within days they came by to assess the job and provide an estimate. The cost was very...
A team of 2 spent 5 hours, cleaning top to bottom (removed all light fixture and cleaned.... impressive!!!)
 Luzia's Cleaning
It went very well. I was able to select the color blocks I wanted and where they would be placed in the window. All of the employees were very pleasant and patient. The guys who installed the window arrived promptly, did their job, and there was nothing for me to clean up. The window looks...
 Innovate Home Org - Columbus Glass Block
The initial quoted price from a walk-through seemed high, but we discussed that the quote represented worst case scenario (re-wiring to two floors) and we were excited about the opportunity to have the work done in a timely manner with closing for fire safety reasons, etc. When the job was...
Charlie recommended a separate fan with new lighting to clear steam from the room better. Several weeks ago I contacted Charlie via email to ask about pricing and scheduling, after one follow up he did reply with cost and said it would be about two weeks before he could do the work. I replied...
 Settle Muter Electric
From average costs to expert advice, get all the answers you need to get your job done.
Add a wow factor to your home with a chandelier. Chandelier installation costs depend on style, location, and labor, so learn what you can expect to budget.

Light fixtures are important elements in any home. Find out how much it costs to install a light fixture based on factors like type, location, and labor.
Popcorn ceiling removal costs depend on the size of your ceiling and any additional services like asbestos removal and resurfacing. Learn all the costs here.

Elevate the spaces in your home with different types of chandeliers to suit your style. Compare types of modern chandeliers with this handy reference guide.

While a chandelier looks elegant and impressive, installing one takes only a little patience and time. Learn how to install a chandelier with this guide.

A chandelier is an impactful addition to your decor and lighting. Can you change recessed lighting to a chandelier? Learn how with a few straightforward steps.