
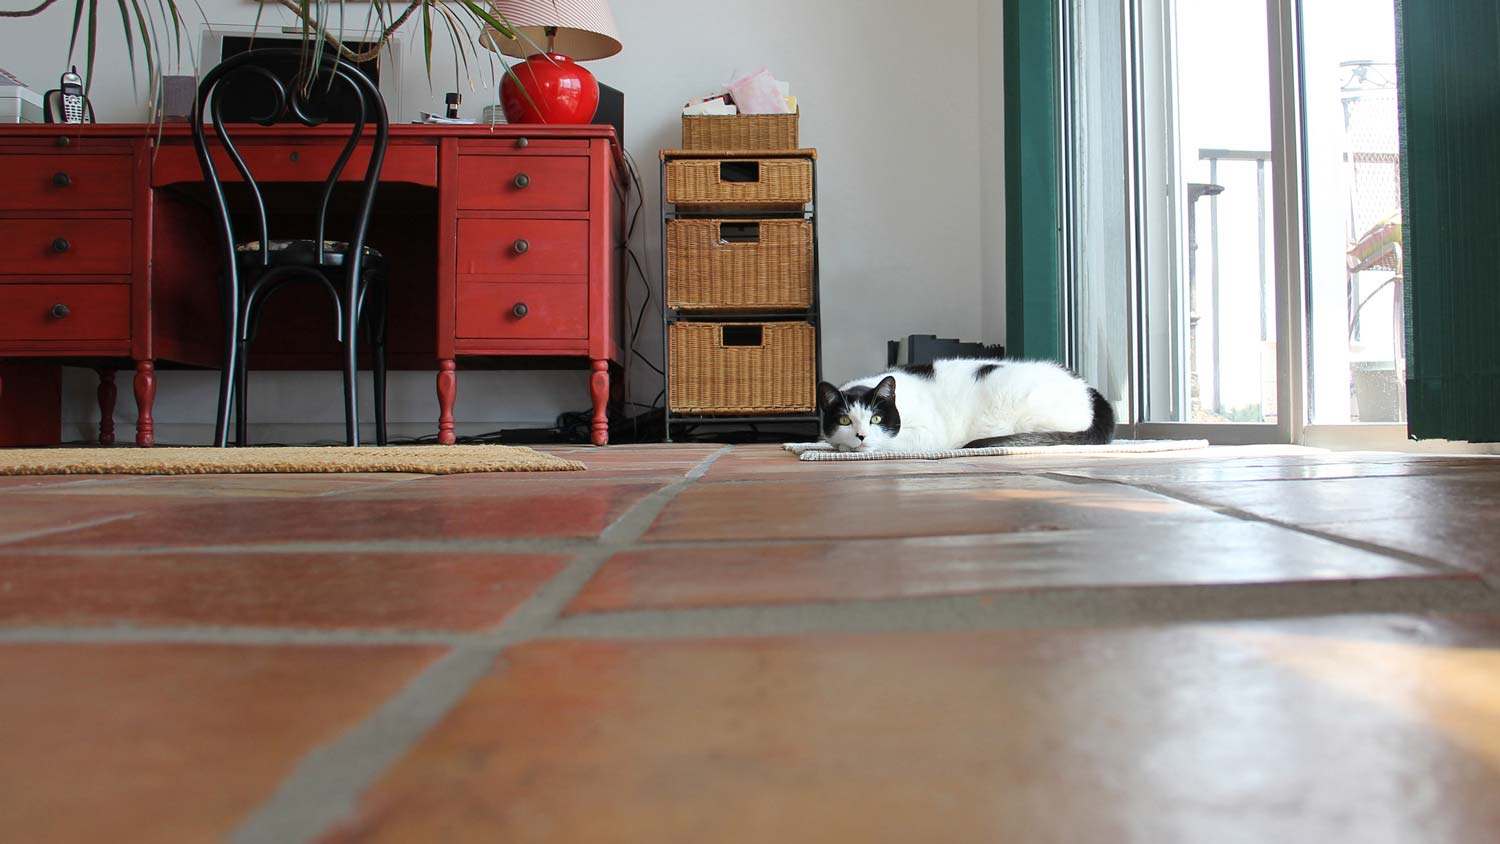
Removing tile flooring is a labor-intensive process. Here’s how much it costs to remove tile flooring, whether you hire the project out or do it yourself.
Chisel, scrub, and sand your way to a smooth surface

This project can take a long time to complete if you’re doing it in your off-time. Hiring a pro ensures a job done well and a quicker turnaround—plus you get your weekends back.
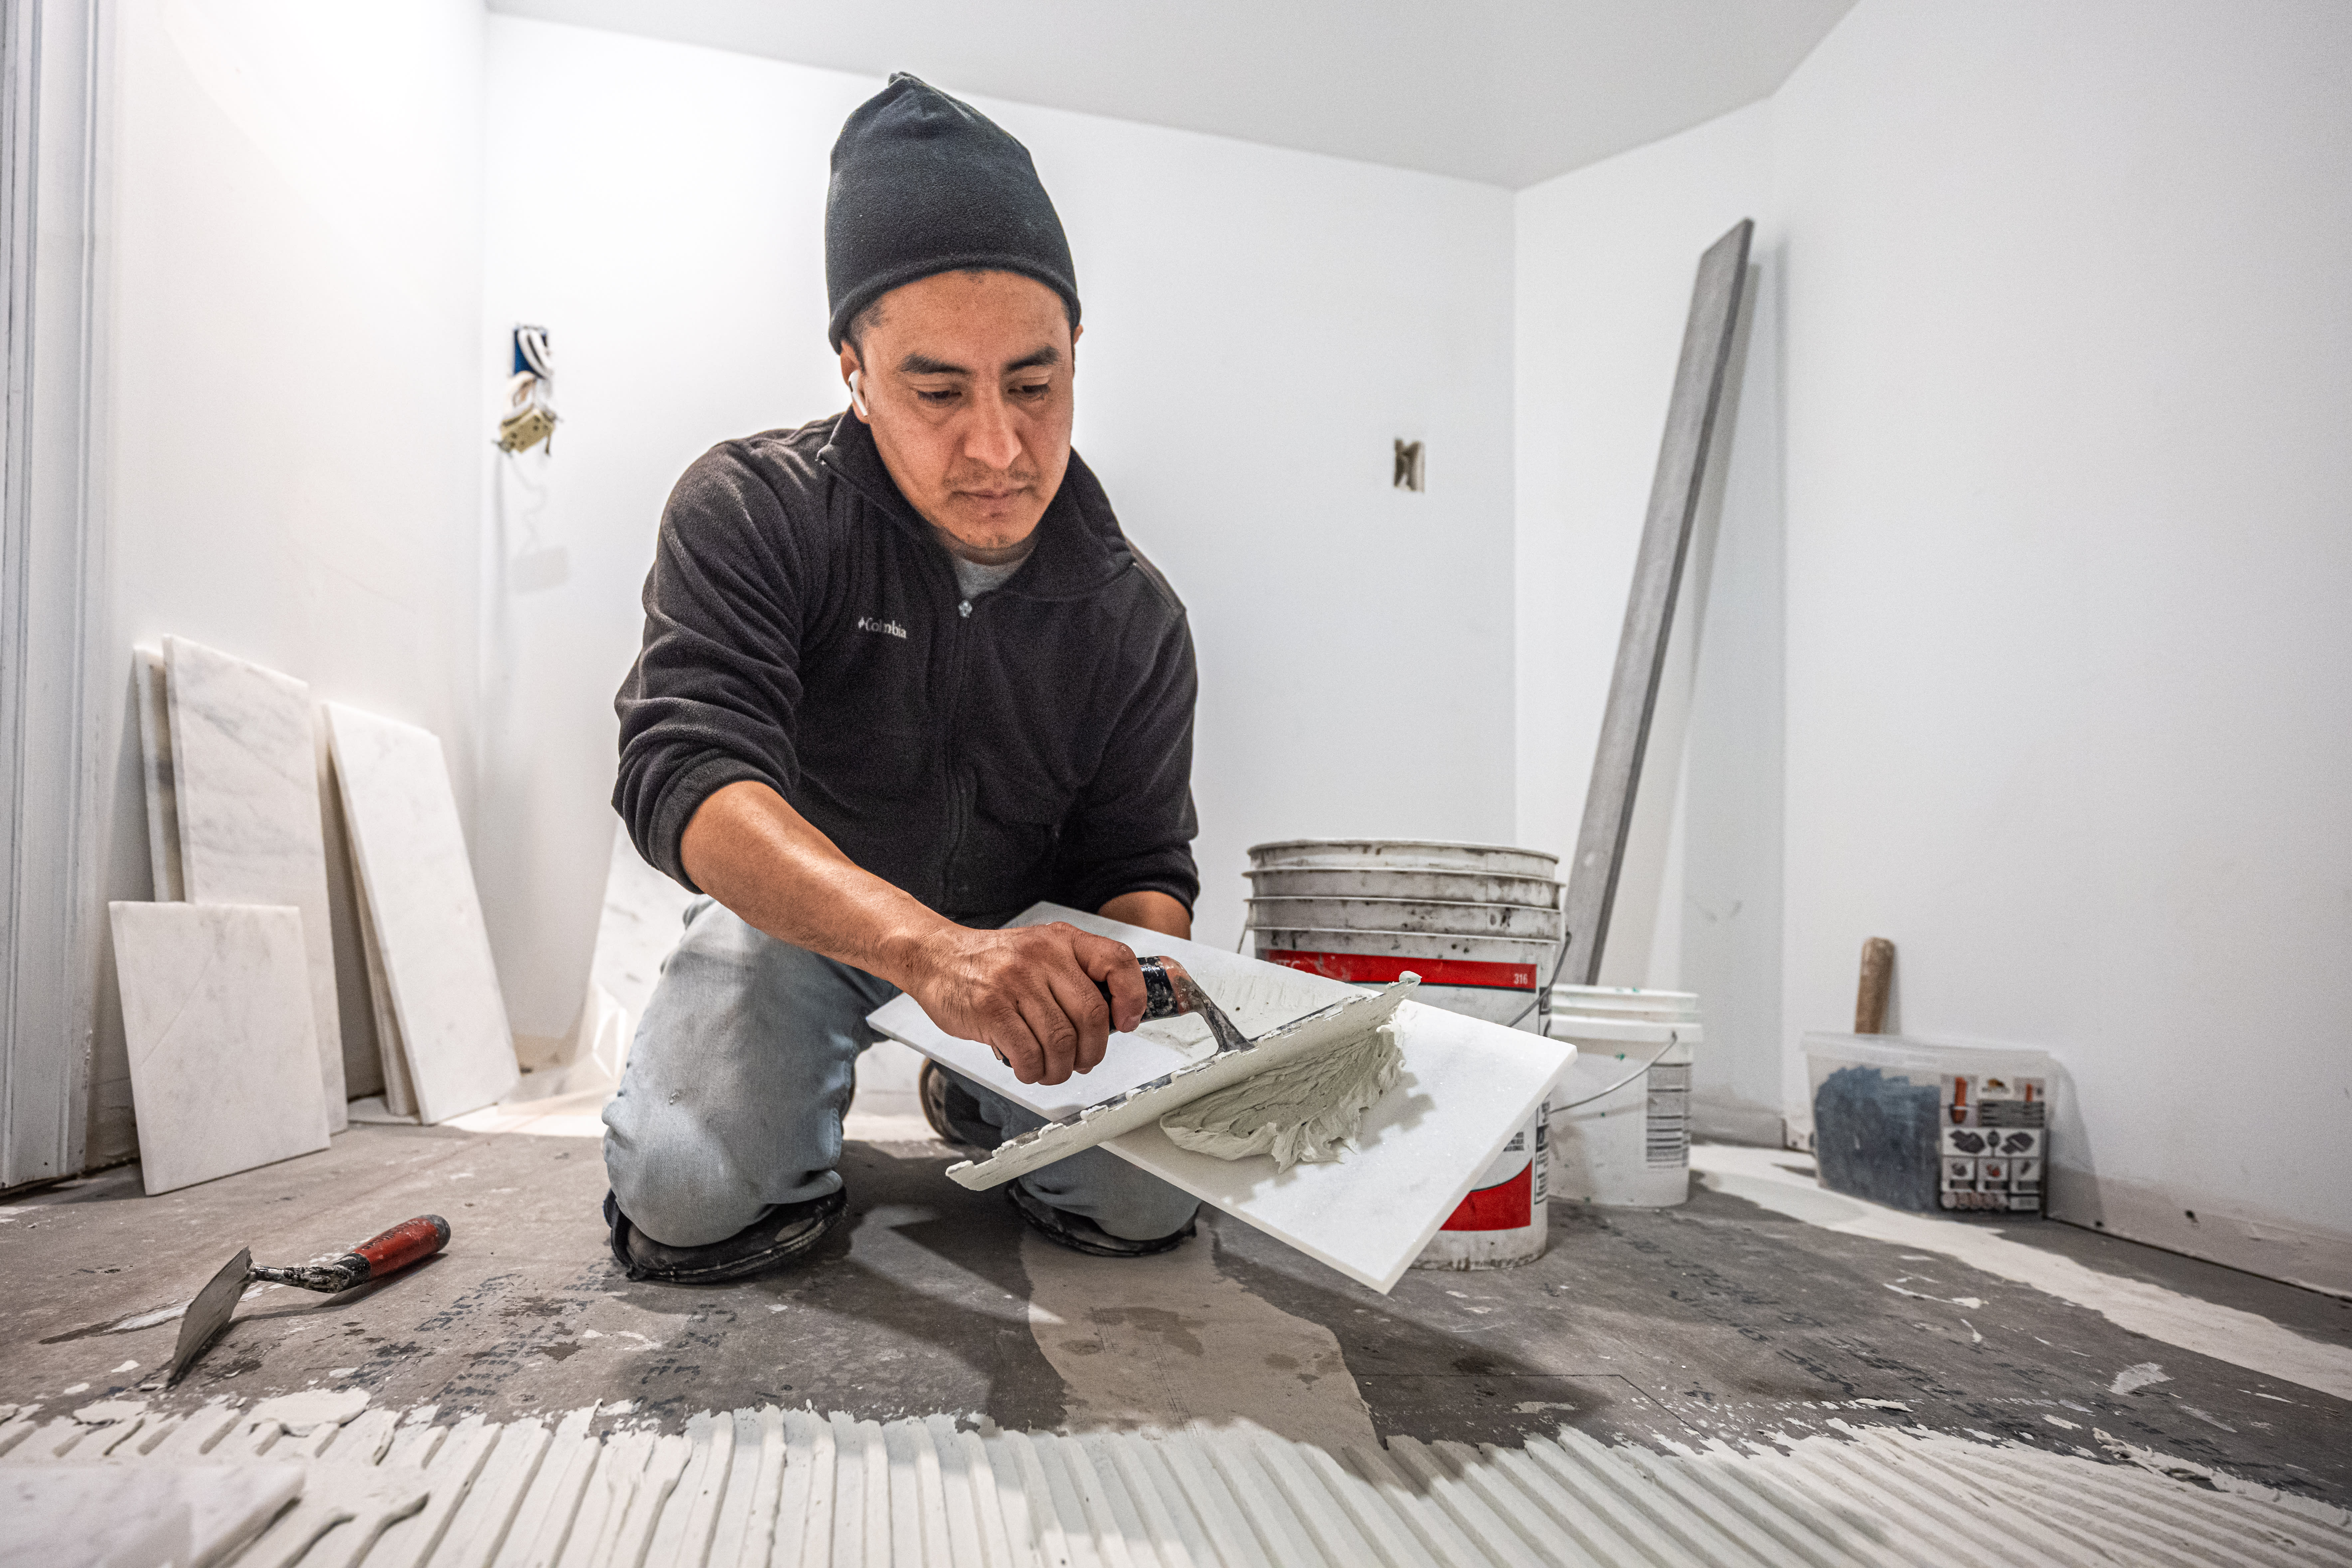
You’ve pulled up some old tiles to prep for a DIY bathroom renovation, but now you find yourself with a floor covered in old adhesive. Before you can install new tile, you’ll have to clear away the old adhesive for new flooring to lay evenly. Here’s how to remove floor tile adhesive in eight steps—manually or with power tools.
Before you learn how to remove floor tile adhesive, you’ll want to protect the area from the inevitable dust that comes from this job. Cover counters, tubs, light switches, baseboards, and any other surfaces and crevices that you want to protect from dust.
Similarly, put on all your safety gear (including a mask, goggles, and work clothes) to protect yourself. Consider wearing knee pads since you’ll be kneeling on hard tile for several hours.
Next, it’s helpful to know what type of adhesive is on the floor since certain types may require specialized removal tools. If you don’t know the type of adhesive, call in a tile specialist to inspect the area, determine the adhesive type, and help you decide on the next steps for removal.

Roll up your sleeves, grab a hammer and a chisel, and prepare to chip away at the adhesive little by little. This works best in small areas of tile. Angle the chisel with the edge of the chisel against the adhesive. Then, use the hammer to apply pressure to the chisel and lift the adhesive.
If chiseling doesn’t seem to be working or is leaving behind chunks of adhesive, it’s time to move on to soaking and scrubbing away the floor tile adhesive. Apply warm or hot water to the adhesive, and let the adhesive soak for one to two hours. This alone may help loosen and lift the adhesive, but if it’s still sticking, you can move on to the next step for further removal.
You can use a solvent (such as soap, laundry detergent, or acetone) or purchase an oil-based adhesive or mortar remover at a home improvement store to remove floor tile adhesive. After soaking the adhesive in warm water, apply the solvent to the floors for at least five minutes, then use the chisel to lift the adhesive and remove it.
After soaking the adhesive and applying a solvent to remove the specific type of adhesive on your floors, you can use steel wool, a scrub brush, or a scouring pad to remove the loosened adhesive. This may require multiple passes over the floor to fully remove the adhesive.

If you need to cover a large floor area in a spacious kitchen, you may be better off using power tools, such as a floor grinder or even a chisel attachment on a power drill. This process works best if you have previous training and experience in using the equipment. You’ll need to follow the instruction manual for the power tools, working in small sections to remove floor tile adhesive.
If you aren’t sure how to use the power tools or they are out of your budget to buy or rent, you’ll want to hire a tile specialist to come remove the adhesive for you.
For smaller areas, you can use sandpaper to manually sand down the adhesive or use a tool, like an orbital sander, to buff away and remove floor tile adhesive. This step can either be done on its own as a way to remove the adhesive or as a finishing step (following other efforts like chiseling or using a solvent) to fully sand and smooth out the surface of the floor.
Removing floor tile adhesive can turn into a complicated and messy job really fast. Here are some tips to think about before starting so that the job goes as smoothly as possible:
Wear safety gear: Put on a face mask, eye protection, a long-sleeved shirt, long pants, knee pads, and work boots. These will protect you from flying debris, lung irritants, and injuries.
Soften the adhesive first: Before you break out the power tools and start blasting away, use one of the methods above to soften the grout before you try to remove it. This should make the job a lot easier.
Work in small sections: This job is going to take a lot of time. However, focusing on smaller sections at a time ensures you’ve done thorough work on each section and should help you not feel as overwhelmed.
Test your method in a hidden area: Go behind a door or underneath a cabinet to test your removal method. Make sure any solvents you use don’t damage the tile. If they do, at least it’s in an area no one will see and you can switch up your methods before moving on.
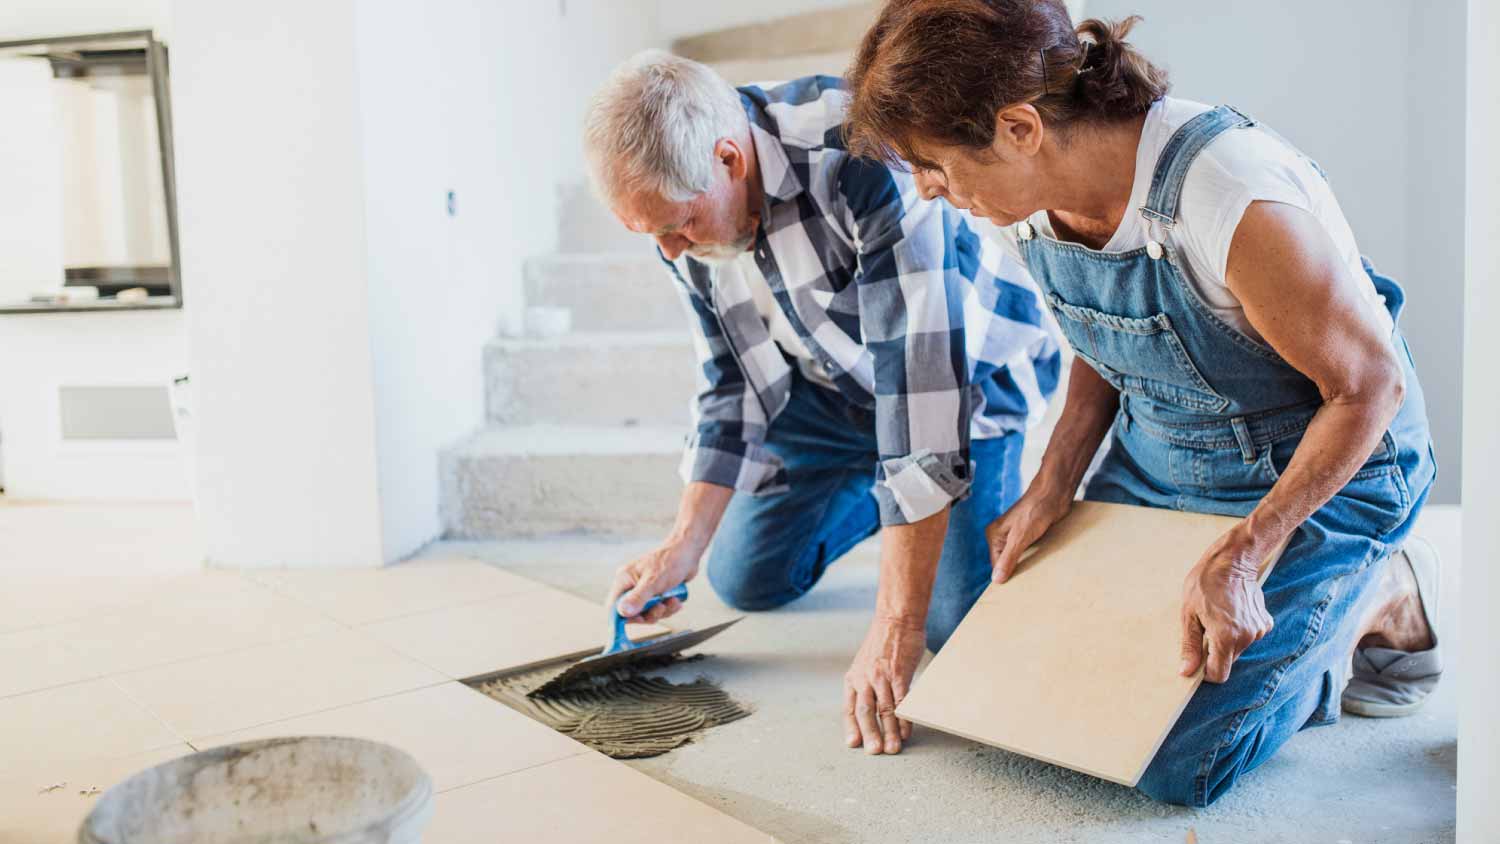
Removing tile costs around $2 to $5 per square foot, including removing the adhesive, when DIYing. For supplies, you’ll need steel wool or other scrubbing tools, sandpaper, and solvent, which will cost around $25 to $50. But if you need to purchase an orbital sander or rent a floor grinder for the day, this project could cost hundreds of dollars more. Renting a floor grinder alone may cost $100 to $200 per day.
You can skip all the time and energy it takes to remove floor tile adhesive by hiring a local tile contractor for help. Not only that, but pros will already have the tools and supplies ready to quickly remove the adhesive, meaning this could be a better choice for your budget. If you run into asbestos tile, you definitely need to call a pro because the material could make you sick, but pros can handle it safely. Asbestos tile removal costs $1,200 to $3,250.
Terrible experience. Walls/trim/floors/cabinets/doors all have drip marks, overspray, etc. Tiling at the fireplace had to be redone by another vendor due to incorrect and shoddy install by Profect. Contractor had his children in our house while he was on site without prior authorization or...
 Profect painting & exteriors
It was wonderful working with Yordy and his team. They were very professional and are experts in what they do. They have completed the work on time, with better quality and with in fairly reasonable price. We just started with backsplash work , but liking his work, we went on to provide...
We were having 2”x 2” tile installed . There was a small installation error and the new additional replacement tile was from a different lot and the colors didn’t match. Joe assured us that he would rectify everything , which he did without hesitation. We decided to go with the 18” x 36” tile...
 CarifaTile
For several months I was looking for somebody to tile a wall in my master bath and move lighting fixtures, and could not find anybody who was responsive. I contacted Rowe through Home Advisor and within days they came by to assess the job and provide an estimate. The cost was very...
It went very well! The end product was amazing and we keep getting a lot of compliments from friends! M&E were very professional and they made sure we were happy with the product before leaving. They met with us in our home and at the tile shop to make sure we were okay with our tile and...
 M&E Remodeling
Involved an extensive bathroom remodel, including removing tub & installing walk in shower, new drywall, custome tile work to ceiling, plumbing, etc. Overall, job was done on time and on budget. Nick & his team were very professional and had high attention to detail. Quality was great. Highly...
 Stamos Flooring and Remodeling LLC
Very pleased with the service and level of professionalism. Courteous and very unobtrusive in performing service. Unlike several other companies, Bradford Xteriors was willing to perform work on a three story home with a clay tile roof. <br />
 Bradford Xteriors
This company did a very good job on the brick wall and it looks just amazing. The staff was always professional and was practically OCD on how the bricks were stacked and how they were laid. Although it took longer than expected, I am willing to sacrifice time over perfection anyday. The...
 My Handy Mate LLC Improvement & Remodeling
He did the tile work and he was good at it. He used other subcontractors for the rest of the work (like putting in the cabinetry) and they were okay but not great. He was a great guy! He was easy to work with and had a good eye for the detail of his work. There were a couple of things that I...
 Brian Miller Custom Remodeling
I was very impressed with Miller Cantrell! I live in an old home in which the sewage line that runs from my home to the sewage system is a line of clay tile. These eventually collapse and need to be replaced - an expensive problem and sure to happen at the worst time. I told them that my...
From average costs to expert advice, get all the answers you need to get your job done.
Removing tile flooring is a labor-intensive process. Here’s how much it costs to remove tile flooring, whether you hire the project out or do it yourself.
Find out how much you can expect your tile floor installation to cost depending on a range of factors, including tile type.
Get clear answers on asbestos tile removal cost, including average prices, cost factors, and tips to save money on safe, professional removal.
Choosing between different types of tile adhesive is an important part of any tile job. Here’s how to pick the best tile glue for your project.
A loose floor tile can be a nuisance or a hazard, but fixing floor tiles may not be as hard as you think. Our DIY guide will show you how to fix loose floor tiles.
Curious about how to remove asbestos tile? While typically best left to the pros, if you have some skill in this area, here is how to remove it safely.