

When your water system isn’t working as intended, it’s time to repair your well pump. This cost guide will break down well pump repair costs and the parts involved.
Move over, buckets and ropes—it’s time to create a pressure vacuum

You already know you should prime before you paint, but did you know you should prime before you pump? Whether you’re installing a new well pump, restarting one after a few winter months, or troubleshooting your plumbing system, priming is an important part of proper well function. By properly priming your well pump, you create a pressure vacuum that pushes water from your well through your plumbing system. As important as this step is, it’s also straightforward and only takes a few minutes—flex your DIY muscles, and learn how to prime a deep well pump with the steps below.
Before you start the priming process, make sure all of your plumbing system’s taps are shut off. Otherwise, the water you add to the pump casing will flow out of the system.
Water and electricity don’t mix well, so start the priming process by turning off the well pump and disconnecting it from power sources. Either unplug the pump from its outlet or turn it off from the breaker circuit to remove the risk of electrocution.
This is also a good time to inspect your pump and its components for any damage, especially if you’re having a water line issue or have left the pump dormant over winter months. Make sure all nuts and bolts are in place, retighten drain plugs, and manually test valves. If you can’t tell your nuts from your bolts or you’re hesitant to move to the next step, call a pro to quickly handle this job for you.
To get access to the pump system, remove the prime plug. Look for a square or hexagonal-shaped plug located at the top of the pump, and unplug it to expose a hole in the top of the pump.

To avoid pressure building up in your pipes during priming, open your pump’s water pressure release valves. For most water pressure tanks, you can simply use the associated lever to lift the valve up until the attached stem rises, causing water to flow from the pipe and into the bottom of the water tank.
With the pump system accessible, the next step is to fill the pump casing with water. It’s important to note that the water you use for this step needs to be at least of the same quality as the water in the well. If you use the well for drinking or potable water, for example, then the water source you use needs to also be of potable quality.
In most cases, a hose that’s connected to a clean water supply works well for priming. Ensure that this hose is lead-free—most hoses include a manufacturer’s label that lists materials and designates them as drinking safe or not. If you don’t have a hose handy, a large and clean bucket or bottle should also get the job done. The actual amount of water you need varies depending on the size of your well pump and the depth of your well, but a few gallons should do.
Whether you have a bucket or a hose, fill the casing with water until it’s full. Watch for the casing to start to overflow from the prime plug hole and the release valves to know when it’s full.

With the pump casing full, you can replace the prime plug and reconnect the pump to its power source.
Turn the pump on and let it run through a few cycles. You may hear the pump loudly drawing water from the well at first, but it should settle into a regular start-and-stop cycle within a few minutes. Close any release valves once water runs through them.
If the water pump doesn’t resume a normal cycle or your water pressure is inadequate, you may need to repeat this process.
A local well pump contractor will prime your well as part of well pump installation or replacement costs. If your water pressure or flow is later inadequate and a well pump priming is all you need to get it started again, it’s often easy and convenient to do the fix yourself.
If a well pump priming doesn’t resolve your waterline issues, asking a well pump professional or plumber for their diagnosis and fix is the next step. Many contractors offer a free quote for their services, and they come with the reassurance of experience and expertise.
Joseph did a great job with the staircase and trim. Timely and efficient, clear communication about the work, very fair pricing. For the stairs in particular, done very skillfully in an old house (1893) in a tight spiral, and very creative with how to do the handrail. Did a nice job with...
Great experience!! Dion was prompt, professional and very polite. He is hands down the best plumber I have ever used.
Cole has been handling plumbing and general contracting for our four properties over the past three years, and he’s always done a great job. Most recently, he installed a sink and countertop in our retail store where none existed before, and it turned out exactly how we needed. He’s...
 ANB Renovations LLC
Matt is a consummate professional. The work turned out to be far more difficult than expected and rather than turn the job down, Matt rose to the occasion and completed a near impossible task. I can not recommend Greene's Plumbing Service more highly. On a scale of 1-5 I would give Matt a...
The technician was very professional and friendly. He answered all my questions and was very thorough. He left the fireplace area very clean . He inspected from the roof and advised me as to other work that might need to be done. There was no pressure there. I was very satisfied with the...
 Supreme brick & chimney
Custom Paint Jobs LLC pays attention to every detail, ensuring a job well done every time.
When we had the winter freeze, I called Quantum Waterworks Waterline & Drain Cleaning Services and within 1 hour I received an e-mail and he sent someone out the next day and he was on time, he was nice and did the job quickly and cleaned up after himself. We had a leak in our kitchen from...
From the beginning , every appointment was met with punctuality! The day of installation, they arrived on time and worked tirelessly all day until the job was finished. ( Even through a very heavy down pour) Ilia, the owner is a professional, knowledgeable, and fair man. He is absolutely, and...
The service was excellent! They gave me a quote, and had it done 4 days later. My driveway looks amazing, very professional! I would definitely recommend their service to anyone. I have had neighbors stop by and ask for their information as well.
 All Star Paving and Sealing
They are very reliable and available. They the drains all the time
 The Waterworks
From average costs to expert advice, get all the answers you need to get your job done.
When your water system isn’t working as intended, it’s time to repair your well pump. This cost guide will break down well pump repair costs and the parts involved.
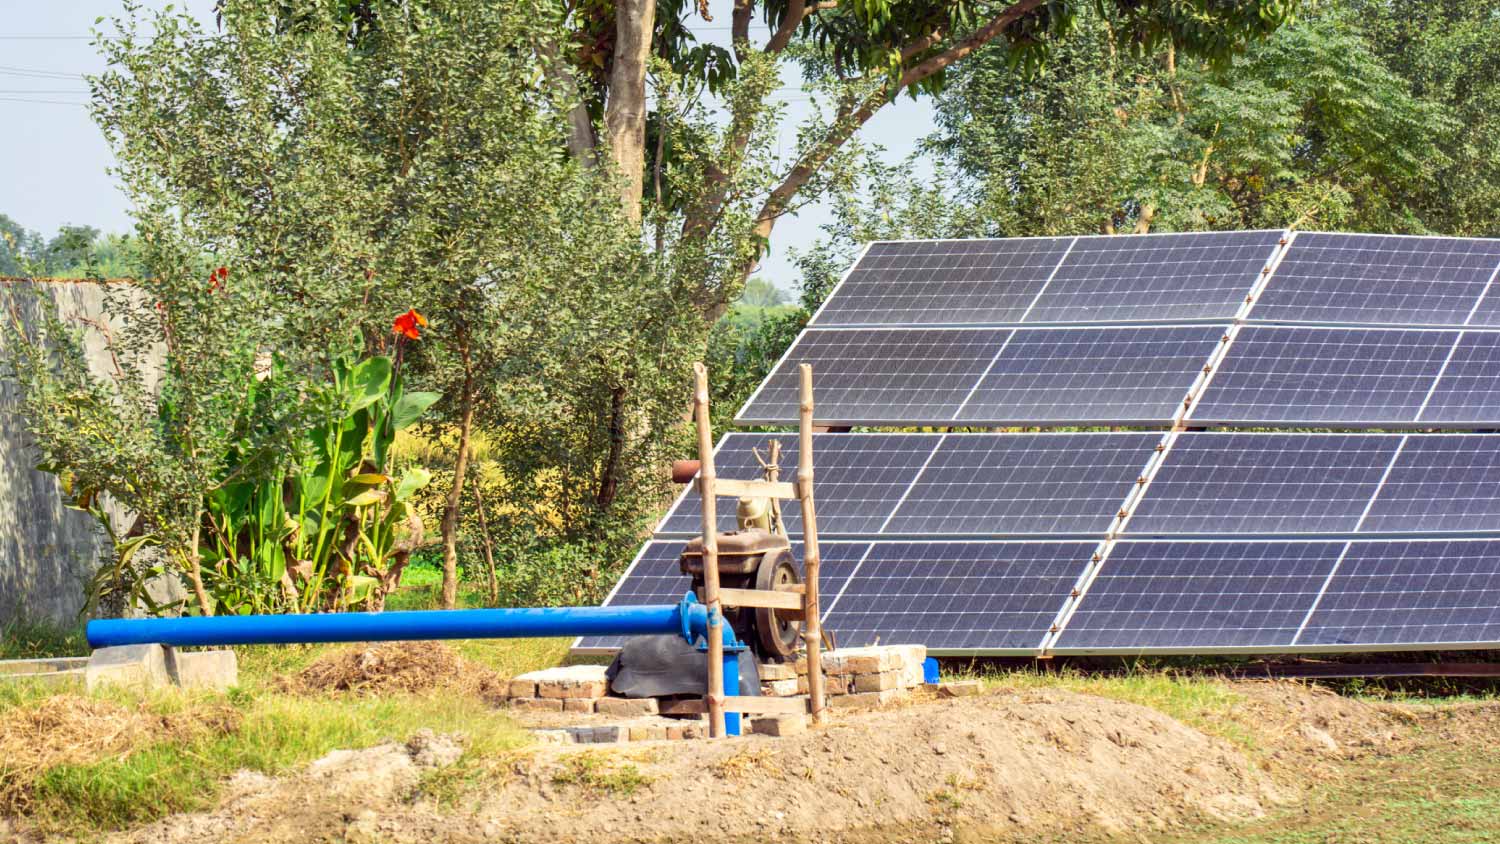
Your solar well pump cost depends on your well depth and flow rate. Explore these cost factors and more to budget for an eco-friendly pump.
There are advantages and disadvantages to having a deep well vs. a shallow well. Learn how differences in well depth can affect your family’s water supply.

The four types of well pumps are submersible, jet, centrifugal, and hand pump. Choose the appropriate one based on the depth and size of your property’s well.
You don’t always need to leave it to the pros to set up your well pump and pressure tank. Follow this guide to learn how to do it yourself.
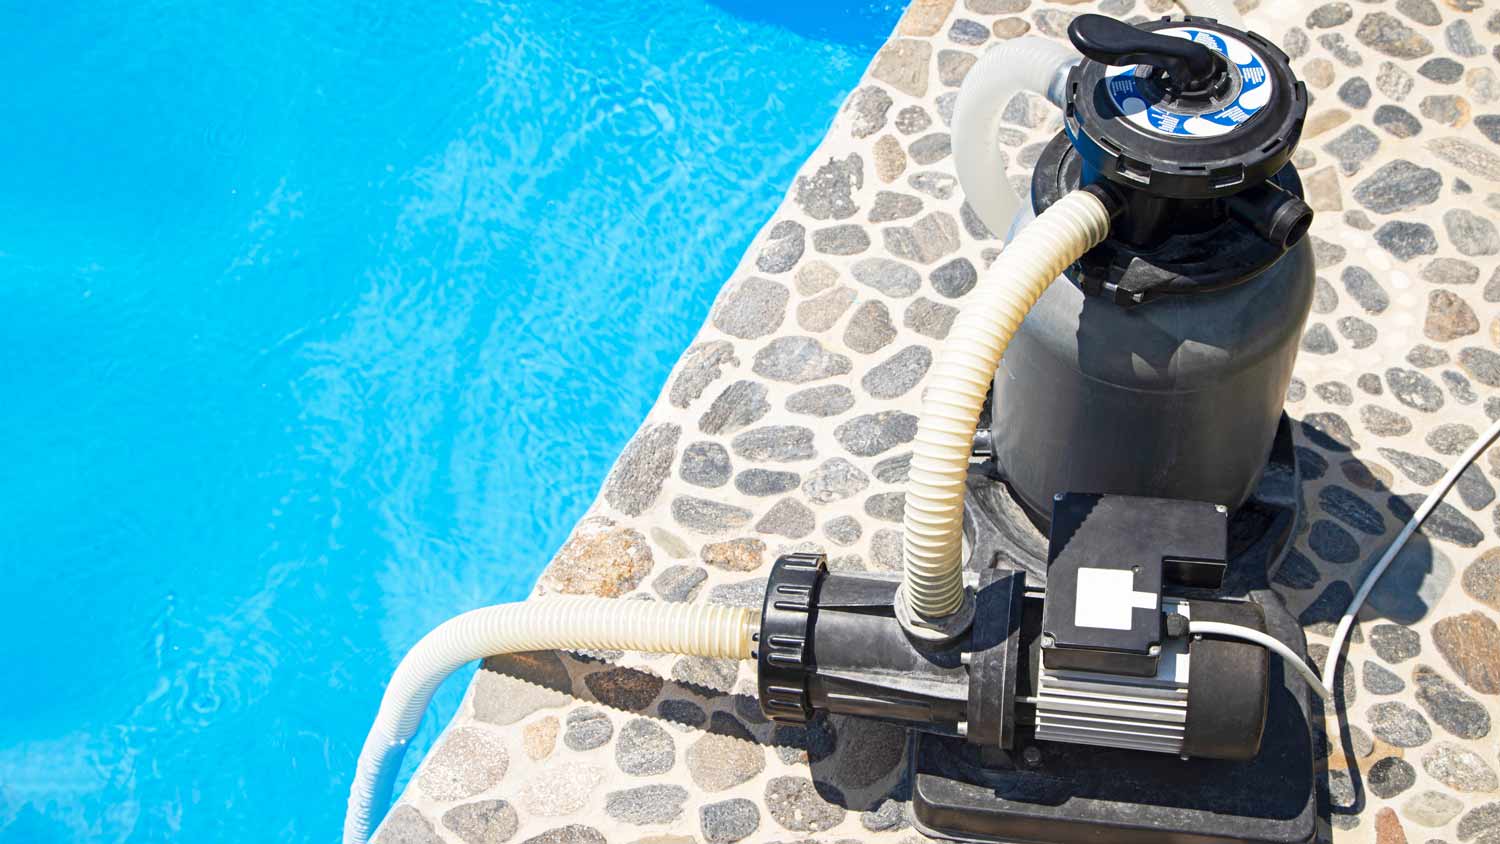
If your pool pump is dry, it’s time to prime it. But how do you prime a swimming pool pump? Here’s how to do it in six simple steps.