

Whether your energy bills are out of control or you can’t keep your home comfortable, it’s good to know what costs to expect before you pay to insulate your ductwork.
Wrap up your energy efficiency issues

Installing a bathtub liner gives your existing tub a fresh look without the full replacement cost, as long as your tub has no cracks or drainage issues.
Expect to pay $500 to $2,800 for DIY materials or around $6,400 for professional installation, while tub replacement costs $2,000 to $9,400.
You'll need to clean your tub thoroughly, remove all hardware, apply primer and adhesive, then carefully fit the liner to avoid trapping moisture underneath.
Hiring a local bathtub repair professional provides reliable help with proper sealing and adhesive application, preventing water damage and mold from improper installation.
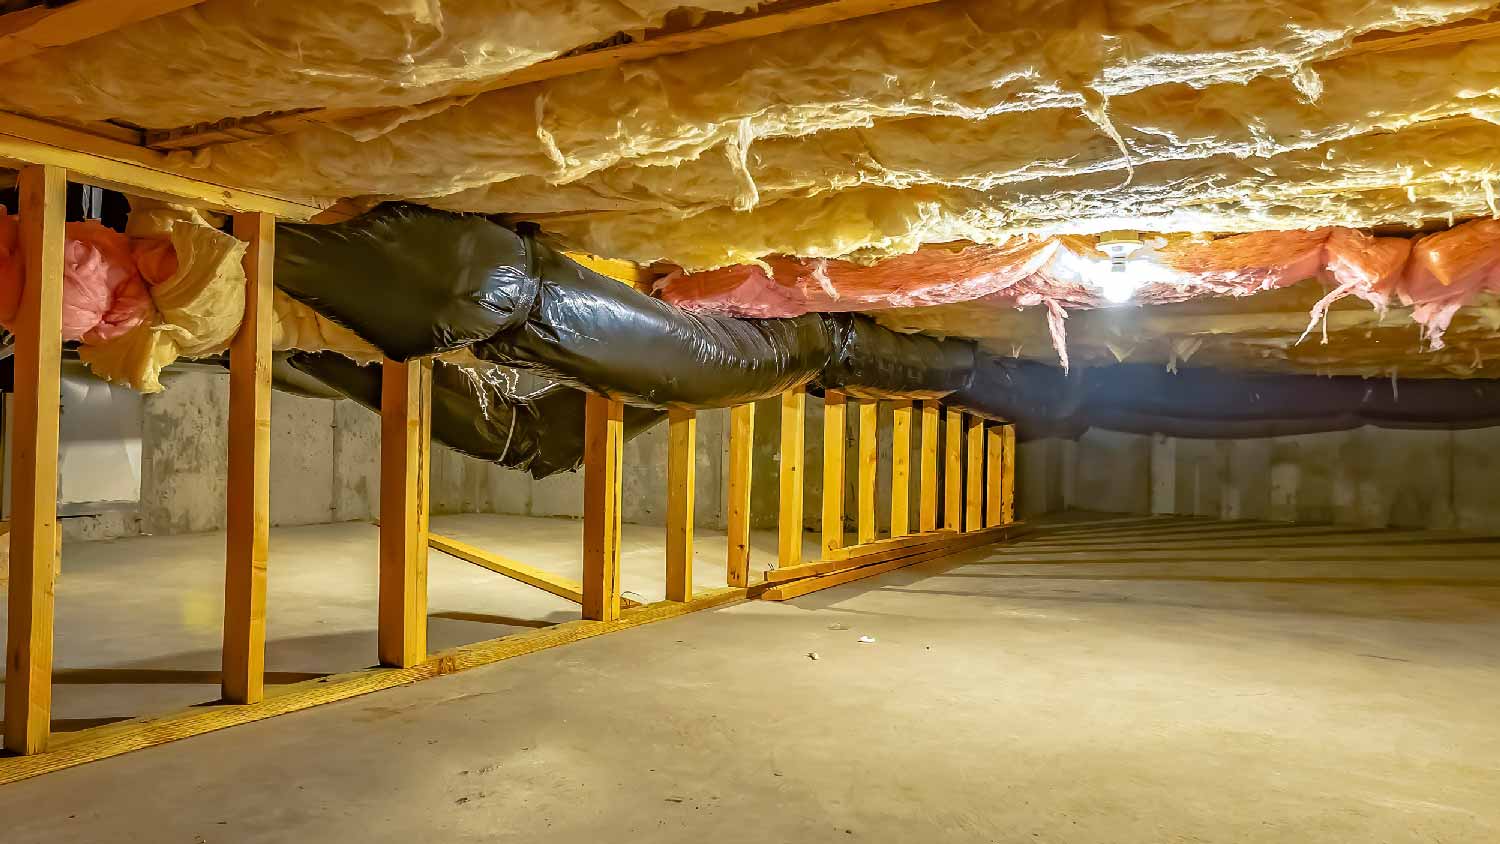
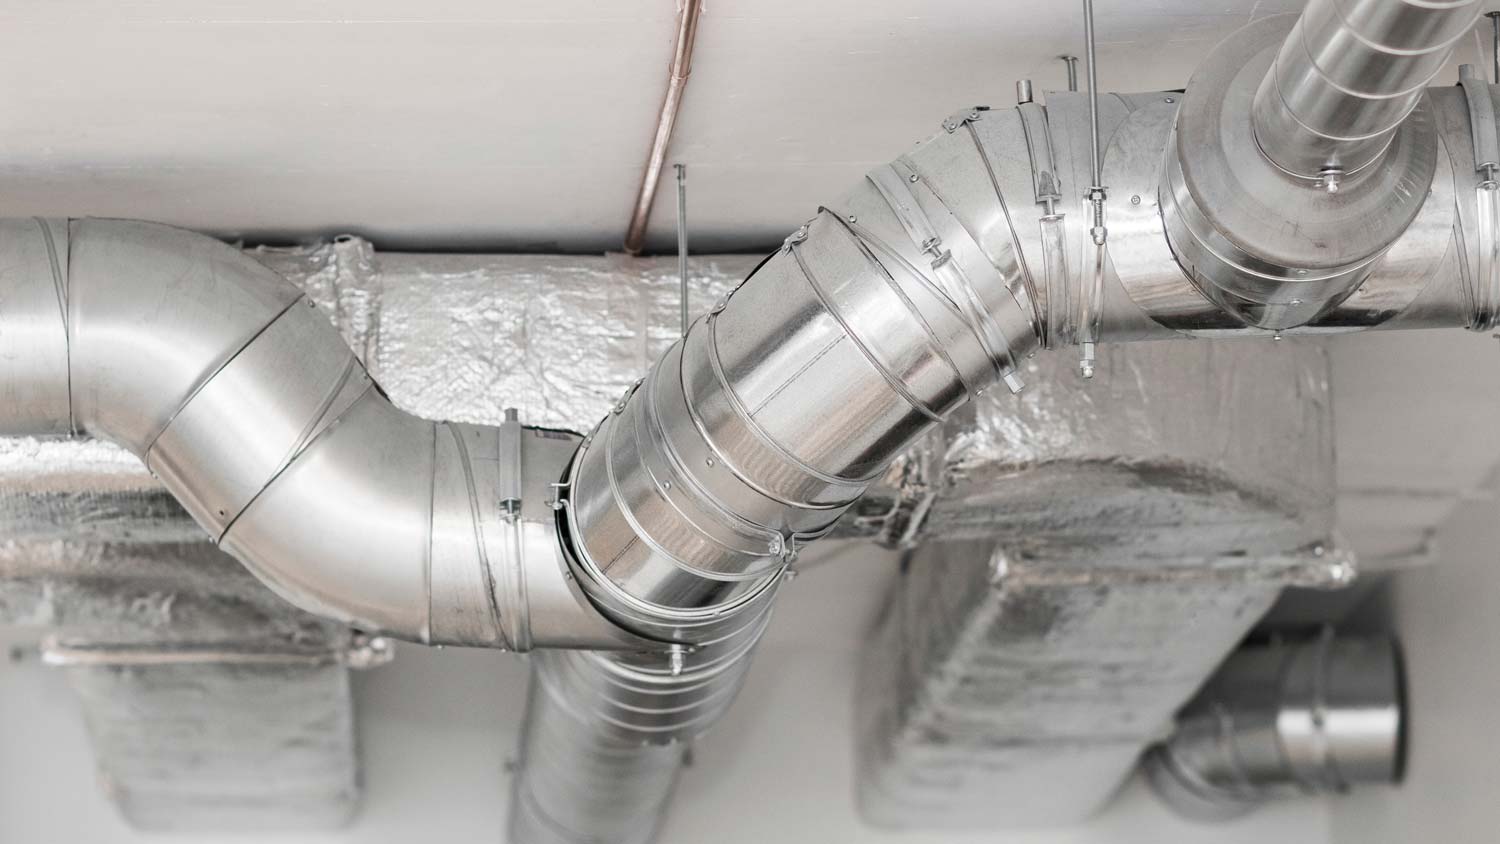
An efficient HVAC system requires properly sealed and insulated ductwork. If your energy bills are high, your home heats or cools unevenly, or you have other issues like condensation on ducts, wrapping exposed ducts may help. This job varies in cost and complexity based on home size and duct insulation type, but you may be able to do it yourself and save hundreds on labor.
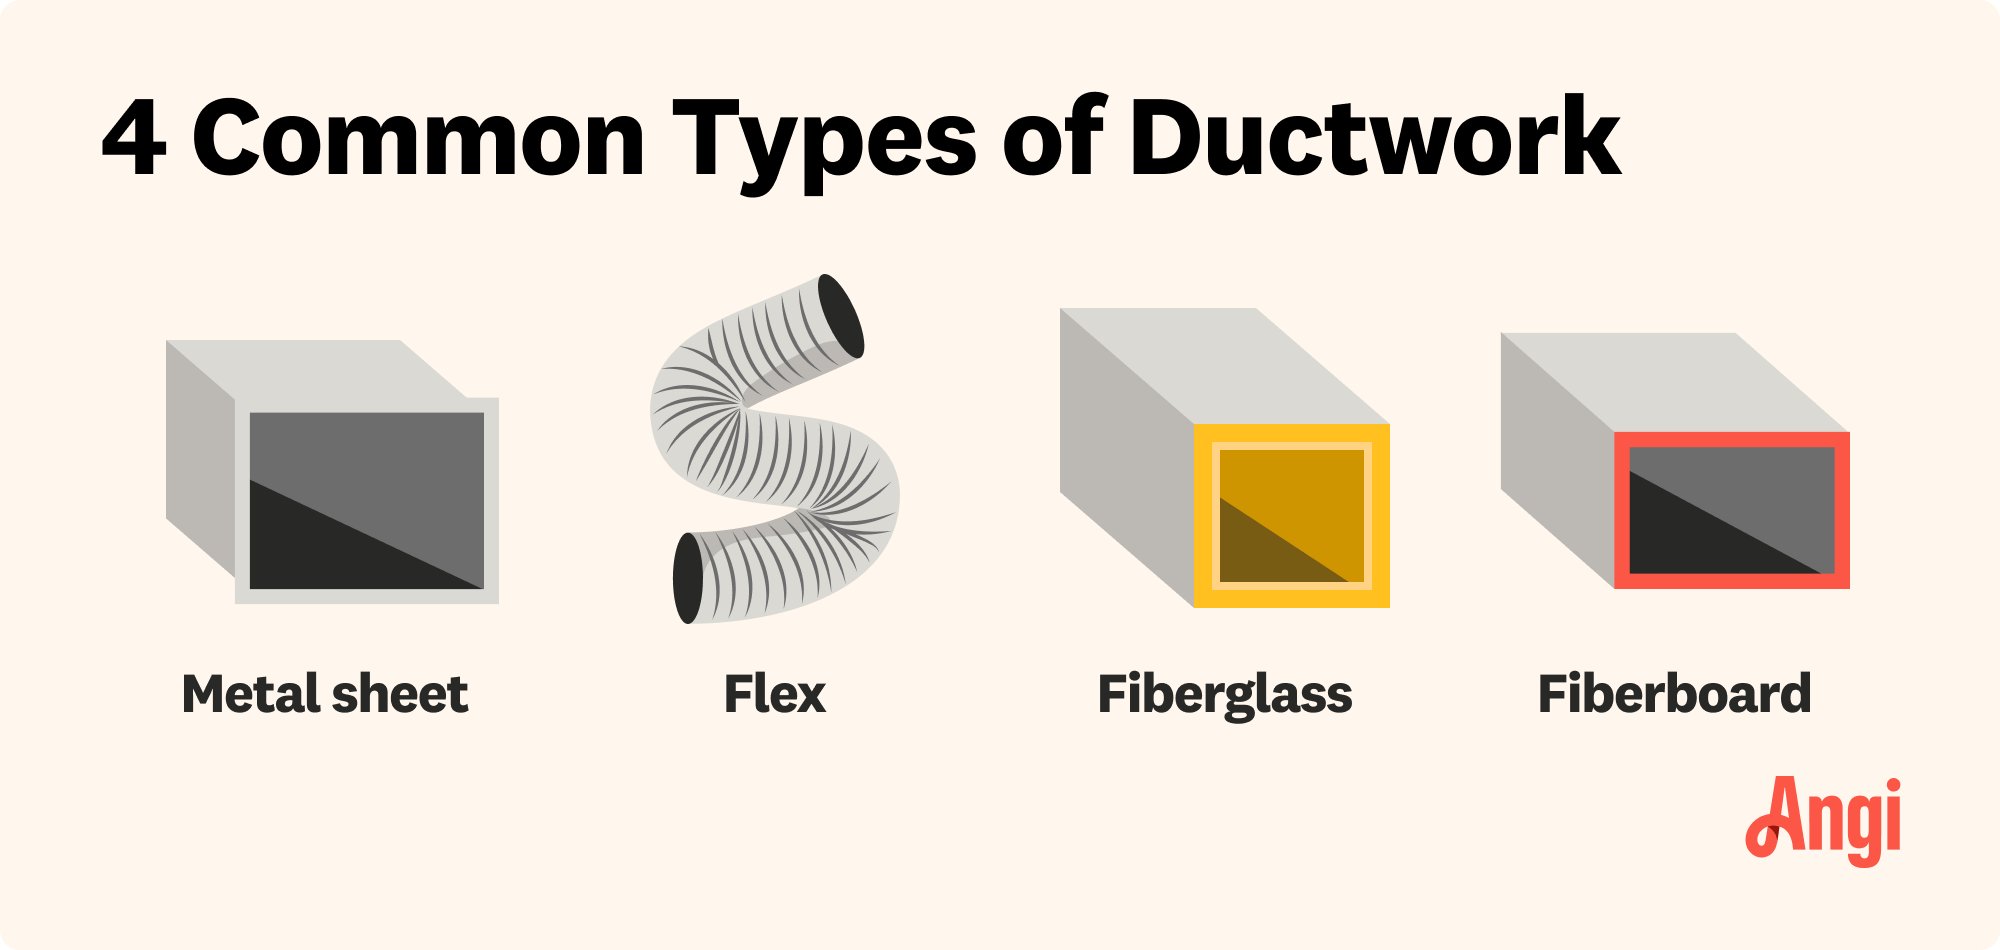
Before you begin, look closely at your ducts to determine what’s needed. Flexible ducts often come pre-insulated and may just need minor sealing. Rigid ducts will require precise cutting and fitting. Ducts in attics, crawl spaces, and other unconditioned areas should have an additional vapor barrier included in the insulation.
If you have internal ductwork that runs through walls, you'll want to hire an HVAC specialist to access and insulate it properly.

Before you get started, turn off the power to your HVAC unit. You should also dress appropriately. Whenever you work with fiberglass insulation, wear long sleeves, pants and socks that cover your legs, safety goggles, sturdy work gloves, and a respirator breathing mask.
Before insulating, wipe the exterior of your ducts with a clean, dry cloth so they're free from dust. This will allow the tape and mastic to adhere properly. If any of your ducts have existing insulation, assess it for wear. If it's old and damaged, you'll want to remove and replace it.
Some insulation can be removed by peeling off the tape that’s holding it to the duct. Otherwise, you'll need to cut it away with your utility knife carefully. Be extremely careful with a knife around flexible or semi-rigid ducts, as these are prone to tears. Put the old insulation into sealed garbage bags and dispose of or recycle it per your local waste collection guidelines.

Once your ducts are clean and bare, turn the system back on and visually inspect the ducts for kinks or cracks. You can also detect leaks by holding a smoke pen or lit incense stick beside the ducts. Leaking air will disturb the smoke.
Turn off the system's power again, and seal any leaks by applying mastic duct sealant with a paintbrush. Allow the sealant to dry thoroughly before proceeding to the next step.
Use your tape measure to determine the circumference of your ducts. Then, use your measuring square and utility knife to cut your insulation to that width plus an additional two inches for overlap. You'll need to cut many sections to cover the entire duct.

Wrap the insulation around the duct, overlapping and securing the seam with foil tape. The insulation should fit snugly without being compressed. Pinch the seam tightly and secure it with short pieces of foil tape. Seal the ends of each length of insulation to the duct or the next length. Repeat this process until your ducts are sealed entirely.
For lengths of ductwork that are difficult to access on all sides, use preformed insulation in a size that matches the diameter of your ducts. To install preformed insulation, you’ll need to measure and cut the insulation tubes and then remove fittings to slide them over the duct. Replace any removed fittings and use mastic to seal their joints. Seal any remaining edges with foil tape.
As you insulate your HVAC ducts, be aware of these common DIY mistakes to avoid:
Not overlapping seams sufficiently: As you wrap ducts with insulation, all seams should overlap by about two inches to prevent gaps.
Ignoring existing damage: Address holes, compressed insulation, and unsealed leaks before wrapping your ducts. Otherwise, they’ll be much harder to detect.
Compressing insulation: Compression reduces insulation R-value and effectiveness.
Ductwork insulation can be done any time of year. However, you'll likely want to handle it during the spring or fall when you're least likely to need to operate your HVAC system regularly.
Professional ductwork insulation costs $2,500 on average. You could save on labor by doing the job yourself, but it can be very time-consuming with high material costs, making mistakes pricey.
Ductwork is also often hard to access, and sections may need to be removed and reattached to complete the task. Some municipalities require an HVAC license to perform duct insulation.
If you lack the time or experience necessary for the job, contact a local insulation company. You can trust these trained pros to safely and properly handle the job for you.
I normally do not leave reviews, but my experience with Worthington Air was extremely frustrating and disappointing. About 30 days ago, I had a consultation done for an HVAC replacement and was quoted approximately $15,079. Based on that quote, I applied for financing through their company...
Great company! Price was competitive, technician showed up on time and completed the job (exterior electric Radon fan replacement) quickly. Would hire them again.
Raven and crew does absolutely fantastic job. They are very professional if any concerns were to occur with any of her work she always took responsibility and finished out with a great job. I have worked with her business for a year and have always been satisfied. Very trusted business and...
I would recommend this company to anyone! He showed up on time, was friendly, completed a very difficult repair on our dryer vent cover, was responsive, and pricing was extremely fair and competitive. I would have him back to do any of our repairs or cleanings without hesitation!
Ace Fireplace Services' chimney sweep service is truly exceptional. They used advanced technology to ensure a thorough cleaning process, and my chimney has never looked better. I highly recommend their services.
 Ace Fireplace Services
The technician was very professional and friendly. He answered all my questions and was very thorough. He left the fireplace area very clean . He inspected from the roof and advised me as to other work that might need to be done. There was no pressure there. I was very satisfied with the...
 Supreme brick & chimney
Excellent experience with hiring Tether House to Mount our 77’ Samsung TV in our bedroom. Fast, friendly, and knowledgeable. Highly recommend.
On time, clean and finished fast. Windows seem sturdy and the finish is good. Caulking was done with no smudges. Would recommend.
Great job...edging and pre clean up went well with a great job with seal coat. Friendly, efficient and professional.
 All Star Paving and Sealing
Good workers and they do a good job.
From average costs to expert advice, get all the answers you need to get your job done.
Whether your energy bills are out of control or you can’t keep your home comfortable, it’s good to know what costs to expect before you pay to insulate your ductwork.

Exposed ductwork can be a smart choice even beyond aesthetics. Fortunately, exposed ductwork costs are relatively low, and easy access keeps repair costs to a minimum.
Repairing ductwork in a crawl space is frustrating and difficult, which is reflected in the cost. Learn why limited access results in a premium cost beyond just a simple increase in labor hours.

A major detail in keeping your home at the optimal temperature is choosing between duct insulation types. Here's how to narrow down your options.
The best ductwork for crawl spaces depends on the condition of your crawl space area. Read on to learn more and choose the right ducts.

There might be condensation on your ductwork for a variety of reasons, such as clogged ducts, a dirty air filter, or too much moisture in your ducts.