
A storm door can protect your front door and let in more fresh air. Find out how much storm door installation costs for materials, labor, and more.
This straightforward DIY will help you protect your home

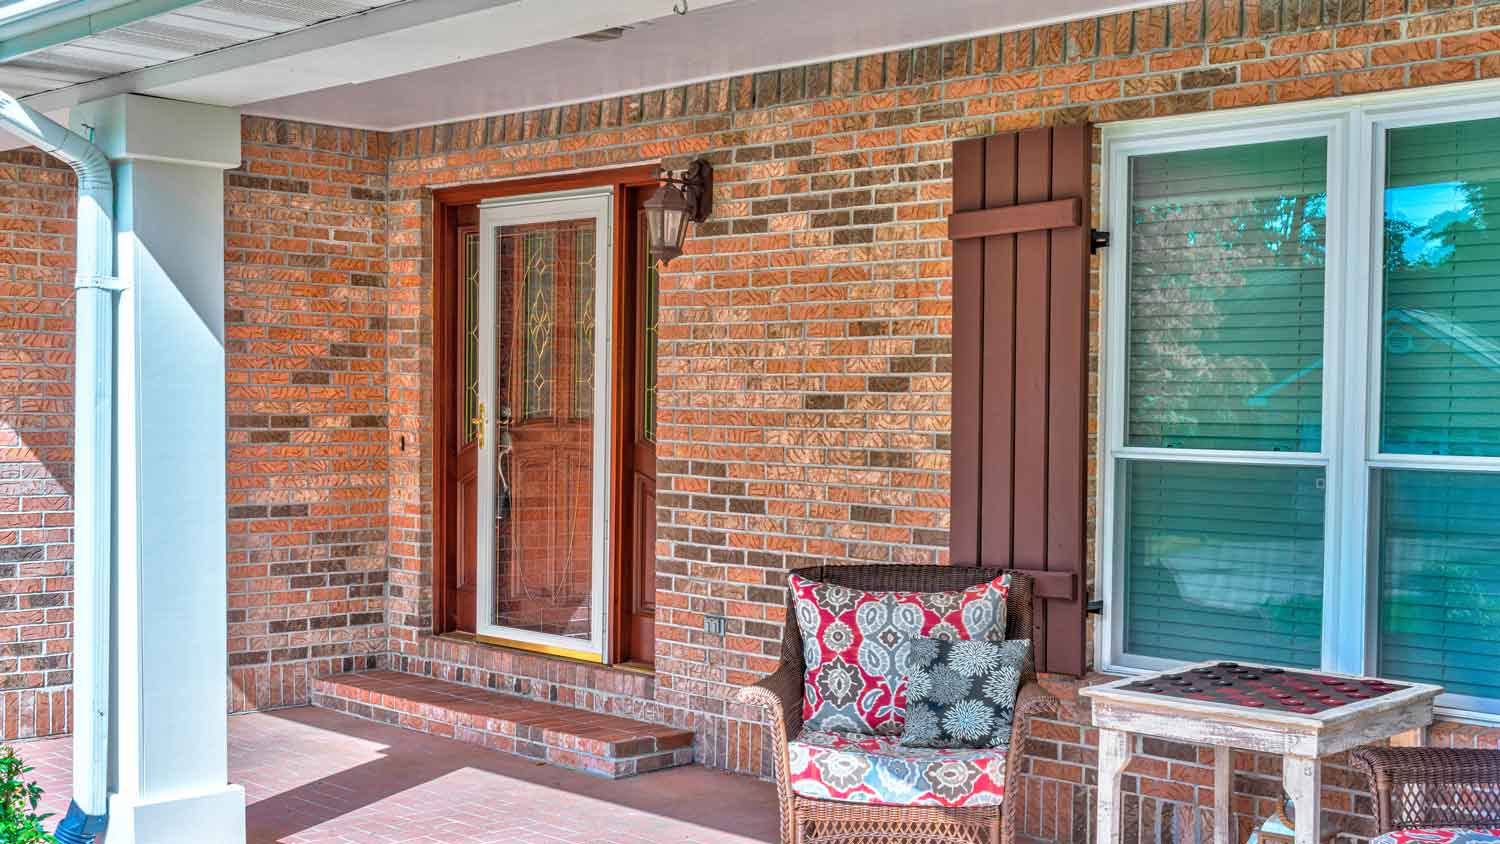
Installing a storm door at your home’s entryway can let the breeze in on sunny days and protect your beautiful front door from severe weather. Hanging a new storm door on your own may seem daunting, but today’s prehung designs make installing a storm door an easy afternoon DIY project. This guide lays out the simple steps for how to install a storm door so you can enjoy additional front door protection in no time.
Different types of doors, such as exterior, interior, fire-rated, and egress doors, have distinct code requirements. A professional door installer has the extensive knowledge to ensure your project is up to code.

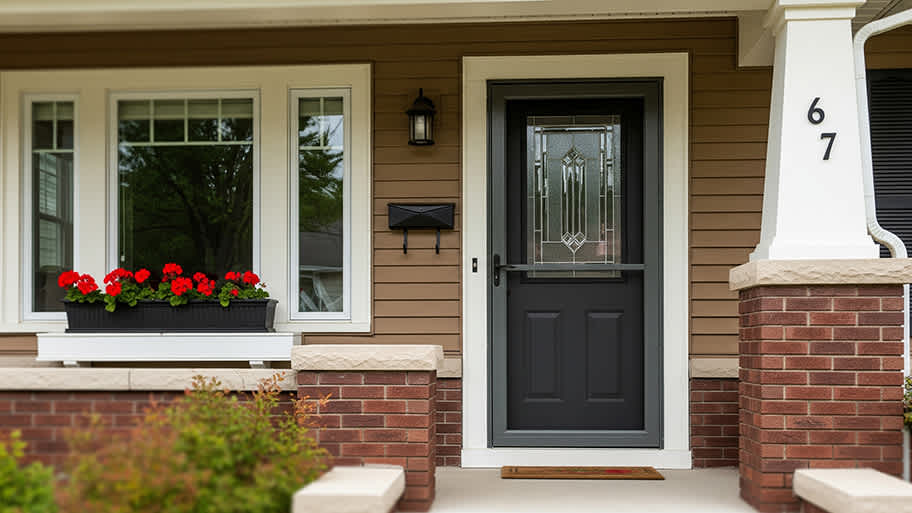
Before learning how to install a storm door, you must decide the style you want, which way it will swing, and where you’ll place the handle. Look for a door with a solid inner core, low-maintenance finish, and seamless outer shell. You’ll find doors in various colors and styles, so choose one that complements your home’s exterior and adds curb appeal.
Locks and handles are often sold separately, so you’ll need to determine the “handedness” of your door. Face your home from outside. If your entry door handle is on the left, it’s left-handed. A handle on the right indicates a right-handed door. As a rule of thumb, position the storm door handle on the same side as the entry door handle. Storm doors almost always swing out.
Once you decide on the style for your storm door and the side you want your lock and handle on, it’s time to start measuring and installing.
You must accurately measure your door frame to ensure you buy the right size storm door. Using a tape measure, take two sets of three measurements:
Measure from the top of the frame to the threshold on the left and right and in the middle
Measure from left to right from the top, center, and bottom of the frame
Write down the smallest measurement from each set and purchase a storm door in that size. Home improvement centers sell prehung storm door kits in various standard sizes, typically between 30 and 36 inches wide. If your door frame is wider, consider ordering a custom door or an extender kit to fill the space between the storm door and frame.
Hold the hinge rail (a storm door part also known as the hinge-side z-bar) tight to the trim on whichever side you’ve chosen to place the door hinge. Drive a screw into the top hole of the rail, leaving a ⅛-inch gap between the head of the screw and the trim. Remove the hinge rail, leaving the screw in place.
Prepare by laying your door on a stable surface or resting it on dual sawhorses. Start with your hinge rail against the opening on the door's hinge side. With your hacksaw, cut the hinge rail to match the height of the door's opening. Be sure to create a slight slope on the bottom that will accommodate the slope of your door sill. Finally, screw the hinge rail to the door.
Add the door sweep to the bottom of the storm door. Fit it to size by snipping any excess sweep. Weatherstripping should even cover the door sill's width. If extender rail caps are provided, remove them from the bag to note markings for "left" and "right." To place them on, use a "squeeze and shove" technique that allows them to fit over the bottom corners.
This step may be easier with a partner to help you lift the door. Hang the hinge rail onto the placeholder screw and tighten it to hold the door in place. Use a level to ensure the door is plumb and level, and adjust the screw if needed.
With the door level, drive screws along the inside of the hinge rail to fasten it to the frame. If you have a rail cap, slide it down to the door sill. Fasten the outside of the hinge rail to the door trim. Make sure the door can open and close freely, then measure and cut the handle-side z-bar the same way you cut the hinge rail. Fasten it to the other side of the door frame with screws.
Also called the drip cap, the rain cap is a narrow rail that sits across the top of the door frame to stop rain from leaking between the storm door and entry door. Line it up to the edge of the door’s hinge rail, holding it tight to the trim. Attach it by drilling one or more screws through it. Install the latch rail tight along the edge of the drip cap and fasten it with screws as well.
Some prehung storm doors come with handles and locksets, while others require separate hardware. Follow the instructions provided with your storm door to drill holes in the door for the latch. You may have a drilling guide, which you can snap to the outside of the door to show where holes should go.
Slide the lock body into the holes and fasten it with a screw. Place the face plates on either side of the door, push the handle rod through, and then secure both handles with additional screws. The latch and deadbolt should be able to extend into the latch opening. If not, use a chisel to open up enough space in the door trim.

The door closer adjusts the speed at which your door will swing shut. Install your storm door closer according to the manufacturer’s instructions. You’ll add one closer bracket to the hinge side door jamb and the other bracket to the door. Loosen or tighten the closer to adjust the door speed. If your model comes with a safety chain, mount it so the door can open a full 90 degrees.
According to data from Angi, 38% of homeowners want to install a storm door within two weeks, while 29% need it installed within one to two days. The remaining homeowners are either still planning or can wait more than two weeks.
If you’re using a prehung, standard-sized door, you can easily complete a DIY storm door installation within a day. The cost of materials for this project can range from $250 to $1,000, and you’ll save anywhere from $75 to $400 per door on the cost of professional labor by doing it yourself.
In some cases, however, storm door installation can be more complex. If your door frame isn’t square or has other complications that require repair, consider hiring a local storm door installer to handle the job. Incorrect storm door installation can leave your home unprotected from weather damage, so it’s essential that it’s done correctly.
Terrible experience. Walls/trim/floors/cabinets/doors all have drip marks, overspray, etc. Tiling at the fireplace had to be redone by another vendor due to incorrect and shoddy install by Profect. Contractor had his children in our house while he was on site without prior authorization or...
 Profect painting & exteriors
Jason has helped me with multiple household projects, with the most recent being new door installation. He has always showed up on time and organized and has done an incredible job! Jason is very professional and he's now my go-to for anything around my house that needs to be fixed or...
Company came to look at my garage door that was off track. They also said I needed a brace on the other garage door. They put the door back on track, and I paid to install the brace. The technician told me I needed a new garage door opener, and it would cost $1000. Red flags went off in...
 Precision Overhead Garage Door Service
On Sunday 2/26 I requested quotes via Angi from 4 refrigerator repair businesses. Northwest Appliance responded to me Monday morning (2/27) and my refrigerator was repaired by noon the same day. Great communication, they did everything they said they would. The technician had the parts on...
Excellent customer service and knowledge. I was recommend to him from my neighbour. My front door and window came in great and were installed beautifully perfectly, I m very satisfied with their excellent work, so decided to order one more big bow window for my living room. I cant wait for...
Called ahead and worked quickly to install keyless locks on vintage wooden doors.
Scott did not get appropriate access to the property prior to the scheduled inspection which required us to come back later in the day to complete it. He also, unprofessionally, knocked on a neighbor?s door in his attempts to reach someone with access. His overall report was fine though the...
Door Depot was very responsive - they came out the day after my call to assess my needs, then returned at my convenience to complete the work. They arrived early, and the work was completed in a shorter period of time than estimated. Very pleased with the results. I would definitely use them...
 Door Depot LLC
Replace garage doors: Fast response, competitive estimate, timely work done well.
Jeremiah did an awesome job cleaning 28 windows inside and out! He was fast, efficient and now I have a beautiful view again. This was a Groupon for $139 for 20 windows, but I had 28 windows/doors cleaned, so there was an extra $6 per window. Totally worth it.
 Complete Home Services
From average costs to expert advice, get all the answers you need to get your job done.
A storm door can protect your front door and let in more fresh air. Find out how much storm door installation costs for materials, labor, and more.
Welcome home! How much does exterior door installation cost when it's time to add a new entryway to your front or back porch? Let's take a look.
Learn how to hire someone to install a storm door with our guide covering qualifications, questions to ask, and tips for finding the best installer.

If you need to install a storm door, you can call a local contractor, construction company, or hardware store to get the job done.
Planning to install a new or replacement storm door? Learn how to measure for a storm door to ensure a snug, secure fit for your home.
If your storm door doesn’t shut properly, loose screws or damaged weatherstripping might be to blame. Learn how to fix a gap between a storm door and frame.