

Laminate is a solid choice for many homes because it's durable and budget-friendly. Check out this guide to learn about laminate flooring installation costs.
If you can use a saw, you can install laminate flooring

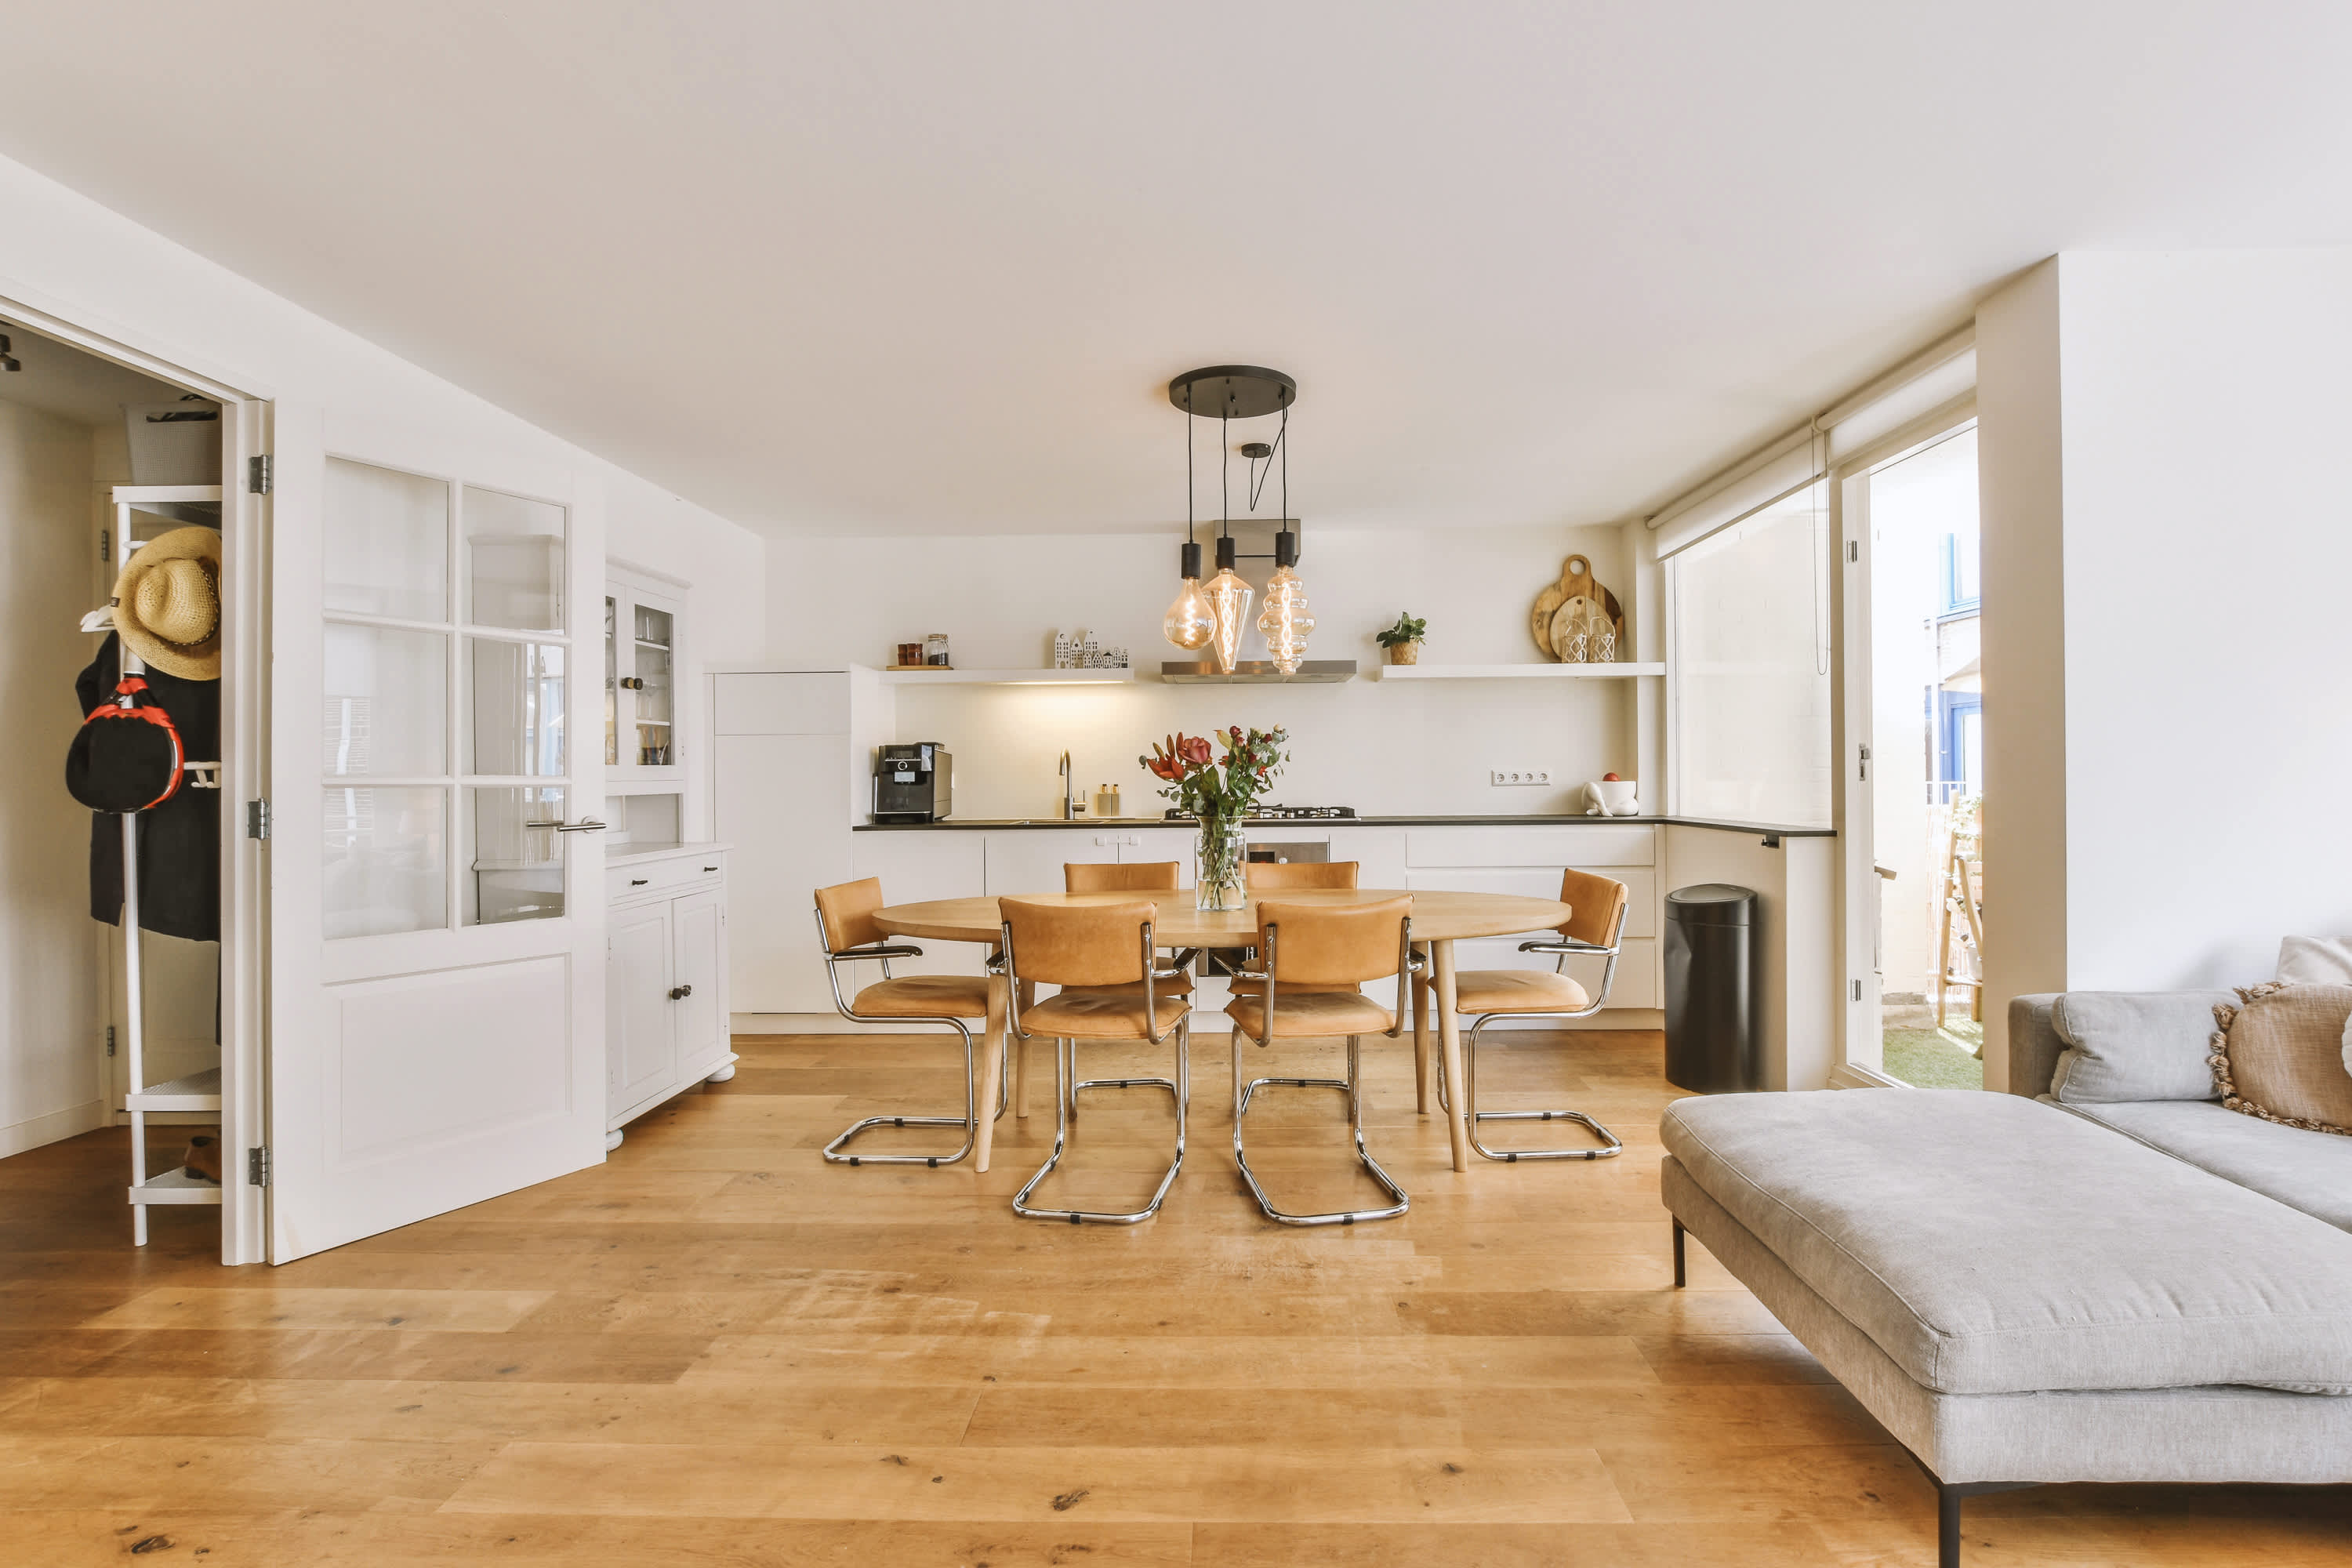
Learn how to install laminate flooring on your own and save on costs (it’s easier than you may think). Empty out the room and let’s get started.

While it’s tempting to get started, first allow the flooring materials to acclimate to the room. Basically, your flooring needs to get used to the humidity and temperature of your home before you install it. Put the flooring in your room for 48 hours (ideally, it should be between 64 and 86 degrees Fahrenheit and 25% to 75% humidity).
Also, gather all of your safety gear ahead of time. Follow safety precautions and use goggles and earplugs when using saws, and protect your knees with kneepads when working on the ground.
This step is optional. In most cases, you don’t need to remove the baseboard in order to properly install laminate flooring. If removing the baseboards would create too much damage to the wall or baseboards themselves, leave them be. However, it may be beneficial if you’re planning on replacing or touching up your baseboards anyway.
Yes, you can lay laminate flooring over existing hardwood, linoleum, and tile. Though if you want to install your new floor properly, it’s best to remove any existing flooring to ensure it’s level and secure with a proper underlayment.
Prepare your subfloor by making sure it’s level and clean. First, clean the subfloor of any dirt or debris. You’ll need to remove any paint or adhesive using scrapers or a chemical product. Then, use a level to find any dips and peaks in the subfloor and fix them as needed.
If you have plywood subfloors, inspect them carefully for any protruding nails or staples. Remove any staples as necessary, and hammer down any loose nails and pieces. You can use a belt sander to fix peaks and a self-leveling compound to fix the dips.
For concrete subfloors, you can use a cement grinder to get rid of peaks and a self-leveling compound to fill in the dips.
Use an undercut saw to create enough space underneath the door jambs so that the new laminate planks can fit securely. If you don’t have an undercut saw, any hand saw will get the job done.

Once the laminate floor planks are snapped in, it’s difficult (and potentially damaging) to remove them. Practice different layout schemes before actually putting the pieces together. Play with different lengths, colors, and patterns. Once you configure something you like, take a picture to use as reference.

Adding an underlayment is an important step in laminate floor installation. It works as a protective barrier to keep moisture, mold, and mildew from building up underneath the laminate planks. This extra layer can also help with soundproofing and insulation.
If you are installing laminate flooring over a layer of concrete (a very porous material), you will need to also install a vapor barrier between the subfloor and the underlayment. A vapor barrier will provide additional protection against moisture. Some underlayments are designed to double as a vapor barrier—be sure to do your research before making a purchase.
When installing underlayment, lay each sheet side by side, and don’t let them overlap. When you’re ready, tape along the seams, and use a utility knife to remove excess material.

Laminate flooring will expand with changes in temperature and humidity. Leave a ⅜-inch gap between the outer planks and the wall to give just enough space to support that movement, preventing buckling and damage in the long run.
Aim to use two spacers for each plank. You will only need to use spacers along the walls that run parallel to the long side of the planks. Simply hold the spacers in place with painter’s tape.
No spacers? No problem. DIY your own spacers by cutting down ⅜-inch plywood pieces.

Now it’s time to start laying laminate flooring, starting with the first row. Once you have the desired pieces selected, cut off the tongue edge of the planks that will be touching the wall. Though some planks are scratch-resistant, you’ll want to cut all planks facedown to prevent any damage to the surface. Use a circular saw, jigsaw, or table saw to make the adjustments you need.

Once the first row has been laid out, it’s time to move on to the next. Remember that you want the seams of each row to be staggered for both structural and visual purposes. To do that, use partial planks of different sizes to start each row.
You will find that the last plank of each row will have to be measured and cut to fit correctly. Make these adjustments as you go to ensure you’re getting the most precise measurements possible. Use the leftover plank to start your next row.
Most laminate flooring planks have tongue and groove edges that allow pieces to snap securely in place with each other, eliminating the need to use adhesives like glue or grout. You may need to use a draw bar or rubber mallet to make sure each plank is connected completely.

Once the final row is completed, you can remove the spacers and install a transition strip. Transition strips are used to evenly fill the gap under a door frame or between rooms where the flooring type suddenly changes.
There are many different types of transition strips, so be sure to purchase the correct style for your needs.
The steps to install a transition strip may vary slightly depending on the flooring types you’re connecting, but the following tips should apply across the board:
Start by measuring and cutting the exact length you need. In most cases, you will be placing the bottom lip of the transition strip within the crevice between the two types of flooring.
Use construction adhesive to secure it into place.
You can easily install a doorway transition yourself, in just a few steps, to help create a smooth transition across a room’s entryway.
If you removed your baseboards before installing the flooring, now’s the time to reinstall them. Note that this is a great chance for you to possibly paint the baseboards to give your room a fresh new look. This is especially beneficial if your flooring is a new color than your old one, and you want your baseboards to match.
You don’t have to be a pro to install laminate flooring, but basic saw skills are a must. Use these helpful tips if you’re new to power saws.
Always cut laminate flooring face down to avoid damage to the surface
It’s best to use a circular saw to make straight cuts
When measuring a plank to be cut, always mark the back of the plank, not the front
If you’re willing to take on the work, DIYing your laminate floor installation will save you some money. Laminate flooring installation costs average from $3 to $8 per square foot, and labor costs make up 20% to 50% of the total.
However, there are a lot of steps in a laminate floor installation. While it’s one of the easier DIY jobs when it comes to flooring, you still have to get it done right. Otherwise, you’re looking at issues like warped or buckled planks, water damage, and uneven and squeaky floors. All of these issues will require repair, if not a complete reinstallation.
Avoid any hassles by hiring a laminate floor installer near you. A pro will handle everything for you from leveling the flooring, installing underlayment, to getting the planks placed just right in your rooms. For many people, the extra labor costs are well worth having a floor that they don’t have to worry about.
Paul F. P. Pogue contributed to this piece.
Joseph did a great job with the staircase and trim. Timely and efficient, clear communication about the work, very fair pricing. For the stairs in particular, done very skillfully in an old house (1893) in a tight spiral, and very creative with how to do the handrail. Did a nice job with...
This company does it right. Firstly, I want to say that Landan was a joy to work with. He was so kind, transparent, and had everything under control. His entire team showed up ready to work and they were all very respectful of the fact that we were in an office space. A little backstory – we...
Finished Basements Plus was wonderful from beginning to end! First, they came out quickly for an estimate. I had 4 estimates and theirs was by far the best. (2 of the estimates were more than $20K higher than for the exact same work). Beyond their fair pricing, the work was excellent. They...
 Finished Basements Plus Inc.
Very professional, knowledgeable and helpful! Completed the install on time and as expected.
Cole has been handling plumbing and general contracting for our four properties over the past three years, and he’s always done a great job. Most recently, he installed a sink and countertop in our retail store where none existed before, and it turned out exactly how we needed. He’s...
 ANB Renovations LLC
Excellent, Prompt, Courteous Service!!! They were super friendly and quite personable. I felt very comfortable with the gentlemen that did the installation. They installed it exactly where I asked them to and they did an excellent job!! I loved their service so much.
Window Depot did an amazing job installing the windows in my basement! The process from start to finish was by far more than what I expected. I would highly recommend Window Depot if you want professionalism from the the consultation to the installation. Dont settle for mediocre when you can...
AFS was excellent from start to finish. Jess, the sales associate, was fantastic...very knowledgeable and very professional. The installation crew was excellent. I couldn't be more pleased with the process. Best of all, my new floor looks fantastic!
 America's Floor Source
We were having 2”x 2” tile installed . There was a small installation error and the new additional replacement tile was from a different lot and the colors didn’t match. Joe assured us that he would rectify everything , which he did without hesitation. We decided to go with the 18” x 36” tile...
 CarifaTile
Did an amazing job transforming my yard. Also installed sod in places, would recommend to everyone.
From average costs to expert advice, get all the answers you need to get your job done.
Laminate is a solid choice for many homes because it's durable and budget-friendly. Check out this guide to learn about laminate flooring installation costs.

The cost to rip up carpets and install laminate depends on factors like labor prices, materials, and location. Use this guide to get a detailed cost overview.

If your laminate is damaged, it’s time for repairs or replacement. This guide will show you everything you need to know about laminate floor repair costs.
Looking to install laminate flooring? Learn how to hire a laminate flooring installation pro, compare quotes, verify credentials, and more.

Laying laminate flooring is a great project for the intermediate DIYer. Brush up on our best tips and advice in this guide to installation.

It’s wallet-friendly and beautiful, but how long does laminate flooring last? This guide covers the life span of laminate flooring and how to make it last longer.