•
Discover the cost to install faux wood beams. Learn about price factors, installation options, and ways to save on your faux wood beam project.
Add warmth and style to any room in your home


Adding beams to an existing ceiling requires locating ceiling joists with a stud finder to ensure your faux beams attach securely and stay level.
Your faux beam project costs $1,000 to $5,000 for materials and installation, depending on beam length, quantity, and the room size you're working with.
Cutting and installing rails from 2-by-4 wood pieces creates the mounting system your faux beams slide over, with screws placed every 36 inches for stability.
Hiring a local carpentry professional keeps your beam installation level and secure, handling measurements, rail mounting, and finishing touches for a polished look.
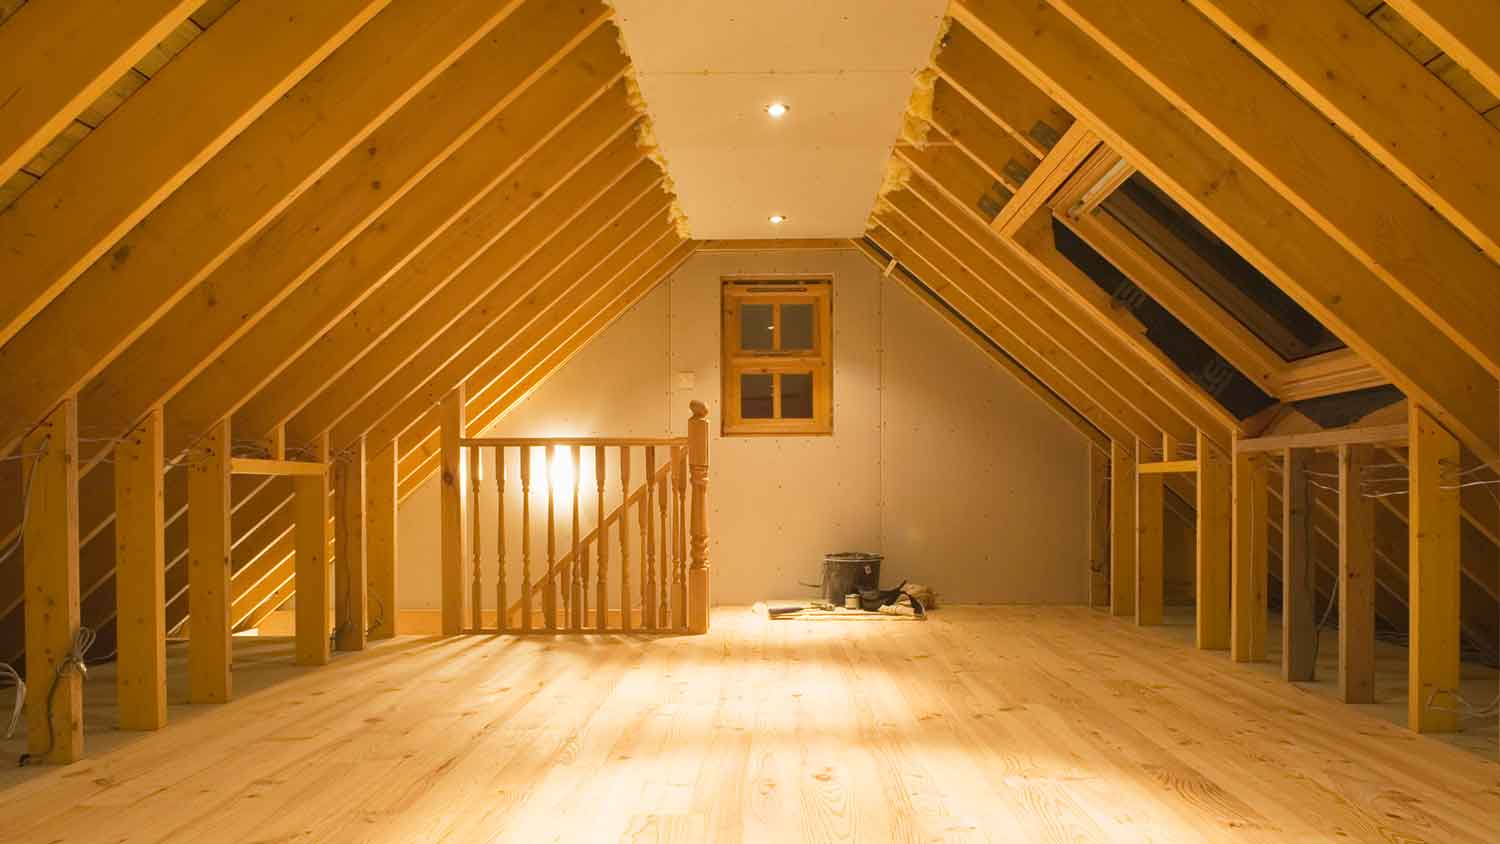
Looking to add a little pizzazz to your living room, dining room, or anywhere else in your home? Wooden beams are an excellent ceiling design element that adds warmth and charm to any room, especially if you have high ceilings. Faux beams are the way to go because they’re much lighter than wood and come in a wide variety of style options.
This is the project for you if you’re comfortable using a ladder and are skilled at cutting faux wood and handling a saw. However, if you’re not a seasoned DIYer, you might be more comfortable hiring a professional contractor to install these beams for you. Read on to learn step-by-step instructions on installing faux beams.

Whether you’re looking to add rustic charm or going for a western-inspired home style, faux beams can do the trick.
“The aesthetic appeal of a wood beam is amazing,” says Bob Tschudi, Angi Expert Review Board member and general contractor in Raleigh, NC. “Whether it is a real beam or a faux beam really doesn’t matter—exposed beams provide a feeling of stability and history that really enhance the home-owning experience.”Follow the steps below to install them in any room of your house.

Follow the steps below to install them in any room of your house.
You know which room you want your beams to be in, and now you need to map out how you want them to look. Figure out how many beams you’d like, which direction the beams will go in, and how far apart you want them to be. You can draw your room or take a photo of it to build out how you want it to look.
Using a stud finder, locate your ceiling joists. Installing the beams on the joists eliminates a step, but if you find that this location isn’t optimal for the design you want, you can install joists in the location you want. Mark the location of the studs or where you’d like to install joists.
Obtain the measurements of the beams themselves to gauge how far apart each beam will be. In this step, you’ll need two measurements: the inner hollow part of the beam, for creating the rails, and the outer width of the beam.
Next, you’ll measure out the location of your beams. You can do this by making tick marks for each location, one to mark the rails (the inner measurement) and one to mark the beams (the outer measurement). Once you’ve made the tick marks, use chalk tape to line the ceiling and measure the length.
Take the measurements of your beams’ location and start by cutting the rails. You can create the rails using 2-by-4 pieces of wood, which will have two paired together per beam. For example, if you are putting up one beam, you’ll need two rails. Having two rails strengthens the hold of your beam.
Once you cut the rails to size, you’ll want to drill holes for installation. How many holes you need will depend on the length of the beam, but a good rule of thumb is about every 36 inches. Measure and mark the location, and then drill quarter-inch holes.
Now you’re ready to install the rails. This is best done with two people, so someone else can help hold the rail while you drill. Measure the rail to the chalk line and drill through the holes into the ceiling, then use a drill and screw to hold the beams in place.
Once your rails are in place, you’re ready to prepare and install the beam. Measure and cut the beam to length. Due to the material, these tend to cut easily, so you can use a handsaw to cut.
Once you cut the beams to size, you’re ready to install. Again, this is best done with two people to ensure easier installation. The beam will fit right over the rails and should fit tightly inside the hollow part of the beam. To affix the beam, you’ll use finish head screws with a drill about every 14 inches along each side of the beam.

Fill the screw heads with colored wood putty to match the shade of your beam. As needed, apply caulk to seal any exposed ends of the beam, whether that be on the ceiling or along the wall.
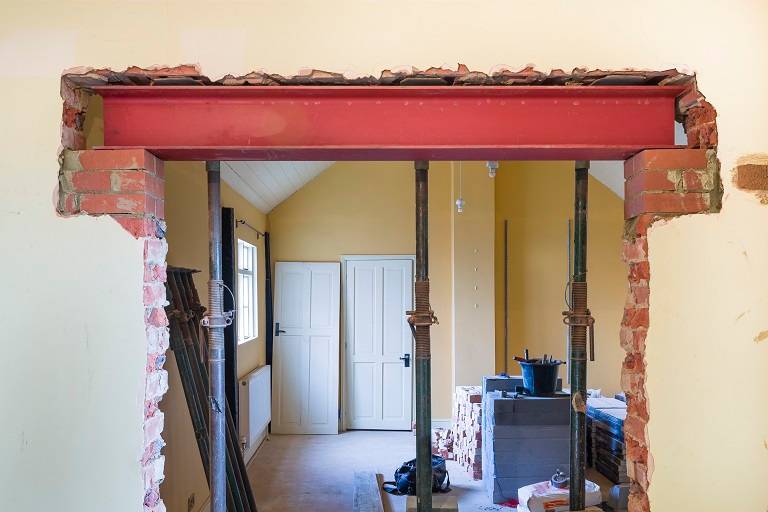
If your goal is to add style with exposed beams instead of support, faux wood is the way to go. While you may be tempted to use something like reclaimed barn wood for your beams, real wood is costly, heavy, and at risk of warping and insect damage.
Faux wood eliminates those concerns with budget-friendly pricing and lightweight material, which makes DIY installation a breeze.
Faux wood also offers hundreds of style and texture options and the material, which is high-density polyurethane, gives it a real wood appearance. You’re much more likely to find a style that matches your home decor with faux wood than with real wood.
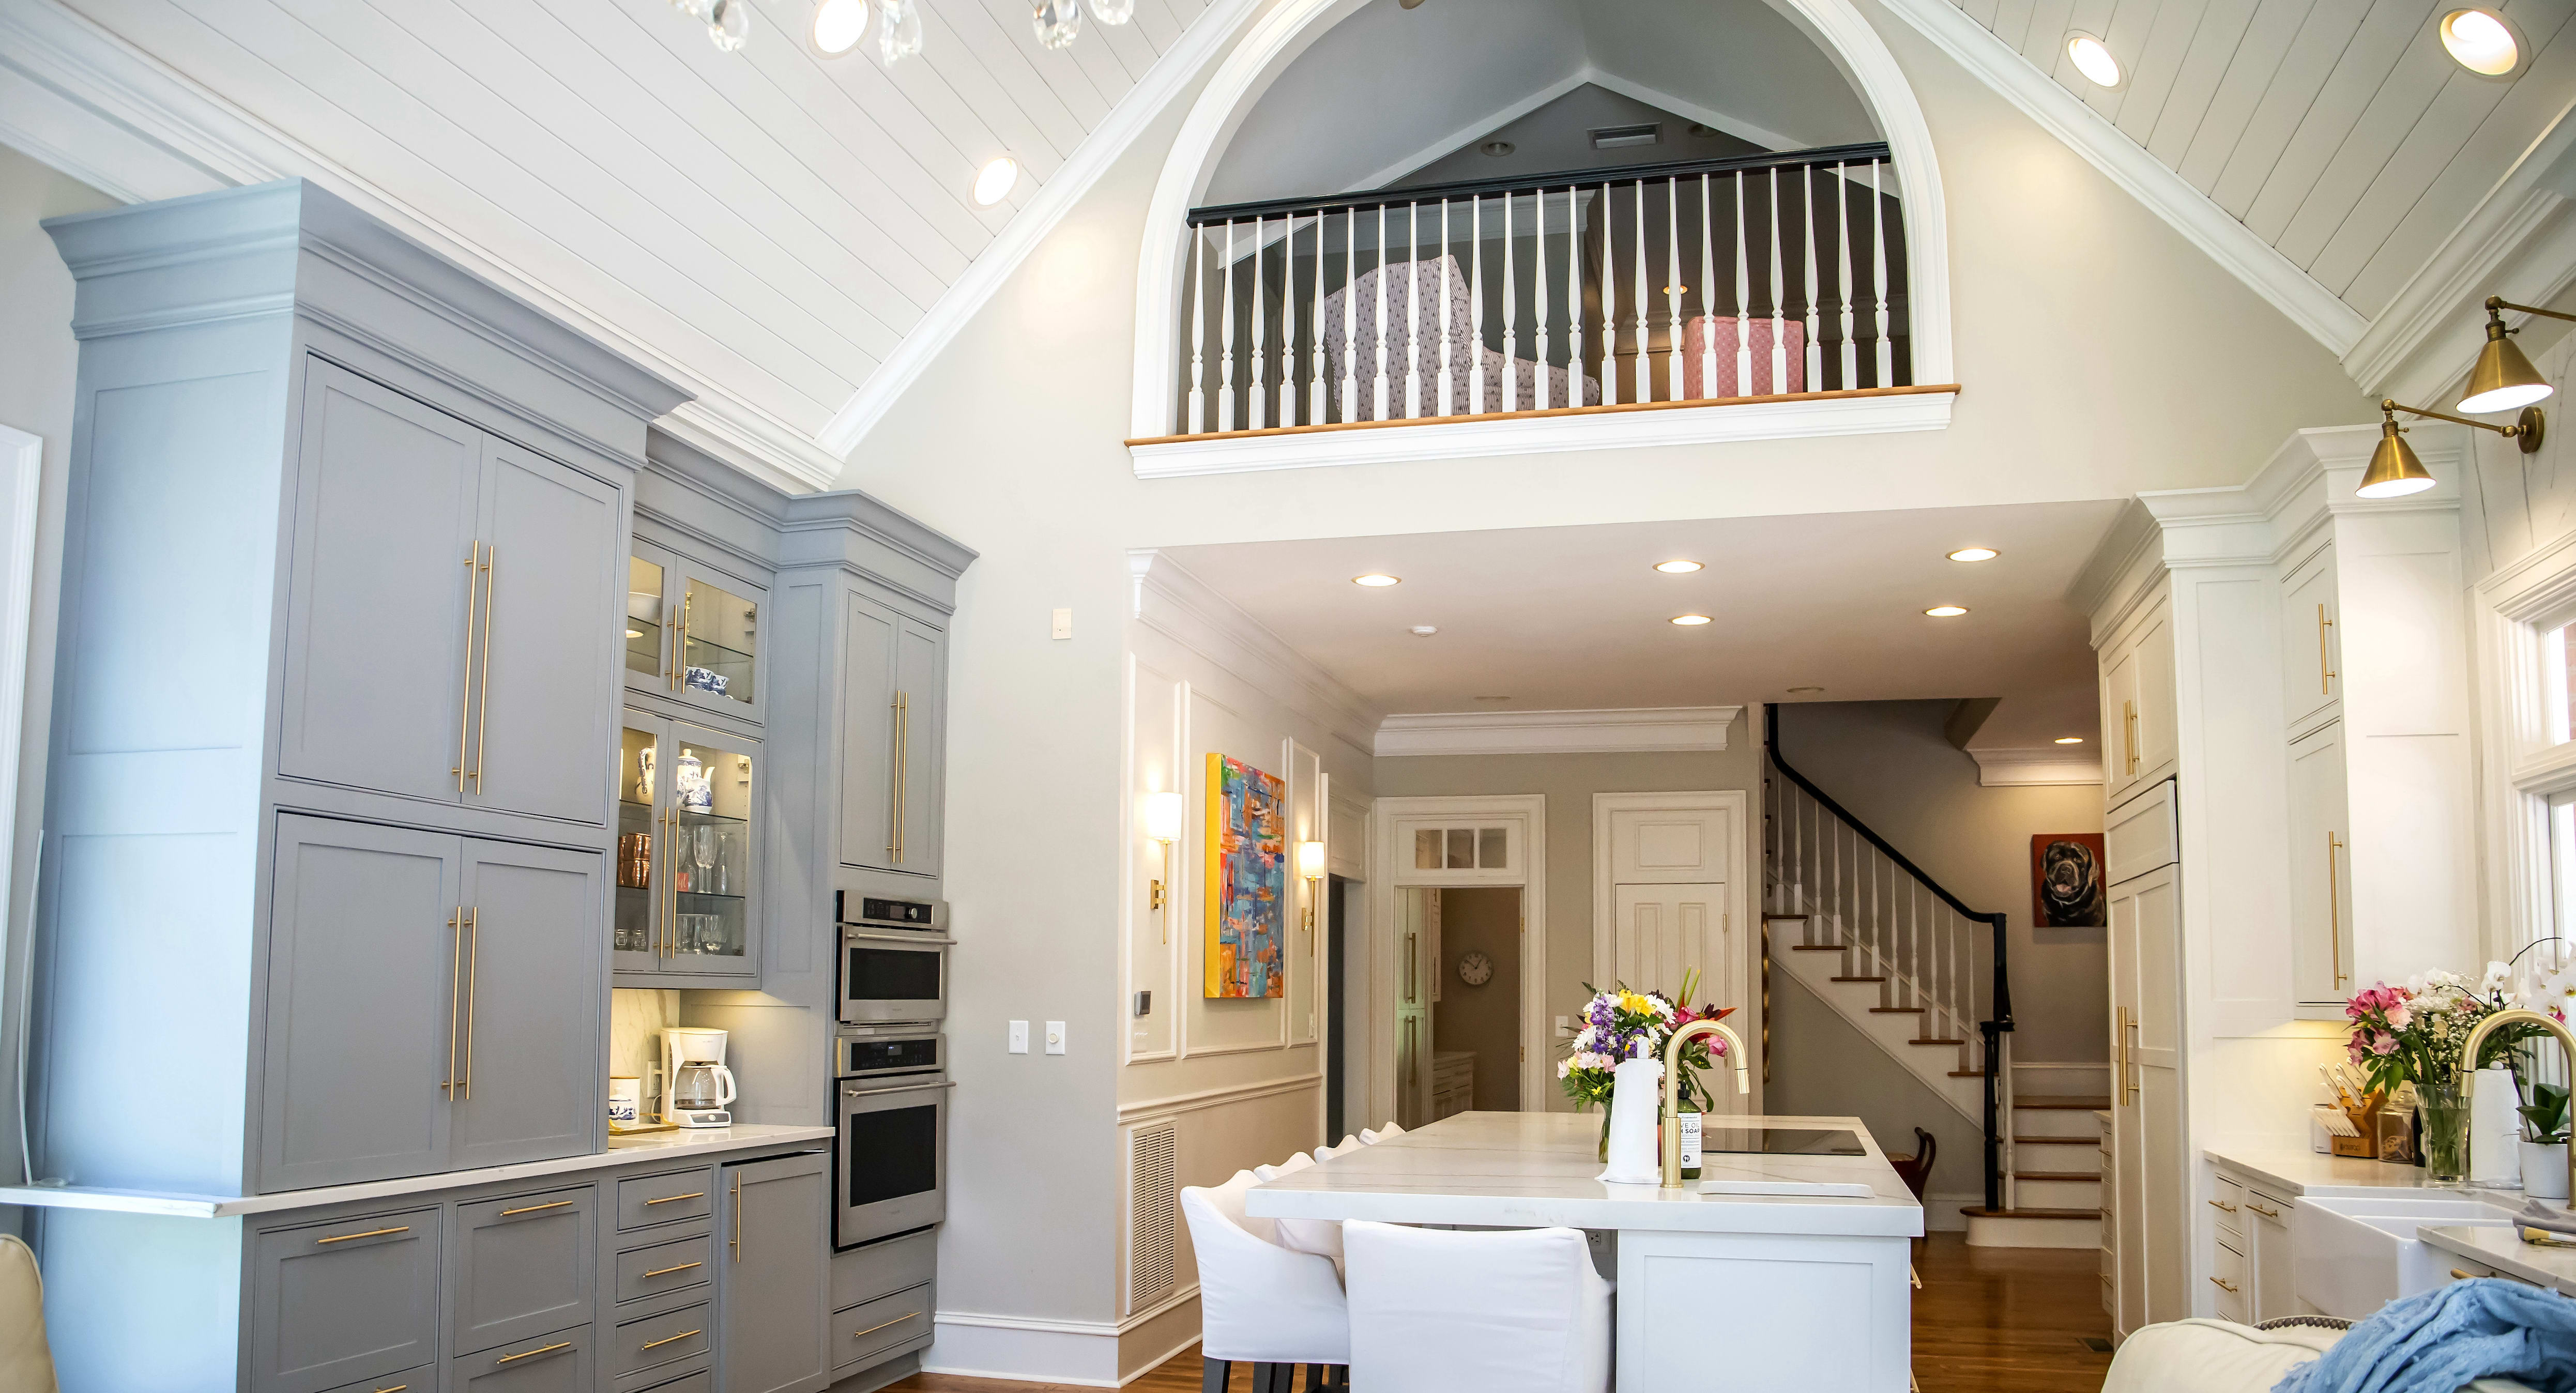
Faux beams make a great addition to virtually any room in your home. If you have rooms with high ceilings, faux beams can add depth and warmth to a larger space.
On their own, faux beams add a stylish appearance to your home. If you have something on your ceiling that looks cluttered, faux beams can be a great solution.
Faux beams are completely functional in your home. Because they are hollow and lightweight, they can be used to hide pipes or wires, cover cracks in the ceiling, and make an otherwise uneven ceiling appear more pleasing to the eye.
1st Choice Renew is simply the best! We hired them for a complete home renovation, and they transformed our space into something truly amazing. The team attention to detail and commitment to quality were evident throughout the project. They were easy to work with, very responsive, and always...
Exquisite workmanship from Custom Paint Jobs LLC. My home has never looked better.
We needed windows in our home, and we couldnt believe we got our entire home done for under $14,000. We have a lot of windows, and not only was it affordable, but it got done in a timely manner! Thanks guys, I truly appreciate you all!
Chris has been completing paint projects for me on flips, rentals, and even my personal home over the last 5 years. He always does an exceptional job, and is always responsive and easy to get ahold of. Great work, great communication. Iâ d definitely recommend him!
Working with Mike on our first home purchase was an absolute pleasure. Mike put us at ease and made the process of buying a home fun. Mike is knowledgeable, honest, professional, and punctual. He worked with our busy schedule and always made time for us. When a home came on the market that...
 Michael Marshall - Buyer's Resource Realty Svcs.
Clint was and is very Professional and takes pride in this company and his work. Definitely recommended him to everyone in my hi-rise building. Excellent proposal and no hidden charges or surprises. Don't find that in today's world.
From average costs to expert advice, get all the answers you need to get your job done.
Discover the cost to install faux wood beams. Learn about price factors, installation options, and ways to save on your faux wood beam project.

Beam installation costs are an important consideration if you’re building a home or doing renovations. Learn about average costs and factors in this guide.
A new steel I-beam is more durable than a wooden one. Learn what factors can affect steel I-beam installation costs and how to budget for this project.

Find the right steel beam installation company for your project. Learn what questions to ask, qualifications to check, and how to ensure structural safety.

Find who to hire for steel beam installation. Learn who to call, what each pro does, and plan your project with confidence.
DIY a shiplap ceiling by cutting the boards to size and installing them perpendicular to the joists with a nail gun. Get exact instructions here.