
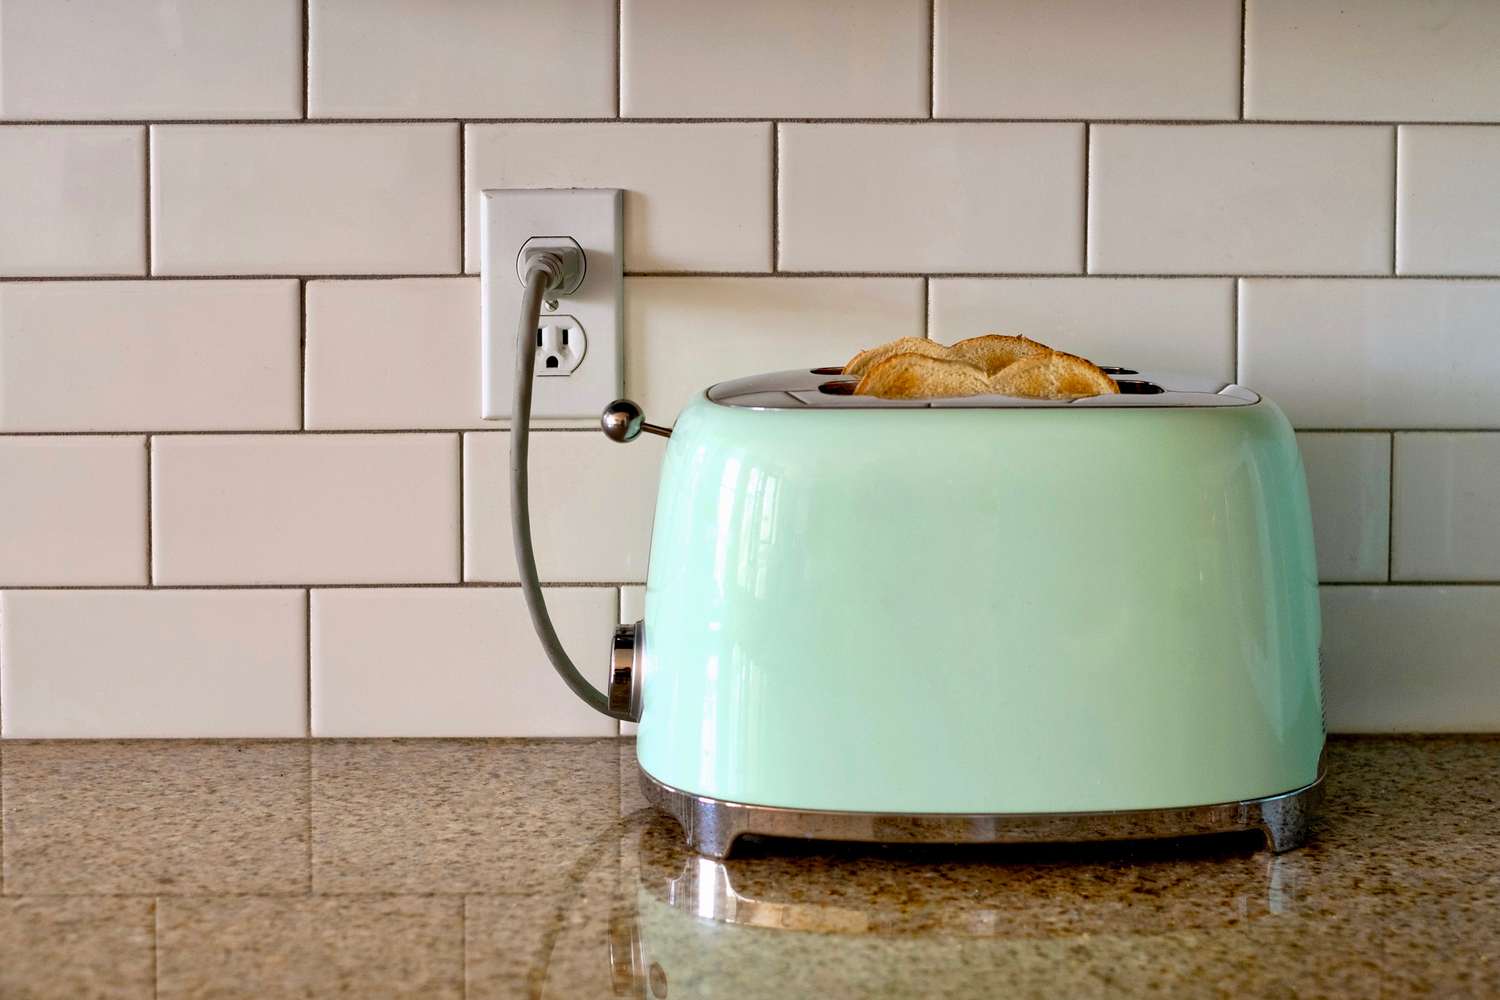
The average cost to install an electrical outlet is $133 to $296 each. This guide explains what factors impact the total cost of installing an outlet.
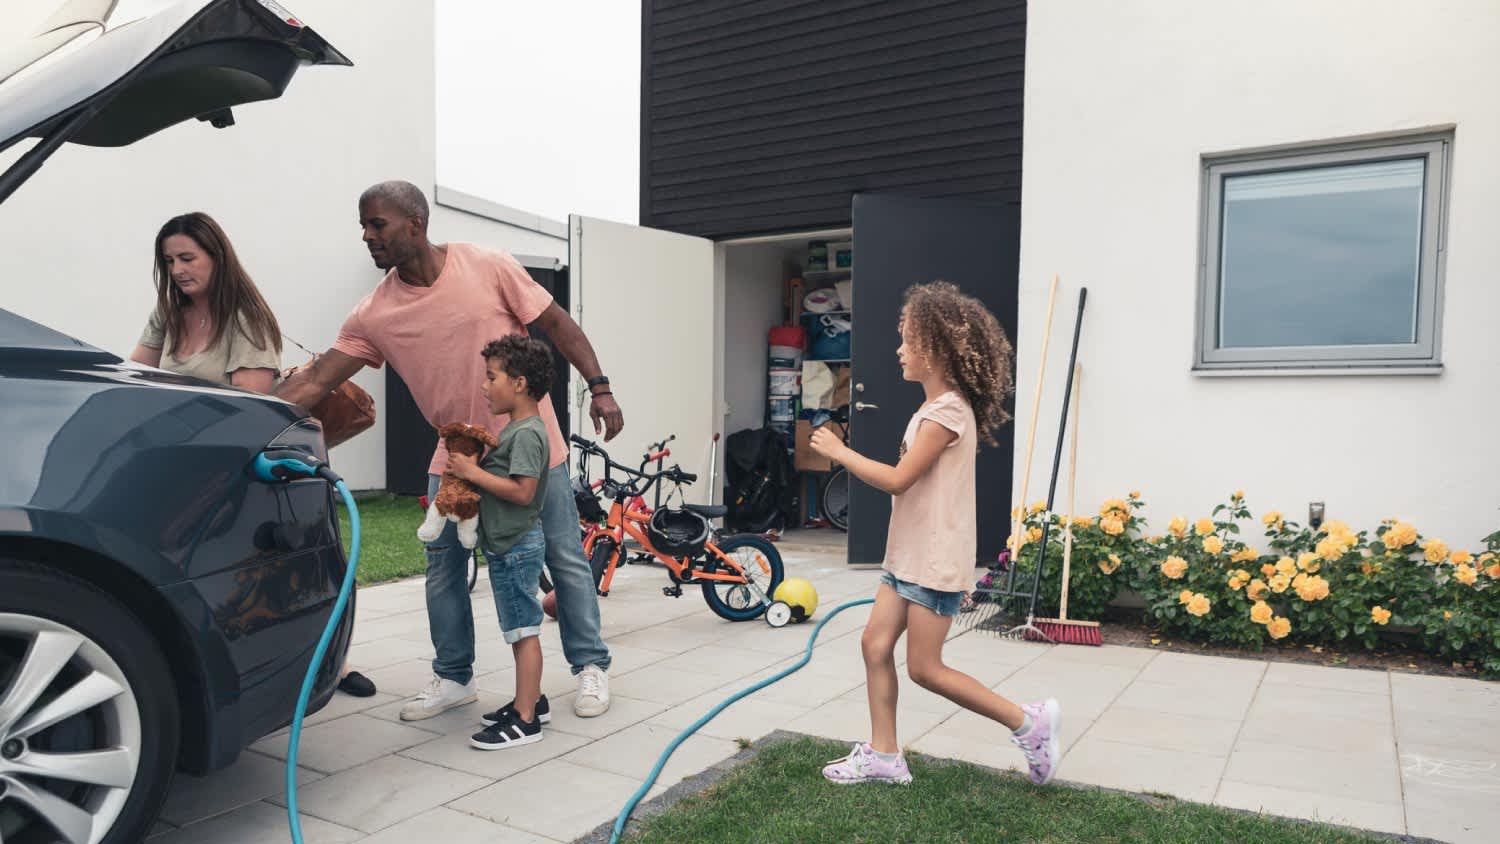
Take your EV charging to the next level with a 240-volt outlet

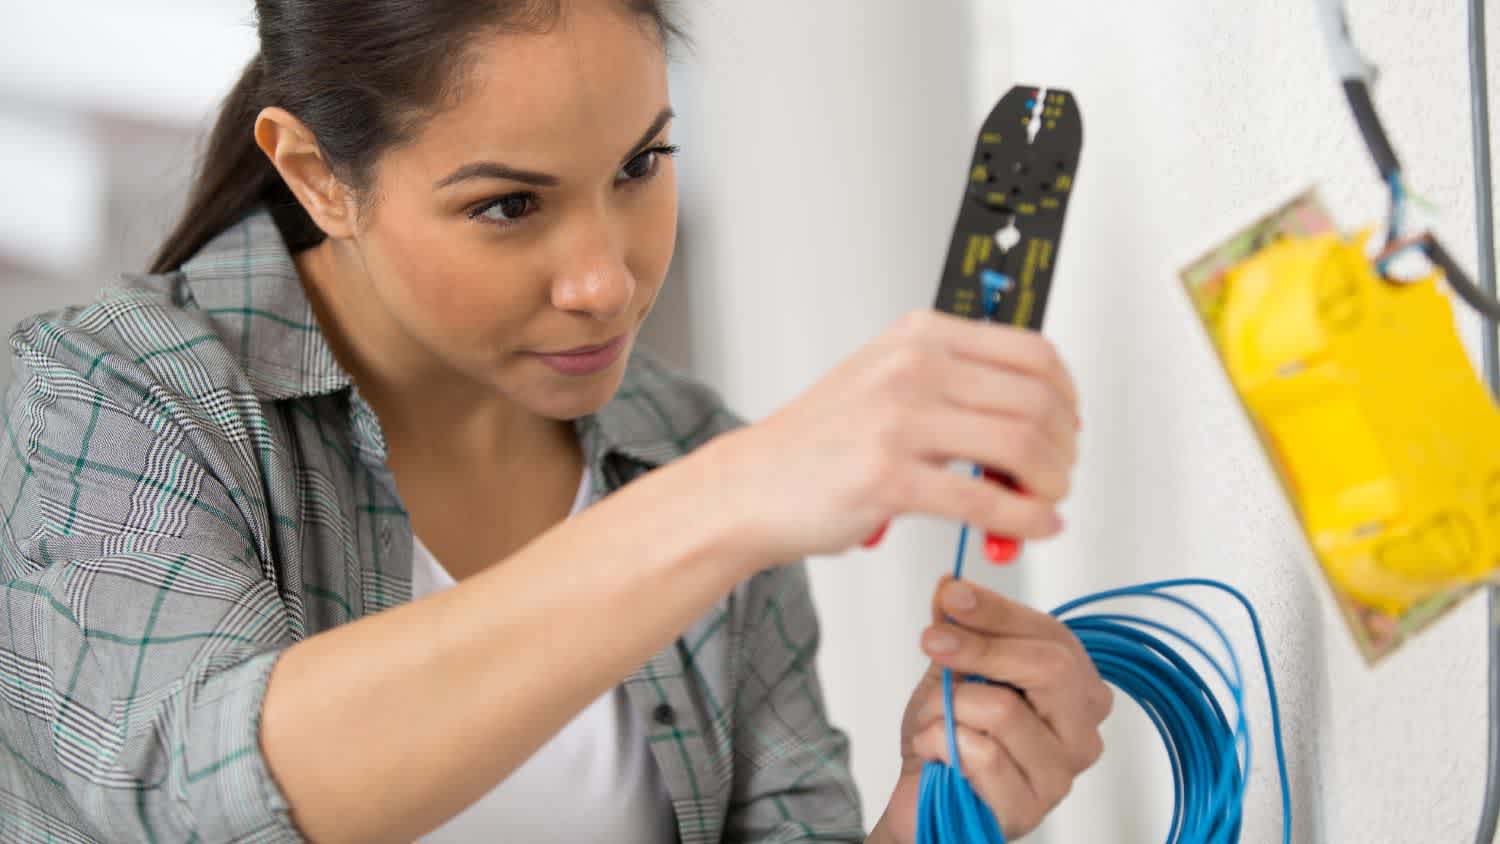
This project requires a lot of experience, so we don’t recommend DIYing it. Hire a pro with the special skills and tools necessary to complete the job safely.
Installing a 240-volt outlet for your electric car is an excellent investment because it significantly reduces EV charging times compared to a conventional 120-volt outlet. Known as a Level 2 charger, this upgrade allows you to fully recharge your vehicle overnight or in a few hours. Plus, it improves charging efficiency and lets you take advantage of lower electricity rates during off-peak hours. This guide will walk you through the installation process, from selecting the right location to ensuring a safe and efficient setup.
Most municipalities require an electrical building permit to install a new outlet. Before you start this project, consult your local permit office to confirm requirements and obtain any necessary documentation. If you hire a licensed electrician, they will handle this process on your behalf.
When planning your electric car charger installation, it’s best to install the outlet in the garage where you park your EV, rather than the driveway, as it will shield the outlet from the elements and prolong its lifespan. Ensure it’s within reach of your charging cable and mounted at a convenient height (typically 18 to 48 inches from the ground). Always check local electrical codes to ensure you comply with any placement regulations.
Before you start, shut off the main power supply at the breaker to prevent the risk of electrocution while you or your electrician work. Use a voltage tester on an existing outlet to verify that the power is completely off before proceeding to the next step.
Next, plan the wiring route from the panel to the installation site, ensuring a clear and accessible path. Always use the appropriate wire gauge for the amperage of your EV charger. You’ll also need to determine whether you need to upgrade your electrical panel for your EV charger, which is only necessary if you have 100-amp service. If you’re not sure, calculate your home’s electrical load to ensure your current service can accommodate your EV charger.
Open the breaker panel and install a dedicated double-pole circuit breaker that matches the amperage of your charger (usually around 50 amps). Connect the wires to the breaker following the manufacturer’s instructions, ensuring everything is connected properly for safety.
Run the wire from the panel to the outlet location through conduit. Connect the wires by color to the 240-volt outlet terminals: Hot (black and red), neutral (white), and ground (green or bare copper). Secure all connections tightly.
Secure the outlet box to the wall with appropriate mounting hardware. Restore power at the breaker panel and use a voltage tester to confirm the correct voltage before plugging in your EV charger.

This electrical task is complicated and should be completed by a local electrician. However, if you choose to install a 240-volt outlet yourself, be sure to avoid these mistakes:
Attempting an installation without proper expertise: This installation should only be attempted with proper electrical knowledge, as there is high risk of electrical shock or fires from improper installation.
Using the wrong wire gauge: Undersized wiring can overheat and pose safety risks.
Skipping over local code requirements: Improper installation that doesn’t strictly follow code regulations may lead to inspection failures or safety hazards in the future.
Overloading the circuit: Ensure your breaker and wiring can handle the EV charger’s power requirements.
If you’re not trained to perform electrical work, hiring a licensed local electrician is necessary for this project, and may even be required by law to receive the proper permitting. The cost of hiring an electrician averages between $200 and $300, so it’s well worth the extra spending to avoid the risk of electrical shock and fire hazards in the future. When in doubt, always hire out.
Great company! Price was competitive, technician showed up on time and completed the job (exterior electric Radon fan replacement) quickly. Would hire them again.
I conferred with 2 other contractors before Armstrong Electric. Nick and his crew showed me that the project was not as convoluted as the other contractors made it appear to be. They completed the entire project on time. They were professional, friendly and cleaned up after at completion. I...
 Armstrong Electric LLC
The techs on my project, Shawn and Cliff, were great. They were prompt, courteous, and efficient. I am very happy with the results and would definitely contact Mr. Electric for any future electrical projects.
Victor was wonderful. He was on time, professional, and explained everything he was doing. He was thorough and figured out that the problem was electrical instead of with my HVAC system. Very knowledgeable. I will be using this company in the future for any HVAC needs. Thanks!
 Hubbs Heating & Air LLC
They were excellent. They did a great job. I was totally satisfied. They put tremendous effort in making sure the work was completed. They were great. They provided immediate response to any inquires I made. I would hire them again. I would recommend them to anyone who needs electrical work....
 Property-Tech Industries, LLC
Initially, the repairman could not find the problem. Apparently, there was some electrical shortage, but he could not find the definite problem. He left, but called back later to say he had a new idea. He returned and replaced the light switches on the doors. The refrigerator seemed to return...
 Appliance Pro LLC
The initial quoted price from a walk-through seemed high, but we discussed that the quote represented worst case scenario (re-wiring to two floors) and we were excited about the opportunity to have the work done in a timely manner with closing for fire safety reasons, etc. When the job was...
I have to tell you I am all about customer service - I will go out of my way and even pay more for it if you give me great customer service. <br> <br>In a world where this is hard to find, these guys were awesome! I can not sing their praises enough. They were prompt, personable, funny, got...
 Waibel Electric
When I challenged the markup on the generator, Bruder Electric withdrew its bid. They only want naïve customers.
We had no power to any of the electrical outlets in the MBR. We'd had an intermittent problem for a few years and they finally went out all together. We live on the 3rd floor of a 100 year old building and I know from past experience the wiring has been added to in hodgepodge ways over the...
From average costs to expert advice, get all the answers you need to get your job done.
The average cost to install an electrical outlet is $133 to $296 each. This guide explains what factors impact the total cost of installing an outlet.

The cost to install a 240-volt outlet varies depending on the amperage and the home’s current wiring conditions. Use this guide to budget for your next project.
Find out how an EV charger installation can make your electric vehicle ownership experience even better. Learn about costs, benefits, and more.
Can electrical outlets be installed sideways? Learn if orientation matters when installing outlets and why it may be installed sideways.

Your home might have a variety of electrical outlets, depending on how old the structure is and what type of appliances you use. Learn the different types of outlets, how they work, and how you use them.
Installing an electrical outlet in a home requires new hardware, wiring, and more. Here’s what you need to know about installing electrical outlets.