
Weather stripping can boost your home’s efficiency and make your living space more comfortable. Learn about the types of door weather stripping in this guide.
Inspecting your weatherstripping at least yearly is a great way to keep utility costs down and comfort levels up

A weatherstripping inspection reveals gaps, rips, tears, dents, or bent bristles that let drafts enter your home and increase your heating and cooling bills.
Visual inspection combined with flame or paper tests helps you identify where your weatherstripping fails to create an airtight seal around doors and windows.
Choosing replacement weatherstripping depends on your home's traffic patterns, style, budget, and your confidence level with installation tools like power drills or adhesive backing.
Hiring a local handyman professional provides peace of mind when you need help identifying weatherstripping issues or applying new weatherstripping with an airtight seal.
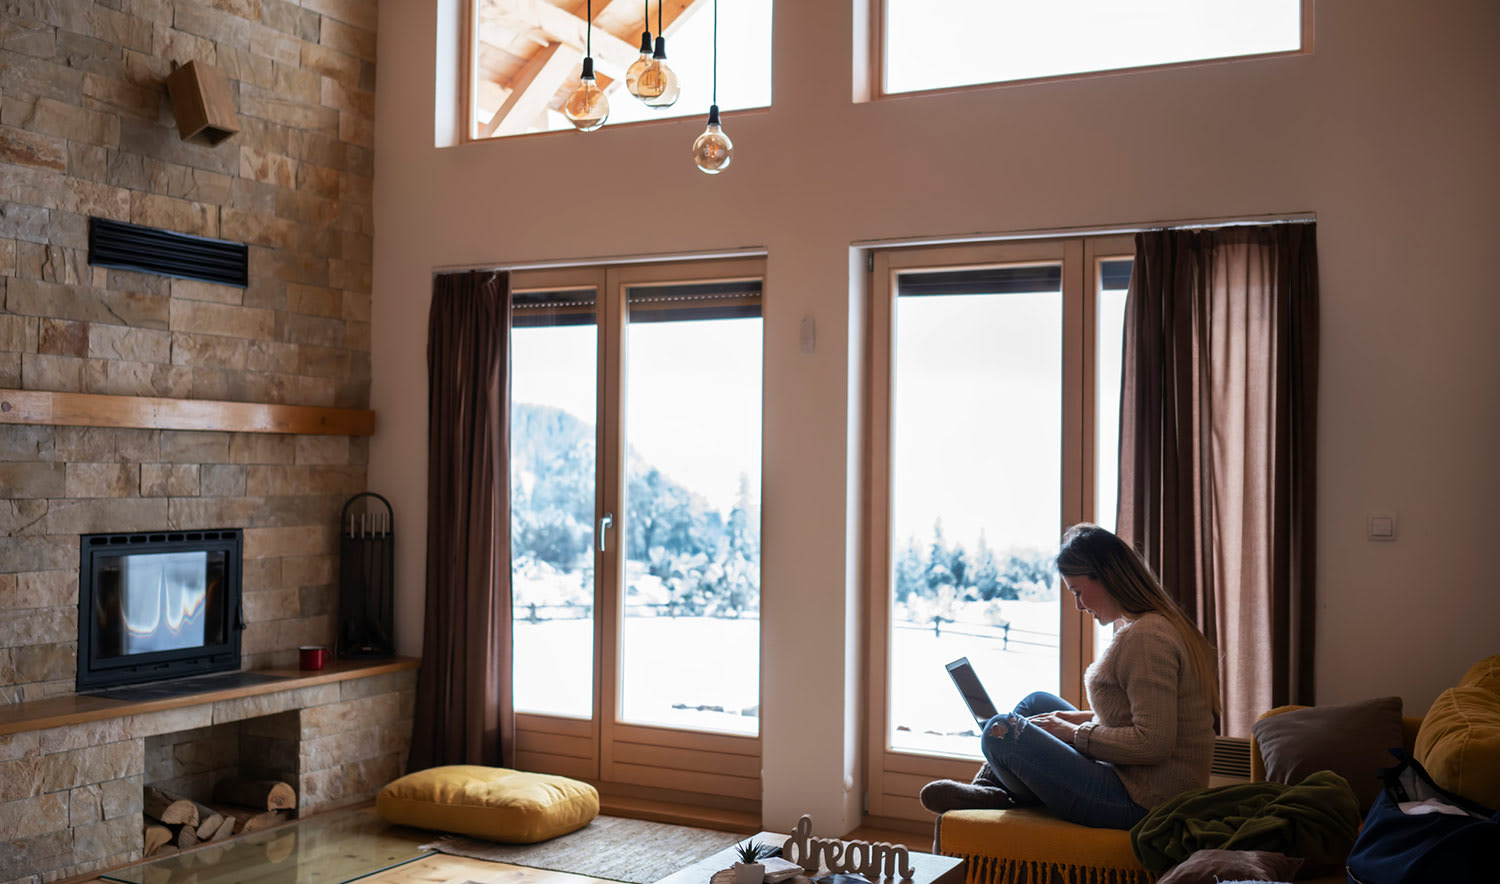
Weatherstripping is an important line of defense in keeping your home protected from the elements. Tight seals on windows and doors not only make it more comfortable all winter long but also can have a noticeable impact on your heating and cooling bills. Adding or replacing weatherstripping is an affordable way to help ensure your home is sealed up tight against extreme temperatures.
There are several types of weatherstripping available for home use, all of which you will need to inspect regularly—and even replace—to keep your home warm and cozy. Whether you’re planning to DIY replacement weather stripping or hire a pro for the job, you should learn how to inspect weatherstripping—and what to do if you notice any issues.
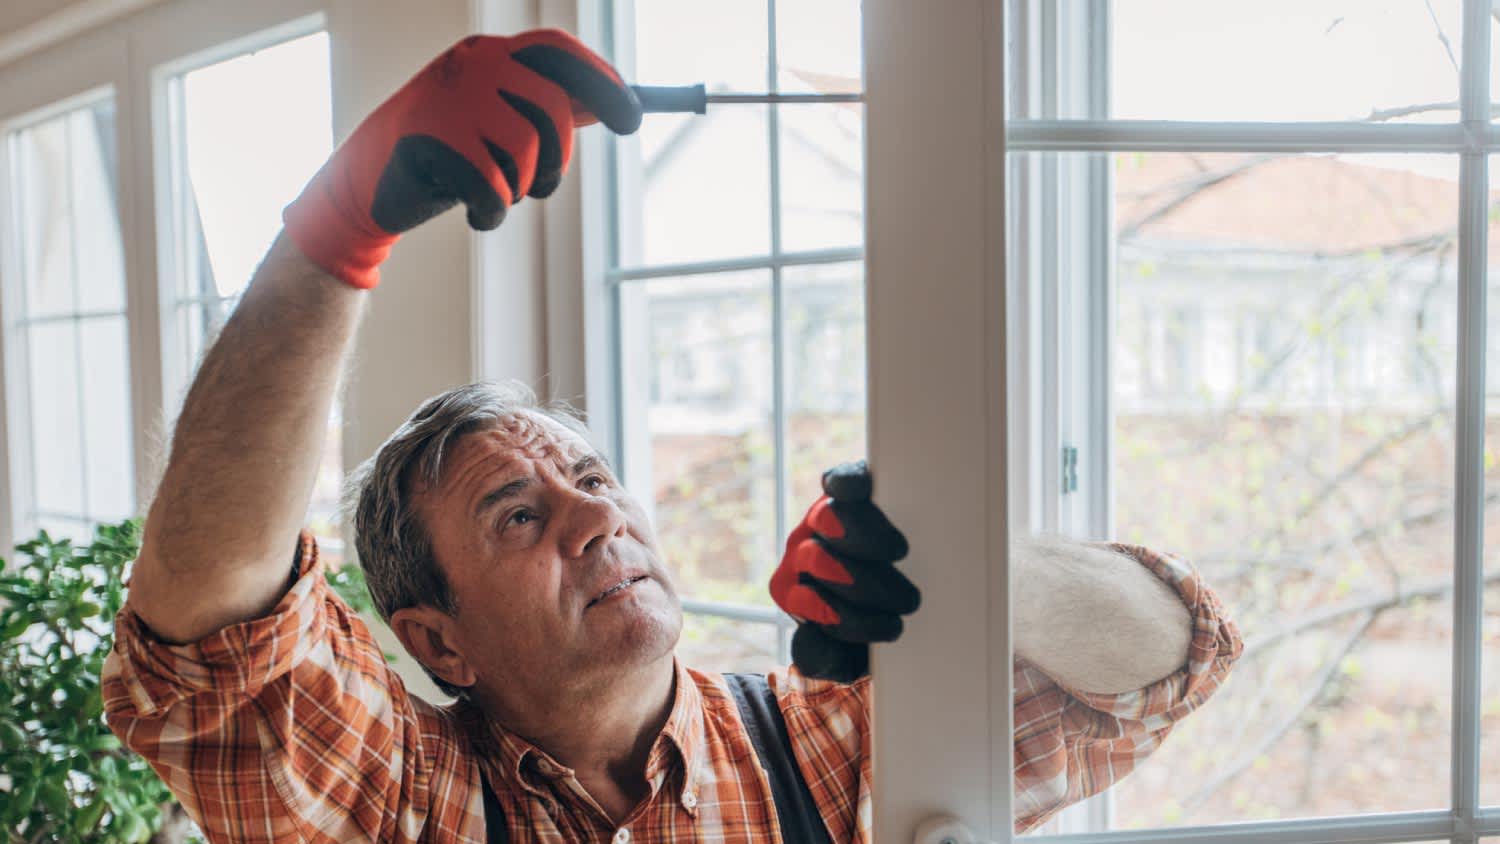
You should check your weatherstripping at least yearly to ensure it’s all intact and is not letting chilly air inside. To start, you’ll need to visually inspect your weatherstripping. What you’ll look for can depend on what type of weatherstripping you have on your door. It’s usually one of the following:
Foam tape: This is the most common type of weatherstripping. It provides a good seal but can be damaged easily.
Door sweeps: These are pieces of rigid material like stainless steel, hard plastic, or aluminum fitted to the underside of a door. Attached to the rigid material is a piece of plastic, nylon, vinyl, or a brush to help prevent outdoor air from entering between the door and the threshold.
Tension seals: This type of weatherstripping involves pieces of plastic or metal folded into a V shape and attached to the underside of a door. They spring open to seal gaps in door jambs and window casings.
Tubular vinyl, silicone, or rubber: Tubes of vinyl or rubber that adhere to a rigid material like wood or plastic are attached to a door in this type of weatherstripping. Tubular silicone weatherstripping is generally fitted into a milled groove on the door.
You open your doors and windows often, and the friction can damage weatherstripping after a while. Foam tape is the most fragile, while tension seals and door sweeps can stand up to plenty of use. When visually inspecting your weatherstripping, look for the following signs of wear and tear:
Gaps
Rips
Tears
Dents
Bent or missing bristles on door sweeps
If you notice any of these issues, take note of its location, size, and quantity before moving on to the next step.
Windows can have the same types of weatherstripping as doors, so visually inspect for the same types of damage. To ensure you have a good seal, try the following tests.
Hold a flame near the gap between the door or and the casing. The flame should not waver. If it does, your weatherstripping is allowing a draft to enter the home.
Attempt to slide a flat piece of paper between the door or window and the casing. If the paper slides through easily, your weatherstripping is allowing a draft to enter the home.
Again, take note of where you found any imperfections and how many you found.

Once you have a list of any weatherstripping you need to replace, it’s time to head off to the store—well, almost. Before making your purchase, consider the following factors to ensure you get the right type of replacement weatherstripping.
Area Will this product go in a high-traffic area where doors or windows are frequently opened? Friction and use can cause wear and tear to less durable materials. You may want to invest in a sturdier material for, say, your front door than you might for the back door that will stay closed nearly all winter.
Style of Home Rubber or foam products may look out of place in an older home. Metal weatherstripping can enhance the look of older construction.
Budget Foam tape is inexpensive but will likely need to be replaced every few years. Metal tension seals and tubular rubber last longer but are more expensive.
Ease of Installation Foam tape is easy to install and only requires scissors to cut it to length. Other products may require tools like power drills for installation and take a little more experience to install correctly.
To replace weatherstripping, follow the manufacturer’s instructions on the packaging.
Foam tape uses adhesive backing to adhere to surfaces. Ensure the surface is clean and free of debris and remnants of old weatherstripping before applying.
You’ll apply door sweeps and tension seals using hardware that the manufacturer will usually supply. Using a power drill or power screwdriver, affix the weatherstripping to the door or window.
Tubular vinyl and rubber weatherstripping are attached using staples or small tacks or brads attached to the flange or backing on the product.
Inspecting and replacing your weatherstripping is a fairly simple DIY project. With a few tips, like those we mentioned above, it should be fairly straightforward to determine what you’ll need to keep your home comfy.
That said, if you’re not confident you’ll be able to identify weatherstripping issues or apply weatherstripping with an airtight seal, you may want to call in a pro to give you peace of mind. Luckily, if you already have a local handyperson come to winterize your home, this should be a simple thing to add to their checklist.
We have used Window Warriors many times with no issues. They arrived on time and were very professional . We have pets and Window Warrior team treated them very well, well trusted team.
I am highly satisfied with the window replacement service I received; the professionals from Savvy Exteriors were punctual and did an amazing job that exceeded my expectations.
I hired windows depot USA of central to install new windows in house in Oshawa. Ilya was very professional from the start, not only did he offered a great price, he also made sure the installation was on time. I am very satisfied with final outcome. The windows look great and the overall...
The team is awesome!! I can generally pick up and clean throughout the week, but they CLEAN! Windows, stair rails, microwave. All the things I can’t ever seem to get to regularly. The house looks and smells great after they leave.
Description says they handle window repair including rotten hardwood - they called me back right away but didnâ t leave a voicemail. I followed up 3 days later and they said they donâ t do that kind of work.
We had a gutter blockage that was causing water to sheet down the side of the house and ultimately it started to come in at a window (need mortar people next). Called around 7:30am, and he responded by 8am. He was able to come out the same morning and do a look over and clean out. He also...
From average costs to expert advice, get all the answers you need to get your job done.
Weather stripping can boost your home’s efficiency and make your living space more comfortable. Learn about the types of door weather stripping in this guide.

If you are wondering who to hire to install weather stripping on your door, we share the best experts for fixing those pesky air gaps.

If your home is feeling a little drafty, it may be time to replace weather stripping on your doors. This simple six-step DIY will only take an hour.
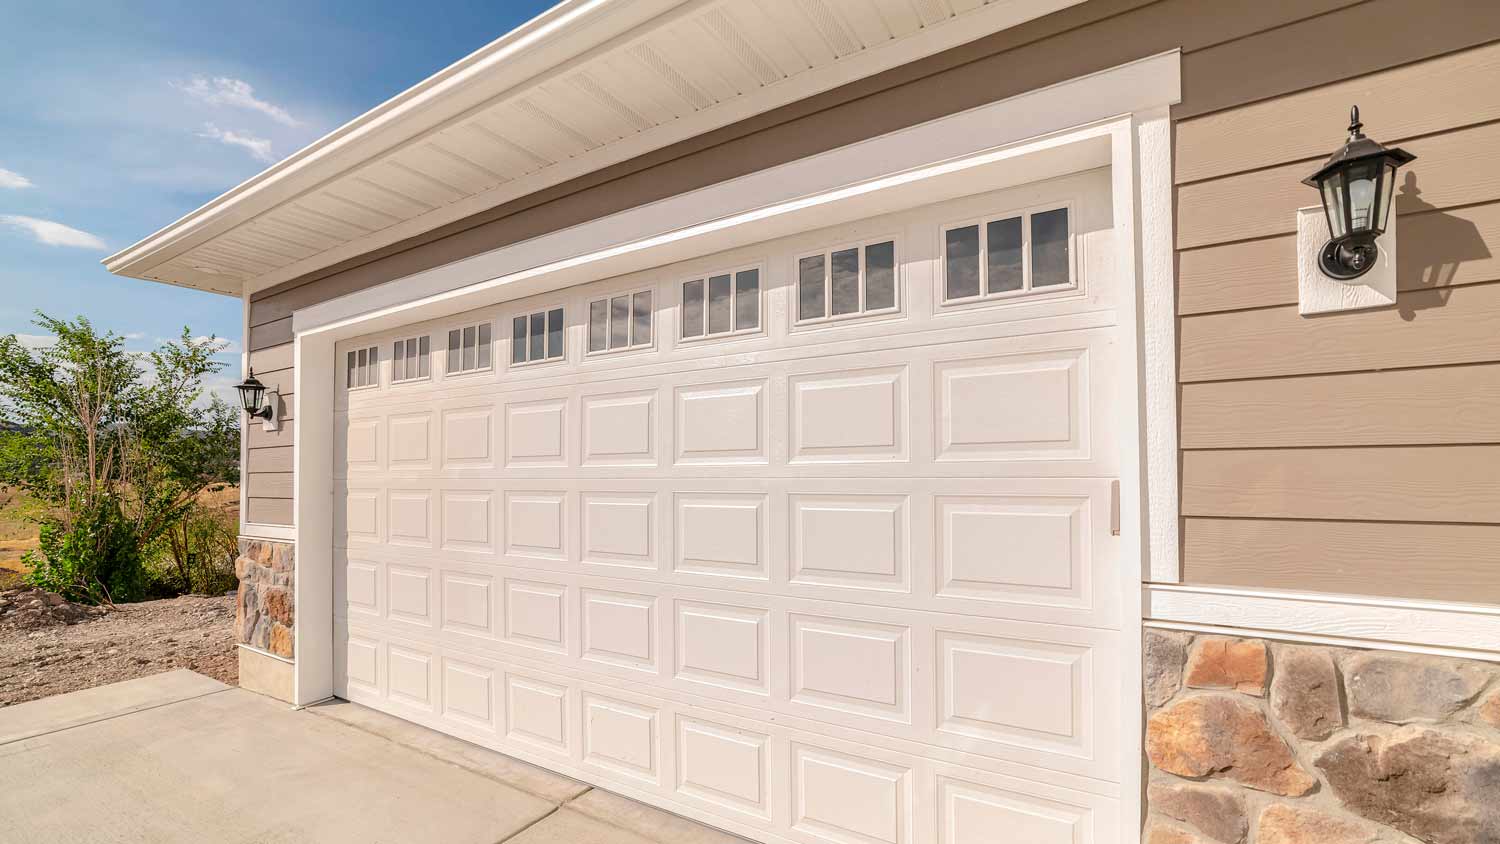
To replace garage door weather stripping, you need to remove the old weather stripping and apply the new one. Read this guide to learn how.
Weatherize your home to reduce rising heating and cooling costs. Consider these options when hiring a handyperson to help minimize your home’s energy use.
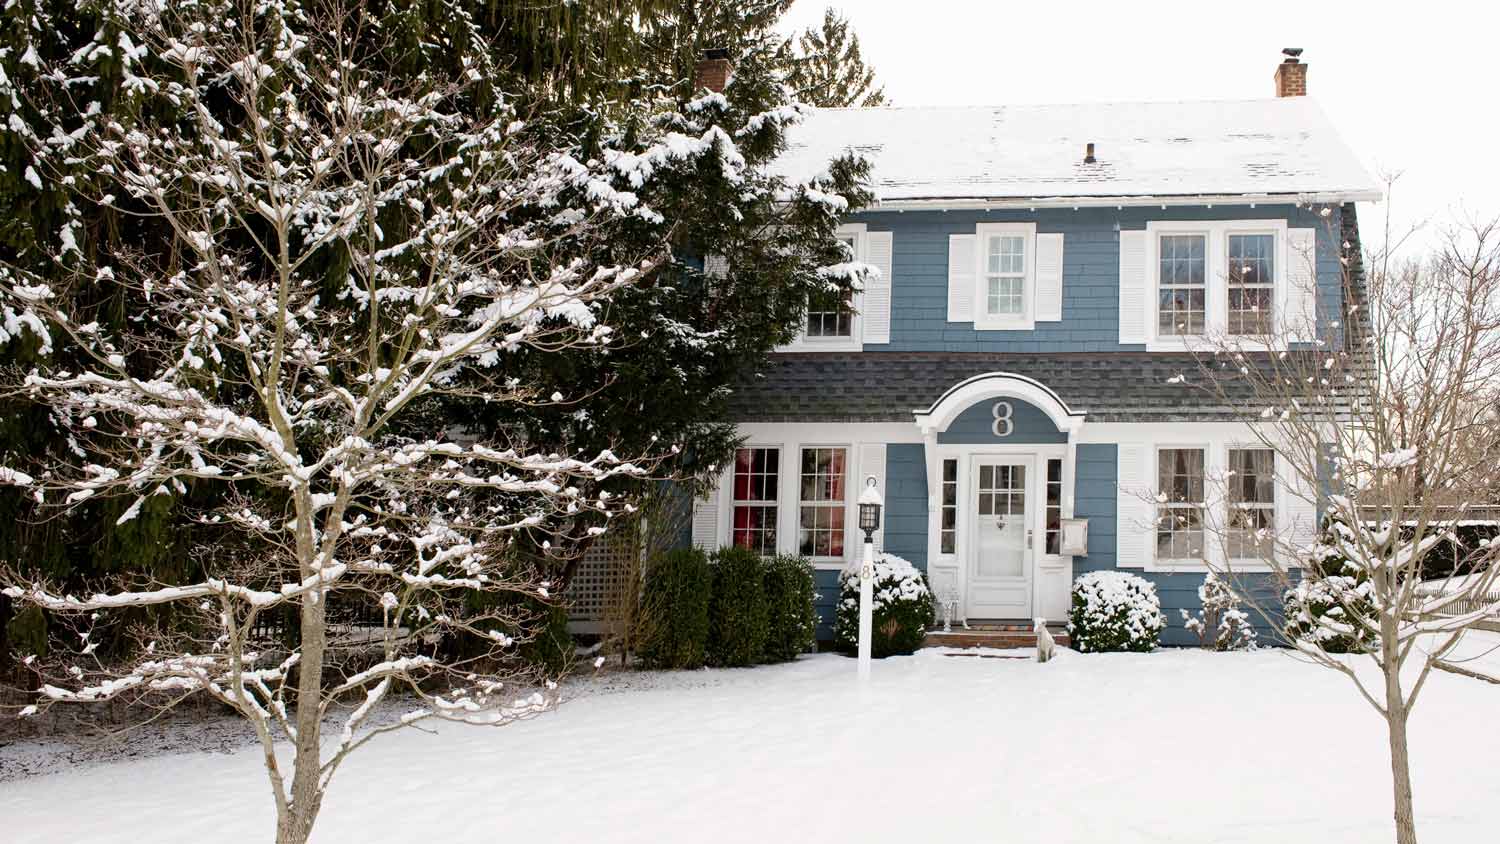
Seal up those drafty entryways and doors before the cold weather sets in. Follow these 13 tips on how to weatherize key areas of your home to keep it safe and cozy all winter long.