
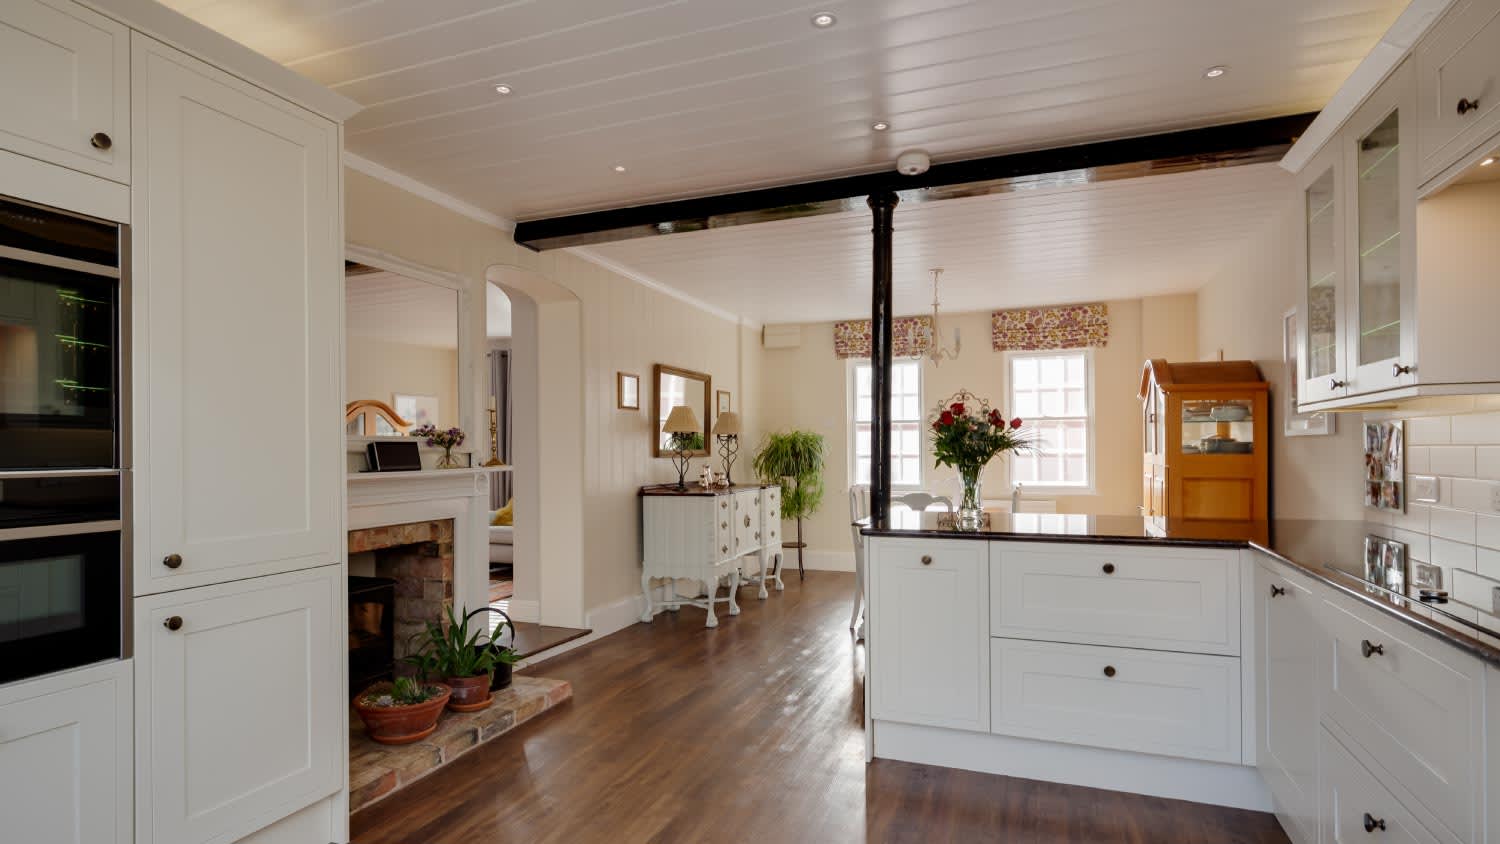
Installing beadboard ceilings is a great DIY project. Learn what to expect cost-wise from this project, whether removing or covering a popcorn ceiling.
Keep the warmth in and the noise out

Framing a ceiling is a fundamental step in the process of preparing your space for drywall installation. A well-framed ceiling ensures stability, proper insulation, and a seamless finish for your walls. Not sure how to frame a ceiling for drywall? While it might seem like a complex task, this comprehensive guide will break down the process of framing a ceiling for drywall into simple, easy-to-follow steps. Soon, you'll have the knowledge and confidence to tackle your ceiling framing project successfully.
It’s time to whip out your trusty tape measure. Accurate measurements are the bedrock of a well-framed ceiling. Begin by measuring the length and width of your ceiling, ensuring precision down to a fraction of an inch. Plan your joist layout meticulously, considering the spacing between joists based on the load-bearing capacity of the materials you're using.
Factors like the placement of fixtures, lights, and fans are critical. Carefully mark these positions on your layout to ensure precise installation. Equally important is consulting local building codes and regulations. Building codes vary by location and dictate everything from joist spacing to the type of materials allowed. Ensuring compliance with building codes guarantees the safety and stability of your ceiling structure and will help you avoid breaking any rules that could make it harder to sell your home later.
Don’t forget to put on any safety equipment, such as goggles and gloves, before you really dive into this project. Safety gear protects your eyes and hands, ensuring you can work confidently and without risk of injury. This isn’t the place to cut costs, either. You should invest in high-quality safety gear that can keep you nice and safe.
You may also want to enlist the help of a friend or family member if possible, ensuring that you have assistance when lifting heavy materials, and always follow proper lifting techniques to prevent strain or injury.

Once you take the necessary safety precautions, you can start to install the ledger board. The ledger board acts as the foundational element for your ceiling joists. Carefully measure the height from the floor to determine the ledger board's placement along the walls. Using a level, ensure the ledger board is perfectly horizontal. It’s important to note that any deviation can lead to an uneven ceiling. Secure the ledger board firmly to the walls using screws, ensuring they penetrate deep into the wall studs. A secure ledger board guarantees stability during joist installation.

Next, you need to install the joists. A joist is a horizontal structural component used in construction to support the load of a ceiling, floor, or roof. Joists provide structural stability to a building's framework. When you have the ledger board in place, measure, mark, and cut your joists with precision. Snugly fit the joists between the walls, ensuring they rest securely on the ledger board. Joist hangers, made from metal, are then attached to the ledger board and the joists, providing additional support. Using a framing square, double-check that the joists are installed at perfect right angles to the ledger board. This step is critical for the overall stability and evenness of your ceiling structure.

Ready to install any beams and additional supports? For larger spaces or areas with substantial loads, beams are indispensable. These sturdy components distribute the ceiling's weight evenly, preventing sagging or structural issues. Install beams perpendicular to the joists, securing them firmly to the walls. Depending on the space's dimensions and load-bearing requirements, support posts might be necessary under the beams. Proper installation of beams and supports ensures the ceiling can withstand significant weight without compromising its integrity. Having the right support is important for your safety and the integrity of the home.
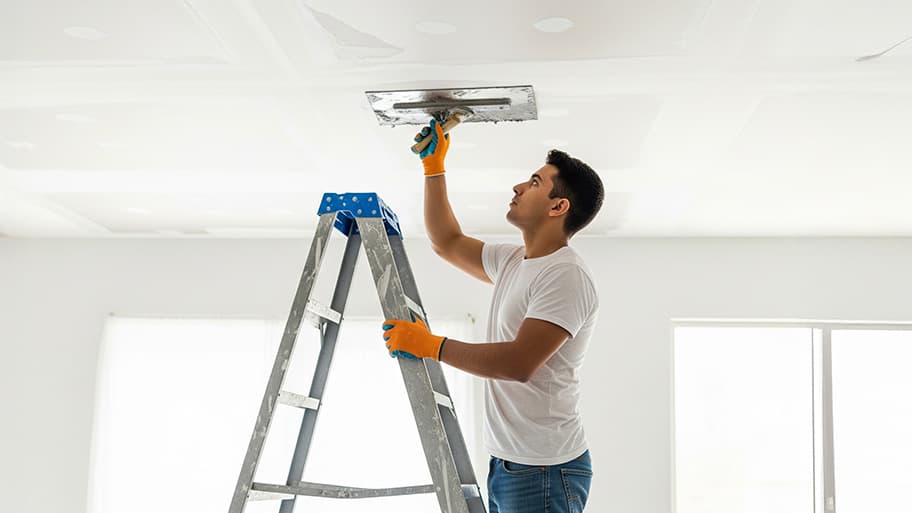
While this step may feel like it’s slowing you down, it’s important to slow down when it comes to making sure everything is nice and even. Using a level, meticulously check the entire framework for any signs of unevenness. Even a slight tilt or unevenness can lead to visible imperfections once you lay the drywall. If you detect any issues, adjustments can be made at this stage to guarantee a perfectly level ceiling. Additionally, ensure the entire structure is stable and secure. A stable framework is crucial for the longevity and safety of your ceiling. Take your time inspecting all connections, ensuring there is no wobbling or movement in any part of the frame.

Before you tackle the drywall installation, it's important to think about insulation and wiring. Insulation, placed between the joists, offers energy efficiency and soundproofing benefits. Carefully install insulation batts, ensuring they fit snugly between the joists to prevent drafts and temperature fluctuations.
If your space requires electrical wiring or fixtures—this stage provides the ideal opportunity to run the wires. Secure the wiring appropriately, ensuring it is well-insulated and concealed within the framework. Planning for insulation and wiring now saves time and effort later, ensuring your ceiling serves its functional purposes efficiently.
There are a few mistakes you’ll want to avoid when framing a ceiling in your home. These include:
Using joists or beams that are too small for the load.
Inconsistently spacing the ceiling joists, or placing them too far apart.
Not properly connecting the joists to load-bearing walls or beams.
Doing the framing before planning the mechanical systems.
Building the ceiling frame out of level.
Not using insulation or soundproofing in the ceilings over living spaces.
Using the incorrect nails or screws, or attaching joists insecurely.
Overlooking local code requirements for ceiling height, fire-blocking, joist sizing, or ventilation.
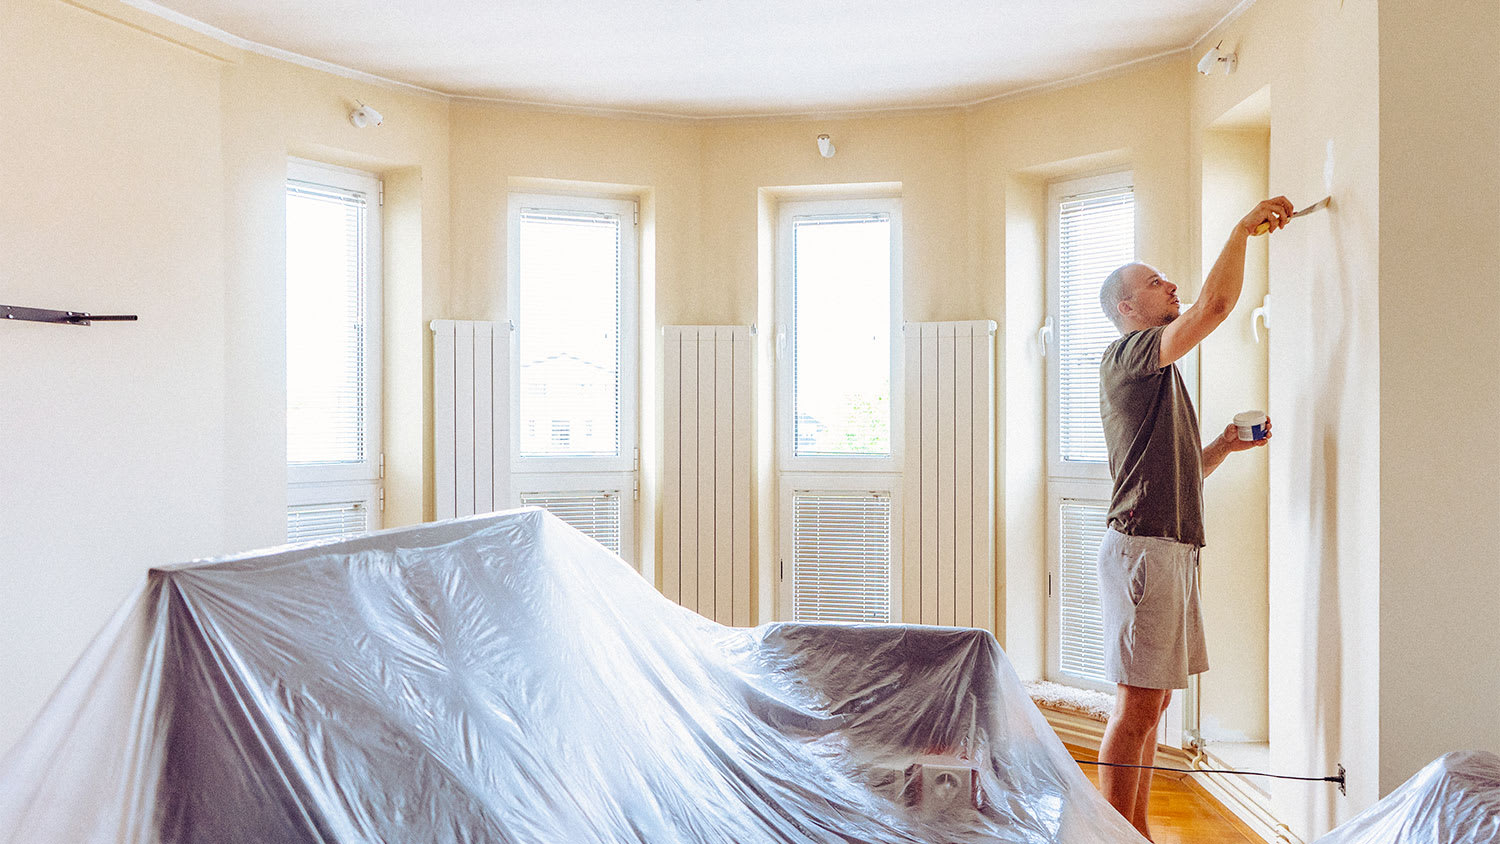
We love a good DIY project, but it’s also understandable if you want to outsource this tricky task. Comparing the average cost of purchasing your own supplies, which is approximately $335, to hiring a drywall repair specialist reveals a significant cost difference. Hiring a professional typically costs around $586, falling within the range of $294 to $893.
While DIY projects offer potential savings upfront, especially for minor repairs like small holes, the cost advantage diminishes when tackling extensive damages that involve drywall replacement. Hiring a ceiling repair specialist ensures expert handling of repairs, providing not only professional expertise but also a guarantee of quality workmanship.
Moreover, professionals come equipped with the necessary tools, eliminating the need for tool purchases. An experienced professional also often completes the task more efficiently, saving you valuable time and effort. Which path you decide to take really depends on your budget, your current toolbox, how comfortable you are with the project, and what it would cost to hire a professional in your area.
Exquisite workmanship from Custom Paint Jobs LLC. My home has never looked better.
Visited my home for estimate same day that I called. Painted on Saturday. Great job. Good price!
Window Depot did an amazing job on my deck. I wasnt sure what I wanted to do, but their composite decking was affordable and will last a long time. I am excited to have family over, and I am no longer embarrassed by my backyard. Jeff and the ground crew were polite, respectful, and caring for...
The guys did an outstanding job and we had a great experience with CarifaTile. I appreciated that Joe reviewed the quotes with me and set expectations prior to the install. The crews showed up as scheduled and always left the areas clean upon leaving the house. We will definitely use...
 CarifaTile
Beginning with the estimate, Larry and Peyton were super helpful in getting my new condo's interior re-painted. Not only was the job well done, but also done in a super timely manner as promised.
 Five Star Painting of Plain City and Powell
BJ Trim Carpentry rescued me in the middle of a do-it-yourself project. I found I needed more expertise than I had...and more TOOLS! BJ Trim Carpentry responded quickly and completed what I needed expertly, politely and with a little humor!
This brownstone is historical and the carpentry work is very detailed. I was very happy to secure a company in NY and living in OH to complete the request. Wood work on this brownstone has been existing since approximately 1888 and West side did a GREAT JOB. I will not be able to...
 Westside Home Improvement
We had a great experience with Mark Rodgers Construction. We were in the process of seeking out estimates for possible foundation work for our front porch. Mark came out himself to provide the estimate. Turned out that the company deals mainly with concrete, so we wouldn't be getting an...
Overall this experience was incredible! I looked on Angies List for a cleaning service because I was planning a holiday party and wanted to make sure we found a reliable, thorough and efficient cleaning service to make sure everything was perfect for the party since we had co-workers and...
From beginning to end our experience with Joe was very good. He was professional and prompt in his estimate for the job and worked hard to meet our schedule so that he could remove our old backsplash the day before our new countertops were removed and return shortly after they were removed to...
From average costs to expert advice, get all the answers you need to get your job done.
Installing beadboard ceilings is a great DIY project. Learn what to expect cost-wise from this project, whether removing or covering a popcorn ceiling.
A ceiling repair averages about $1,000, but multiple factors affect this number. Learn more about creating an accurate ceiling repair cost estimate with our tips.
Whether you want to spruce up a few dents and dings or fix a large surface area, investing in drywall repair costs can return your walls to a smooth, flush look.

Ceiling cracks along drywall seams come from improper installation, leaks, settling, and foundation issues. Read this to learn why you have ceiling cracks.

Still debating drop ceiling versus drywall? Keep reading to learn how these two ceiling types differ and which option is right for your home.
Drywall problems can be a source of great frustration. If you’re dealing with any of these common issues, we’ll help you solve them.