
How hard is it to hang drywall? It’s certainly not easy and there are potential pitfalls if you plan on going the DIY route. Read this guide for helpful tips.
For some DIYers this project may be a literal reach or they can tackle it easily

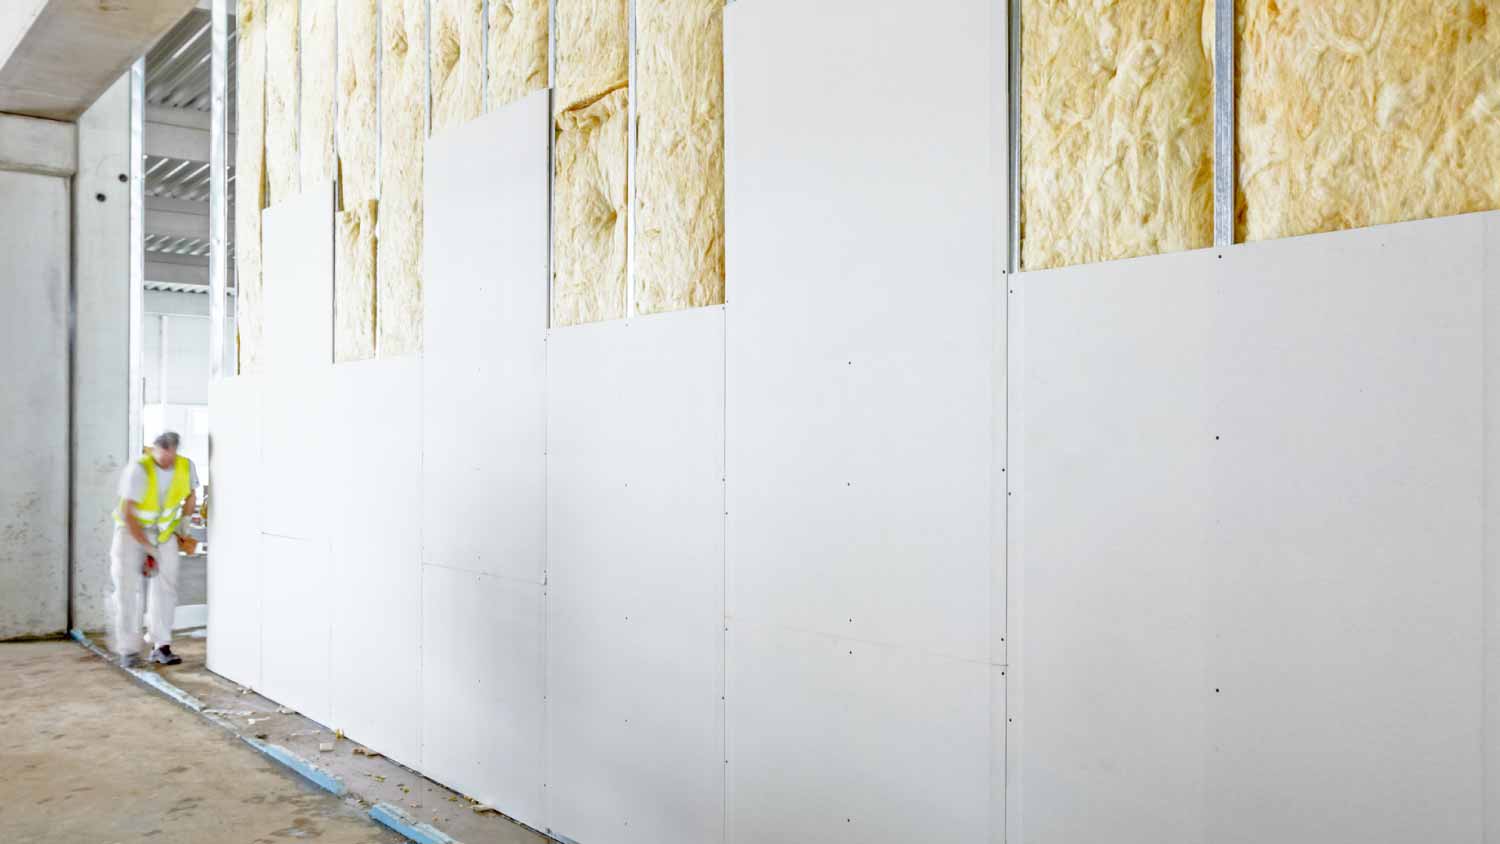
Sometimes you have to reach for the stars—or in this case the ceiling—if you want to expand your DIY home repair skills. Hanging drywall on a ceiling can seem like a daunting task, but with the right tools, techniques, and a bit of patience, you can achieve a professional-looking finish.
Whether you’re renovating your home or working on a new construction project, this comprehensive guide will walk you through the step-by-step process of how to hang drywall on the ceiling, ensuring a flawless result.

Before you can begin the process of hanging drywall sheets, you need to make sure your drywall sheets are the right size. Measure the dimensions of the ceiling accurately and transfer these measurements onto the drywall sheets. Use your t-square and utility knife to score the drywall along the measured lines. Then you will snap the sheet along the score line and then use the utility knife to cut through the back paper, completing the cut. For outlets and light fixtures, mark their locations on the drywall sheets and cut out the necessary openings using a keyhole saw.

Once you have your drywall sheets ready to go, you will begin to attach them. Start in one corner of the room. Have a helper hold the drywall sheet against the ceiling while you secure it with screws. Place the sheets perpendicular to the ceiling joists, ensuring that the edges of the drywall sheets meet on a joist. Use a screw gun to insert screws every 12 inches along the joists. Make sure the screws are countersunk but not breaking the paper surface.

After the first row of drywall sheets is attached, you can move on to the subsequent rows. Stagger the seams between the sheets to create a stronger and more stable ceiling. Apply joint tape over the seams and embed it in the joint compound using a taping knife. Smooth out any wrinkles or bubbles. For inside corners, you can use a corner bead to create a clean, sharp edge. To finish this step, you will apply a joint compound along the corner, press the bead into it, and then feather out the compound using a taping knife.

Next, you will need to wait until the tape is dry before you can apply a thin layer of joint compound over the joints and screw holes. Use a wider taping knife for this step, feathering out the compound to create a seamless transition between the drywall and the joints. Allow the compound to dry thoroughly before sanding the surface smooth. Pro tip—standing helps to achieve a flawless finish, so take your time and ensure the surface is even and smooth to the touch.

You are likely eager to see the finished product, but you can’t cut any corners here. Before painting, it's essential to prime the drywall surface. Primer helps the paint adhere better and provides a more even finish. Use a roller or a paintbrush to apply the primer evenly across the ceiling. Once the primer is dry, apply the desired paint color using a high-quality roller for a smooth and professional finish. Consider applying two coats of paint for a more durable and vibrant color.

To wrap this project up, you will inspect the painted ceiling carefully for any imperfections or areas that might need touch-ups. Use a small brush to fix any minor flaws in the paint or drywall. Once you're satisfied with the result, remove any protective coverings from fixtures and outlets. Then, you will clean up your workspace, dispose of any waste materials responsibly, and clean and store your tools properly so they are ready for future use.
Whether it makes financial sense to tackle this project on your own, or to hire a ceiling repair specialist to hang drywall on your ceiling, depends a lot on what tools and supplies you already own and how much work needs to be done. Tackling the project yourself comes with an estimated cost of $255 for tools and supplies if you need to start from scratch. However, it requires a significant investment of time and effort, potentially leading to complications and added expenses for mistakes. Professional drywall installation costs typically range between $1 and $3 per square foot for materials and labor. The tradeoffs for those costs are convenience and expertise. While it might have a higher upfront cost if you need to work on a large space, this approach ensures a quicker, more efficient process and a polished finish.
Cancelled appointment two hours after they were supposed to come for drywall work.
I would recommend this company to anyone! He showed up on time, was friendly, completed a very difficult repair on our dryer vent cover, was responsive, and pricing was extremely fair and competitive. I would have him back to do any of our repairs or cleanings without hesitation!
I cant stop admiring my newly painted walls. Custom Paint Jobs LLC made my house feel brand new.
Excellent experience with hiring Tether House to Mount our 77’ Samsung TV in our bedroom. Fast, friendly, and knowledgeable. Highly recommend.
Excellent customer service and knowledge. I was recommend to him from my neighbour. My front door and window came in great and were installed beautifully perfectly, I m very satisfied with their excellent work, so decided to order one more big bow window for my living room. I cant wait for...
Manuel Calvillo is the best option in the area for roofing and you won't be disappointed.
Would hire again. Wall looks great. Happy with job.
 Central Paving
Involved an extensive bathroom remodel, including removing tub & installing walk in shower, new drywall, custome tile work to ceiling, plumbing, etc. Overall, job was done on time and on budget. Nick & his team were very professional and had high attention to detail. Quality was great. Highly...
 Stamos Flooring and Remodeling LLC
We have had a great experience with Rising Height for the past five years on a number of miscellaneous renovation projects. They laid flooring for us and had a very good sub do the finish. Installed drywall for a vaulted ceiling, finished an attic/loft with new subfloor, framing and drywall,...
 Rising Height Unlimited
Mr. Lopez was super nice and professional. He repaired our drywall just as he described during the estimate phase. Our dining room wall looks great again! Thanks Mr. Lopez!
From average costs to expert advice, get all the answers you need to get your job done.
How hard is it to hang drywall? It’s certainly not easy and there are potential pitfalls if you plan on going the DIY route. Read this guide for helpful tips.
If you’re considering the pros and cons of hanging drywall vertically, most drywallers install it that way. Learn the best applications for this installation method.
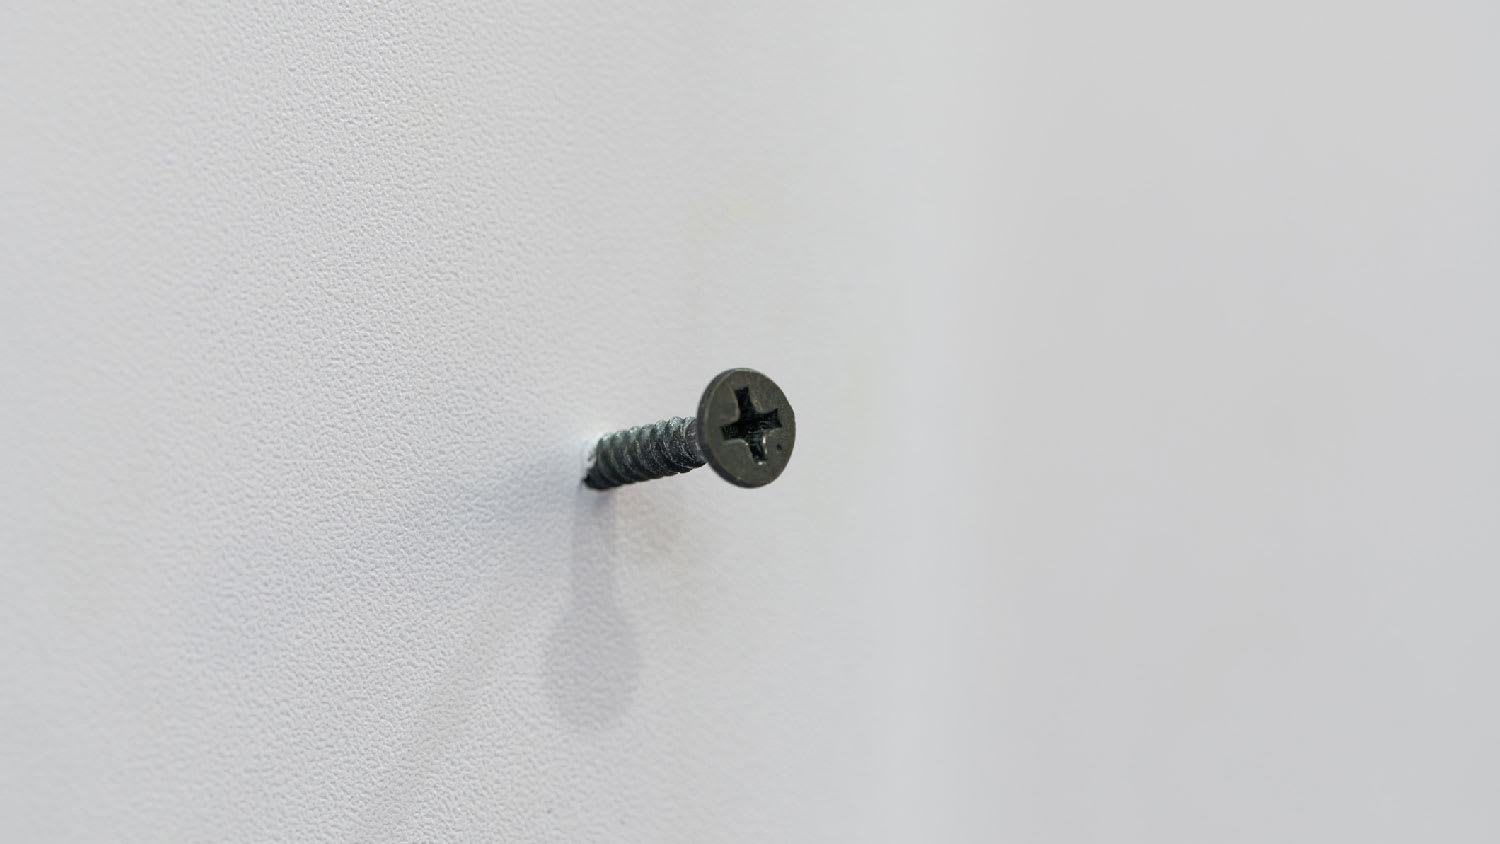
How much weight can drywall hold? It depends on a couple of factors, including where you mount the object and the hardware you use. Learn more in this guide.

Whether you’re renovating a room or finishing a home addition, this guide on how to cut drywall will make your job easier and help keep your home neat.

Knowing how to find a ceiling joist is necessary for homeowners looking to install fixtures or hang heavy objects from the ceiling.
When you’re choosing between drywall nails and screws for a drywall project, definitely take durability, cost, and ease of installation into account.