
•
Discover the cost to install a stair railing, including average prices, key cost factors, and tips to save on your project.
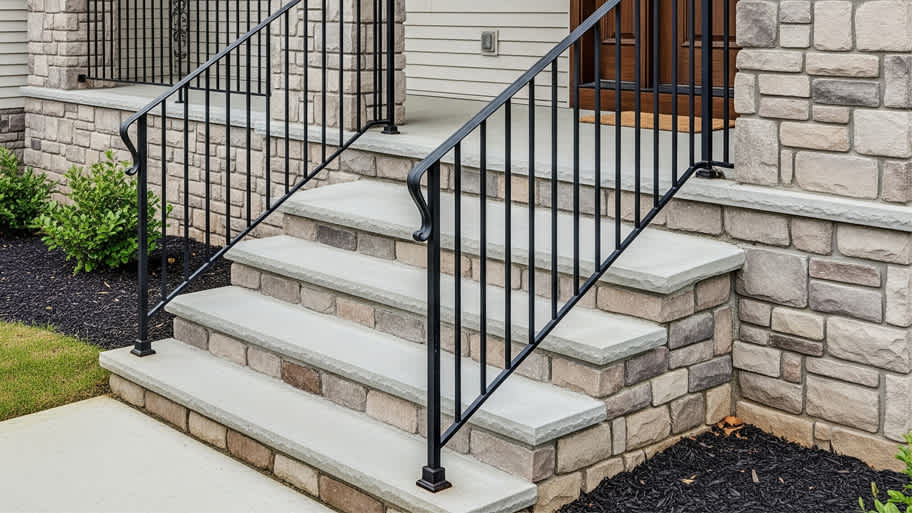
Concrete is hard—installing railings on concrete steps doesn’t have to be

Installing a sturdy railing can prevent a nasty spill on unforgiving concrete. Learning how to install a railing on concrete steps isn’t an overly tricky process, but you do have to take accurate measurements, or your railing won’t fit. This is a DIY project where you need to measure twice—and maybe a third time—to determine the correct railing to install.
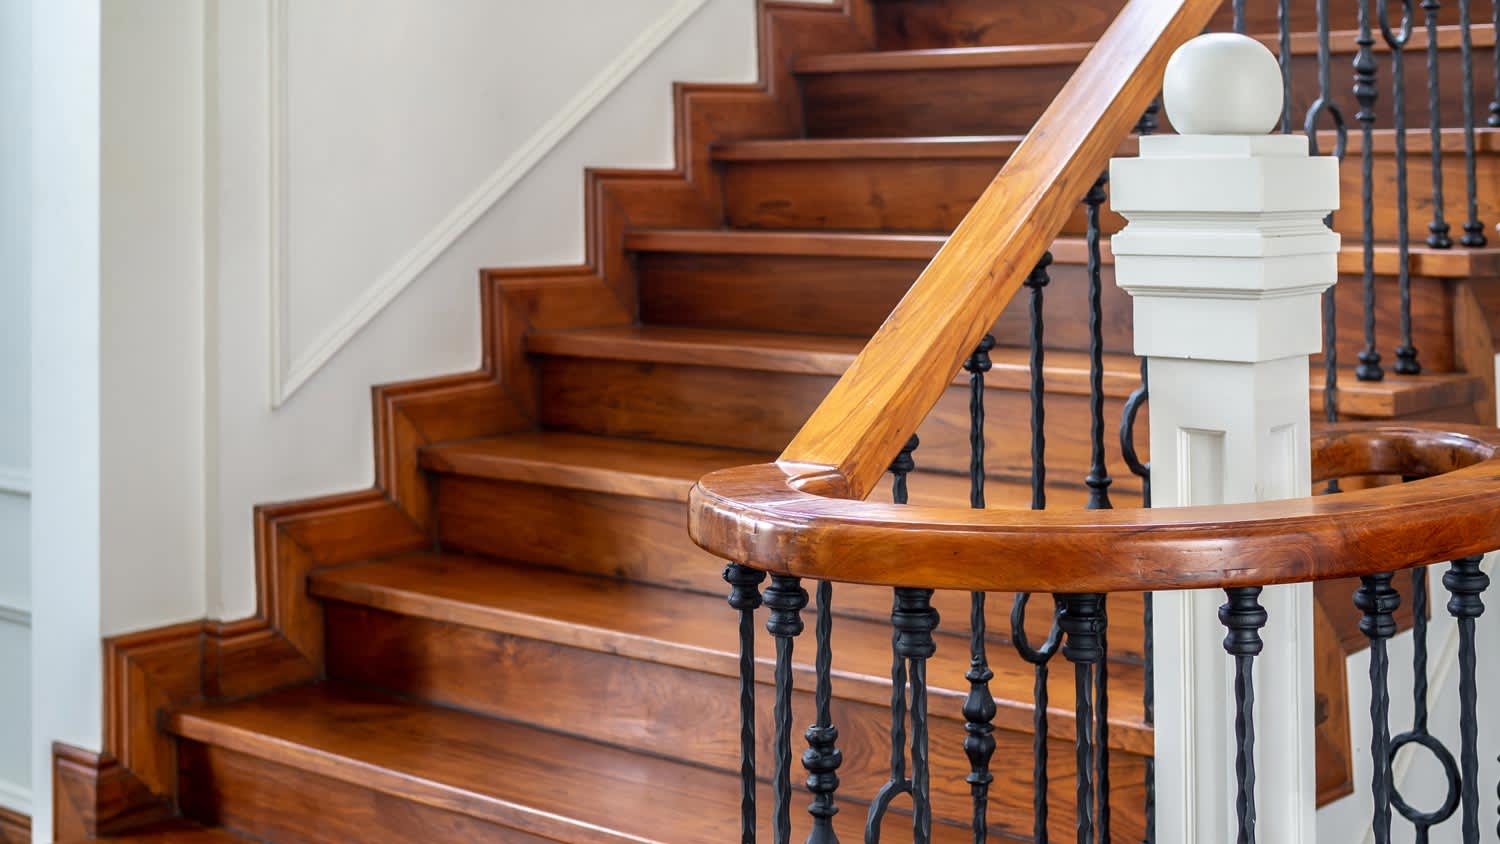
For safety reasons, a stair railing should be 34 to 38 inches above the stair tread nosing, and the baluster openings should be spaced less than 4 inches apart to prevent children from slipping through. Finally, make sure the handrails run the entire length of the stairs.
First, inspect the integrity of the concrete, measure the space, dry-fit the railing you bought, install the sleeve anchors, secure it, and protect the installation from water.
Start by inspecting the concrete steps for damage or cracks. If you notice integrity issues with the concrete, installing a railing could worsen the damage. Repair the concrete and allow it to dry and cure before continuing with the railing installation.
You need to take measurements of your existing concrete steps to find a railing that fits.
Measure the depth of the landing area. The landing is the wide area at the top of the steps where you stand when opening a door into the house.
You need this measurement for the section of railing at the edge of the landing area. Some people skip adding this railing section, though.
Measure the distance from the nose or front edge of the landing area to the nose or front edge of the last step before the ground. Imagine this as a diagonal straight line from point to point when taking the measurement. You’ll probably need someone’s help to hold the tape measure.
Add 1 foot to this measurement and then round up to the nearest foot to determine the length of railing you should buy.
Depending on the type of railing you’re purchasing, you might need to take other or different measurements. If you’re ordering a custom railing, ask the manufacturer for the specific measurements it needs.
Some companies take your measurements and create a custom rail that fits your concrete steps. Otherwise, you can visit a local hardware store and try to purchase a premade railing that will fit.
Some DIYers find the process of taking measurements and ordering the right unit extremely challenging. If you’re struggling with these steps, you should contact a local stair professional to do the measurements and installation.
Once the railing arrives, have another person help you move it into position and test the fit. Don’t immediately start drilling without dry-testing the fit. If it doesn’t fit, you might have made an error while measuring.
If you bought a premade railing, you should be able to return it as long as you didn’t damage it by trying to install it. If you bought a custom-made railing, be sure you understand the return policy before ordering. Some custom rail manufacturing companies will not give you a refund if you made an error during the measurement process, which is why careful measurements are so important.

If the railing will fit, have your partner hold it in place and mark the holes for drilling on the concrete. You can use a marker or grease pen inside the holes on the base plate to make marks on the concrete for the drill.
Using your drill and a masonry bit, drill holes in the concrete to accommodate the sleeve anchors. Read the installation instructions that came with your railing hardware to determine the proper diameter and depth of the hole to drill for the sleeve anchors.
If you purchased your own sleeve anchors because your railing didn’t have any hardware, 3-inch sleeve anchors are common. Drill a 2-to-2.5-inch hole depth, leaving less than 1 inch of the anchor sticking out of the hole so you can add a nut. Use a depth gauge to make sure the hole is the correct depth.
Carefully tap the sleeve anchors into the holes with a hammer. Set the base plate on the railing over the top of the sleeve anchors, ensuring the tip of each anchor goes through the holes on the base plate. Most base plates have four holes for the sleeve anchors.
Check the stability of the railing. If the base plate is not level, you can use up to a few thin stainless steel washers over the sleeve anchors. Put the base plate back over the anchors and washers and check whether it’s now stable and level. Continue adding or removing washers until everything is sturdy and level when you put the base plate in place.
Screw nuts over the top of the base plate onto the tips of the sleeve anchors. Use a wrench to tighten the nuts, which should expand the sleeve over the anchor inside the hole. (You’ll be removing the nuts in the next step, so don’t over-tighten them.)
Once the nuts are tight, use the hacksaw to remove any portion of the sleeve anchor that’s sticking over the top edge of the nut. Use the hacksaw carefully so you don’t scratch the railing or base plate.
Use the wrench to unscrew the nuts from the tip of the sleeve anchor. Place a stainless steel washer over the tip of the sleeve anchor and onto the top of the base plate. Screw a cap nut onto the tip and washer. The cap nut and washer should fully cover the hole in the base plate. Tighten the cap nut with a wrench.
To make everything match, the washer and cap nut should be the same color as the base plate on the railing (which is usually black).
To prevent water from seeping underneath the base plate, add clear caulk around its perimeter. For extra protection, you can also add caulk around the cap nut and washer.
For a better chance of successfully installing a railing on concrete steps, we’ve put together a list of the most common mistakes DIYers make on this job.
Taking inaccurate measurements: If you do not measure the space for the railing properly, the railing will not fit. Take your time when making measurements and double-check your work.
Not fixing concrete damage: Installing a railing on concrete that already has cracks or damage is never a good idea. Drilling into the concrete could cause additional damage, affecting the integrity of the steps. A railing on damaged concrete can end up wobbling, leaving it unable to withstand the stress of someone leaning on it.
Drilling holes incorrectly: Drilling holes too close to the edge might cause the concrete to crack. If you drill a hole that’s too large for the sleeve anchor, the railing may wobble. Follow the instructions that came with the railing to install it in the right place with the correct size of holes.
Not providing water protection: Holes in concrete need protection from water seeping into them that could freeze and thaw in winter, leading to concrete cracks. Use caulk made for exterior locations to provide water protection.
If you want to install a railing on newly poured concrete steps, you should allow the concrete to fully cure. Wait at least 28 days after pouring the concrete before trying to drill into it, or you might crack it.
If you purchase precast concrete steps, they should be cured well before they arrive at your home from the off-site manufacturing facility. You can install the railing as soon as the steps are put in place.
Try to avoid installing the railing during winter. If you drill into concrete in winter, any moisture that gets into the holes could start a damaging freeze-and-thaw cycle that cracks the concrete. As soon as temperatures are no longer in danger of dipping below freezing in spring, it’s safe to drill into the concrete. Try to finish the job well before the first freeze occurs in the autumn.
A handy homeowner who enjoys DIY projects may be able to install a railing on concrete steps successfully. However, this can be a challenging job for novice DIYers or those who lack the tools or experience required for drilling into concrete.
It’s also quite challenging to do this job if the concrete steps have damage from age or a previous botched effort at installing a railing. You may need help from a local concrete steps repair professional before trying the installation.
The most challenging part of this job is taking accurate measurements before ordering the railing. If you dislike making calculations and measurements, hiring a professional takes the stress out of the job. This pro will ensure you have the right size of railing.
The outdoor handrail installation cost when hiring a professional can range from $275 to $1,150. You can contact a local stair service professional for advice on installing a railing on the steps.
Incredible workers! Very skilled with the machinery, climbing, cutting, roping, and removal. Handled everything. Professionals!
 Hoffman Expert Tree Services
I m so impressed with Custom Paint Jobs LLC s craftsmanship. They truly care about quality.
Window Depot did an amazing job on my deck. I wasnt sure what I wanted to do, but their composite decking was affordable and will last a long time. I am excited to have family over, and I am no longer embarrassed by my backyard. Jeff and the ground crew were polite, respectful, and caring for...
Storms Mobile Welding was great to work with. They were prompt, professional and did an overall excellent job on the project. I highly recommend.
Great job...edging and pre clean up went well with a great job with seal coat. Friendly, efficient and professional.
 All Star Paving and Sealing
Great tree company, very professional and honest. Glad we found them, they had the best pricing
It was wonderful working with Yordy and his team. They were very professional and are experts in what they do. They have completed the work on time, with better quality and with in fairly reasonable price. We just started with backsplash work , but liking his work, we went on to provide...
We hired Jim to replace our hardwood floors with new hardwood. He and his helper Jerry did a fantastic job. Their work ethic is impeccable!! We would highly recommend McColl Floors!
The job went extremely well. Work was done as promised and the job came out better than expected due to Mr. Moyer's commitment to excellence and personal pride in providing the best work possible. He is one of those professionals who is not satisfied until the customer is completely happy...
 Pro Flooring
We needed to have a wall cabinet resized so that we could fit a larger refrigerator underneath. I removed the cabinet from the wall myself and brought it in, where Wally was able to resize it for me in his shop. The results were perfect: it's exactly the size that I asked for, and...
 Pioneer Woodworks
From average costs to expert advice, get all the answers you need to get your job done.
Discover the cost to install a stair railing, including average prices, key cost factors, and tips to save on your project.
Installing new concrete steps can enhance your home’s curb appeal. Learn all the factors that can affect your concrete steps cost.
How much does outdoor railing installation cost? Find out the cost to install a railing on concrete steps, porches, and patios, including material and labor.
Learn how to hire a stair railing installer with confidence. Find qualified pros, ask the right questions, and get your project done safely and on budget.

Who to hire for wood stair railing installation? Compare stair builders, finish carpenters, and railing contractors, and learn what to expect. Start here.
If you’re renovating your house—whether adding a floor inside or a deck out—you may need to install a new stair railing. Here’s how to build a stair railing from scratch.