

Ipe decking costs vary based on size, construction, finish, and whether you hire a professional. Learn more about how to budget for this project.
Take steps to ensure a safe landing

Attaching stair stringers to a deck keeps your stairs stable and prevents dangerous wobbles that can lead to falls when you or your family use them.
Building and attaching deck stairs costs $25 to $50 per stair, with full deck builds ranging from $4,350 to $12,560 when you include stair installation.
Choose your attachment method based on your deck setup: lag bolts for rim attachment, slope hangers for long staircases, or carriage bolts for direct joist connections.
Hiring a local deck building professional provides reliable help with measuring, leveling, and securing stringers correctly so your stairs stay safe for years to come.
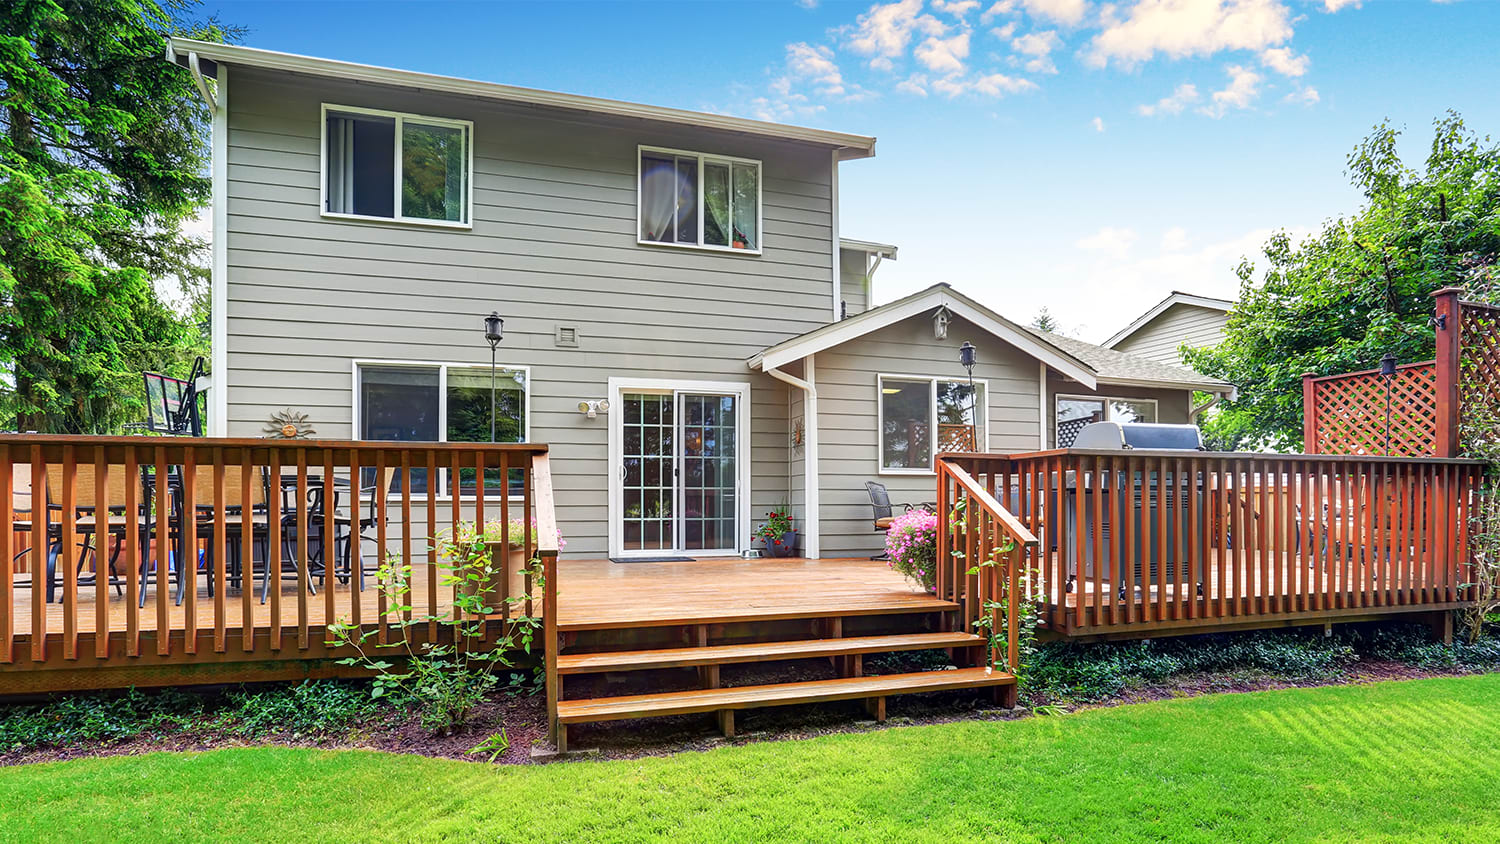
A deck can be an extension of your home’s living space, but it also comes with various safety hazards. One such hazard is deck stairs that are not correctly attached to the main structure and landing pad, causing the stairs to become unstable and potentially leading to injury. This guide explains how to attach stairs to your deck, ensuring your outdoor space is safe and secure.
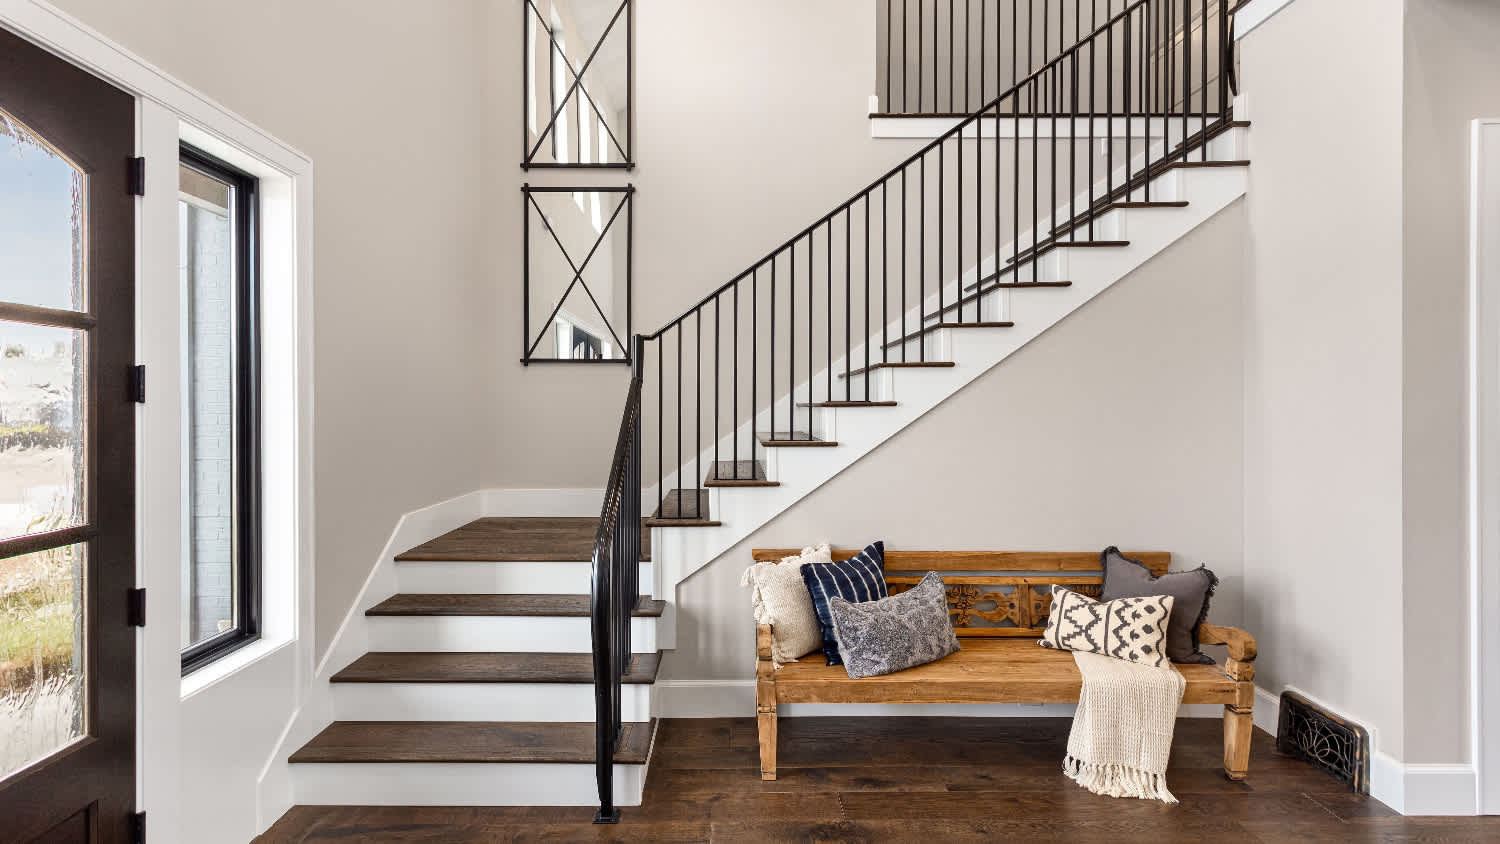
Stairs have several parts, including stringers (the boards along the staircase sides), treads (the horizontal steps that you walk on), and risers (the vertical boards that form the back of each step).
For safety purposes, the stringers must be attached to both the deck and the landing. If the stringers are not attached properly, they can come loose from the deck while someone is walking up or down them, potentially causing them to fall and injure themselves.
The exact cost to attach stairs to a deck depends on the installation method and the size of the staircase. You can expect to pay more if you’re constructing the staircase from scratch. The cost to build a deck ranges from $4,350 to $12,560, and this price may include stair installation if you complete everything at once. In general, expect to pay between $25 and $50 per stair to build deck stairs.

Once you’ve built your deck stairs, it’s time to secure them to the deck and landing. Here’s how to do it.
There are three methods for attaching stairs to a deck.
Attach the stringers to the rim using lag bolts. This method will extend the deck surface over the stringers, which may not be suitable if you have limited space.
Secure the stringers to the posts using a ledger and an adjustable slope hanger. This method reduces the additional load on the deck frame and is usually the best option when attaching a long staircase.
Bolt stringers to deck joists using carriage bolts. This method is often the simplest and works well to secure the stairs to the deck thoroughly.
Once you have decided on the best installation method for your project, gather your supplies and proceed to the next step.
Before attaching the stairs to the deck, test-fit the stringers to ensure they are in the correct position. Don’t use force; if you have to jam the stringers into place, you may damage them.
After test-fitting the stringers, use temporary screws to hold them in place while you check the placement. Use a level to check that the stringers are installed correctly and evenly. Level stringers mean that your stairs won’t be uneven, with one side higher than the other. Make adjustments as needed until the stringers are even within 1/16 inch.

Once the stringers are in the correct place, it’s time to secure them to the deck. Depending on your chosen method, you’ll need lag bolts, slope hangers, or carriage bolts.
To attach the stringers to the rim using lag bolts:
Screw in the bolts from the inside of the deck rim.
Use two bolts—one toward the top of the rim and one toward the bottom—to ensure the installation is secure.
To attach the stringers with slope hangers:
Secure the hangers to the deck using nails and screws.
Screw the hanger to the stringer’s inside face.
Repeat until all the stringers have been attached to the deck.
To bolt the stringers to the deck joists:
Position the screws low on the stringers for maximum strength.
Use three carriage bolts per stringer: one at the top, one at the bottom, and one just in front of the bottom bolt to create a triangular shape.
Once the stringers are attached to the deck, secure them to the landing to prevent movement. There are three ways to do this:
With galvanized brackets to secure the stringer and the concrete.
With a pressure-treated kicker board secured with masonry bolts.
Embedded in concrete and secured with brackets.
The landing pad must be secure; many people opt to pour a concrete pad for this purpose. However, you can also use pavers or gravel as a landing pad.

If your stairs aren’t correctly attached to the deck, they will be wobbly and dangerous to walk on. That’s why it’s essential to attach your deck stairs correctly. Follow these tips to avoid potential problems down the road.
Measure carefully to ensure the stairs are level once attached to the deck.
Choose the right attachment method for your deck stairs.
Always secure fasteners near the stringer’s bottom edge for maximum strength.
Don’t forget to attach the stairs to the landing pad for a secure fit.
Attaching stairs to a deck is an advanced DIY project that is not suitable for many homeowners. If you make a mistake during this job, you could risk compromising the safety of any family or friends who use the stairs. However, that doesn’t mean you can’t complete this job yourself; just be diligent in following each step carefully and checking the fit and slope along the way to ensure the stairs are safe to use once installed.
If you’d prefer to leave this project to a professional, a local deck builder can help. Professional deck builders are experienced in attaching stairs to decks correctly to ensure they’re safe to use and won’t budge.
One of my old tall evergreen trees was suddenly leaning toward the busy street in front of my house. I submitted a request for an emergency tree inspection, and Alejandro, owner of Cajete Tree Service, contacted me immediately and arrived to look at it just 20 minutes later. We agreed the...
Mitchell and the crew were top tier i am so happy with my new roof
1 tree was cut down and 5 others including a large willow tree were trimmed. The Grant Tree Service men were professional and cleaned up afterwards. The cost of the 6 trees were affordable. I am very happy with the results. I would hire them again.
Archie did a good job cleaning up the driveway before he laid down the sealer. It looks good. He was gracious and even helped me bring up my groceries. His rate was comparable to another company who came out to give me a quote and he talked to me personally rather than just text me a quote...
We have bought and sold numerous times over the past 50 years. Sherman Hall and Top Line are top notch. Thorough and detailed, he explains every possibility, probability, and eventuality. High class and pleasant. The best.
 Top Line Home Inspections, LLC
D1 Roofing delivers outstanding service from beginning to end, backed by a strong warranty and expert teams. I highly recommend them for their excellence in meeting and surpassing expectations with unmatched communication. Choosing D1 Roofing was flawless decision
Couldn't ask for a better company. Josh and Dee were Very professional, efficient, courteous and takes major pride in their work. They will travel to come to your home and will still give you a fair price. They are honest and trust worthy. Their focus is on their work and their work is...
 Supreme brick & chimney
Window Depot did an amazing job on my deck. I wasnt sure what I wanted to do, but their composite decking was affordable and will last a long time. I am excited to have family over, and I am no longer embarrassed by my backyard. Jeff and the ground crew were polite, respectful, and caring for...
We were having 2”x 2” tile installed . There was a small installation error and the new additional replacement tile was from a different lot and the colors didn’t match. Joe assured us that he would rectify everything , which he did without hesitation. We decided to go with the 18” x 36” tile...
 CarifaTile
Maple Tree Service should serve as a mentor for other business! Customer service was superior and beyond expectation. Response to request was prompt. The representative was very courteous and proud of the company. Quote was given during initial visit and work date established. A follow up...
 Maplewood Tree Service
From average costs to expert advice, get all the answers you need to get your job done.
Ipe decking costs vary based on size, construction, finish, and whether you hire a professional. Learn more about how to budget for this project.
The cost of expanding your outdoor space with an elevated deck depends on the project size and the materials used. Plan your project budget with this guide.
Discover the cost to install a stair railing, including average prices, key cost factors, and tips to save on your project.
Wondering how to build deck stairs? Follow our helpful guide to learn how to complete the final step of your outdoor decking project.
Learn how to install composite decking with some power tools and basic DIY carpentry skills. Find steps, tips, and more in this guide.
A pergola on deck upgrade can bring extra style and shade to your outdoor space. Find out how to build a pergola on a deck.