

Popcorn ceiling removal costs depend on the size of your ceiling and any additional services like asbestos removal and resurfacing. Learn all the costs here.
Don’t let the mist coat leave you mystified


Apply one to three layers of mist coat for the best results.
To make mist coat, combine three parts paint to one part water.
Wait four weeks for plaster to dry before applying mist coat or paint.
Let each layer of mist coat (and later, paint) dry for at least 24 hours.
A mist coat can be the difference between a long-lasting paint job with a seamless appearance and a paint job that flakes and peels just months after you put away the paintbrushes and cans. But how many times should you mist coat new plaster, and how do you mix the right mist coat in the first place? Here’s how to make your new plaster look its best for years to come.
A mist coat is a diluted first layer of paint that helps the actual layers of paint adhere to plaster rather than being soaked up by the plaster. The mist coat acts as a base or primer, but the difference is that you can make the mist coat using a paint that’s similar to the one you plan to apply as a top coat to the plaster.
Applying a mist coat often costs less than using primer and is well-suited to prepping new plaster for a makeover. Primer, on the other hand, works best for repainting existing walls or other materials, like wood or metal.
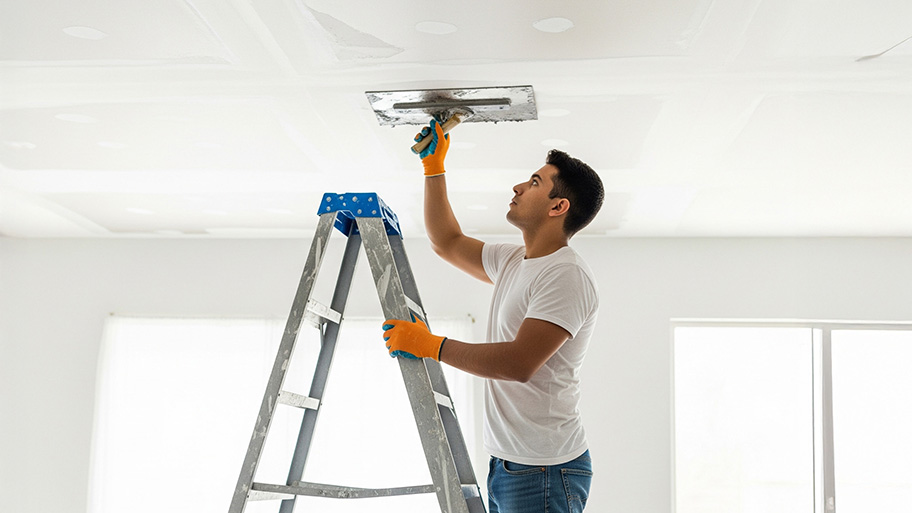
The new plaster is up, and you’re eager to move on to the painting phase to bring the room to life. But before you pick up that paint roller, keep in mind that fresh plaster needs plenty of time to dry. Otherwise, you risk ruining your new paint job and wasting money on extra paint. Let new plaster dry for at least four weeks before you move on to the mist coat stage.

You often only need to apply one layer of mist coat to new plaster, but you can also do up to three coats for the best results. The mist coat helps seal the plaster and will keep it from soaking up the paint (which would cause the finished paint layers to peel and crack prematurely).
By applying two or three layers, you build more of a barrier to prevent absorption and provide a smooth, even, and long-lasting finish.
Mist coat is only as reliable as the paint you use for this step. Opting for vinyl-based paint or creating a mixture that is too watered-down can actually cause the paint to bubble, blister, or even fail to stick to the wall. Here are some best practices for prepping your mist coat.
You don’t need to use the high-end paint you’ll use for the top coat. Instead, opt for a lower-cost, acrylic- or latex-based paint. More specifically, look for non-vinyl matt emulsion paint, often labeled as contract or trade matt. These options offer a sealing base coat that is still porous and breathable, so it won’t cause the paint to chip, flake, or bubble.
To make mist coat, you’ll want to water down the paint by at least 20% and up to 75%. The sweet spot is to combine three parts paint to one part water. Stir the mixture to make sure it combines well. If it’s too thick, you can keep adding small amounts of water until the mixture is thin without having too much water sitting on top.
If you’re having trouble preparing the mixture or you make a mistake and need to clean up a messy mist coat or fix the plaster, make sure to consult a plaster repair pro near you before moving forward with the project. A pro will help ensure your plaster is in good condition and the paint job is as smooth and long-lasting as possible.
The mist coat should dry for at least 24 hours before you apply another layer of mist coat or start painting. Once the final coat of paint is on the walls, you should wait between seven and 30 days for the paint to fully dry. That means that even when the top coat is finished, you should give the walls plenty of time to cure before you start searching for studs in the plaster to hang your family photos on.
From average costs to expert advice, get all the answers you need to get your job done.
Popcorn ceiling removal costs depend on the size of your ceiling and any additional services like asbestos removal and resurfacing. Learn all the costs here.

The eye-catching character of a coffered ceiling can really set your room design apart. This guide breaks down coffered ceiling costs to help you budget.
A ceiling repair averages about $1,000, but multiple factors affect this number. Learn more about creating an accurate ceiling repair cost estimate with our tips.
Learn how to figure drop ceiling grid and tile material for any room in your home using this calculator to minimize waste and maximize attractiveness.

Plaster ceiling repair isn’t the most difficult DIY home repair, but supplies and tools can get pricey. Read on to learn how to repair a plaster ceiling.
Can you sand plaster? Technically, yes, but between a big mess and potential health hazards, this is one project you’ll want to hire a pro for.