Let the light flood into even the gloomiest attics and transform the look of your home. Here's how to calculate the cost of adding a dormer of any style.
Keep your feet on the ground—or at the very least, a ladder—with these workarounds


Getting on the roof is a dangerous task, as slipping and falling on a roof could lead to a trip to the hospital. So for the sake of safety, it’s best to do a visual inspection from the ground or at most a ladder. A simple inspection is good to do every now and then, especially after or before a storm, if you’ve noticed signs of roof damage in the home, or if you simply want to look for problems before they get worse.
Difficulty: 1/2 Simple project; big impact
Time: 1 to 2 hours
Tools and Materials Needed: Ladder
The first step when inspecting a roof is to do a simple walk around the home. You can see quite a bit of your roof from the ground, it’s more about getting the right angle.
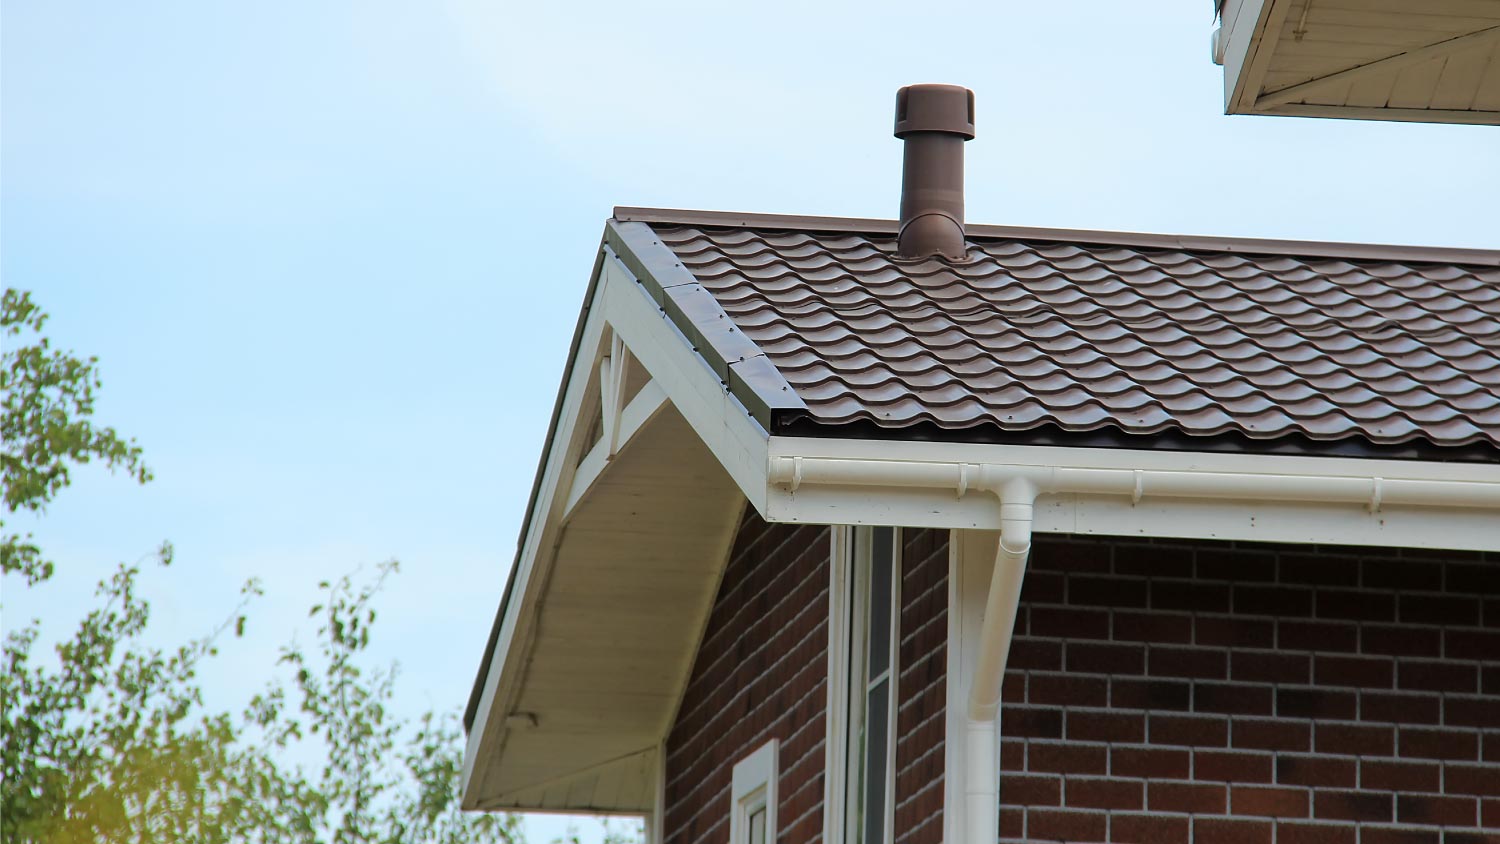
During the walk around, you’re going to look for any signs of missing shingles (if it’s possible to see). You’re also going to want to look at your gutters, fascia, and soffit to ensure there’s no damage to these areas. Also, look for a high amount of grit coming from the shingles and landing on the ground, or coming out of your downspouts.
Common signs of damage include:
Cracks
Holes
Dents
Mold
Keep in mind that it’s difficult if not impossible to see hail damage from the ground. Inspecting roofs for hail damage is best done by a roofing company during an up-close inspection.
After the walk-around is complete, it’s time to get the ladder out and do a visual inspection of the roof from the ladder. Remember to keep at least 3 points of contact with the ladder at all times. If you want to take pictures or videos, make sure you use a helmet camera or strap your phone to your wrist, as this ensures that you always have a hand free to catch yourself.
Once on the ladder, it’s time to look out for any signs of mold and debris. It can be harder to notice smaller pieces of debris and moss from the ground. Moss and debris can hold onto water after rain or snow, which can lead to water damage in the long run.
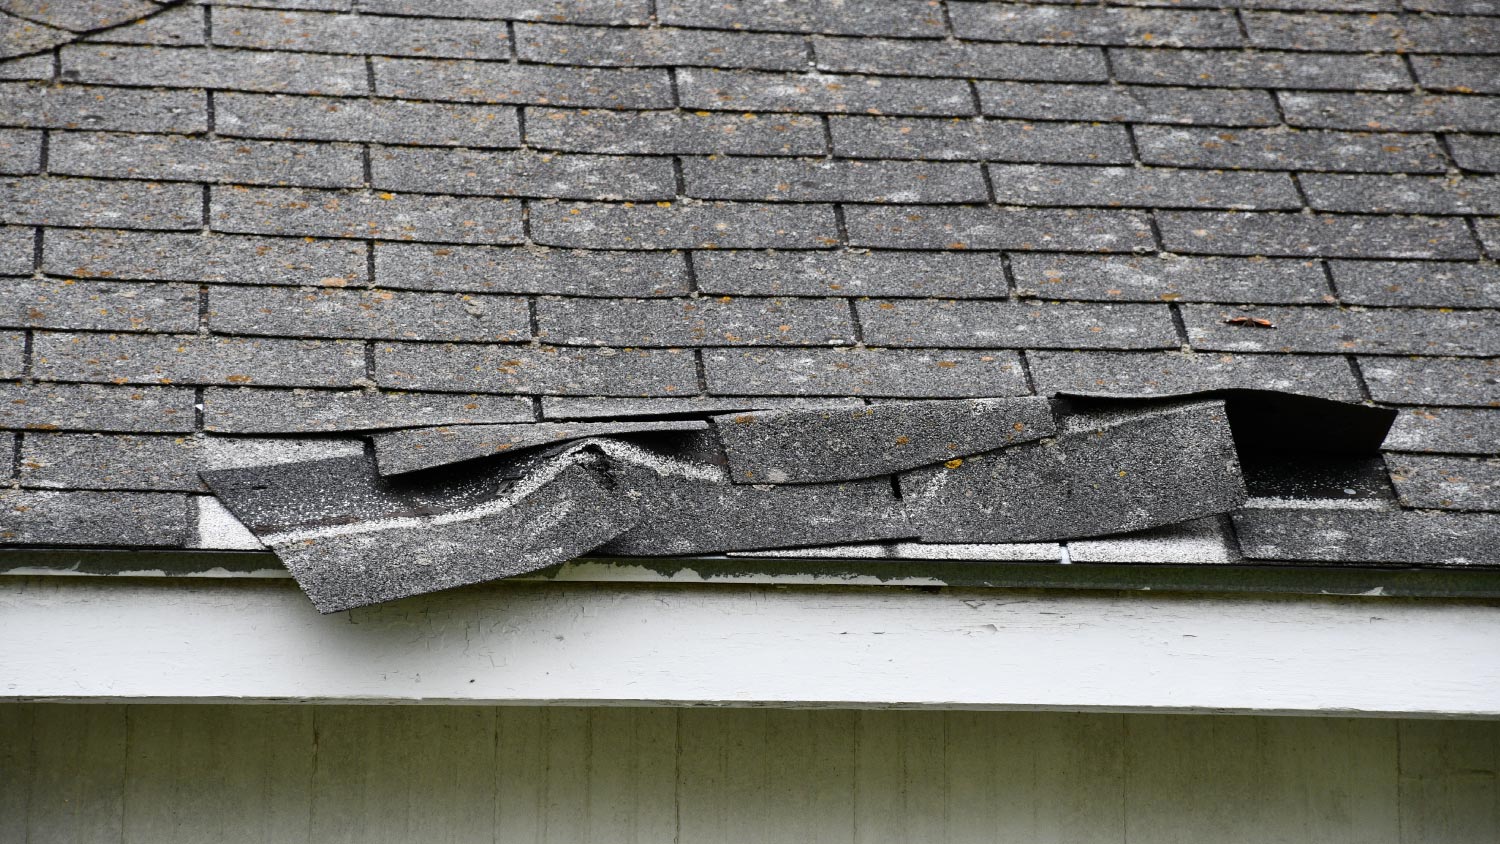
Curled or buckled shingles aren’t necessarily cracked or damaged. For curled shingles, they’ll look as if you’re rolling up a newspaper. Buckled shingles look like you’re trying to fold the shingle into a hamburger.
Buckled or curled shingles leave an opening for water to damage the underlayment of a roof. Roof repairs cost anywhere from $365 to $1,550. The longer you go without addressing curled or buckled shingles, the larger that bill is likely to be.

While you’re looking at the shingles, you should be on the lookout for any missing or damaged shingles. Look for any signs of damage such as cracks, chips, or shingles that are no longer nailed down. Just like with curled or buckled shingles, these problems can lead to further damage to the entire roof.

If there’s nothing to see on the roof, it’s time to inspect the gutters. Your gutters play an important role in the drainage of water. But water tends to carry debris with it, so it’s not uncommon for leaves, moss, or branches to start clogging the gutters and cause a blockage.
You can inspect the gutters from the ladder and the ground. The ladder portion of the gutter inspection will cover the actual gutters while the ground portion will cover the downspout. Just be careful when leaning a ladder on gutters, as it’s easy to bend the gutters under the ladder’s weight.
If it’s only a few leaves or sticks, you may be able to pull them out. But if it’s a large blockage, it’s best to hire a local gutter cleaning service. The average cost of gutter cleaning is around $160, and you take the risk of falling out of the equation.
Your time on the ladder is complete. Now it’s time to slowly make your way down, then head inside the house and up into your attic. From there, you can spot hidden roof damage that is hard to find outside.
Be on the lookout for any beams of light coming through the attic, signs of wood rot on the joists, or water damage on the floor of the attic. Also, look closely around any penetrations, such as the chimney, skylights, vent pipes, and ventilation.
A professional roof inspection will go into a lot more detail than what a simple visual inspection offers. These inspections allow the roofer to get onto the roof and look closely at the shingles and flashing on the roof. They may also use drones and infrared technology to look for signs of damage that are not visible to the eye and are happening on the inside of the roof.
A roof inspection costs around $210 on average. Though this will vary depending on the extent of the inspection. Because of the in-depth nature of professional inspections, a roof inspection is almost always worth it.
From average costs to expert advice, get all the answers you need to get your job done.

Let the light flood into even the gloomiest attics and transform the look of your home. Here's how to calculate the cost of adding a dormer of any style.

The cost of 3-tab shingles varies widely, depending on the size, condition, and steepness of your home's roof. Discover how much they'll cost for yours.

Rubber roof costs vary considerably for each project. Learn how factors other than roof size and labor contribute to the total cost.

Roof insulation types include batts, spray foam, rigid foam boards, and fiber cement boards. Keep reading to learn which roof insulation is best for your home.

Understanding the styles and types of metal roofs available can help you make the best choice for your home. We’ll discuss the best options for metal roofs.

Choosing the right roofing material can help your home stand up to snow, ice, and harsh winds. Learn more about the best roofing materials for cold climates.