
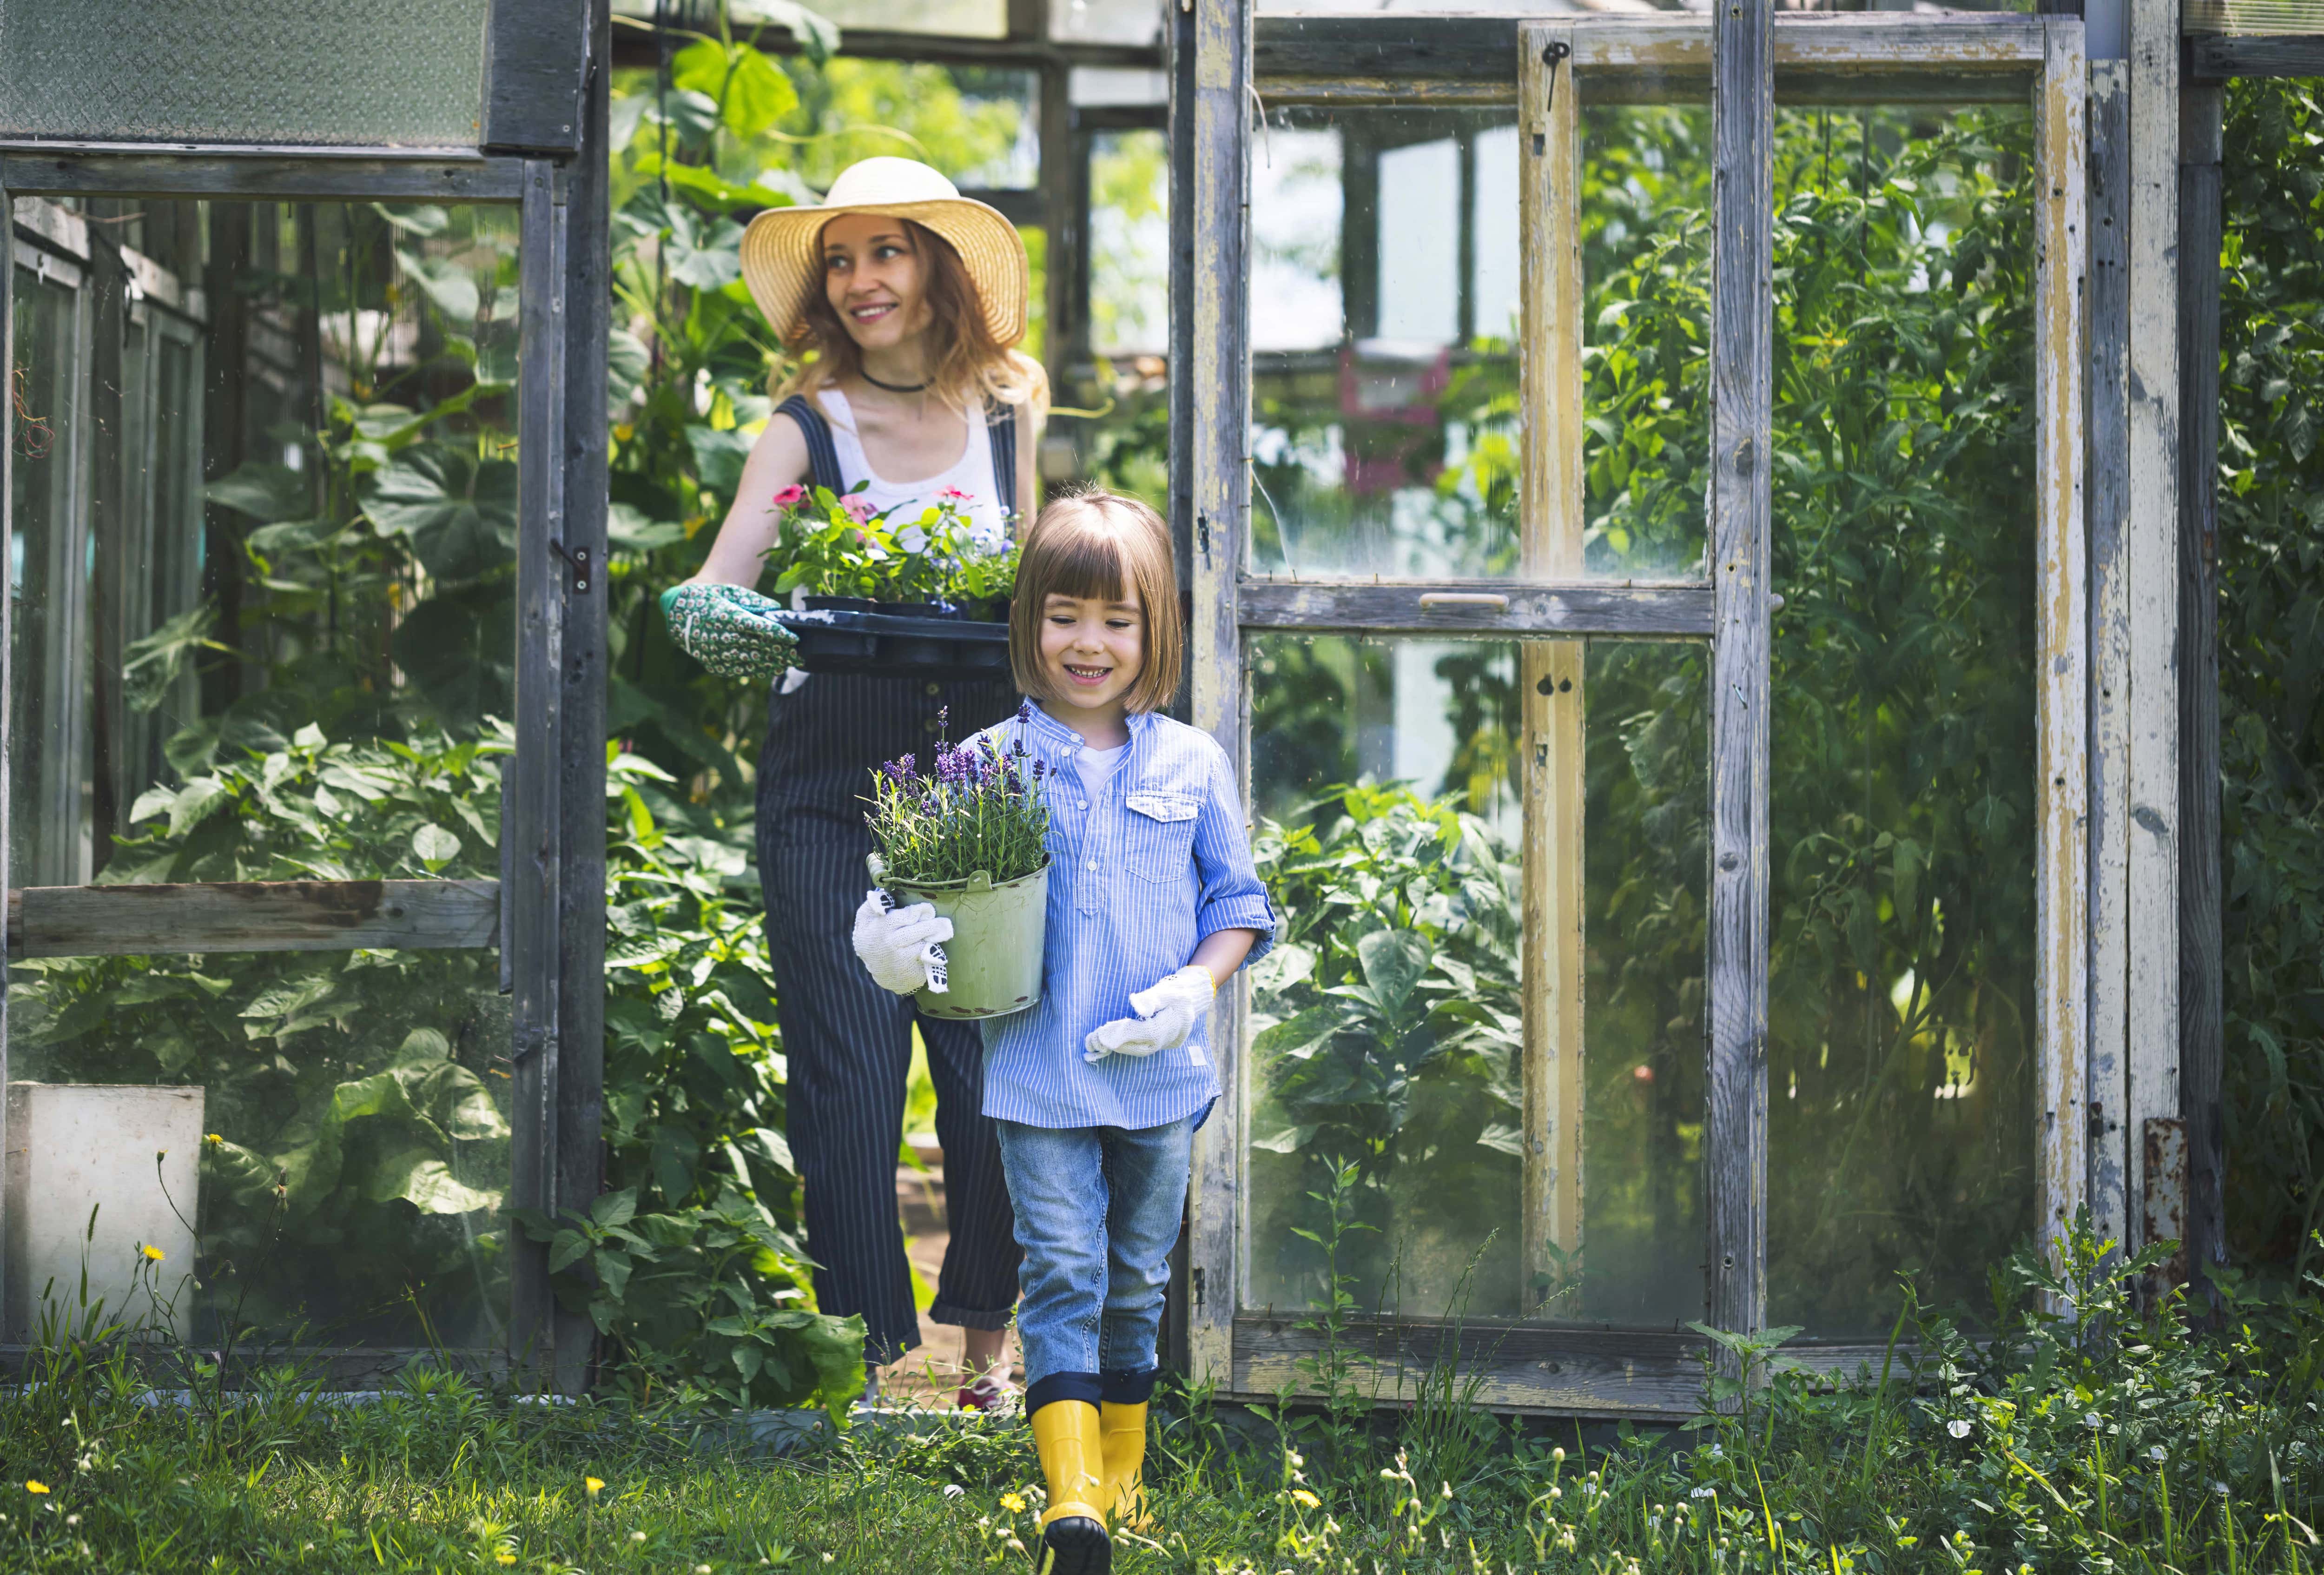
Use this guide to build a DIY greenhouse. You’ll also find important considerations to keep in mind and other options if a DIY build is out of your scope.
Add a gorgeous splash of color to your exterior

Standard window flower box dimensions range from 8 inches deep and 8 inches front-to-back, giving your plants enough room for soil and healthy growth.
Expect to pay $60 to $120 per hour for handyperson services or $300 to $500 per day for a general contractor to build your window box.
Start with cypress or cedar boards for your flower box dimensions, and drill drainage holes every 6 inches to prevent water buildup and root damage.
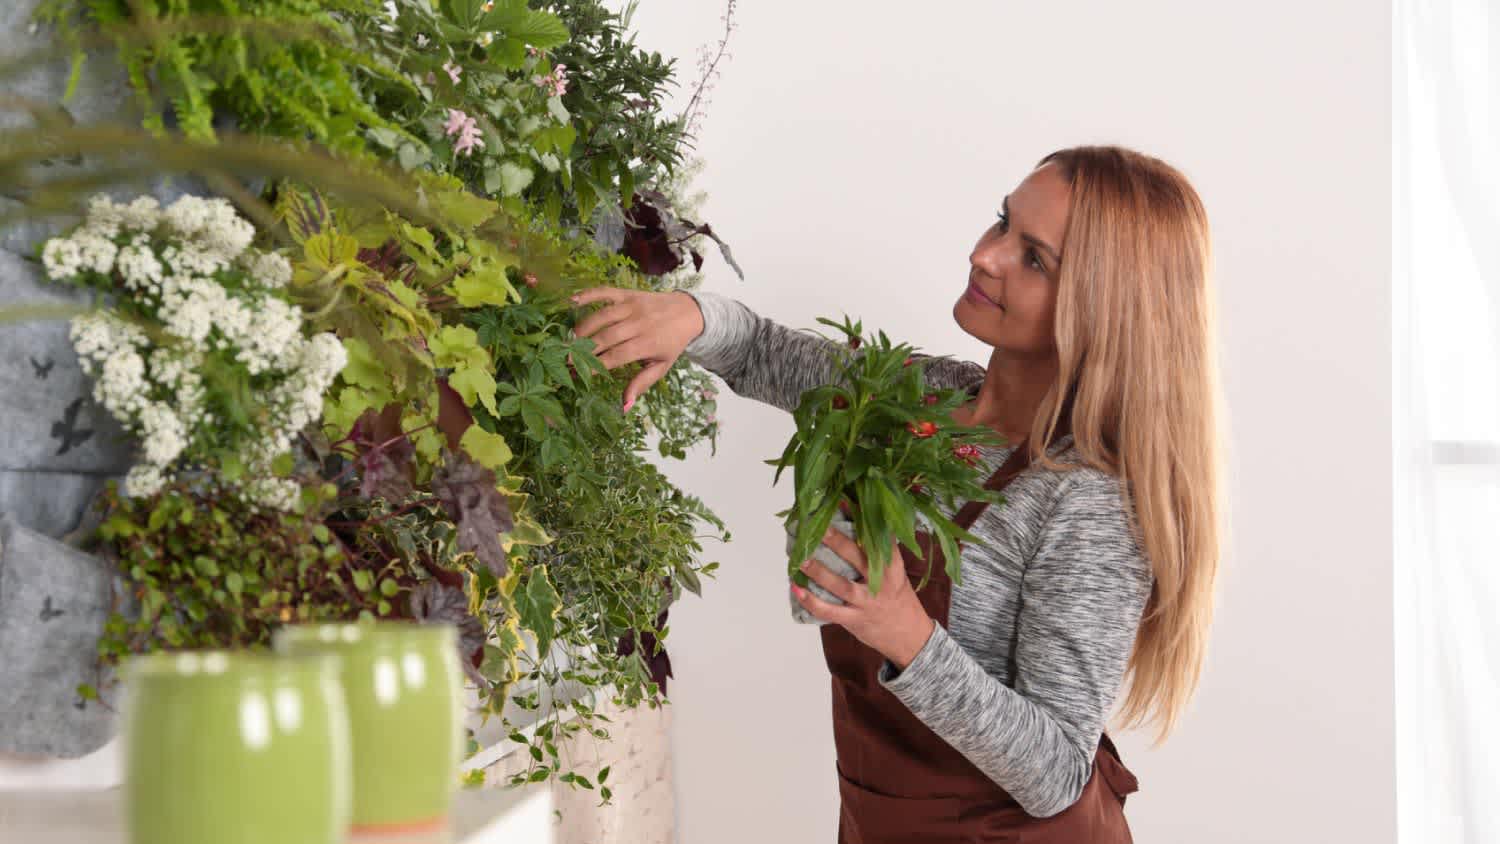
Hiring a local gardening professional helps you choose the right plants for your climate and provides expert advice on soil, drainage, and seasonal care.
Flowers add a splash of color and charm to any facade, from homes to sheds. If you’re ready to learn how to build a window flower box, you’ll be glad to know this is an intermediate project you might be able to handle on your own.
If you’re experienced using a saw and already own the necessary tools, you can easily build DIY window box planters that’ll boost your home's beauty and curb appeal.
Before you can learn how to build a window flower box, you’ll need to do a little prep work. Keep the following tasks in mind to ensure this process goes smoothly.
Focus on safety: No experience using a saw? Hire a pro to safely build the window box planters instead or have someone at the hardware store make the cuts for you when purchasing the wood.
Keep it consistent: The type of paint and primer doesn’t matter too much (oil or latex), but integration does. In other words, if you get an oil-based primer, follow that up with an oil-based paint.
Have fun with paint colors: As for the paint color, go with whatever best matches your exterior and makes the area pop. From neon pink to bright yellow, let your personality shine.
Prepare your workspace: Arrange your tools and materials on a worktable for easy access and to minimize the risk of losing something.
Start out slow: Start with one DIY window box planter to ensure the project turns out well, and next time, make two or three simultaneously. This allows you to consolidate some steps.

Your first step in learning how to build a window flower box is to transform all of the wood you bought into the appropriately sized planks.
For experienced DIYers, you’ll need to break out the table or miter saw to accomplish this task. Before you start, wear head, ear, and eye protection, along with chainsaw chaps, heavy pants, and boots.
For newbies, talk to a tech at your local hardware store and have them make the cuts for you. You just need the dimensions listed below and the length of your window. Use a tape measure to get this information.
Here are the plank dimensions you need for this job:
Start by making three planks 3 inches wide and the same length as your window. Next, make two planks 1-1/4 inches wide and the same length as your window. Finally, make three more planks 1-1/4 inches wide and 5-3/4 inches long.
Split your two-by-four planks up into three 8-inch-long pieces.
When you fill your window box with flowers, it will hold a lot of soil and plants. In other words, it’ll be heavy and require secure mounting. The best way to do this is to use simple cleats or clasps.
Buy the appropriate cleats at the hardware store if you don’t have prior experience, but advanced DIYers can make their own by cutting three more 8-inch pieces out of the two-by-fours.
No matter which option you choose, affix a cleat to the wall by holding it steady as you push it flush directly against the exterior wall under the windowsill on the right or left side.
Drill two pilot holes on each side of the cleat and drive two concrete screws through these holes to secure the cleat to the wall.
Repeat the process for the other side and the remaining cleat.
Use one of the 3-inch-wide wood planks you cut and place it flat on a work surface. This is going to be the bottom of your DIY window box planter.
Place a similar plank directly on top of this bottom plank to act as the front (so put it on the front-facing edge).
Hold it in place and drill pilot holes every 8 inches.
Insert 1-1/4-inch screws into each pilot hole and tighten them up.
Repeat this process with the window-facing side and the remaining 3-inch plank.

Now it’s time to move on to the sides of the window flower box. This step requires the two smaller planks you made with a width of 1-1/4-inch wide. You will notice that these planks are a bit oversized, but this is what you want.
When affixing these planks to each side, allow the excess to overhang on the back side to cover up the exposed cleat attached to the house (this amounts to an excess of 1-1/2 inches).
Now, hold each piece tightly to the window box and use a drill to insert the 1-1/4-inch wood screws.
Your final step in learning how to build a window flower box is to create the bones to attach the trim.
Grab the final cypress or cedar pieces that measure 1-1/4-inches wide and 5-3/4-inches long. Make sure the first trim piece is exactly flush with the top and bottom of the front-facing panel.
Next, tap the trim into place with simple nails.
Repeat this process on each side for the remaining pieces.
For most window boxes, one trim piece goes on the center, one on the left side of the box, and one on the right side of the box.

Your flower box is basically built, though you still have work to do. It’s time to paint and prime your new creation.
Break out the wood filler and fill any nail and screw holes to ensure a smooth finish.
Start with the sash brush to apply primer to the box.
Allow the primer to dry for a couple of hours, and then apply one to two coats of exterior semi-gloss paint with the same brush.
Allow everything to dry, and then finish it off with medium-grit sandpaper to get a smooth finish. Since this is an outdoor window box that is subject to environmental conditions, this step is optional.
Now that you’ve successfully learned how to build a window flower box, it’s time to affix it to your windowsill.
Hold the box in place against the cleats you attached earlier.
Drive four screws directly through the back panel, the side touching the cleats.
Test the box to ensure it is properly supported and, if not, attach some brackets where the box hits the cleats. As an added bonus, many of these brackets are decorative.
Without proper drainage, the box will eventually succumb to the added water weight from rainstorms in your area.
To create drainage, lay underneath the window box and drill a few small holes through the bottom panel. Go for one hole every 6 square inches or so.

Now the fun part: filling up your brand new DIY window box planter. Whether you go with perennials or annuals (or both) or want to plant flowers that attract bees, follow these three steps:
Start with 1 inch of gravel at the bottom to assist with water drainage.
Cover the gravel with an appropriate level of potting soil. Stop at around 1 inch from the top.
Finish it up with whatever plants strike your fancy, from daisies and dahlias to a variety of veggies.
Contact a local gardener for advice if you need help deciding on the best plants for your region and climate.
Learning how to build a window flower box isn’t overly difficult, but it can be dangerous if you attempt to use a saw without experience. From a botched window box to serious injuries, it’s best to call in a pro who can handle it safely for you instead.
Talk to a local handyperson or general contractor near you about building a window planter if you decide to skip the DIY.
A handyperson’s rateswill likely be $60 to $120 per hour, and this type of job takes an expert anywhere from two to four hours. A general contractor will charge $300 to $500 per day, depending on their level of expertise.
Amazing job. Efficient and quick without compromising quality. Basement feels brand new. Would use them again in a heartbeat.
 AffordaPro Restoration
This company went above and beyond with their work, chimney sweeps are usually pretty messy, but the clean up was spot on.!! Josh explained every thing that he was doing, and the things that he was checking to make sure the chimney was safe for me and my family. He was very professional,...
 Supreme brick & chimney
Flawless finish and exceptional service. Custom Paint Jobs LLC is the only choice for me.
Window Depot did an amazing job on my deck. I wasnt sure what I wanted to do, but their composite decking was affordable and will last a long time. I am excited to have family over, and I am no longer embarrassed by my backyard. Jeff and the ground crew were polite, respectful, and caring for...
Wonderful company to work with. Very easy to get in touch with and communicate with. The cleaners do an excellent job and pay close attention to detail. Fair pricing, always dependable which I truly appreciate. They show up when they say they will, and my home is immaculate when they finish....
 Sparkle Machine Clean Co.
Great job...edging and pre clean up went well with a great job with seal coat. Friendly, efficient and professional.
 All Star Paving and Sealing
Good workers and they do a good job.
Fantastic! Top Line was early for the appointment and very knowledgeable and took time to explain everything they had found during the home inspection. The report included clearly defined issues and what they recommended to remedy the same. The report also included many pictures to help...
 Top Line Home Inspections, LLC
Mary cleaning service does an amazing job cleaning my home. They go over and beyond the cleaning services that I have had in the past. They are very punctual and thorough with cleaning my home, I’m extremely happy with the service they provide and I highly recommend them.
They cleaned my very dirty basement. They were prompts, quick, thorough and their price was fair.
From average costs to expert advice, get all the answers you need to get your job done.
Use this guide to build a DIY greenhouse. You’ll also find important considerations to keep in mind and other options if a DIY build is out of your scope.
If buying new interior storm windows is out of your budget, you can build them yourself. Learn how to make DIY storm windows in this guide.

Fill your window boxes with color, fragrance, and beauty for fall with our top picks for fall flowers and plants, both edible and ornamental.
Ready to add some life to your charming, little abode? Check out these garden ideas for small spaces for some inspiration for creating that perfect space.
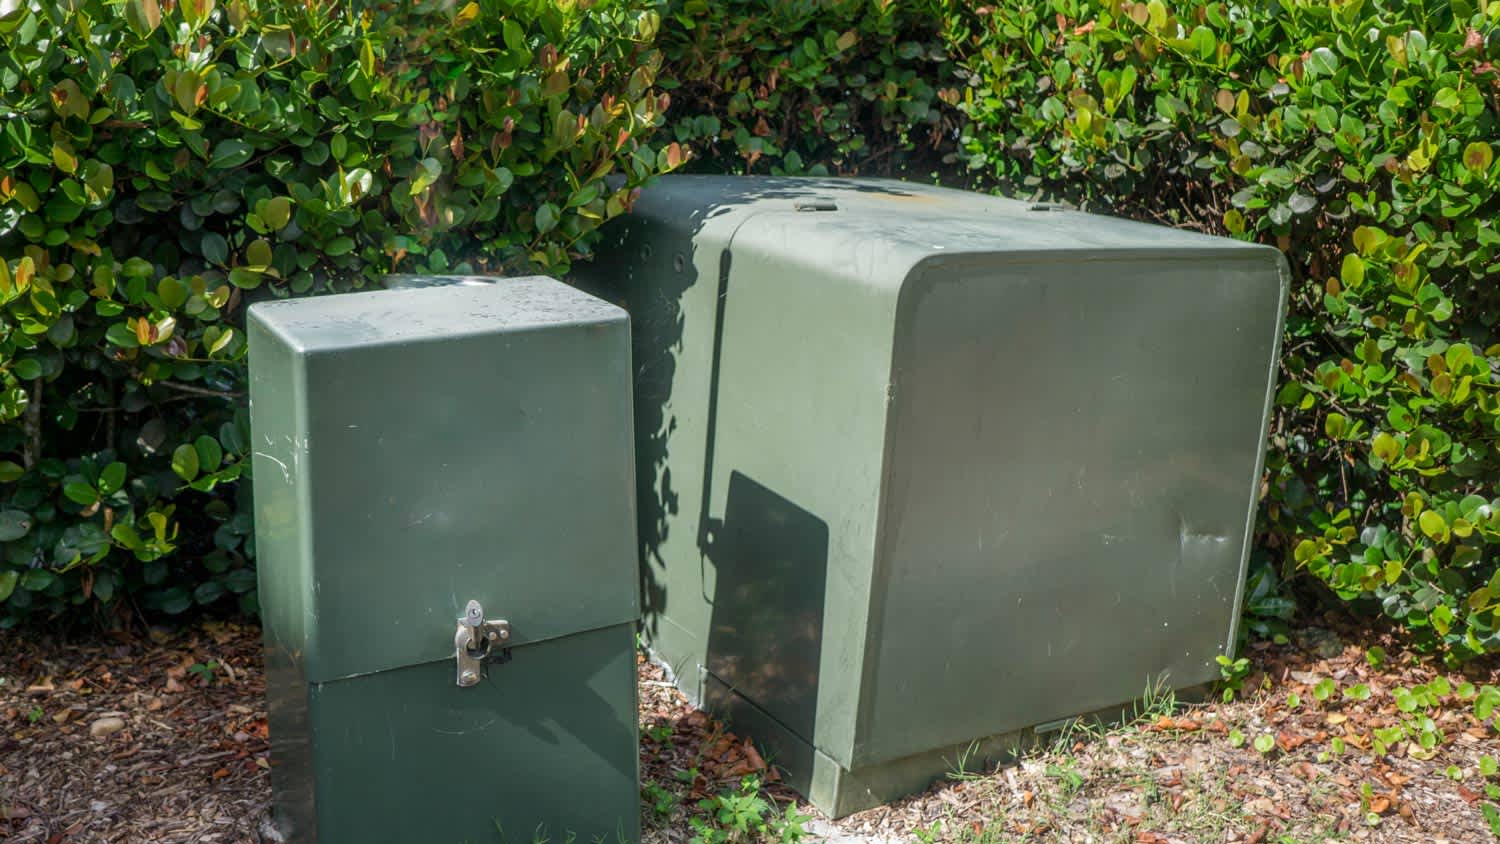
Building your landscape around a utility box can make it appear more seamless among your plants. Learn how to hide the transformer box in the yard.
Whether for added privacy, aesthetics, or nutrition, vertical gardens have become popular. Build your own vertical garden with this seven-step guide.