

Create more usable space by installing a garage door screen, which allows for entertaining or working with plenty of fresh air and zero bugs. Here’s how much installing a garage door screen will cost you.
Build this handy custom garage door screen in a single afternoon

Maybe you want to convert your garage space into a home gym or entertainment area, or you're the type of DIYer that likes to work in the fresh air but wants the protection of a garage on a nice day.
In either case, why not turn your garage into a bug-and-debris-free semi-outdoor space? By building a garage door screen, you can effectively turn your garage into a terrace for your hobbies or relaxation.
Learn how to build your own DIY garage screen door in this simple guide.
Before slicing into that roll of mesh screen, you’ll need to decide which type of garage screen door you want as a temporary alternative to your garage door. This guide will walk you through how to build a simple zip-up garage door screen. When it comes to the cost of installing new screen doors, there are more complex projects, such as retractable or sliding screen doors you might consider DIYing. Each comes with advantages, so consider them carefully.
For example, a sliding screen door is more challenging to install DIY, but can hook up to your opener. Just note that you’ll run into issues with your screen functioning if your garage door opener doesn’t work at some point. If you envision a more complex screen door rather than a simple zip door, ask a garage door installer near you for a quote on all these models to see which fits your goals and budget.
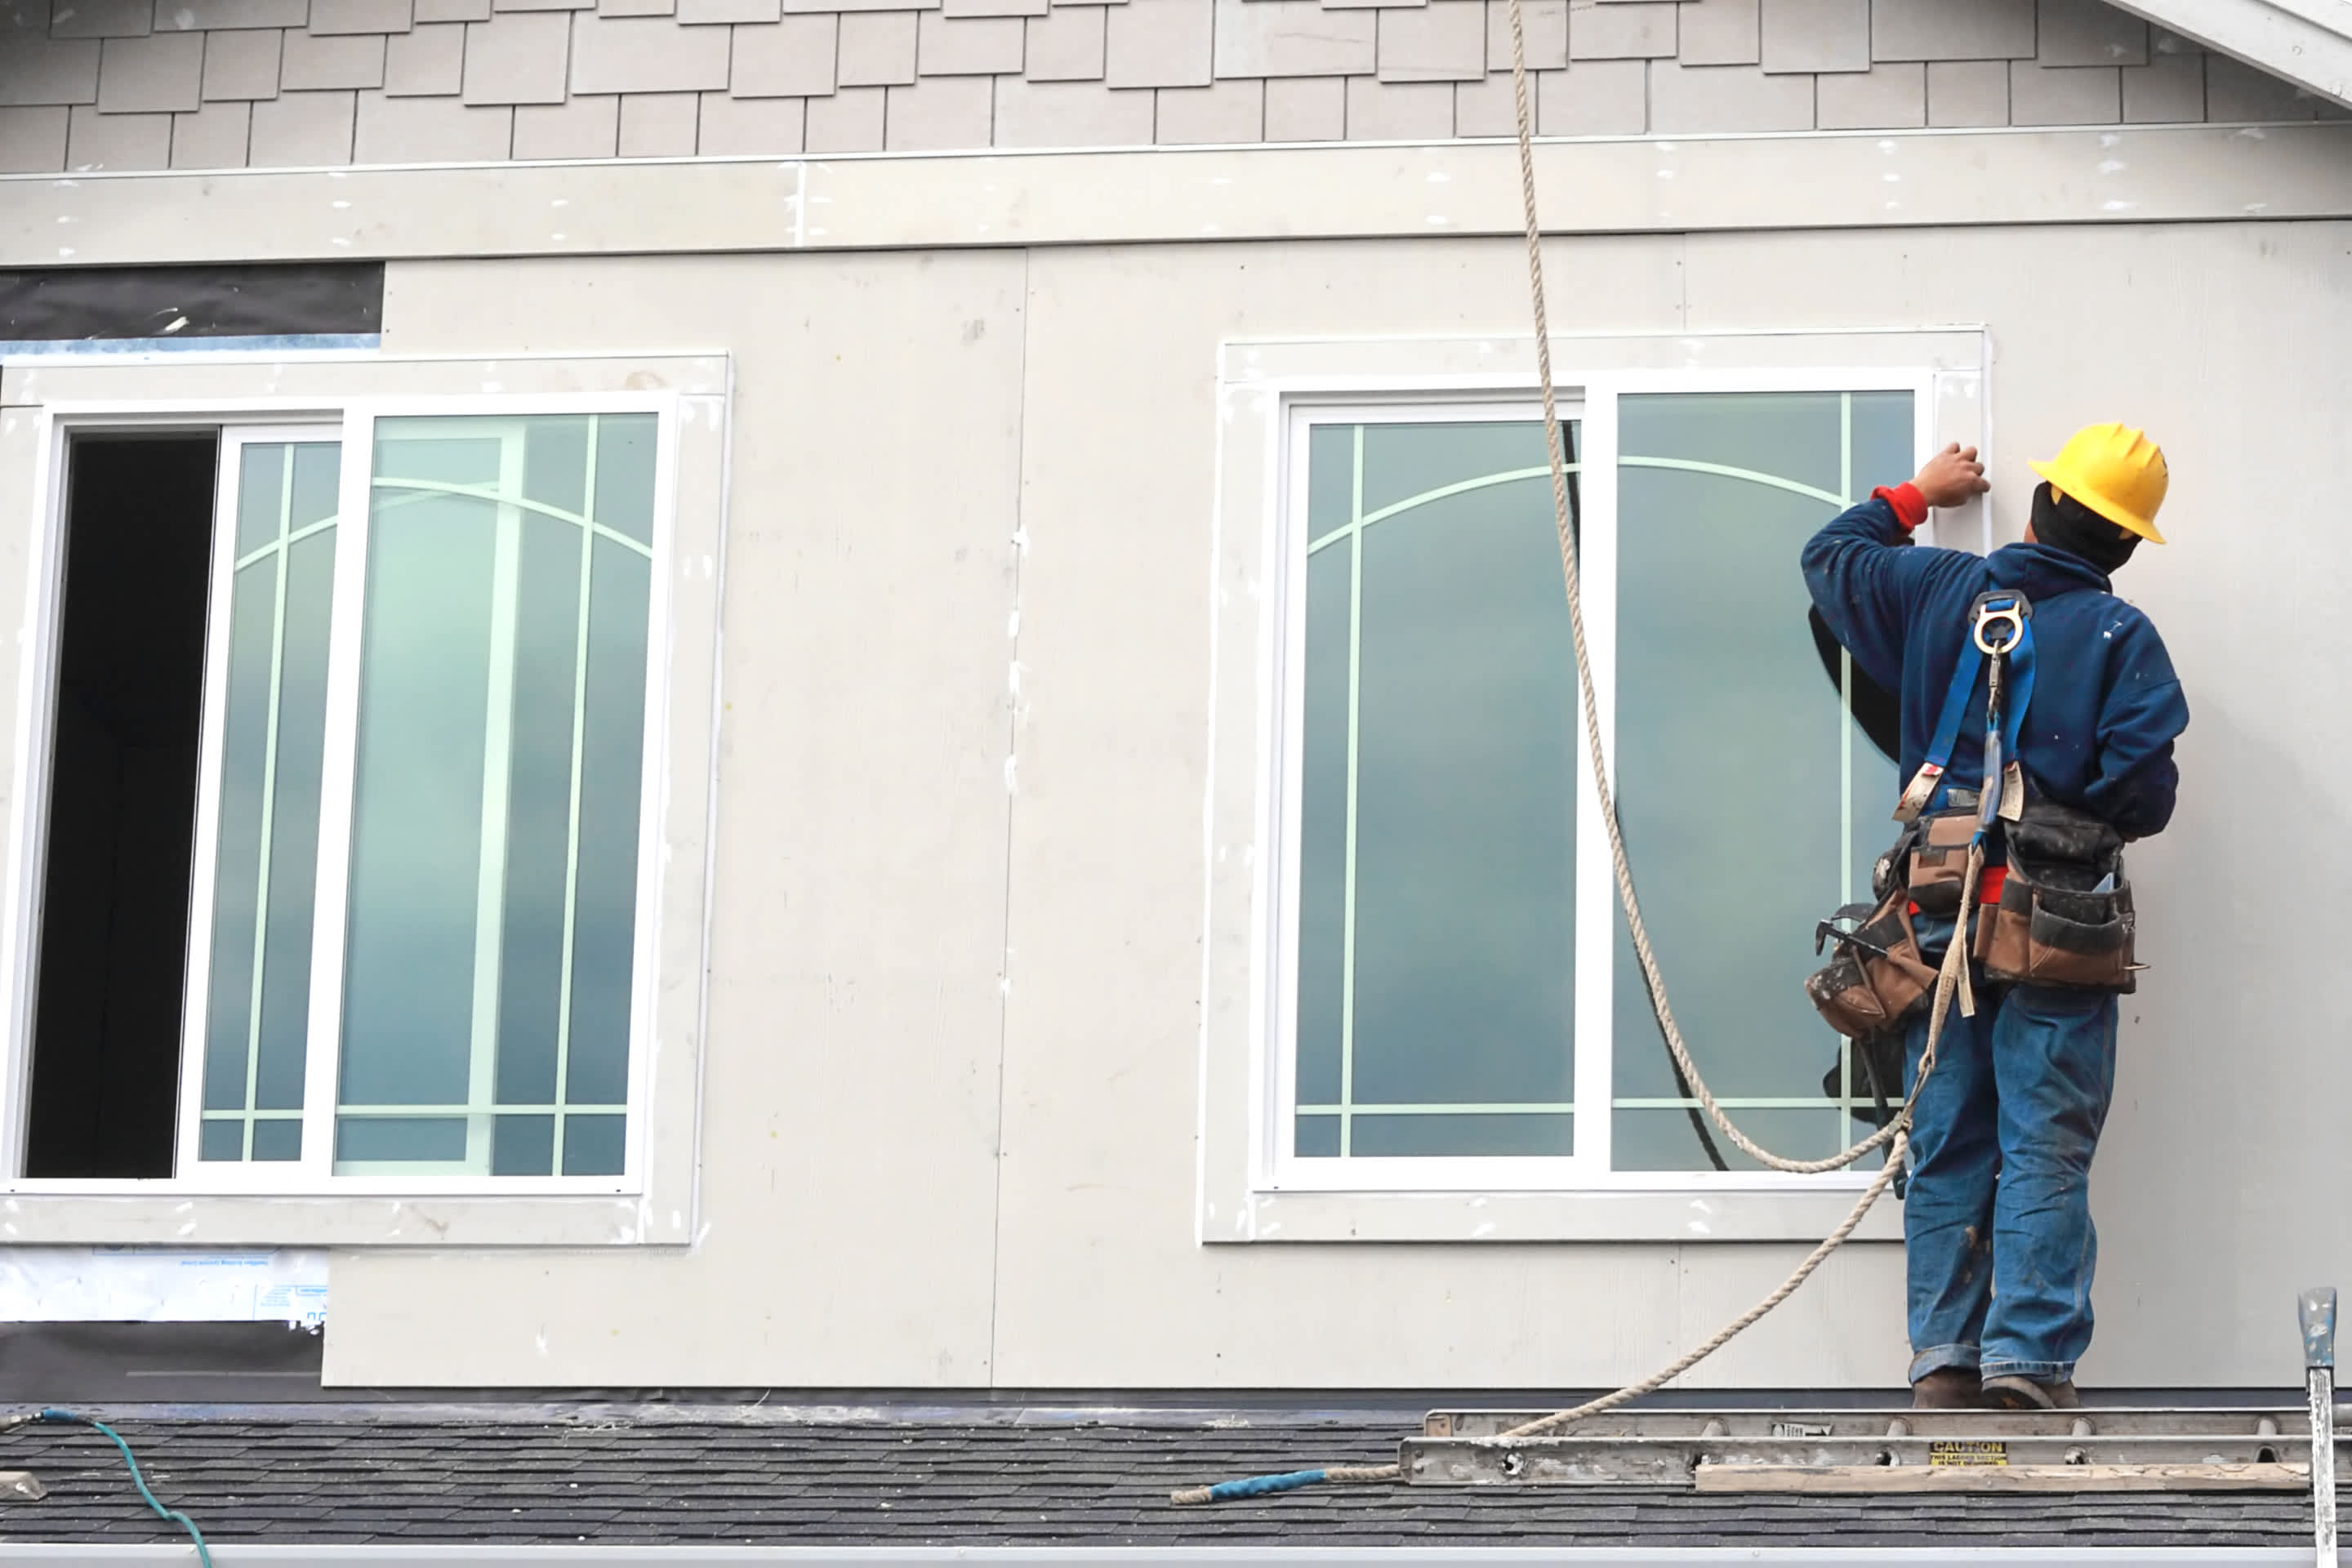
With a tape measure, gather the dimensions of the doorway space you're trying to cover with a screen. You'll need the length and width, along with any obstacles that may change your measurements. Double-check these measurements, as you want to get them right before ordering supplies and making your screen. If you’ve replaced your garage door recently to spruce up the space, you might be able to skip this step if you already know the dimensions.
The standard garage door size is 8 feet wide and 7 feet tall for a single door, so the likelihood is that you’ll need a roll of screen that’s at least 8 feet wide.
With a box cutter, carefully cut your screen to fit the doorway section. Be sure to adhere to the measurements you took before, and add at least an extra inch to both sides to account for seam allowances. If you're worried it might not reach, add another inch or two on top of that. You can always cut away the excess later.
Lastly, you’ll need to cut a straight line down the middle to make room for the zipper attachment.

Line your zipper up with the two pieces of screen netting up with the zipper, then staple or glue the two pieces together. You can insert safety pins first to keep things in place while you work.
If you're feeling crafty (and want to build something you know will last a long time), break out the sewing machine and double-stitch the zipper instead.
Be sure to use a double-sided zipper so you can enter and exit your garage from both sides.
Similarly, you'll need to install one-half of the velcro fasteners to the perimeter of your screen. You can do this with any of the options mentioned above. Some velcro fasteners come with sealing glue attachments that can make the job easier, but they may cost a few bucks extra.
Line the inside of your garage with the other end of the velcro fastener strips you picked up earlier. You’ll need enough to cover the length of both sides as well as the overhead space, which may require a stool or ladder to reach. Remember to use caution when using a ladder.
It’s a good idea to disinfect or towel off the area where velcro will go on your walls first, as dirt can make the sticky adhesive work less effectively. You can also staple the velcro strips to the frame of your garage door to avoid them coming loose in the future.

Attach your new double-sided garage door screen to the velcro fasteners. It should fit snugly over the frame of your garage. Cut away any excess material as needed with your box cutter.
You're done! Now you can put your tools away and enjoy the fruits of your labor, knowing the mosquitos will have to get their kicks elsewhere.
The cost to install a garage door screen yourself starts at around $50, as an 8-foot by 25-foot roll of fiberglass screen will cost around $40, and the job requires very few other materials. A professionally installed garage door screen usually requires custom work and will cost around $1,400 for parts and labor. Custom-making your screen will take your professional some time, which adds quite a lot to the base material cost.
Home improvement stores and even online retailers carry all-in-one garage screen kits, which could also make life easier. Be sure to read reviews, as the less expensive kits may not be durable. Low-cost screens break relatively easily, and the cost for screen repair can be as much as $150.
Jason has helped me with multiple household projects, with the most recent being new door installation. He has always showed up on time and organized and has done an incredible job! Jason is very professional and he's now my go-to for anything around my house that needs to be fixed or...
Company came to look at my garage door that was off track. They also said I needed a brace on the other garage door. They put the door back on track, and I paid to install the brace. The technician told me I needed a new garage door opener, and it would cost $1000. Red flags went off in...
 Precision Overhead Garage Door Service
On Sunday 2/26 I requested quotes via Angi from 4 refrigerator repair businesses. Northwest Appliance responded to me Monday morning (2/27) and my refrigerator was repaired by noon the same day. Great communication, they did everything they said they would. The technician had the parts on...
Excellent customer service and knowledge. I was recommend to him from my neighbour. My front door and window came in great and were installed beautifully perfectly, I m very satisfied with their excellent work, so decided to order one more big bow window for my living room. I cant wait for...
Called ahead and worked quickly to install keyless locks on vintage wooden doors.
Scott did not get appropriate access to the property prior to the scheduled inspection which required us to come back later in the day to complete it. He also, unprofessionally, knocked on a neighbor?s door in his attempts to reach someone with access. His overall report was fine though the...
I highly recommend KTM construction! I will look no where else for anything that needs to be done, in or out side of our property. The level of craftsmanship is 5 star service across the board! The level of detail, knowledge and professionalism is 5 star service across the board! Ken is a...
Door Depot was very responsive - they came out the day after my call to assess my needs, then returned at my convenience to complete the work. They arrived early, and the work was completed in a shorter period of time than estimated. Very pleased with the results. I would definitely use them...
 Door Depot LLC
Replace garage doors: Fast response, competitive estimate, timely work done well.
I would have given an "A" rating were it not for the devil being in the details. 1. The van rear doors, when open, expose the track area and that had not been cleaned. Noticeable only when you look for it and then it's obvious. 2. Was able to get 99.5% of the dog hair out of the cargo area...
 614 Detail
From average costs to expert advice, get all the answers you need to get your job done.
Create more usable space by installing a garage door screen, which allows for entertaining or working with plenty of fresh air and zero bugs. Here’s how much installing a garage door screen will cost you.
Discover how much solar screen costs, exploring key cost factors and expert tips to help you budget for solar screen installation on your home.
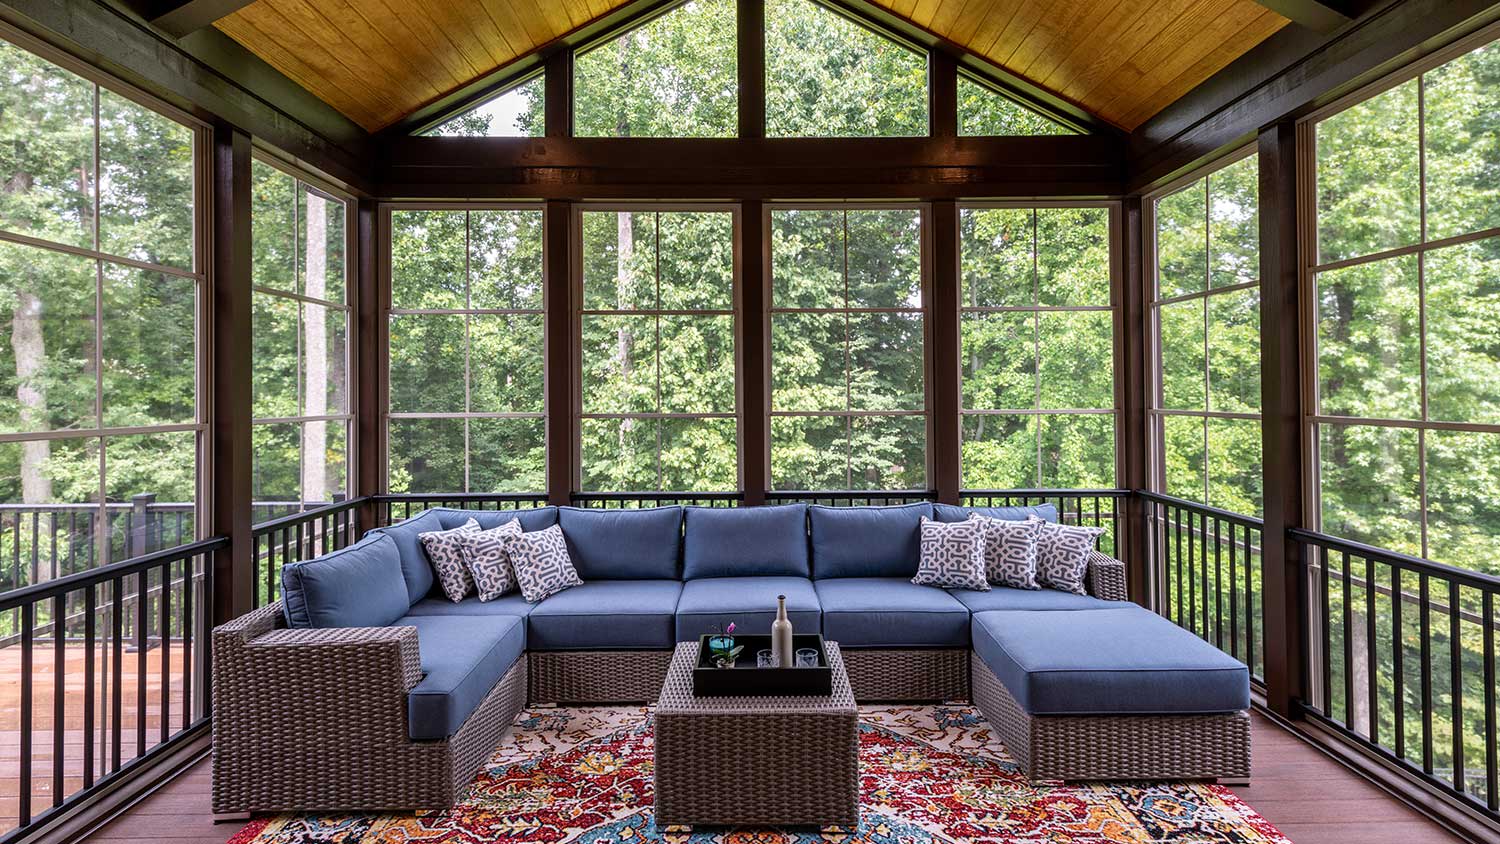
Considering adding a screened porch to your home? Discover the average cost of a screened-in porch, depending on its size, location, and more.

Looking for a stylish way to hide utilities or gain some privacy from neighbors? Learn how to build a freestanding privacy screen yourself in five easy steps.
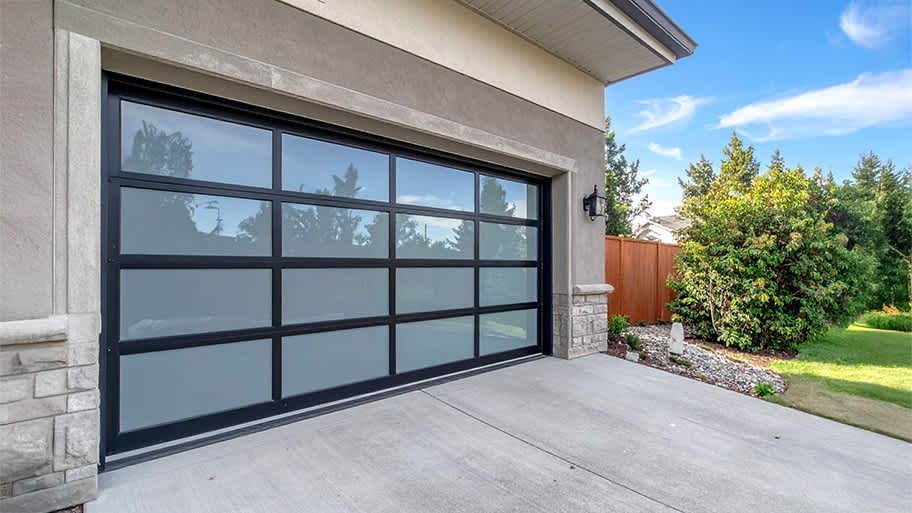
Based on its quality and design, your garage—and its doors—can increase your home’s value. Here’s what you need to know about your garage door alternatives.

Want to organize your garage and create more storage space? Use this simple how-to guide to make DIY garage shelves in a single weekend.