
The cost of blown-in insulation costs varies depending on the type of insulation, labor, prep work, and more. Learn more about the cost factors in this guide.
Insulation service costs depend on your project and location. Check with a local pro for your specific job.

Blown-in insulation machine rental costs $50 to $880, with most homeowners spending around $320, plus insulation material expenses for your project.
The rental location and duration determine your final machine cost, with home improvement stores offering better daily rates than rental yards.
You should account for protective gear expenses including dust masks, eyewear, gloves, plywood boards, and work lights when creating your budget.
Hiring a local insulation company ensures your blown-in insulation project is done well and helps the property retain the maximum value.
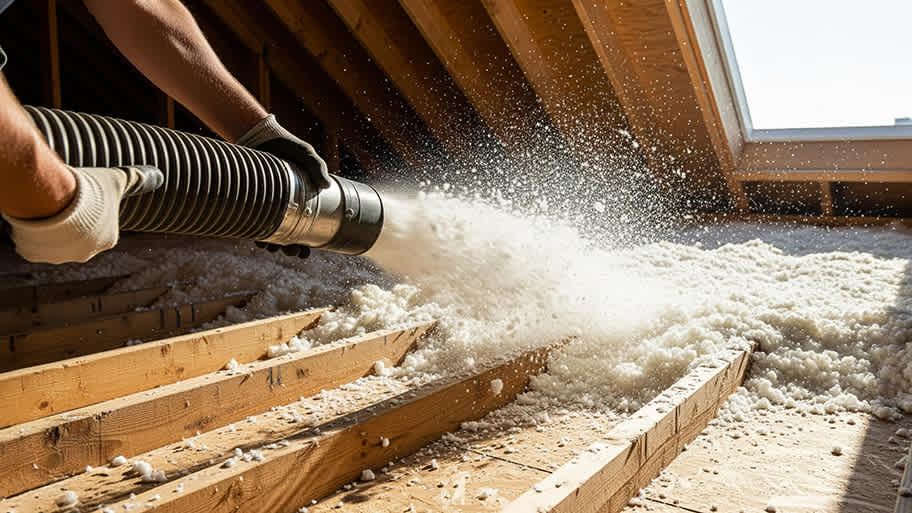
Blown-in insulation takes the form of one of three material types: loose-fill, cellulose, and rock wool. Each insulation has different properties. Ensure the blower you rent is designed for the material you want, as different types of home insulation aren’t always interchangeable between blowers.
Costs don’t vary much between blowers for different insulation types; however, total project costs are partly driven by the cost of the material you choose.
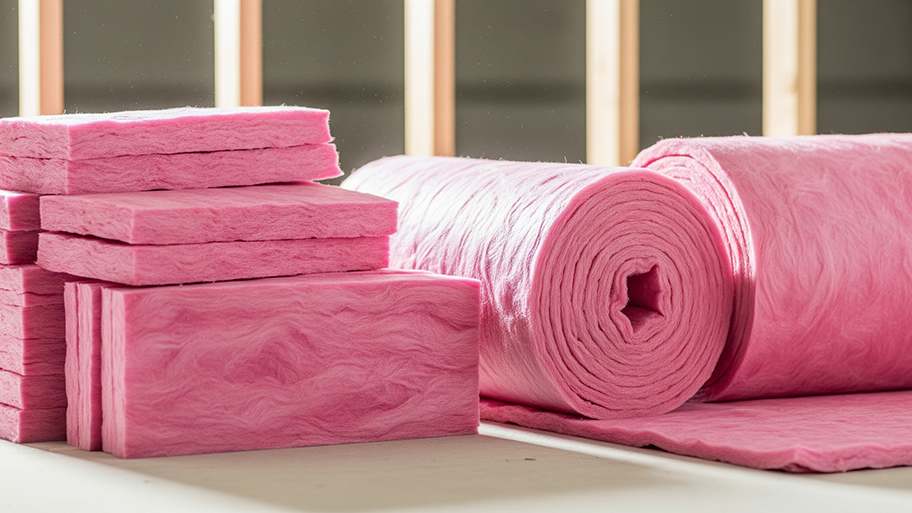
This light and fluffy material is manufactured from thin glass fibers and is primarily used as wall or attic insulation. Installing blown-in loose-fill fiberglass costs $0.50 to $1.10 per square foot, plus labor fees.
The most common insulation for blown-in installations, cellulose, is an eco-friendly material made from finely shredded recycled cardboard or newspaper that’s been treated to resist mold and fire. Installing blown-in cellulose costs $0.60 to $2.30 per square foot, plus labor fees.
Rock wool is made from an iron byproduct combined with other minerals and spun into an airy wool-like form. Connecting walls and floors between homes and additions commonly use rock wool insulation because of its excellent fire resistance features. Installing blown-in rock wool costs $1.40 to $2.10 per square foot, plus labor fees.
The total cost of your insulation blowing machine rental includes not only the rental fee but potentially the insulation cost, professional labor, or the tools and equipment needed for a DIY installation. Here’s how those costs break down:
Daily rental costs can range from $50 to $210 but expect to spend around $100 to $200 per day on average. Weekly rental costs can range from $300 to $880. Some insulation manufacturers or rental stores offer machine rentals for free with the purchase of a certain number of bags of insulation—the minimum purchase in order to get a free rental is usually 20 to 30 bags of insulation.
The cost to rent a blown-in insulation machine varies depending on where you rent it from and for how long. You’ll find the best daily rates at home improvement stores, while rental yards occasionally offer better value for weekly rentals.
Here’s a rough breakdown of how much you might pay at a rental yard vs. a home improvement store. The second figure shown for the home improvement store is the average price expected if you purchase the minimum number of insulation bags—at least 20, but sometimes 30.
| Time Period | Rental Yard Cost | Home Improvement Store Cost |
|---|---|---|
| Half Day (4 hours or less) | $200 | $35–$50 / $0 |
| Full Day | $200 | $50–$100 / $0 |
| Week | $500–$880 | $350 / $300 |
| Month | $1,500 | $1,400 / $1,350 |
Insulation materials vary in thickness and thermal resistance, meaning you’ll need different amounts of each to fill the same-sized space in your attic or walls. The average cost per square foot for each of the most common blown-in insulation materials is as follows:
| Material | Cost per Square Foot |
|---|---|
| Loose-fill fiberglass insulation | $0.50–$1.10 |
| Cellulose insulation | $0.60–$2.30 |
| Rock wool insulation | $1.40–$2.10 |
If you hire a local insulation contractor to install your insulation professionally, labor alone costs about $40 to $70 per hour. Expect higher labor rates if you have an older home or if you’re installing thicker insulation. The pro you hire will likely bring their own blower, so you don't have to pay a separate machine rental fee.
Most blown-in insulation jobs can be done in 4 to 8 hours for a total labor cost of $160 to $560. Wall insulation is more complex and can take at least 20 hours for a total labor cost of $800 or more.
If attempting a DIY blown insulation installation, you’ll need specific tools and equipment. Below are the items you’ll need and the average cost of each if you don’t already have them around your house:
| Tool / Equipment | Cost |
|---|---|
| Dust masks | $20 per pack |
| Protective eyewear | $15 per pair |
| Protective gloves | $10 per pair |
| Plywood boards to balance on | $20 each |
| LED headlamp or work light | $25 each |
DIY blown-in insulation costs include $100 to $200 per day for machine rental, $0.50 to $2.30 per square foot for insulation, and at least $90 in protective gear. You’ll save $160 to $560 by DIYing, but hiring an insulation pro near you comes with major perks and even potential cost savings.
Although adding blown-in insulation can be tackled by some DIYers, there are several reasons to hire a pro:
A local insulation pro will know what type of insulation works best for your home, netting you more energy savings.
A pro can get the job, including prep and cleanup, done in just a day or two. It takes longer to DIY, which can add up to higher machine rental fees.
A pro can safely work around electrical wires, plumbing, and other objects.
Insulation pros have all of the necessary equipment, including the blown-in insulation machine and protective gear, to complete the job.
Mistakes can lead to blocked air vents, damaged plumbing or wiring, and drafts that cause your utility bills to skyrocket.
An insulation company can inspect the area and check for issues like moisture before installing insulation.
Insulation must meet local building codes, and a pro can ensure your home meets standards and avoids penalty fees.
It’s best to let a pro complete this job for the biggest energy savings, but if you want to help, you can:
Clear the area of furniture and other objects.
Remove any loose or fallen insulation.
Check for any drafts and take note of where they are to notify the pro.
Check for local and state rebates on insulation improvements, and start the application process.
According to Angi data, 54% of homeowners report having blown-in insulation in their attics. Other common locations for this essential home insulation are inside the walls and ceilings.
Most insulation blower machines are powered by electricity, so ensure that the machine is plugged in. Familiarize yourself with all of the machine's control buttons, including the power and kill switches. Ensure the hose is connected to the machine and place the other end of the hose pointing toward the area you want to fill with insulation.
Next, add the insulation material by dumping it into the top of the machine so it fills it about halfway. Press the “power on” button, and point the hose where you want the insulation to be blown. Ideally, you'll have a partner to help with this process, but it is doable for a solo DIYer. Continue using the hose to blow the insulation in the areas that you want to fill, and power off the machine if you need to refill it. Once you’re finished, turn the power off and unplug the machine.
When you’re renting an insulation blower, there are several things you can do to help keep your costs down:
Before picking up your blower, ensure that you have all your materials and supplies set up in your installation space to maximize your rental time.
Home improvement stores tend to offer better rates than rental yards, so shop around at different stores in your area to find the best price.
Some rental facilities will loan you the blower for free with the purchase of a certain number of bags of insulation material.
Homeowners in some states can take advantage of state tax credits when improving their home insulation. Check the U.S. Department of Energy DSIRE website to see if you qualify.
Discuss project specifics, such as the size of the area, any plumbing or piping present, and any noticeable drafts.
Ask the pro about what type of insulation works best for your home and local climate.
Schedule an inspection to check for moisture, air leaks, and other concerns that could affect the insulation installation.
If budget allows, inquire about add-ons, like radiant barriers and baffles, to further improve home efficiency.
Set a project timeline based on availability, potential issues that need to be addressed, and any add-on features.
Home is the most important place on earth, which is why Angi has helped more than 150 million homeowners transform their houses into homes they adore. To help homeowners with their next project, Angi provides readers with the most accurate cost data and upholds strict editorial standards. We survey real Angi customers about their project costs to develop the pricing data you see, so you can make the best decisions for you and your home. We pair this data with research from reputable sources, including the U.S. Bureau of Labor Statistics, academic journals, market studies, and interviews with industry experts—all to ensure our prices reflect real-world projects.
Want to help us improve our cost data? Send us a recent project quote to [email protected]. Quotes and personal information will not be shared publicly.
I would recommend this company to anyone! He showed up on time, was friendly, completed a very difficult repair on our dryer vent cover, was responsive, and pricing was extremely fair and competitive. I would have him back to do any of our repairs or cleanings without hesitation!
Best cleaning I've had at my property
I conferred with 2 other contractors before Armstrong Electric. Nick and his crew showed me that the project was not as convoluted as the other contractors made it appear to be. They completed the entire project on time. They were professional, friendly and cleaned up after at completion. I...
The technician was very professional and friendly. He answered all my questions and was very thorough. He left the fireplace area very clean . He inspected from the roof and advised me as to other work that might need to be done. There was no pressure there. I was very satisfied with the...
 Supreme brick & chimney
Our exterior looks brand new thanks to Custom Paint Jobs LLC. Theyre the best in town!
Excellent experience with hiring Tether House to Mount our 77’ Samsung TV in our bedroom. Fast, friendly, and knowledgeable. Highly recommend.
The techs on my project, Shawn and Cliff, were great. They were prompt, courteous, and efficient. I am very happy with the results and would definitely contact Mr. Electric for any future electrical projects.
We had our houses windows and back door replace this summer by Window Depot USA of Central. He gave us grate advise and saved my family lots money. The team did a fantastic job with installation. If you need help, they sure get job done right!
Beginning with the estimate, Larry and Peyton were super helpful in getting my new condo's interior re-painted. Not only was the job well done, but also done in a super timely manner as promised.
 Five Star Painting of Plain City and Powell
Great job...edging and pre clean up went well with a great job with seal coat. Friendly, efficient and professional.
 All Star Paving and Sealing
From average costs to expert advice, get all the answers you need to get your job done.
The cost of blown-in insulation costs varies depending on the type of insulation, labor, prep work, and more. Learn more about the cost factors in this guide.
Crawl space insulation costs vary by size, insulation type, and material. Read this guide to learn how much your crawl space insulation could cost.
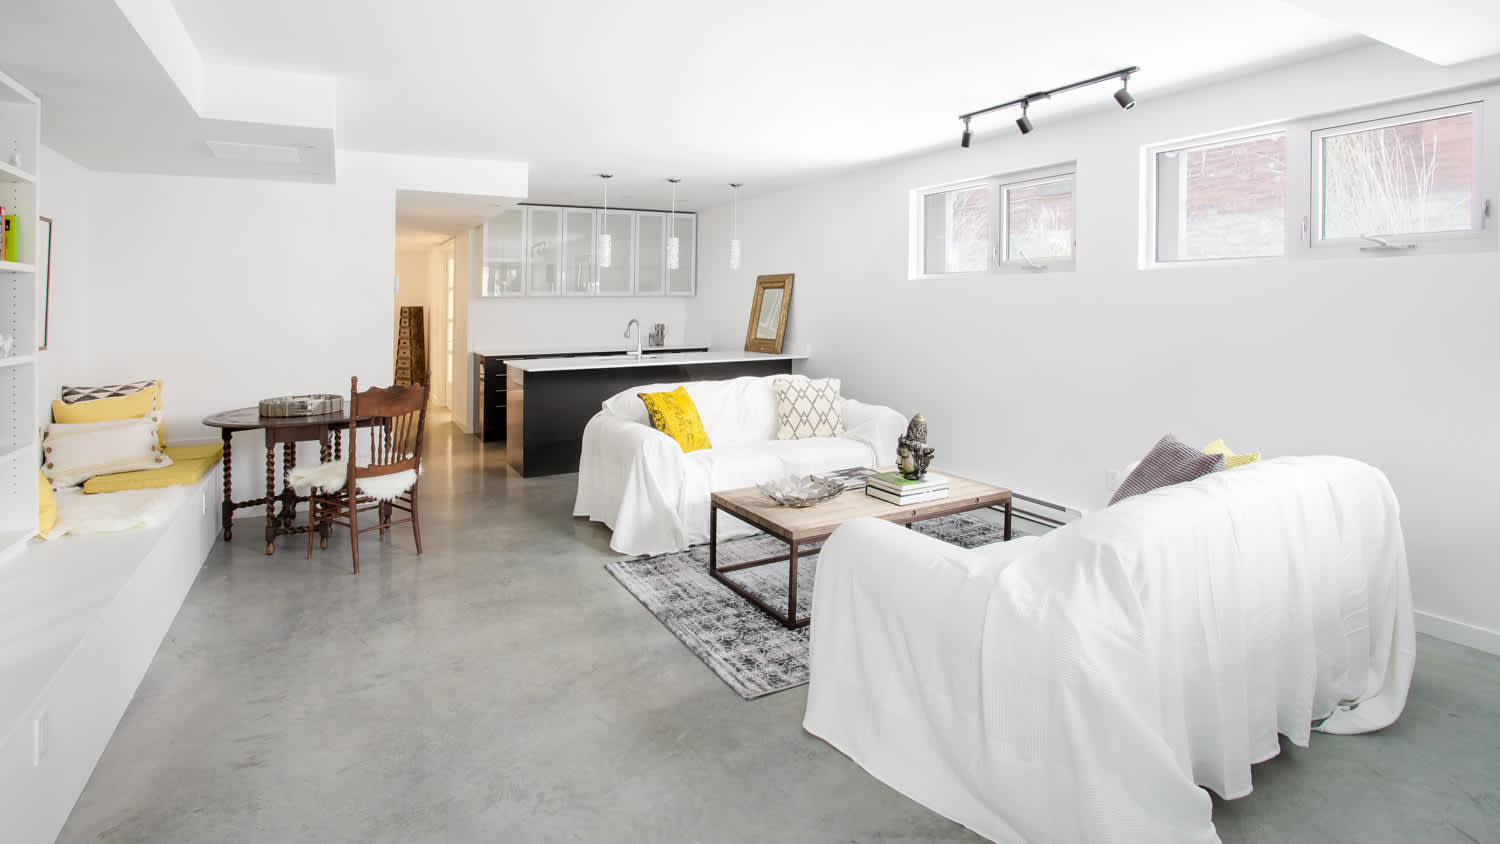
The cost to insulate a basement varies based on materials, size, and other factors, as well as how much of the work you wish to perform yourself.
If you’re wondering what blown-in insulation is, keep reading to discover everything you need to know about this type of insulation for your home.
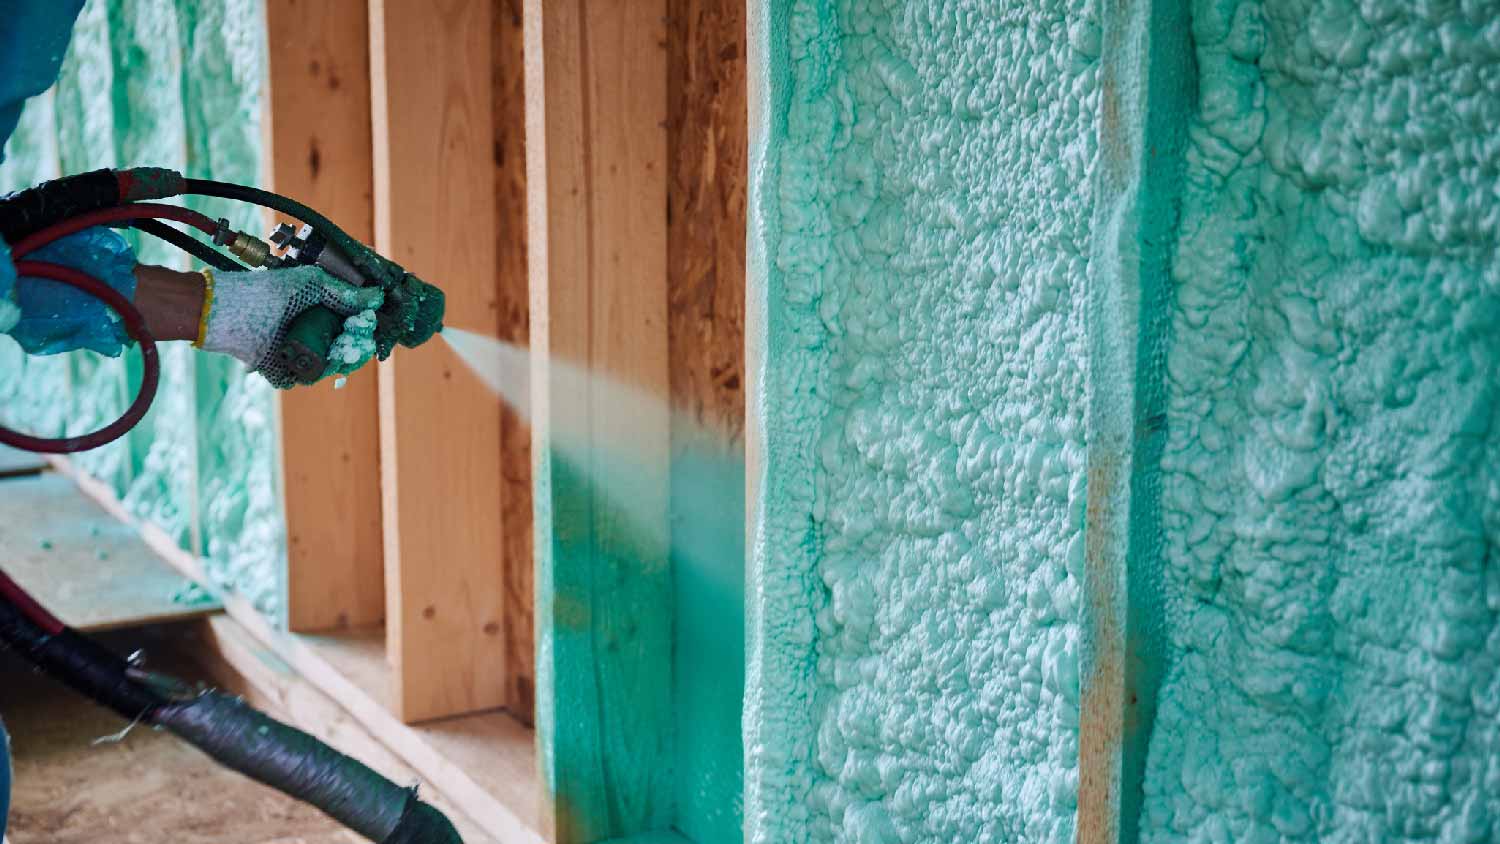
Are you stuck trying to decide between blown-in insulation and spray foam insulation? Factors like your budget and local climate will help you pick the right one.

Remove blown-in insulation from your attic safely and efficiently by following this step-by-step guide and prep for your attic remodeling project.