
•
Discover countertop installation cost estimates, including material, labor, and additional factors. Learn how to budget and save on your new countertops.
Measure twice, cut once, and don’t forget to turn the water off

There is nothing quite like the shine and polish of a brand-new countertop—and for many homeowners, this is a kitchen or bathroom upgrade worth making. Fresh surfaces plus a complementary backsplash can breathe new life into your home. If you are looking for a budget-friendly option and wondering if new countertops make a good DIY project, the answer is yes, though the job is time-consuming and requires some tools. Learn how to install a new countertop in this seven-step DIY guide.
Once you have weighed all the laminate countertop pros and cons and decided on this material, the next step is to choose the color and design. Instead of trying to choose a counter at the store, you should narrow down your choices by asking for sample chips. Take them home and see how they look in your kitchen before making a final decision.
If you plan to order custom-made laminate counters, you must take precise measurements. This is a crucial step since any measurement mistakes can prevent you from proceeding with the installation, and reordering custom counters can be very costly.
Before starting this project, you’ll need to do a few things to prepare the kitchen for laminate countertop installation:
Turn off the water supply and disconnect the drain lines.
Turn off the electrical supply to the kitchen at the circuit breaker.
Remove the sink and appliances, like the range and garbage disposal.
Proper preparation is essential for any DIY project, including laminate countertop installation. Failure to prepare the area can lead to problems down the road.
Next, you’ll need to remove the existing countertops and backsplash to make way for their replacement. Remove a laminate backsplash by cutting the caulking between the wall and the backsplash, then removing it from the wall. If you have tile on the wall, you’ll need to remove that as well.
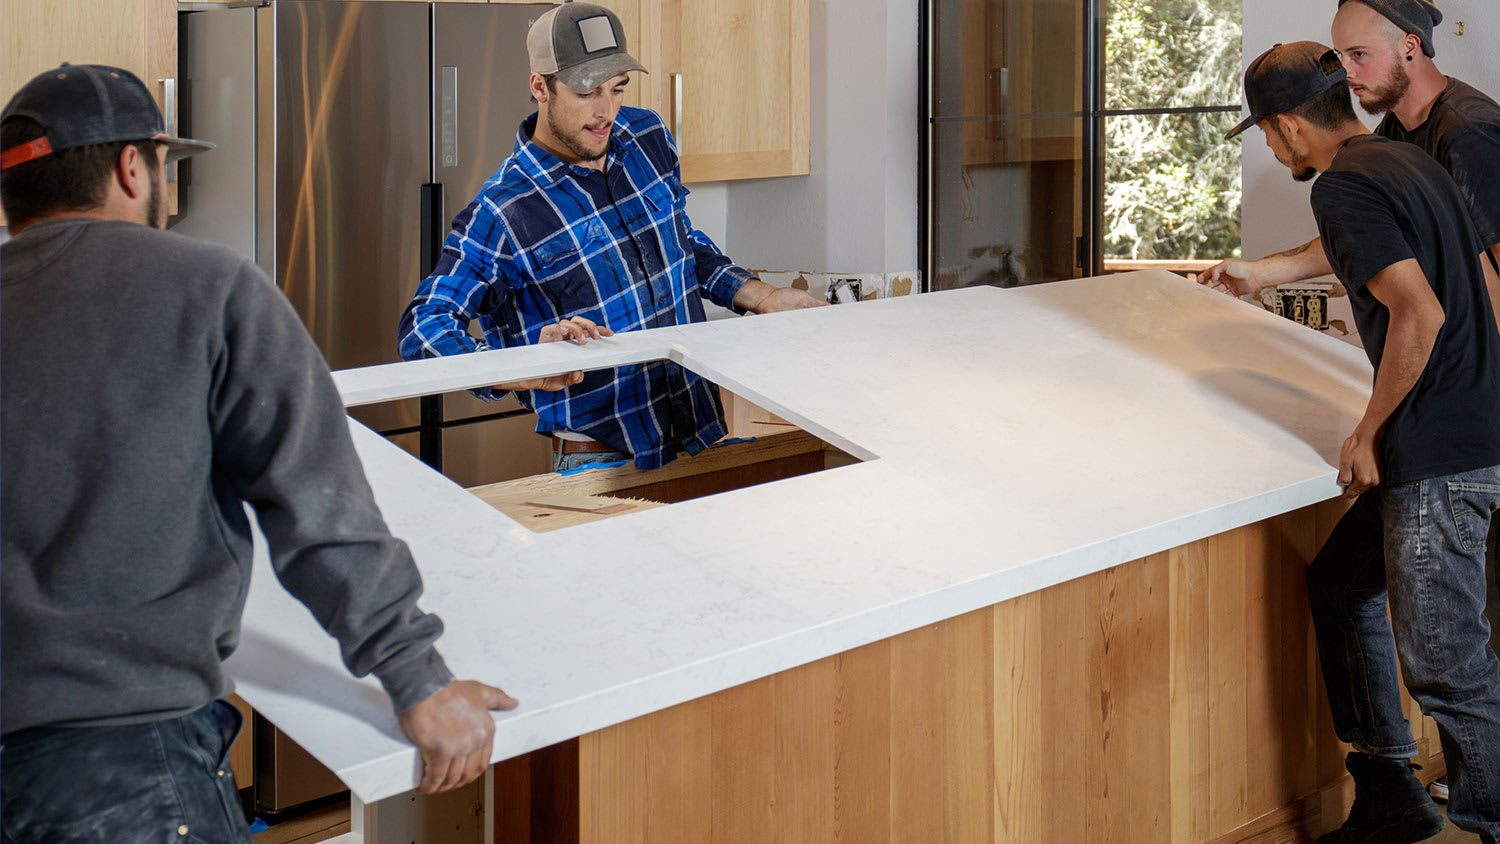
To remove the countertop, you must first unscrew it from the cabinets. Laminate countertops are usually secured to the cabinets using screws underneath the countertop. There may also be glue or caulk holding the countertops in place. Check that any appliances, like the dishwasher, aren’t also connected to the countertop. You should then be able to slide the countertop off the cabinets in one piece. Countertops can be heavy and difficult to maneuver, so it’s best to have a helper for this step.
Once the old countertop is off, use it as a template to measure and cut the new countertop. Alternatively, you can use a premade template or make your own template. Apply masking tape along the line that will be cut, and use a pencil to mark the exact cutting line. Secure the countertops before cutting using clamps on a stable surface. Cut the laminate countertop carefully using a fine-tooth handsaw, then file the edges in one direction to smooth them out.
You’ll also make any cutouts at this stage, like cutouts for a sink or range top. Turn the countertop upside down and place the sink on the underside, then use a pencil to draw around the sink’s rim. Cut just inside the line (around ¼-inch to ⅜-inch) using a jigsaw. Then, file the edges and apply heat-conducing aluminum tape around the edge of the cutout for a range top. Use your circular saw to cut the backsplash pieces to size.
Place the countertop on the cabinets to ensure that the fit is correct. Adjust as needed, dry-fitting after each adjustment to ensure proper fit. You want to check that the countertop and backsplash fit snugly against the wall and that there are no gaps.
If you notice gaps between the backsplash and the wall, use a scriber compass to mark the edge and a belt sander to sand to the line. Recheck the fit and make adjustments as needed. Once you’ve completed this step, the countertop should contour to the wall without any remaining gaps.

Once you’re confident that the countertops are the correct size and fit, install and secure them to the cabinets. Place the countertop on the cabinets, then screw it in place from inside the cabinet using 1 ¼-inch screws (check the depth of the countertops first to ensure the screws won’t come through the top).
If your countertop is L-shaped or U-shaped, you’ll need to join the miters when installing them. Apply sealant to the mitered edges, then tighten the miter bolts to ensure the countertop joints are snug. Clean up any sealant from the top of the countertop.
Apply adhesive to the back of the laminate backsplash, then apply silicone to the counter's edge where it meets the wall. Carefully place the backsplash and use braces to hold it in place while the adhesive cures.
You’ll also need to apply end caps at the countertop edges. If you purchase pre-glued ones, you can iron them onto the countertop ends using your household iron. If your end caps are not pre-glued, you’ll need to apply adhesive, then install the end caps and roll the laminate with a J-roller to bond them to the countertop.
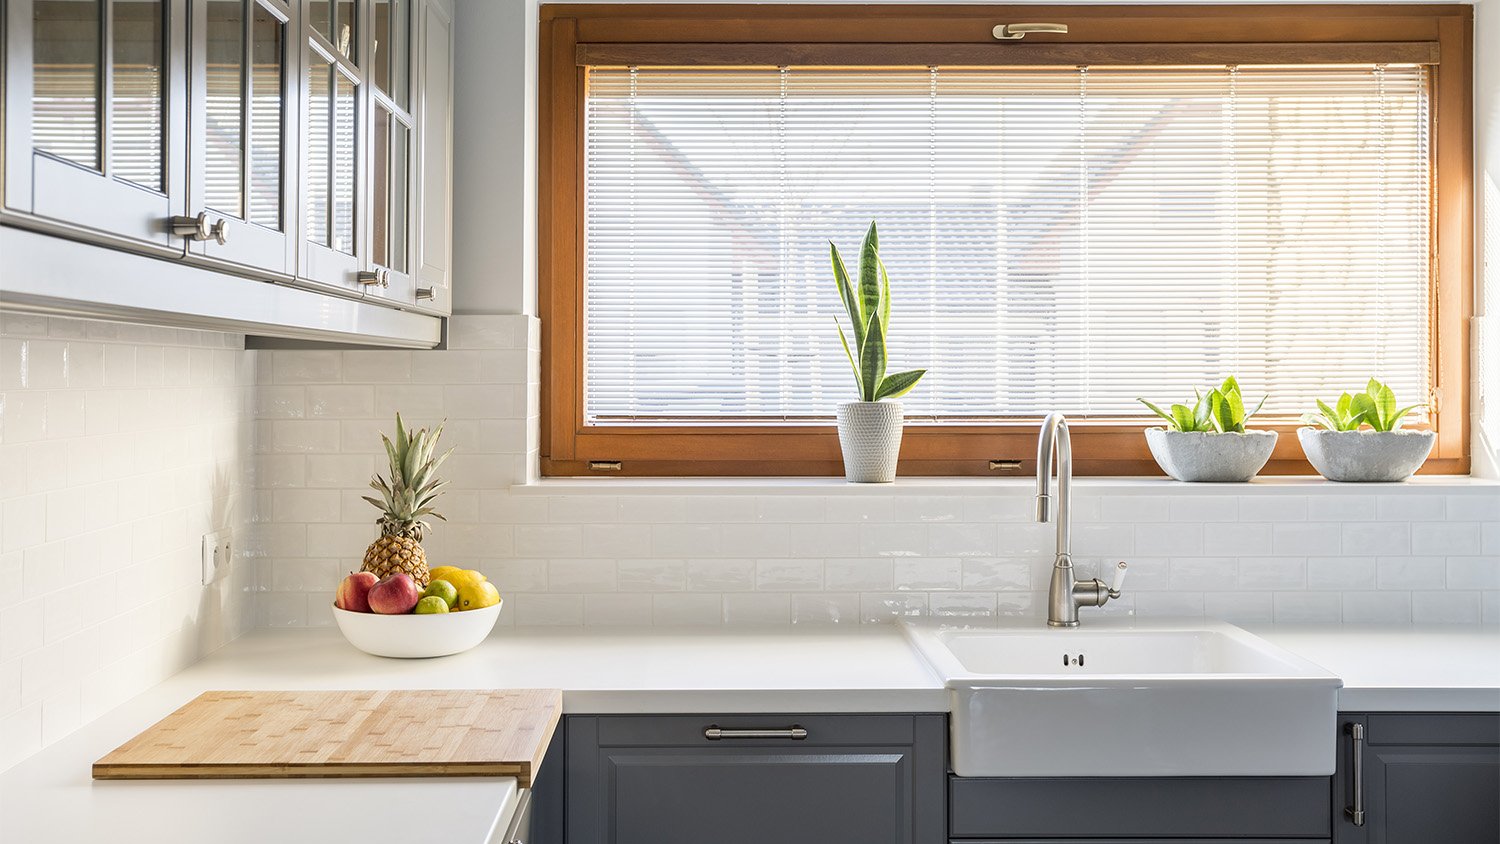
Slide the sink into the cutout and follow the manufacturer’s instructions to install it on the countertop. Seal it using sealant or silicone around the edges and back of the sink. Failure to properly seal a sink can lead to water damage to the countertop.
Clean off any excess glue or sealant and replace any tiles you removed to install the countertops. Wipe down the countertop thoroughly to remove any construction dust or debris. Replace the appliances and check that everything works properly. Finally, enjoy your new countertop!
According to the responses of 2,000 Angi customers, the majority of homeowners (76.3%) choose to install laminate countertops as a standalone project, as it offers a quick and affordable way to refresh the look of a kitchen without the cost of a full renovation. Meanwhile, 23.7% install them as part of a larger remodel, which allows for a more cohesive design and the opportunity to update other features simultaneously, potentially enhancing both functionality and long-term value.
Laminate is an affordable countertop material. On average, expect to pay around $1,250 on the cost to install laminate countertops. Depending on the size of your kitchen and the type of laminate you choose, you might pay as little as $850 or as much as $1,740.
In some instances, hiring countertop installation specialists is best. After all, learning how to install a countertop is not for the beginner DIYer. Here are some examples of scenarios when it is best to skip the DIY:
If you lack prior experience installing countertops
If you are renovating your entire kitchen or bathroom simultaneously
If the countertops have several cutout appliance spaces (e.g., sinks, dishwashers, etc.)
If you do not have access to the right tools or know how to use them safely
DIY laminate countertop installation costs $24 per square foot. Although you are saving on labor costs, it is still an investment. A pro’s work will guarantee the job is done right and not lead to any costly mistakes.
I had FabClean 614 clean my apartment, and she did an outstanding job. She was so professional and efficient. My apartment looks absolutely spotless every surface, every corner, all cleaned to perfection. Definitely highly recommend FabClean 614 if you're looking for top-notch cleaning...
Cole has been handling plumbing and general contracting for our four properties over the past three years, and he’s always done a great job. Most recently, he installed a sink and countertop in our retail store where none existed before, and it turned out exactly how we needed. He’s...
 ANB Renovations LLC
This company is my go to resource for all my post renovation clean ups. They get the place spotless! All we have to do after is stage the place and sell, sell, sell! They are super professional and have some amazing scent that is left in every property. I highly recommend!
I had Ace Fireplace Services install custom chimney caps for my home, and the results are stunning. They fit like a glove and have added a touch of sophistication to my chimney. I can't recommend their services enough.
 Ace Fireplace Services
Supreme Brick & Chimney did an excellent job restoring the brick and mortar joints on my home. Their team was professional, knowledgeable, and completed the work on time. I highly recommend them and will hire them again in the future! Thanks!
 Supreme brick & chimney
I recently hired Custom Paint Jobs LLC to repaint my home, and I couldnt be happier with the results. Their attention to detail and professionalism were outstanding. Highly recommended
Window Depot did an amazing job on my deck. I wasnt sure what I wanted to do, but their composite decking was affordable and will last a long time. I am excited to have family over, and I am no longer embarrassed by my backyard. Jeff and the ground crew were polite, respectful, and caring for...
If I could give 10 stars for Kitchen Tune Up, I would. I cannot say enough good things about my experience with Kitchen Tune Up and the entire team involved in the process of my kitchen project. They went above and beyond as far as service and quality with my cabinets, paint, countertops, and...
Great job...edging and pre clean up went well with a great job with seal coat. Friendly, efficient and professional.
 All Star Paving and Sealing
They are very reliable and available. They the drains all the time
 The Waterworks
From average costs to expert advice, get all the answers you need to get your job done.
Discover countertop installation cost estimates, including material, labor, and additional factors. Learn how to budget and save on your new countertops.
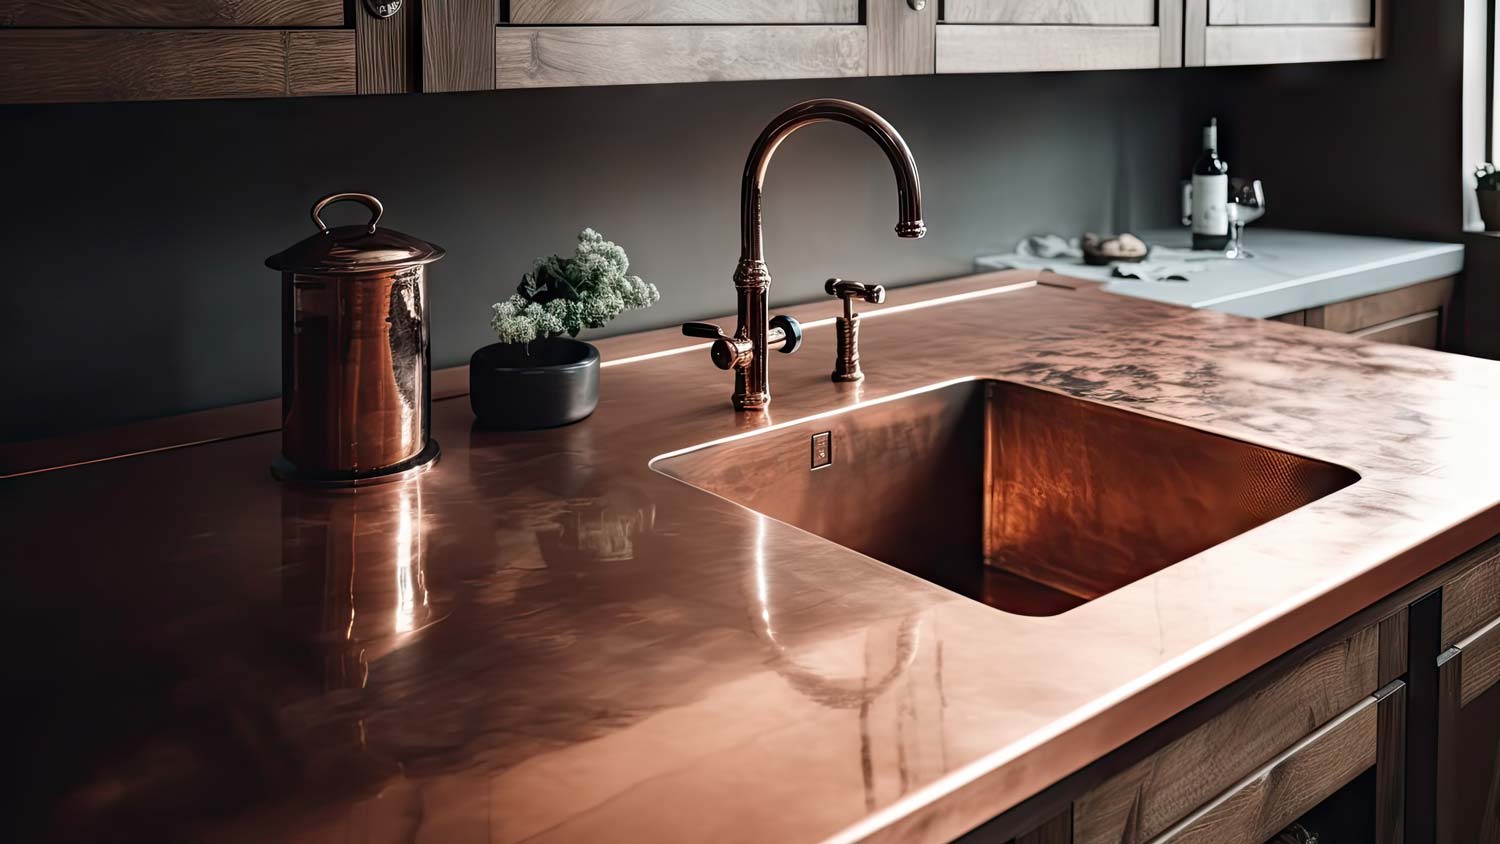
Discover the average copper countertops installation cost, key price factors, and expert tips to help you budget for your new kitchen upgrade.
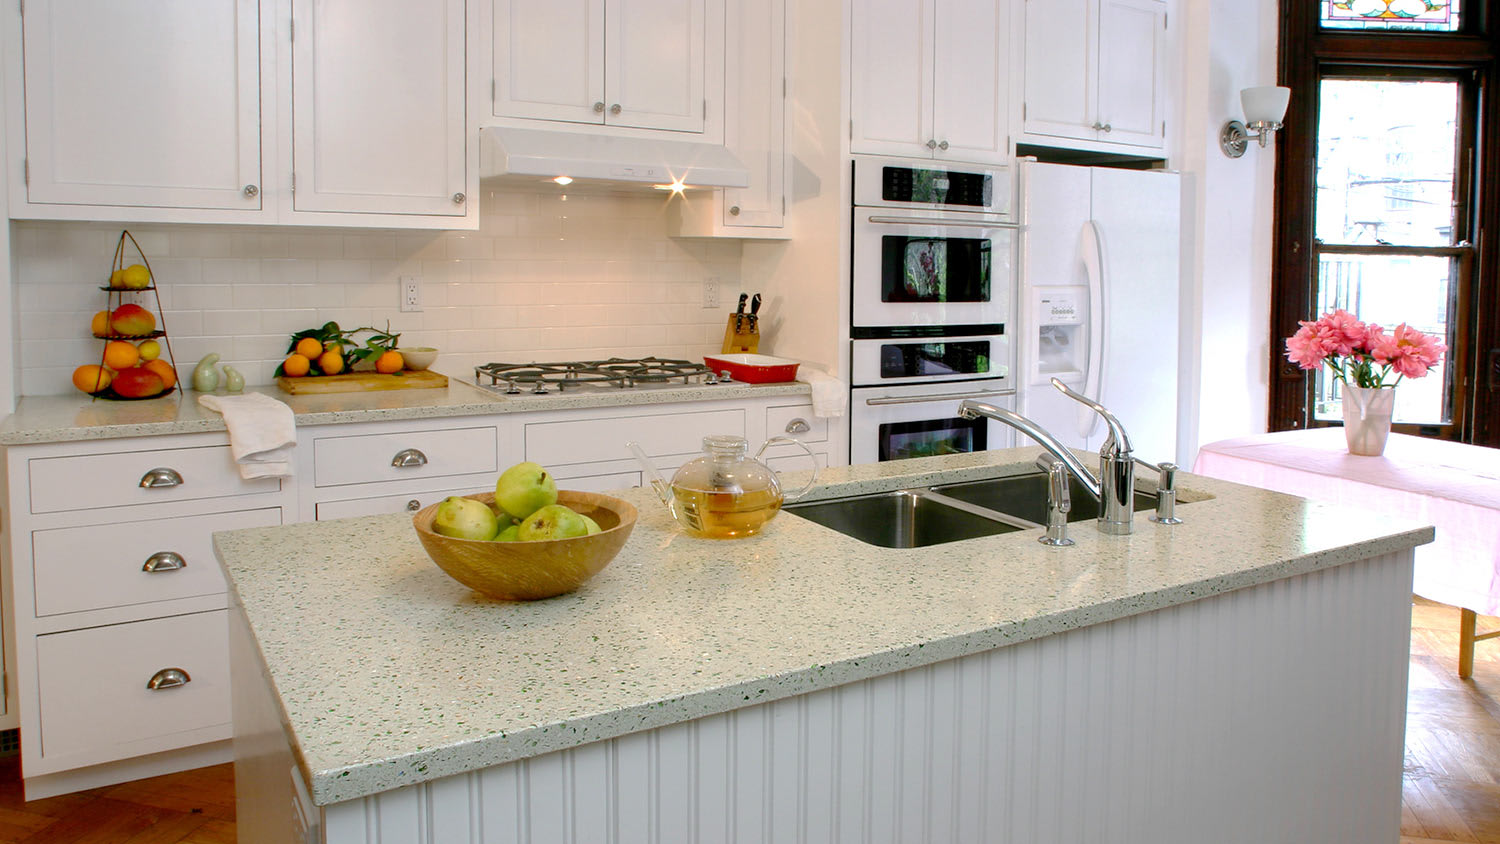
Recycled glass countertops have a distinct look. If you'd like some for your home, check out this guide to find out how much recycled glass countertops cost.
Need a new countertop? Use this countertop installation checklist to get your project started.

Find the right countertop installer with our hiring guide. Learn what to ask, how to verify qualifications, and tips for choosing a qualified pro.

If you’re remodeling and looking to replace countertops, you’ll want to hire countertop contractors. Read on for tips for hiring a countertop installation company.