







Top-rated backsplash installation pros.

Get matched with top backsplash installation pros in Palm Valley, TX

Enter your zip and get matched with up to 5 pros

Need a pro for your backsplash installation project in Palm Valley, TX?

Select your specific project to find the pro for you.

TRUSTED BY PALM VALLEY, TX HOMEOWNERS

  • Average homeowner rating star icon4.1
    Average homeowner rating
  • Verified reviews icon141
    Verified backsplash installation services reviews

Find Backsplash installation pros in Palm Valley

Avatar for Pablo Aguayo - Master Carpenter
Pablo Aguayo - Master Carpenter
5.0(
4
)
Tile: Natural Stone (Granite, Marble, Slate, Quartz, etc) - InstallTile: Natural Stone (Granite, Marble, Slate, Quartz, etc) - Install - For Business

Serving Palm Valley, TX and surrounding areas

In business since 1969

Free estimates

Emergency services offered

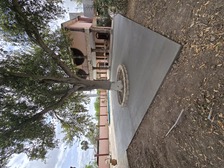
"Pablo Aguayo, we definitely used him.  The matter of fact he just completed the job for us last week.  He was remodeling our new set.  He remodeled our desks, countertops and our outside shade as a matter of fact so he did an awning for us as well.  We have used him in the past.  He had a fast crew.  They work around our new stuff without creating too much noise that were crashed.  The job is always completed on time and they are very professional.  Pricing is very fair.  We intent to use him in the very near future."
Additional Photos
Additional Photos
Additional Photos
Additional Photos
Recommended by100%of homeowners
Avatar for Ortiz Remodeling and Construction
Ortiz Remodeling and Construction
5.0(
5
)
Tile: Natural Stone (Granite, Marble, Slate, Quartz, etc) - InstallTile: Natural Stone (Granite, Marble, Slate, Quartz, etc) - Install - For Business

Serving Palm Valley, TX and surrounding areas

In business since 2019

Free estimates

Emergency services offered

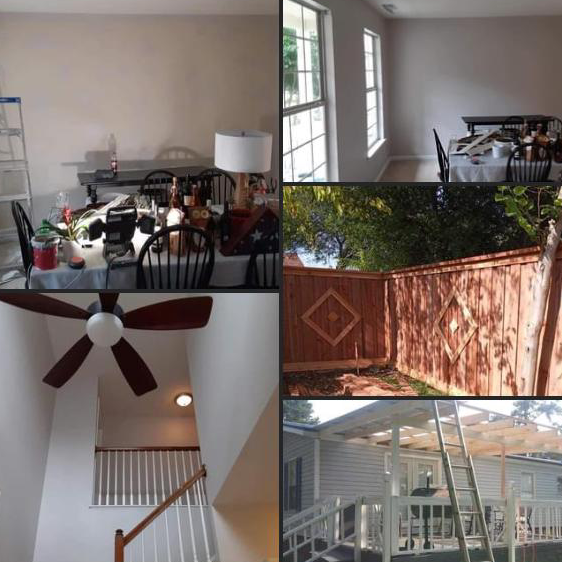
"I had asked them to add an extra room, and they did such a great job. They added everything I asked for, and the price was just perfect. They will negotiate prices until we meet in the middle. Once the room was finished, they also painted the room which again they did an amazing job. Such nice people. Would definitely recommend and hire again."
Additional Photos
Additional Photos
Additional Photos
Additional Photos
Additional Photos

+9

Recommended by100%of homeowners
...
Showing 1-10 of 92
Backsplash Installation questions, answered by experts

If you’re handling your tile removal yourself, seal the room using painter’s tape and heavy-duty contractor bags to prevent dust and shards from escaping. Use a claw hammer or a pry bar and a mallet to get behind the tile and pry it away from the floor or wall. Once your tiles are all removed, sweep everything into contractor bags for disposal, being careful not to overfill them. Make sure you wear a dust mask, safety goggles, and work gloves to keep yourself safe from injury while you work.

Tile shouldn’t be set tight against the tub. Bathtubs can expand when filled, and they can shift slightly with the weight of occupants. For this reason, it’s important to leave a slight gap between the bathtub and the first row of tile. Aim for a narrow gap of approximately 1/16 of an inch, filled with caulk, to allow for this expansion and movement while still allowing for tile shower waterproofing.

The rule tells you how to cut tile to install it in a corner. The 3/4/5 rule recommends that you should have 3 feet across on one straight line, four feet on the other perpendicular line, and 5 feet of length from the end of one of the lines to the other. You’re making a right triangle with the tile, and the hypotenuse (the line across from where the 3-foot lie and 4-foot line meet) should be 5 feet long.

Yes, it’s always a good idea to keep a box or two of spare tiles after a home renovation project. Tiles can crack from improper installation, heavy foot traffic, and impact from drops. Having some extra tile on hand can make replacement fast, easy, and affordable. Plus, some manufacturers might discontinue particular colors or styles, and slight variations in tile colors between batches could mean mismatched tiles even if your product isn’t discontinued. Having a few spare tiles in storage can help avoid these issues, as well.

Generally speaking, it is better to cut tile wet when using a fast-moving wet saw to reduce dust and chipping. However, tile can be cut dry when using just about any cutting tool. Dry cutting will result in a bigger mess and may increase the risk of chipping or cracking, but if you’re just making small cuts, dry cutting is a safe and viable option. Cutting dry also means you can apply tile grout sooner, so it’s better for rushed projects.

The Palm Valley, TX homeowners’ guide to backsplash installation services

From average costs to expert advice, get all the answers you need to get your job done.