






Top-rated ceiling fan pros.

Get matched with top ceiling fan pros in Huffman, TX

Enter your zip and get matched with up to 5 pros

Need a pro for your ceiling fan service project in Huffman, TX?

Select your specific project to find the pro for you.

TRUSTED BY HUFFMAN, TX HOMEOWNERS

  • Average homeowner rating star icon4.7
    Average homeowner rating
  • Verified reviews icon197
    Verified ceiling fan services reviews

Find Ceiling fan pros in Huffman

Avatar for On Time Electric Inc
On Time Electric Inc
4.7(
425
)
Ceiling Fan - InstallCeiling Fan - Repair

Serving Huffman, TX and surrounding areas

In business since 2003

Emergency services offered

Credit card accepted

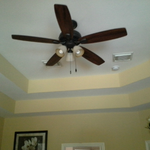
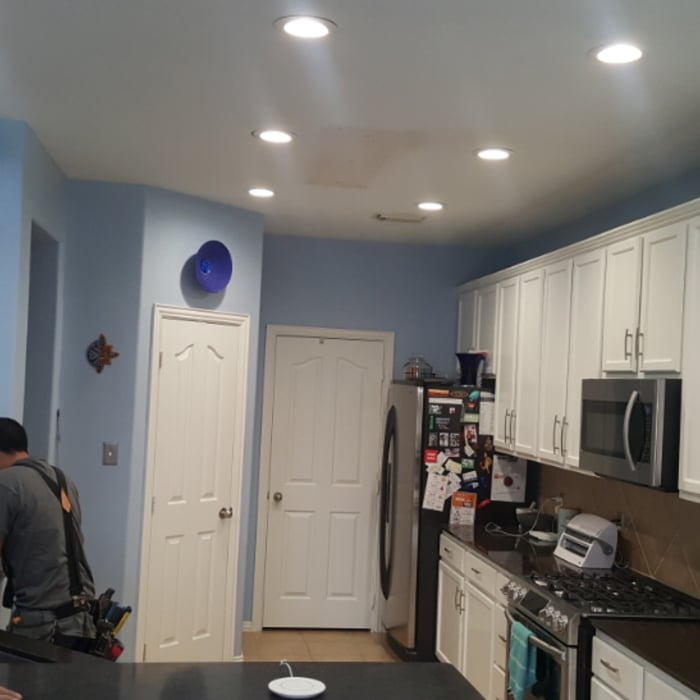
"It was my lights in my ceiling that they changed. They fixed some electrical outlets, and hung a ceiling fan for me. They changed some of my ceiling fixtures. It was a full service/look at the house. We fixed everything that was a little shaky, or old. They gave me a discount for being a member, by sending me a check at the end. For what we needed, it worked out good."
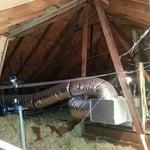
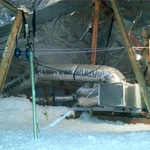
Additional Photos
Additional Photos
Additional Photos
Additional Photos
Recommended by90%of homeowners
...
Showing 1-10 of 116
Ceiling Fans questions, answered by experts

Since the cost of installing a ceiling fan is $250 for most homeowners, it might be beneficial to replace your existing fan if you are experiencing a significant repair issue, like a broken motor. However, for less expensive repairs, like a fan blade replacement, you’ll likely spend less on the repair than a complete fan replacement. Of course, if you’re looking for an upgrade or a new style fan, replacing it altogether is always an option. 

The square footage of your room will dictate the correct ceiling fan blade size. For example: 

  • Rooms smaller than 75 square feet require a fan that is 29 to 36 inches.

  • Rooms up to 175 square feet require 42- to 48-inch fans.

  • Rooms up to 350 square feet require 52- to 56-inch fans.

  • Expansive spaces over 350 square feet need a fan larger than 60 inches.

If the fan doesn’t have a switch, connect the white wire from the ceiling to the white wire from the fan; connect the green wire to the ground wire; connect both black wires; and connect both blue wires. If yours has a switch, the white and green wires are connected the same way. However, connect the ceiling’s red wire to the light’s black wire and the ceiling’s black wire to the fan’s black wire. 

The direction you want your ceiling fan to move in depends on the season you’re in. During summer, you want it to move counterclockwise to produce a cooling downdraft. During winter, you want it to move clockwise to circulate warm air throughout the room.

If you’re removing a ceiling fan without visible screws, start by locating the fan canopy—a round cover placed above the fan blades and motor. There should be a thin ring that can be turned counterclockwise to remove the canopy and reveal the screws. After unscrewing the fan, you can disconnect the wires and remove the entire fan from the mounting hardware. For safety, make sure the fan switch is turned off before you remove the canopy. It may be easier to remove the fan blades first, too.

The Huffman, TX homeowners’ guide to ceiling fan services

From average costs to expert advice, get all the answers you need to get your job done.