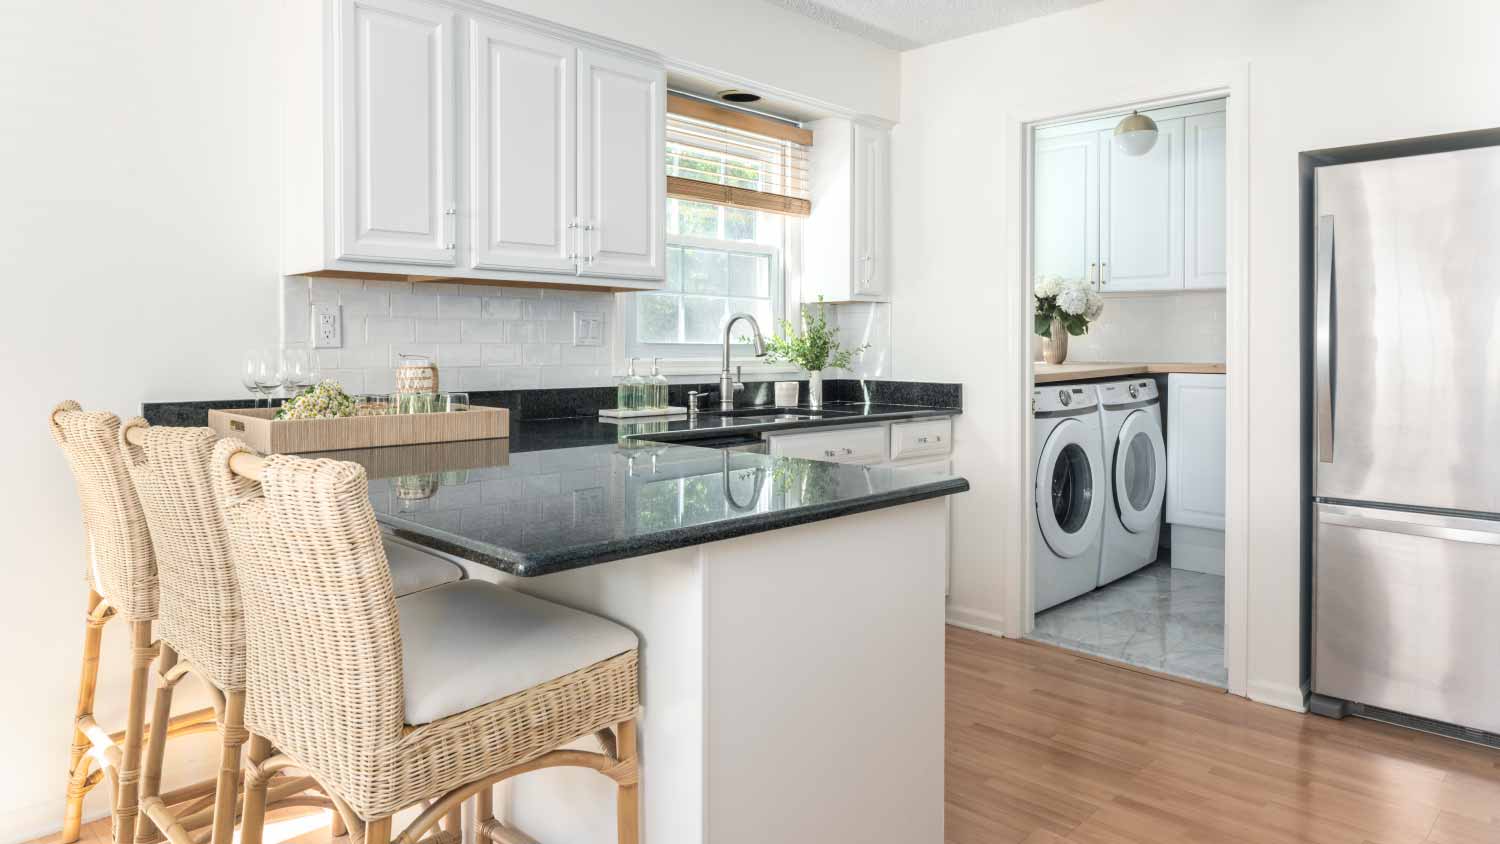








Top-rated backsplash installation pros.

Get matched with top backsplash installation pros in Copenhagen, NY

Enter your zip and get matched with up to 5 pros

Need a pro for your backsplash installation project in Copenhagen, NY?

Select your specific project to find the pro for you.

TRUSTED BY COPENHAGEN, NY HOMEOWNERS

  • Average homeowner rating star icon3.8
    Average homeowner rating
  • Verified reviews icon36
    Verified backsplash installation services reviews

Find Backsplash installation pros in Copenhagen

Avatar for Harnas Home Services
Harnas Home Services
5.0(
10
)
Tile: Ceramic and Porcelain - Install

Serving Copenhagen, NY and surrounding areas

Approved

Free estimates

Small jobs welcome

"HarnasHome Services performed all requested work with outstanding professionalism. Don and his associate were kind and respectful of my property throughout the build and the final cleanup. I asked for my room to be sheet rocked, ceiling fan installed, electric outlets installed, a partial subfloor installed then I added on a few extra things I needed done. They didn’t have to do those things but didn't hesitate getting them done. I will be hiring them again for an additional project I have in mind. I highly recommended Don Harnas for their professionalism, flexibility, timeliness, great personalities and very reasonable cost. Patricia Ulmen McCarthy"
Ceiling fan
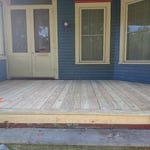
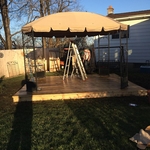
Deck Rebuild
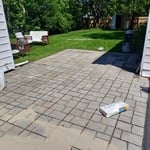
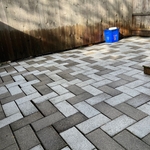
Patio
Post repair
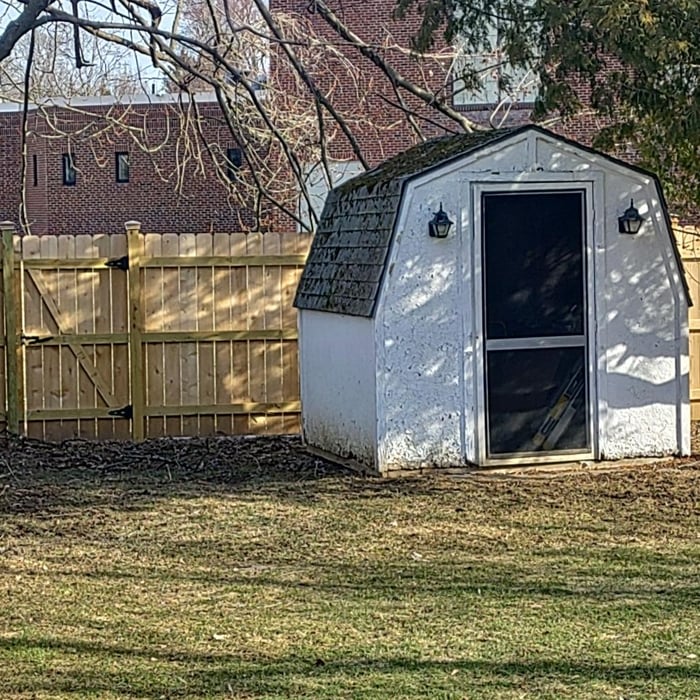
Shed siding

+10

Showing 1-10 of 44
Backsplash Installation questions, answered by experts

There isn’t a one-size-fits-all best tile for a dog shower. Consider your budget, tile durability, aesthetics, and, most importantly, practicality. Avoid tiles your dog will slide around on. Pebbles are a great non-slip option, but are pricey and tricky to install. Glass might look modern, but it’s not scratch-resistant. Small, floor-rated ceramic or porcelain tiles are economical and have many grout lines that make the surface more slip-resistant. Pick a matte finish rather than a shiny tile if you want it to hide stray mud and hairs better.

It’s important to leave a gap in the corner when tiling to allow room for tile expansion. Leaving between one eighth of an inch to one tenth of an inch is enough space. 

It’s easiest to start from an edge as it gives you a straight line. A problem may arise if your edge doesn’t line up perfectly, in which case it’s best to start from the center. Some think that starting tile from the center adds a focal point in the center of the hearth. 

If you’re handling your tile removal yourself, seal the room using painter’s tape and heavy-duty contractor bags to prevent dust and shards from escaping. Use a claw hammer or a pry bar and a mallet to get behind the tile and pry it away from the floor or wall. Once your tiles are all removed, sweep everything into contractor bags for disposal, being careful not to overfill them. Make sure you wear a dust mask, safety goggles, and work gloves to keep yourself safe from injury while you work.

Removing old tiles can be more complicated, but it can also be more manageable, depending on your circumstances. Typically, old tile is hard to remove because the adhesive had loads of time to bond with your wall, becoming a formidable foe between you and your new tile installation project. On the other hand, old tile in high-traffic areas can become loose, making it much easier to remove.

The Copenhagen, NY homeowners’ guide to backsplash installation services

From average costs to expert advice, get all the answers you need to get your job done.