
Top-rated drywall pros.

Best drywall pros near Paynesville, MN

Enter your zip and get matched with up to 5 pros

Need a pro for your drywall service project in Paynesville, MN?

Select your specific project to find the pro for you.

Top-Rated Drywall pros in Paynesville - Updated Nov 2026

Avatar for All About Remodeling LLC
All About Remodeling LLC
5.0(
19
)
Drywall - Install

Serving Paynesville, MN and surrounding areas

Approved

Super Service Award Winner

In business since 2023

Free estimates

Emergency services offered

"Kacey's work is exceptional! For us he did drywall, painting, carpentry, roof repair, flooring, and all was on time, at a great price and professionally done. If you can get him, you will treasure his work."
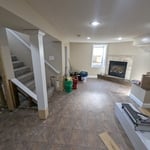
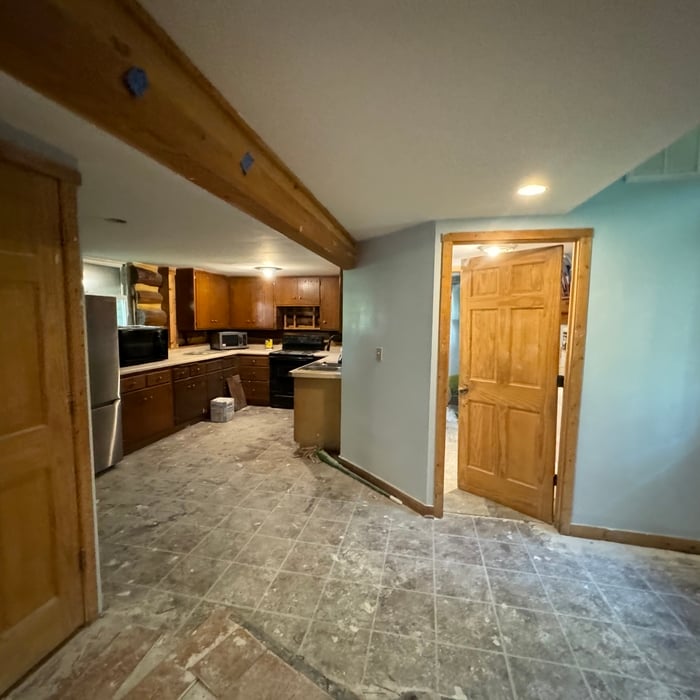
Basement Before
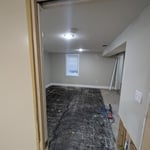
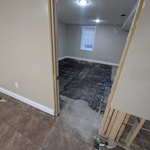
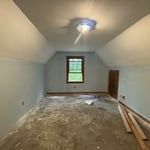
Bedroom Before
Bedroom Before
Bedroom Before
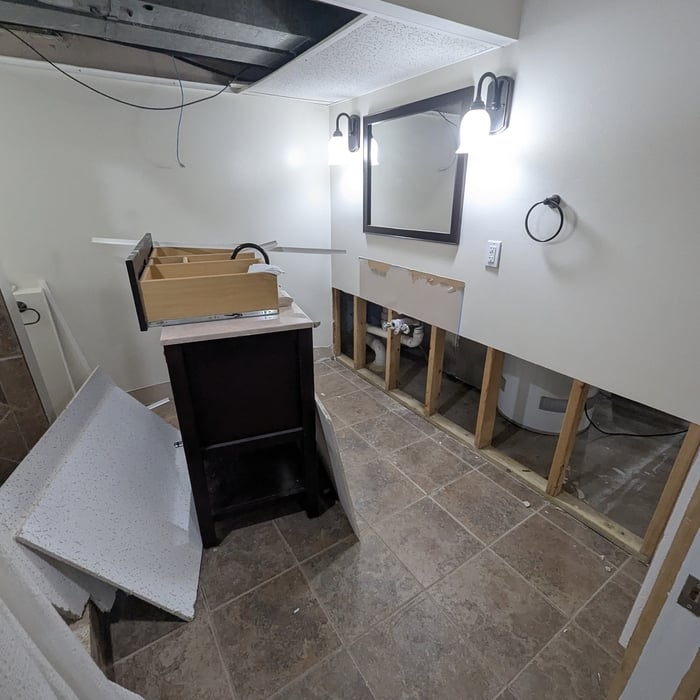
Bathroom Before

+156

Response time1 day
Response rate100%
1 neighbors recently requested a quote
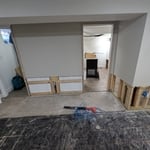
Avatar for Northern Lakes Drywall
Northern Lakes Drywall
5.0(
7
)
Drywall - InstallDrywall - Install - For BusinessDrywall - Repair+1 more

Serving Paynesville, MN and surrounding areas

Free estimates

Warranties offered

Credit card accepted

"Jeremy gave us a quote on all repairs for the work that had to be done reasonably estimate and also some extras … the crew was on time and did a exceptionally great job on all was done in the time they had said !! The job was done great from start to finish !!! I would recommend Jeremy and Northern Lakes Drywall to all !!!!! If your looking for a professional job and a reasonable price this is your place !!!! Thanks again!!!"
Additional Photos
Additional Photos
Additional Photos
Additional Photos
Additional Photos

+7

Recommended by100%of homeowners
Avatar for Ace Drywall, LLC
Ace Drywall, LLC
4.9(
4
)
Drywall - InstallDrywall - Repair

Serving Paynesville, MN and surrounding areas

In business since 2019

Warranties offered

Small jobs welcome

"Great quality! Very responsive with texting and more than willing to accommodate any obstacles like furniture moving or even scheduling. 5 stars is not enough. More like 6 out of 5!"
Response time2 days
Recommended by100%of homeowners
Showing 1-10 of 34
Drywall FAQs, answered by experts

The easiest way to cut holes in drywall for electrical boxes is to use a spiral saw with a drywall router bit. Hang the drywall without cutting out a hole for the box, but make sure you measure and mark where the box is located on the wall. Once you screw in the drywall sheet, drill a small hole into the box void, insert the spiral saw bit, and move it around the edge of the box using the inside wall as a guide. You can also use an oscillating multi-tool with an electrical box cutout for fast, professional results.

Drywalling a garage is a smart decision if you want to protect your garage from fires, moisture damage, and exterior noise. Most garages have flammable supplies that could result in serious damage in the off chance of an accident. Drywall is fire resistant, helping to prevent fires from spreading. Not to mention, drywall can improve the appearance of a dingy, old garage.

Regularly in areas prone to moisture or high traffic to catch issues early.

Yes, taping inside corners is a critical step in the drywall installation process.  Properly taping inside corners is essential for achieving a professional look, and an installation that resists cracking and maintains its integrity over time. Taping the corners involves the application of a joint compound along the seam where two drywall pieces meet. This process provides reinforcement, conceals the seam, and prevents future gaps or cracks from developing.

There are six levels of drywall finish, from 0 to 5, that refer to the amount of work performed during the finishing process.

Level 0: Drywall is hung with no finishing work.

Level 1: Tape is placed over the seams between drywall sheets.

Level 2: A thin layer of mud is applied over the tape and screw holes. This level is common for utility rooms or walls that will be covered.

Level 3: A full coat of mud covers the screw holes and tape, but the surface is not sanded. This is often used in garages.

Level 4: This is the most common finish for visible interior walls. It involves applying two coats of mud over seams and screw holes, with sanding between each coat, creating a smooth surface ready for flat paint.

Level 5: This is a high-end finish for luxury homes. It includes full taping, mudding, and sanding, plus a final skim coat over the entire surface before painting.

The Paynesville, MN homeowners’ guide to drywall services

From average costs to expert advice, get all the answers you need to get your job done.