"He did lots of work with fair pricing. They did a very clean job and was always on time. He finished sooner than originally estimated. I'm very satisfied and they did a great job, and I would use them again"
"They had to dig out a whole wall out of my basement to stop the leaking. They cleaned the basement wall and they resealed it with the latest technology. They were very friendly and cooperative. They worked hard, and came when they said they would. Everything you would hope a contractor would do that did."
"It was great. He did the work and he did it fast. They were efficient. Some people told me that it was the best price. They were on time. He was professional."
"The crew came one day after my call. They removed a small tree from my front lawn, grinded the stump, removed the limbs and debris. You wouldn't know the tree was ever there. Excellent job."
"This is an outstanding company to complete your needs. I found them through a family member and was very pleased with the services received. Give J & R Property a call, you won't be disappointed."
It takes one hour to dig a 10-foot trench by hand. Use a trenching shovel with a sharp tip and a long head. Plan for more time if your soil is heavy or rocky. Consider renting a trencher if you’re digging a long or deep trench or if you have challenging soil or terrain.
If you don’t have a crawl space but have a partial basement you want to make deeper, you can expect to spend a little less—between $40,000 and $90,000 on average. However, if you’re not adding new finished square footage, you won’t see much in the way of ROI.
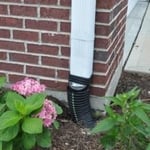
To locate an underground downspout, you should start by identifying where the above ground gutter drains. Look for an entry point, such as a pipe or elbow leading into the ground. Follow the surface path for signs like depressions, landscaping disruptions, or wet areas after rain. You can use a metal detector or plumber’s snake to trace the pipe underground. For deeper pipes, a professional locator tool or camera inspection may be necessary. Visual markers or utility maps can also guide the search.
A trench that is less than 5 feet deep often doesn't require a protective system. Most residential trenches will not go this deep (the typical residential drainage trench is just 18 inches deep). In the event that an excavator needs to dig more than 5 feet beneath the surface, a protective system is required unless the excavation is in entirely stable rock.
Above ground pools are not buried in the ground. Typically, above ground pools are semi-permanent. One reason they’re more affordable is that you don’t have to dig for an inground pool and pour concrete or another material. However, you can choose to install a semi inground pool, which is a hybrid between the two.
The Snow Hill, MD homeowners’ guide to excavation services
From average costs to expert advice, get all the answers you need to get your job done.
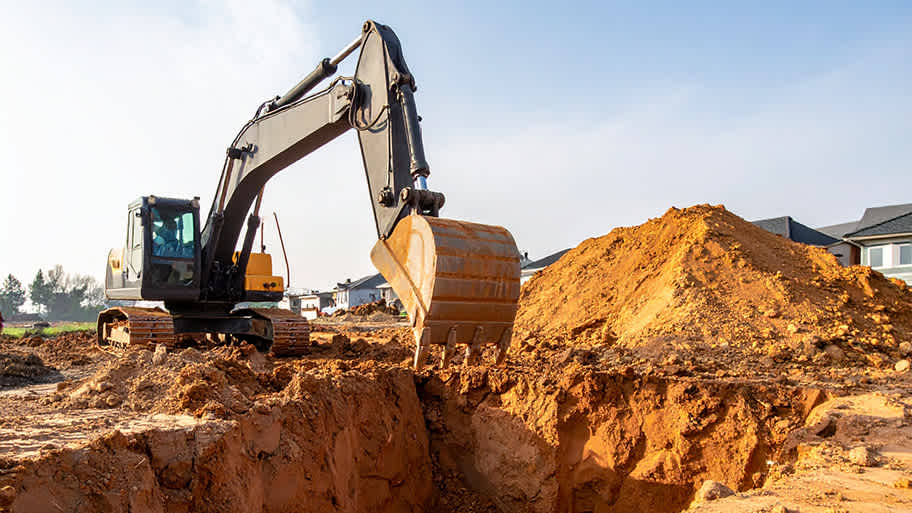
Excavation costs $1,500 to $6,300 for most residential projects—but it depends on factors like the size of the area. This guide will help you plan a budget.
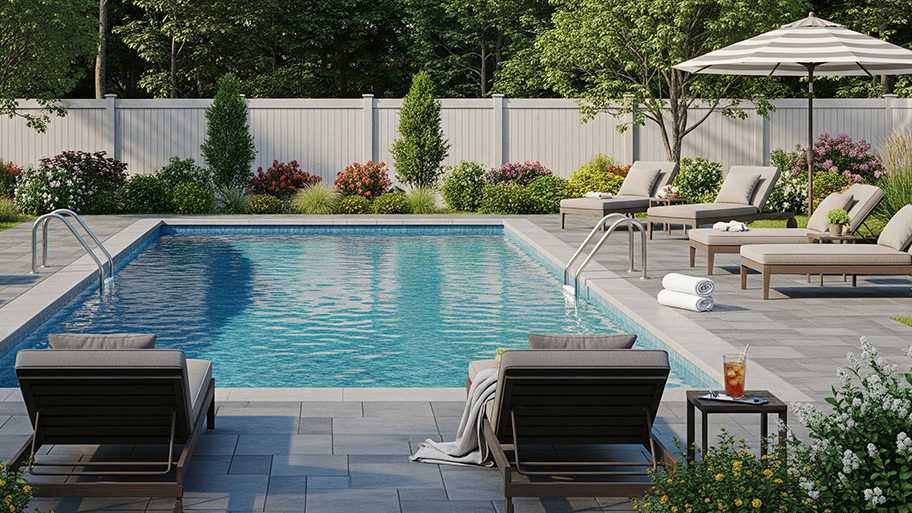
You can't have an in-ground pool without digging into the ground. How much does pool excavation cost, and can you take it on yourself? Our guide explains.
Picking the right pro can make or break your project. Learn how to hire an excavation pro with the qualifications and skillset to do the job efficiently.