




Top-rated drywall pros.

Get matched with top drywall pros in Richmond, MA

Enter your zip and get matched with up to 5 pros

Need a pro for your drywall service project in Richmond, MA?

Select your specific project to find the pro for you.

TRUSTED BY RICHMOND, MA HOMEOWNERS

  • Average homeowner rating star icon4.8
    Average homeowner rating
  • Verified reviews icon16
    Verified drywall services reviews

Find Drywall pros in Richmond

Sonart Construction Corp.
2.3(
7
)

Serving Richmond, MA and surrounding areas

Approved

In business since 2013

Free estimates

Credit card accepted

"I recently had my shingle roof replaced and I?m very happy with the results. The team was professional, punctual, and completed the job efficiently. The quality of the work is excellent, and the new roof looks great. They kept the work area clean and communicated well throughout the process. I would definitely recommend them to anyone needing a roof replacement."
Avatar for The BullBag
The BullBag
5.0(
15
)

Serving Richmond, MA and surrounding areas

In business since 2001

Credit card accepted

"It was so much easier than getting a dumpster. I paid less money than if I had gotten a dumpster because a dumpster charges by weight and since it snowed and rained, everything in the bag was wet - I would have paid a fortune!!! With the bullbag, I paid one set price and the cool part: I got the bag back to refill again and again. This company also recycles most of what is collected so less ends up in a landfill.
No better business bureau complaints.
One set price to empty.
I get to reuse the bag over and over."
The BullBag truck in MA
The BullBag truck in NY
Toys for Tots
Recommended by100%of homeowners
Avatar for Derek Cady Home Remolding
Derek Cady Home Remolding
4.9(
14
)

Serving Richmond, MA and surrounding areas

In business since 2005

Free estimates

Emergency services offered

"Problem free. Great communication. Derek did all the purchasing after we discussed what I wanted. I didn't have to lift a finger until he texted that he was outside and had completed the job. I will call Derek again when I need home repairs."
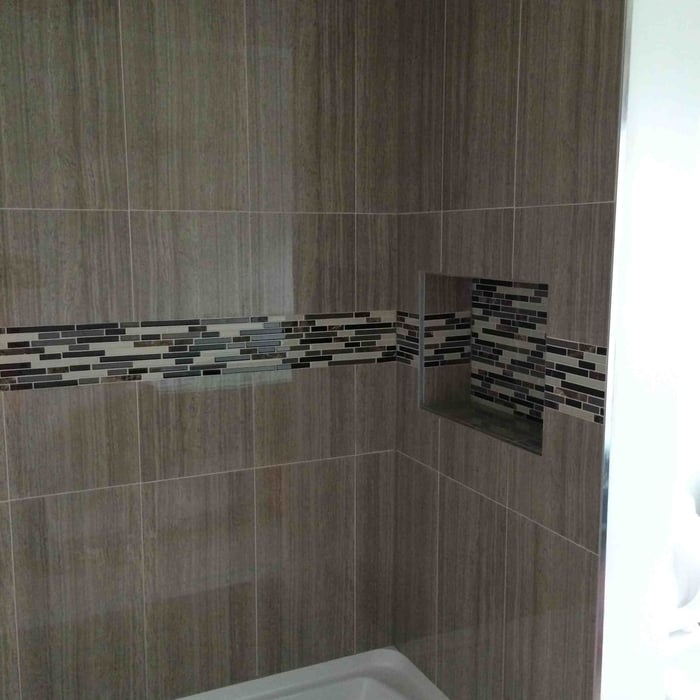
Bathroom Floor
Handyman Services Project
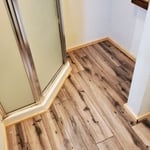
Bathroom Floor
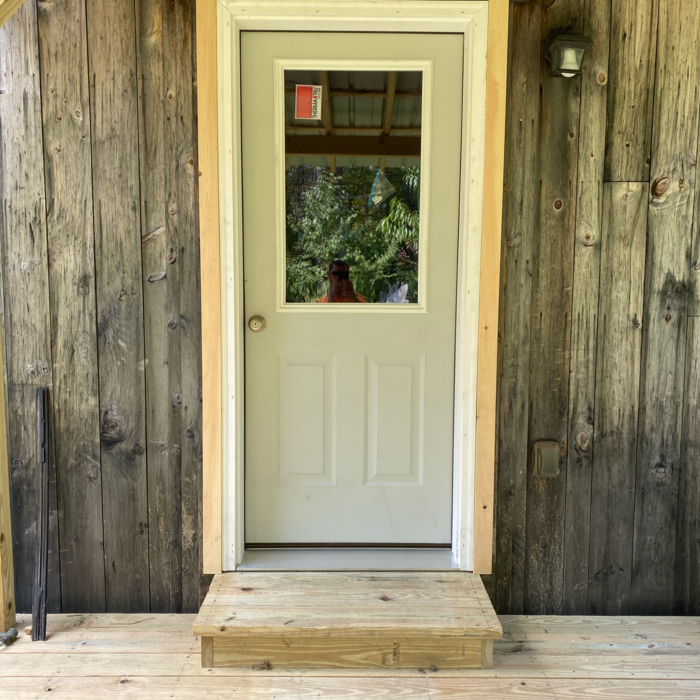
Bathroom Floor
Additional Photos

+53

Recommended by100%of homeowners
...
Showing 1-10 of 59
Drywall questions, answered by experts

Plastering and skimming are two different techniques for finishing walls. Plastering involves applying a thick layer of a plaster mixture—typically containing gypsum, lime, cement, sand, and water—to create a new surface. This process often requires multiple coats and is used for repairing significant damage or creating decorative textures. Skimming, on the other hand, is a technique that involves applying a thin layer of drywall compound or joint compound over an existing surface to smooth it out, covering minor imperfections, small cracks, or uneven textures for a polished look. Plastering is generally more costly and labor-intensive than skimming. Although some people use the terms interchangeably, they refer to different processes and materials.

You can put drywall mud over paint to even out the surface or entirely resurface it. Sand the surface with 280-grit sandpaper, vacuum the debris and dust with a shop vac, and clean it with a slightly damp cloth. Allow the surface to dry. Apply drywall primer, especially if you’re skim-coating an entire wall. Apply the right type of drywall mud over the surface and smooth it with a trowel. Allow the layer to cure fully, then sand it before applying another layer or painting it.

When doing a DIY paint job, it can be tricky to achieve the perfect, straight line between your wall and ceiling. There are several methods, including lining it with painter’s tape and using the “cut in” brush tactic. Some homeowners choose to apply a thin line of caulk to the wall-ceiling seam to create the appearance of a perfect line.

According to the EPA, mold grows within 24 to 48 hours if left untreated after a water leak. So unless you notice the leak and stop it right away, you only have a day or so before mold is a real concern. If you don’t notice the leak, it can take about three weeks for the mold spores to become visible. That means you’ve likely had an active mold infection for a few weeks by the time you notice discoloration.

There are six levels of drywall finish, from 0 to 5, that refer to the amount of work performed during the finishing process.

Level 0: Drywall is hung with no finishing work.

Level 1: Tape is placed over the seams between drywall sheets.

Level 2: A thin layer of mud is applied over the tape and screw holes. This level is common for utility rooms or walls that will be covered.

Level 3: A full coat of mud covers the screw holes and tape, but the surface is not sanded. This is often used in garages.

Level 4: This is the most common finish for visible interior walls. It involves applying two coats of mud over seams and screw holes, with sanding between each coat, creating a smooth surface ready for flat paint.

Level 5: This is a high-end finish for luxury homes. It includes full taping, mudding, and sanding, plus a final skim coat over the entire surface before painting.

The Richmond, MA homeowners’ guide to drywall services

From average costs to expert advice, get all the answers you need to get your job done.