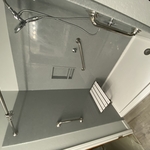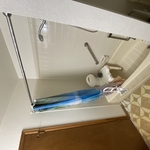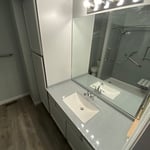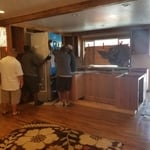










Top-rated closet pros.

Get matched with top closet pros in Livermore, CO

Enter your zip and get matched with up to 5 pros

Need a pro for your closet service project in Livermore, CO?

Select your specific project to find the pro for you.

Find Closet pros in Livermore

Avatar for Arkansas Wood Doors
Arkansas Wood Doors
5.0(
8
)
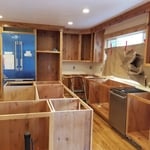
Closet - Build

Serving Livermore, CO and surrounding areas

In business since 1977

Free estimates

Credit card accepted

"We love our cabinets! They look fantastic while remaining affordable. The friendly staff at AWD helped us from start to finish. They are very knowledgeable and gave us advice and tips when needed. They were receptive and patient with our ever-changing needs. Once we finalized our purchase, we received our cabinets within two weeks! The cabinets are very sturdy and the color is beautiful. The hinges and hardware are high quality. We are extremely pleased with AWD and would recommend them to any friends or family looking for good cabinets at a fair price."
Additional Photos
Additional Photos
.
Additional Photos
Additional Photos

+1

Recommended by100%of homeowners
Avatar for JJ Design
JJ Design
5.0(
6
)
Room or Closet Organizers - Install

Serving Livermore, CO and surrounding areas

In business since 2012

Free estimates

Credit card accepted

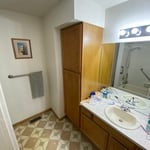
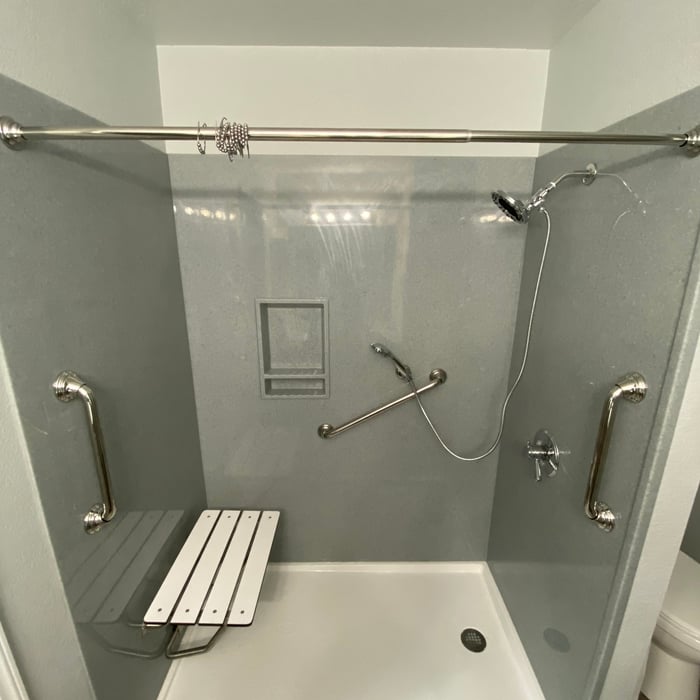
"I love my new bathroom! Came up with a great design that works for my space, used high quality materials, and it only took a few days to complete. Beautiful work! I definitely recommend JJ Design!!"
Remodeling - Kitchen & Bathroom Project

+16

Recommended by100%of homeowners
Avatar for Omni Services
Omni Services
4.0(
104
)
Closet - Build

Serving Livermore, CO and surrounding areas

In business since 2006

Free estimates

Credit card accepted

"The bonus room, above the garage, was the coldest place in the house in winter, and the hottest in summer.   Air was coming in through the trim/baseboard, and the sub-floor itself was very cold in winter.  The goal Omni Services (OS) and I agreed to was to provide a year-round comfortable space.  As a consumer, I wanted the room to be "air tight" but OS could not guarantee that.
In preparation for the bonus room work, I removed the trim, carpet and pad for later re-use, and cut out (as best I could) some agreed-on 4x8 and 4x12 sections of the existing drywall, so we could see what was going on inside the walls and ceiling.  The scope-of-work document had Omni Services (OS) removing the sub-floor as well, to check out the insulation beneath it, but ultimately OS didn't deem that necessary, as they found a different way to add insulation. [So in hindsight I removed the carpet and pad unnecessarily.]
OS determined:
  a. the ceiling insulation was wrong for the space (R30 was crammed in, R19 should have been used)
  b. the roof above the bonus room (2x8 boards between the ceiling and the roof) had insufficient  ventilation
  c. there was insufficient insulation in the garage attic (adjacent to the bonus room) that was a continuation of the roof above the bonus room
 
What OS did for the ceiling:
  a. removed the R30 from most of the ceiling
  b. installed "proper vent"  (a way for air to flow between the lower and upper parts of the roof) where the R30 had been
  c. replaced the R30 (that was removed) with R19
  d. added some exterior ventilation (around the gutters and in the garage attic) to allow more air into the "proper vent"
  NOTE:  I had a roofing company install ridge-cap ventilation above the bonus room; OS's work was pointless without that
 
What OS did for the garage attic adjacent to the bonus room:
  a. install foam board insulation over the sloping area (continuation of the bonus room roof, into the attic)
  b. spray in more insulation
What OS did for the sub-floor:
  a. accessed the underside of the sub-floor from either the garage attic or the limited space between the bonus room walls and the ceiling (which continued downward into the garage attic)
  b. sprayed in more insulation
THE BAD: Once the drywall was replaced, taped, etc., and before the trim was put back on, there was still significant airflow into the room, where the drywall met the sub-floor.  I had not expected this, nor had OS.  I "fixed" this by using a combination of low-expanding foam from a can, leftover fiberglass insulation, and drywall mud.  Air was also coming in from the drywall holes cut for the electrical boxes, but styrofoam covers fixed that.
What OS did for the main attic stairs (accessible from the bonus room):
  a. manufactured a cover using leftover foam board and other materials
  b. installed the cover above the pull-down attic stairs
  c.  sprayed in more insulation in the attic, in the area around the new cover
What OS did for the doors:
After I removed the trim from the French doors, OS replaced one of the doors, which had warped.  I painted the door, then OS reinstalled the trim.
BOTTOM LINE:  We do not yet know whether the bonus-room goal was met.   We won't know until we have a string of really hot days, and another string of really cold days.


"
Recommended by81%of homeowners

Showing 1-10 of 42
Closets questions, answered by experts

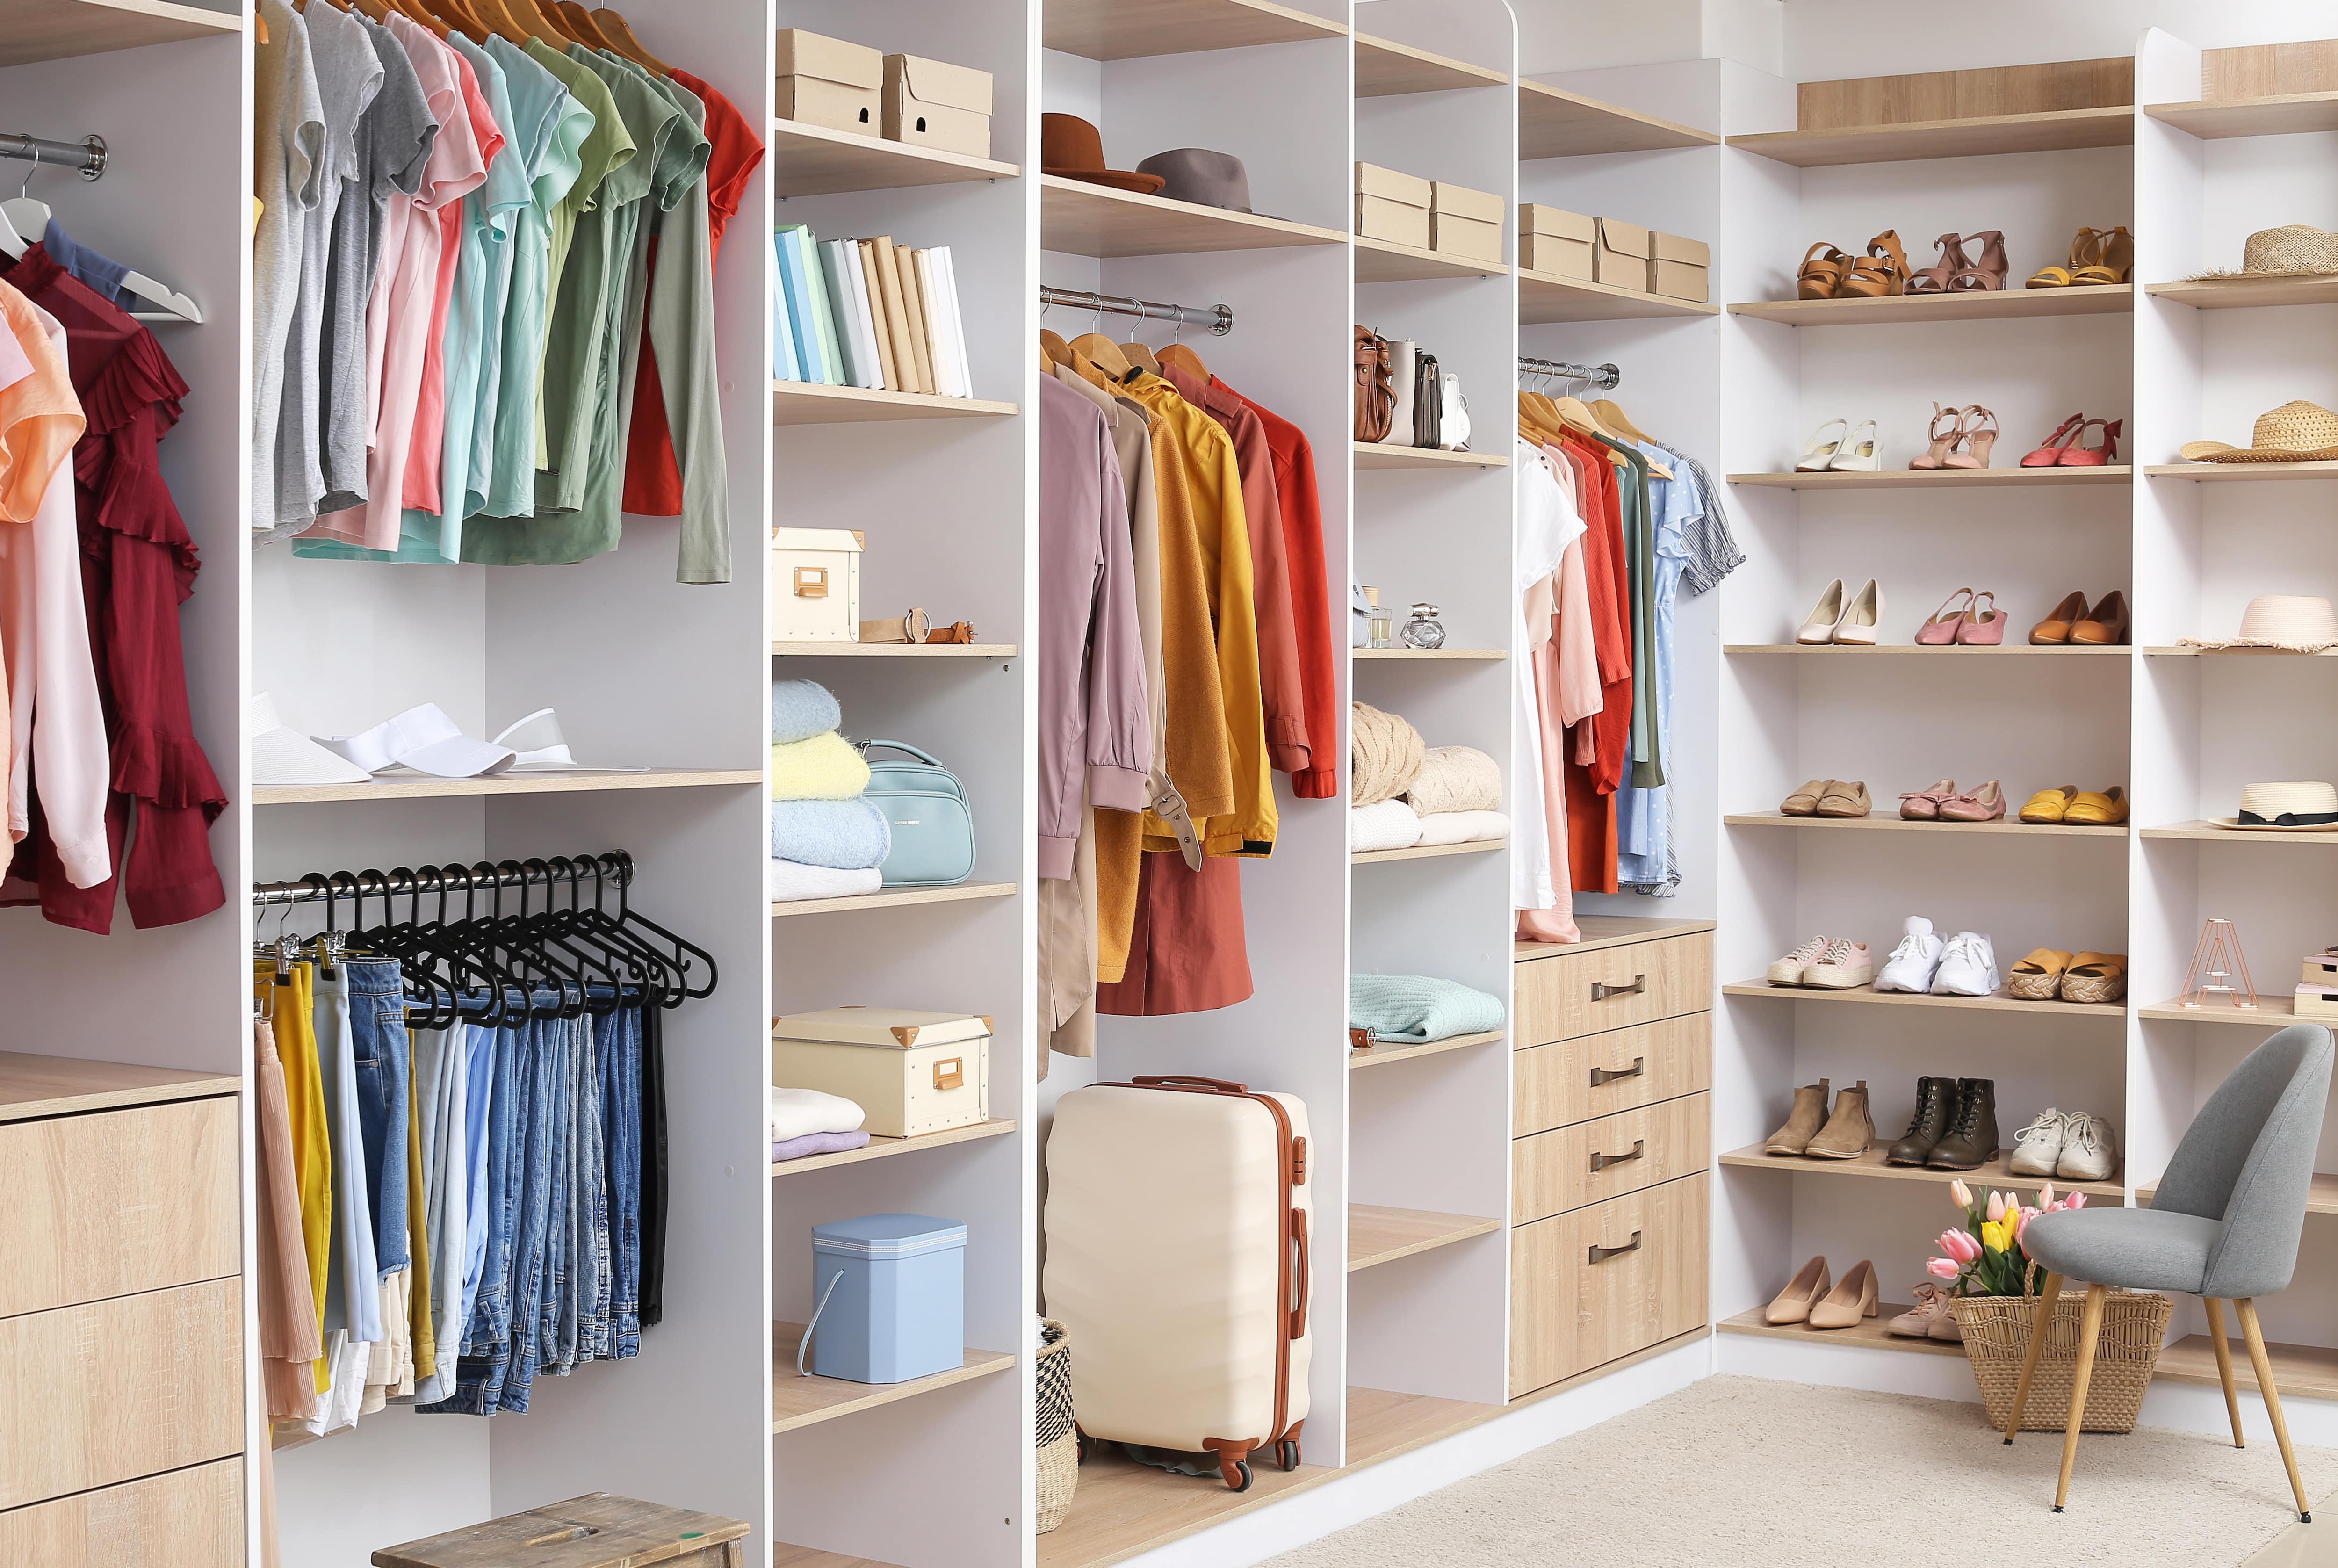
A standard walk-in closet has dimensions of 7 feet by 10 feet at a minimum and an average of 100 square feet. Remember that the dimensions of the closet aren’t necessarily the usable space. This means that a 100-square-foot walk-in closet with shelves on each wall and an island may only have a walkable area of 50 square feet or less. Make sure you consider the effect of additions when you plan the room—mockups are a great idea.

The vertical space between closet shelves depends on what you're storing. For clothing like shirts and sweaters, 10 to 12 inches is enough. Towels and linens need 12 to 15 inches, while tall storage bins may require 18 inches or more. Overcrowding your shelves can reduce accessibility and increase clutter, so be sure to leave breathing room for your items.

Bump-out additions can add some space to a closet without requiring any significant structural work. This entails pushing back the existing rear or side of the closet, simply moving the wall into either an adjacent room or unused space. For ground-floor closets, this could even be extended to the exterior of the home, but that has its own complications. Bump-outs are a good discussion to have with your contractor if you’re just looking to increase the space a little—not renovate the entire closet space.

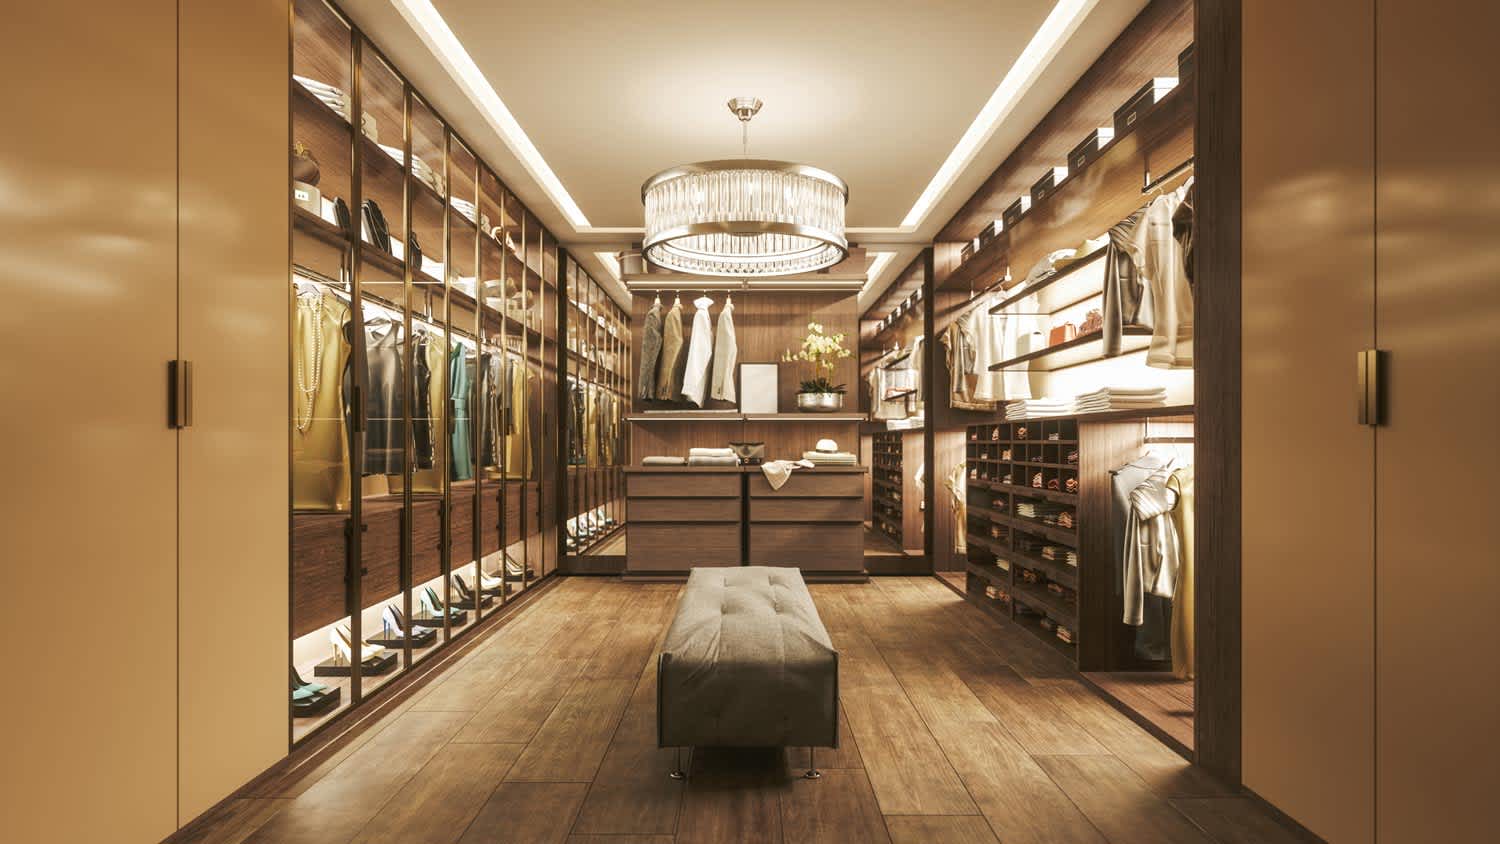
There are a few reasons custom closets are expensive: materials used, the luxury factor, and time to build. The people who can afford custom closets are those who can afford increased rates, and construction workers and contractors know this and charge accordingly. The time to build custom closets is substantial, especially if expensive material is being used or intricate details (like carved wood) are added to the project. 

Some features and upgrades you can add (some of which increase the closet’s value) are: modular shelving, motion-activated lighting, climate control, custom lighting, cigar humidors, revolving shoe racks, jewelry shelves, custom woodwork, and built-in laundry hampers. While only truly luxury closets have all of these, many custom closets have at least one special feature listed above. 

The Livermore, CO homeowners’ guide to closet services

From average costs to expert advice, get all the answers you need to get your job done.