
Allowing your caulk to fully dry and cure is key to long-lasting results. But how long does it take for caulk to dry? Learn the factors that affect the process.
Painting over wet spackle will lead to visible wall damage and dull paint

The time it takes for spackle to dry depends on the type you choose, with fast-drying spackle ready in minutes and standard spackle needing two hours.
Your repair size affects drying time, as larger or deeper patches take longer to cure than small nail holes or shallow surface repairs.
You can speed up drying by running a dehumidifier, opening windows for better airflow, or using fans to circulate air throughout the room.
Hiring a local handyman professional provides reliable support with wall repairs, helping you avoid painting over wet spackle and ensuring a smooth, professional finish.
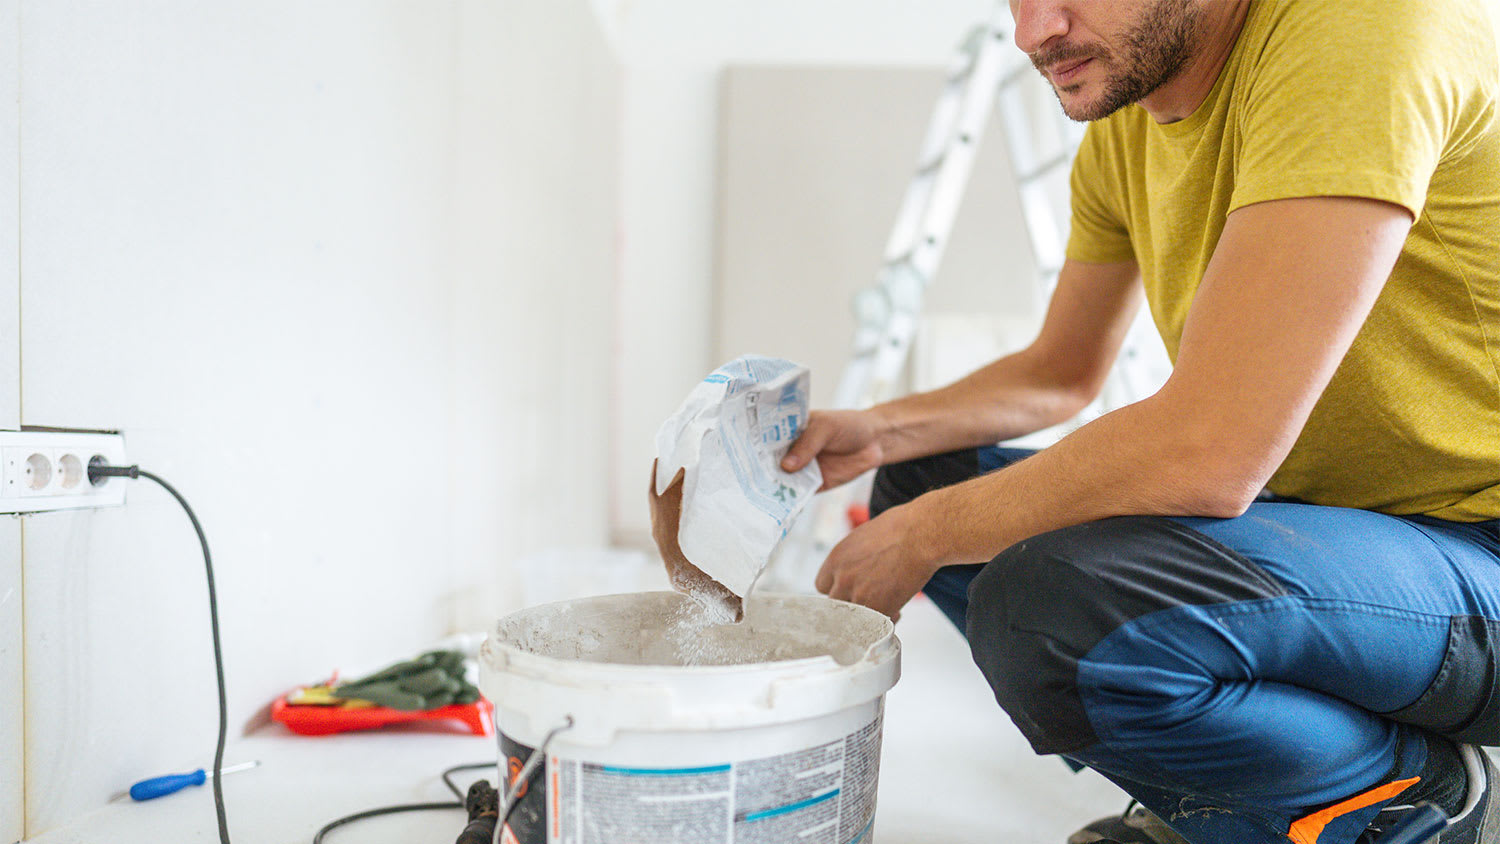
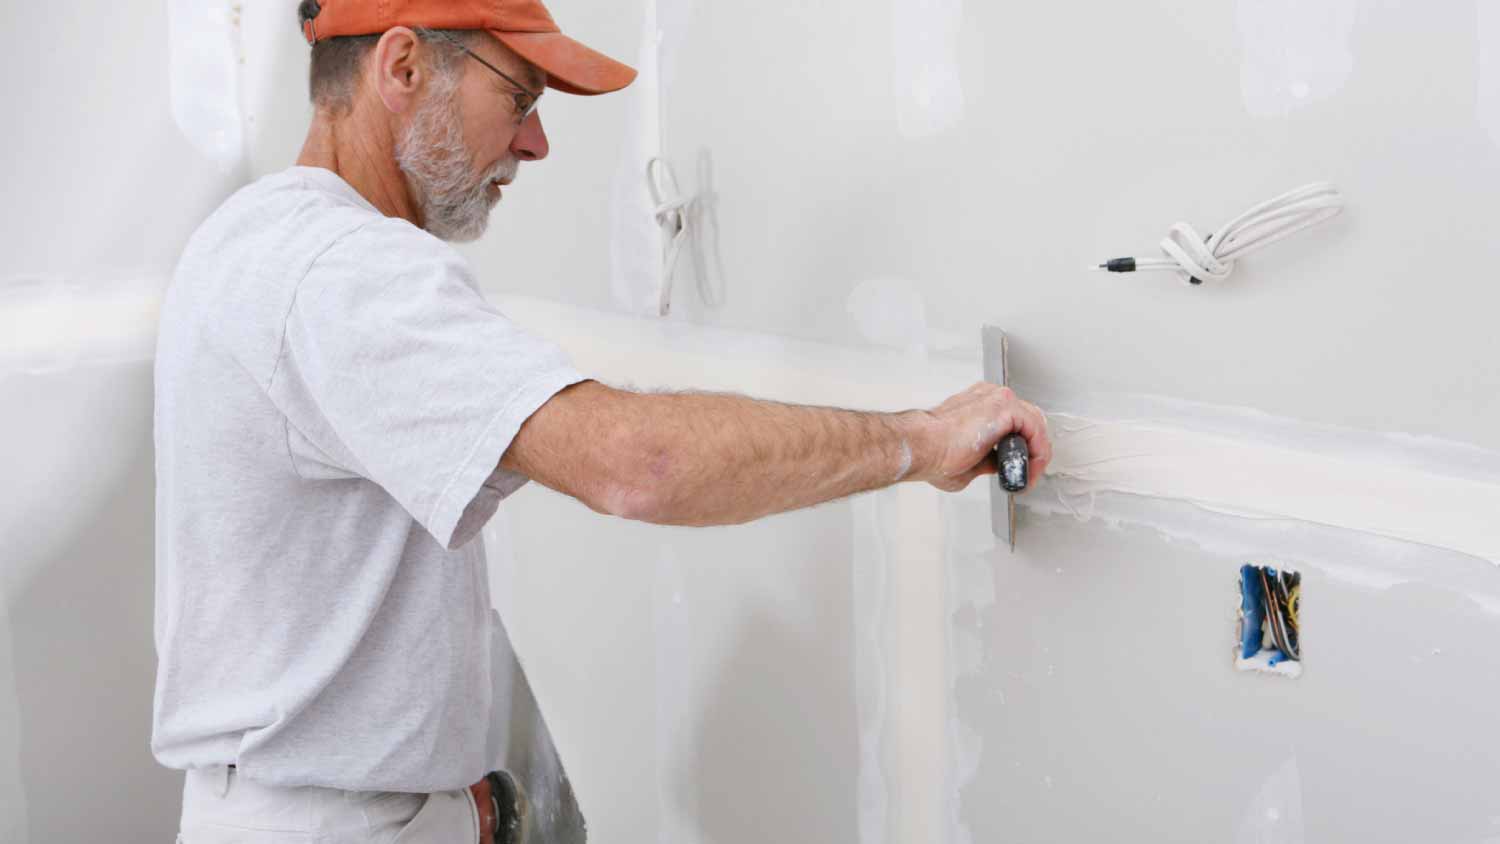
When you’re repairing minor wall damage, spackle is going to be your best friend. Spackle is relatively easy to apply, but failing to let it dry completely before sanding and painting will leave you with wall damage and an unprofessional finish. As a rule of thumb, you should wait two hours before sanding and painting fast-drying spackle and 24 hours for standard spackle. In this guide, we’ll discuss how that timeline can change based on your project and when you can move ahead with finishing your walls after spackling.
After patching up a hole in drywall, you’ll want to wait the recommended amount of time to allow the spackle to dry. In theory, this wait time follows the figures mentioned above. In practice, this is not always the case, as many factors determine how long the spackle takes to dry completely.
The type of spackle you use determines how long it takes to dry. As stated, quick-drying products take just a few minutes to be dry to the touch, and traditional spackle takes a few hours to dry. However, it’s a good idea to wait longer than the estimated drying time before finishing your walls to avoid issues.
| Type of Spackle | Dry to the Touch | Ready for Sanding/Painting |
|---|---|---|
| Acrylic | 4 hours | 24 hours |
| Epoxy | 5 hours | 24 hours |
| Fast-dry | 10 minutes | 2 hours |
| Standard (gypsum) | 2 hours | 24 hours |
| Vinyl | 5 hours | 24 hours |
Gypsum: Standard spackle is made from gypsum and takes around two hours to dry, though there might be some variance depending on the brand. Wait a full 24 hours before finishing for the best results.
Epoxy: This type of spackle is great for patching larger-than-average holes. Epoxy-based spackle takes up to 24 hours to dry, though it does offer higher adhesive strength than other types. It should be dry to the touch within 5 hours.
Acrylic: Spackle made from acrylic is a good choice for fixing up deep gouges in drywall, wood, plaster, and even stone, as it resists crumbling. Acrylic-based spackle takes two to four hours to be dry to the touch, but wait 24 hours before finishing.
Vinyl: This compound is similar to acrylic-based spackle and takes anywhere from two to five hours to be dry to the touch, but 24 hours is best to allow it to cure fully. Vinyl spackle is a great option for repairing wood, cement, rock, brick, and, of course, drywall.
Fast-dry: As the name implies, fast-dry spackle sets up and is dry to the touch within just 5 to 10 minutes. You should wait at least 2 hours for this spackle to cure before you sand and paint it, though.
It’s probably common sense, but the larger and more complex the repair, the longer it takes to dry. In other words, spackle that you use to patch up a screw hole or a repaired nail pop will dry much more quickly than, say, the amount you use to patch up a large hole in your wall.
Additionally, broad and shallow repair projects dry more quickly than spackling a deep gouge or divot. Lean on the far end of advertised drying times to account for these variables. Finally, consider the number of coats here, as each coat must fully dry before laying down more spackle.
If you have any doubts that you’ve repaired the hole completely or how to make the repair match the rest of your wall, this would be the time to call in a local drywall repair company to help complete the job.
The space itself and any associated environmental factors affect the overall spackle drying time as well. These factors include the temperature of the worksite, air circulation, and humidity. If the space has a high level of humidity or minimal air flow, it takes longer for the water in the spackle to evaporate into the air. The advertised spackle drying time assumes an ideal worksite environment with between 50 and 70 percent humidity and a temperature range between 50 to 90 degrees Fahrenheit.

There are a few things you can do to ensure your spackle dries quickly, allowing you to move on to the fun parts (sanding and painting).
Run the AC: Cold air helps spackle, and just about anything else, dry quickly. If you really want to speed up the drying time, run an air conditioner at full blast to get the room on the lower side of the temperature range mentioned above. This can also drop the humidity, which helps the process along as well.
Open windows: Stagnant air does you no favors when it comes to spackle drying time. Speed up the process by improving air circulation throughout the space with an open window. Skip this tip if it’s raining outside, though, as the added moisture in the air could actually slow down the drying process.
Use a fan (or three): Another good way to amp up air circulation in the work site? Run some fans. Ceiling, pedestal, and tower fans all help speed up the drying process, so go hog wild.
Run a dehumidifier: Humidity is the number one enemy of drying spackle, so tackle it at the source. Place a dehumidifier in the worksite and run it as soon as you finish spackle repairs. Coupling this with an AC will yield the fastest drying times possible.
Use a blow dryer: Blowing warm air directly over your spackle will speed up the drying process as well. Of course, this is only a viable option if you’re working with a small repair, but it’s still worth a shot.
Joint compound—also referred to as drywall mud—is different from spackle; you use it for taping and mudding projects rather than drywall repair, it dries more slowly, and the finished product is more rigid and resists expansion better.
These products are similar but not interchangeable. Using joint compound instead of spackle on a repair, the rigidness of the joint compound could require multiple coats or additional repairs after it dries. If you use spackle in place of joint compound, you’ll very likely end up repairing cracks in the drywall seams that form over time, as the compound isn’t as strong.
Joint compound is denser and more durable than spackle, so it naturally takes longer to cure. Joint compound over small screw holes can dry in about 2 hours, while large gaps between sheets of drywall or taped seams could take up to 12 hours to dry. The best option is to wait 24 hours to ensure that all areas are completely cured before moving on to sanding and painting.
Custom Paint Jobs LLC is the go-to choice for all your painting needs. They painted both the interior and exterior of my house flawlessly. Their work speaks for itself!
Beginning with the estimate, Larry and Peyton were super helpful in getting my new condo's interior re-painted. Not only was the job well done, but also done in a super timely manner as promised.
 Five Star Painting of Plain City and Powell
From average costs to expert advice, get all the answers you need to get your job done.
Allowing your caulk to fully dry and cure is key to long-lasting results. But how long does it take for caulk to dry? Learn the factors that affect the process.

How long does plaster take to dry? It depends. This guide shows you how long plaster needs to dry and cure and why the process is worth the wait.
As you prep for your next drywall project, you may be considering joint compound versus spackle. Here's how to decide which one is the best choice for you.

Waiting for your carpet to dry and not sure how long it will take? That depends on humidity, the type of carpet, and the cleaning and drying processes used. Learn the average time for carpet to dry so you know what to expect.

The average driveway coating takes between 30 minutes and eight hours to dry, but weather and sealant type can influence the dry time. Read on to learn more.
To fix holes in your drywall, you can use spackle or putty, but one may be better for certain jobs than others. Let’s take a look at the differences.