
What is joint compound? In short, it’s a specific type of filler made of gypsum dust—but of course, there’s much more to know. We’ve got you covered.
Get past these sticking points so it can actually stick

Joint compound goes bad after its expiration date or long storage in an opened container, so your mud loses effectiveness during drywall repairs.
Improper mixing causes your joint compound to slide or crack, so follow package directions and stir premixed mud to cake-batter thickness.
Dirty, dusty, or greasy walls stop your joint compound from sticking, so clean with TSP or strong cleanser, then let drywall dry.
Hiring a local drywall repair professional provides expert help with surface prep and application technique, so your mud lays smooth and dries well.
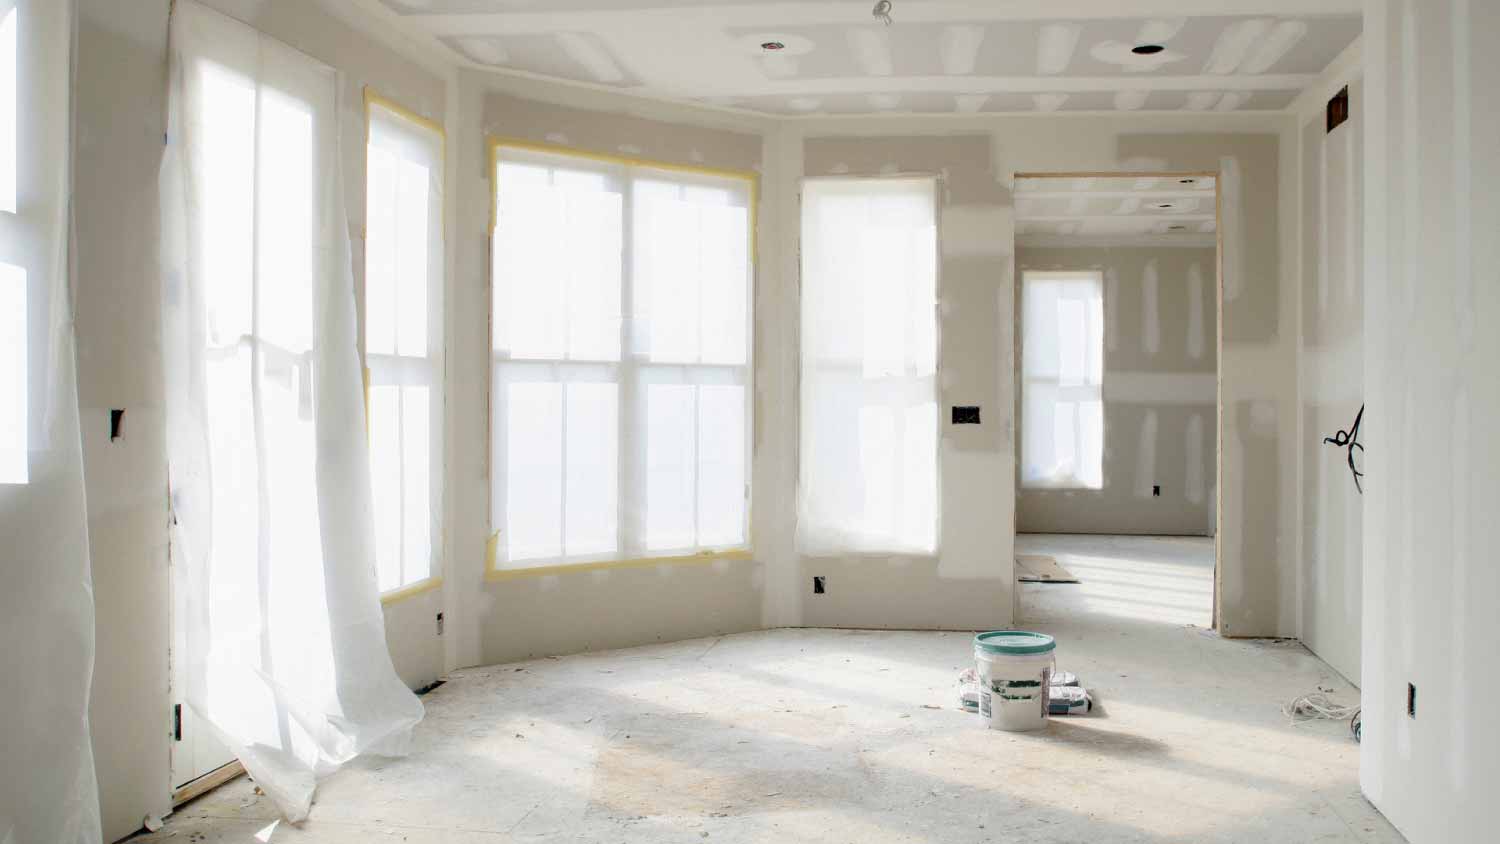
Joint compound, often called drywall mud or simply mud, provides a smooth finish for new walls and is used to patch and repair minor damage on existing walls. But it only works if it actually sticks. To avoid cracked and peeling walls due to the joint compound not sticking to the drywall, pay close attention to the condition and quality of the product as well as your application technique. Here are five possible reasons that your drywall mud might be having issues with adhesion.
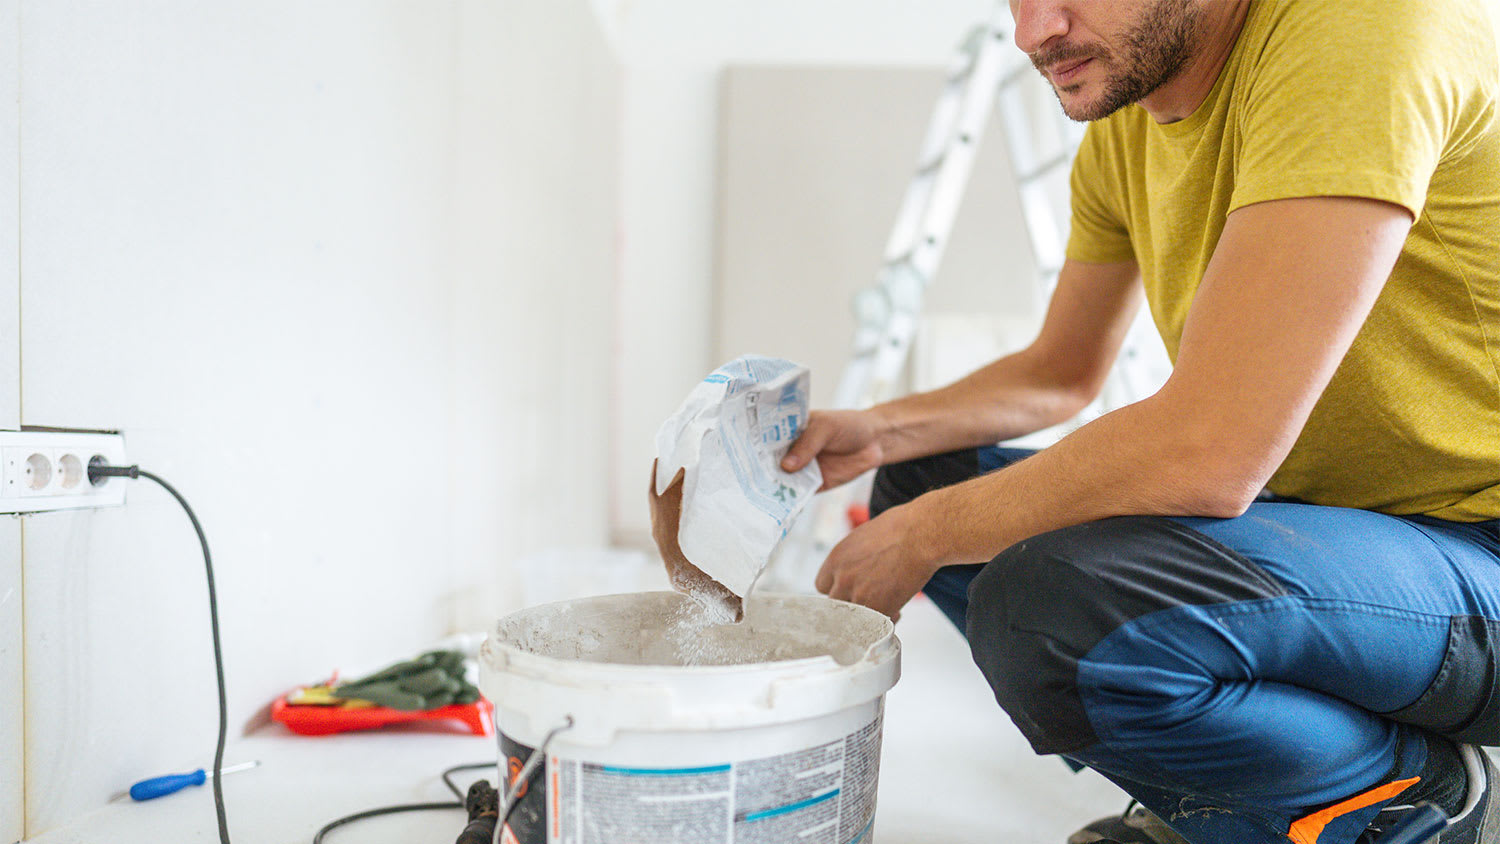
Sorry to blame you right from the start, but one common problem with joint compound not sticking to drywall is the preparation. If you opted for powdered joint compound, you might have been a little off with your one-part water to two-part powder ratio, which is why it’s having trouble sticking now. Even if you get the premixed compound, it’s still a good idea to stir it until it's about as thick as cake batter. The smoother the consistency, the easier the application.
Sometimes, it’s the joint compound itself that gets the blame. There’s a reason manufacturers include an expiration date on the container: the product won’t be as effective if used after that date. This is true especially if the container of the compound was already open. Some experts argue that even if you never opened the container, you should still discard it when the expiration date passes. You might decide to give it a try if the sealed container was always kept in a cool, dry space; however, it may be safer to buy a fresh container of joint compound for your project.
The drywall needs to be cleaned well and sanded smooth before it can be properly coated with a layer of joint compound. Ensure the wall is free of dust, dirt, and grease before proceeding. Otherwise, the joint compound won’t stick to the wall.
If they’re in good shape, you might simply wipe down the walls with a dry or damp cloth. However, if the walls are particularly dirty, if smokers reside in the house, or if there is currently an oil-based paint on the wall, you should clean the walls with a strong cleanser, such as TSP (trisodium phosphate), before proceeding. Always let the wall dry completely before applying the mud, so it adheres properly.
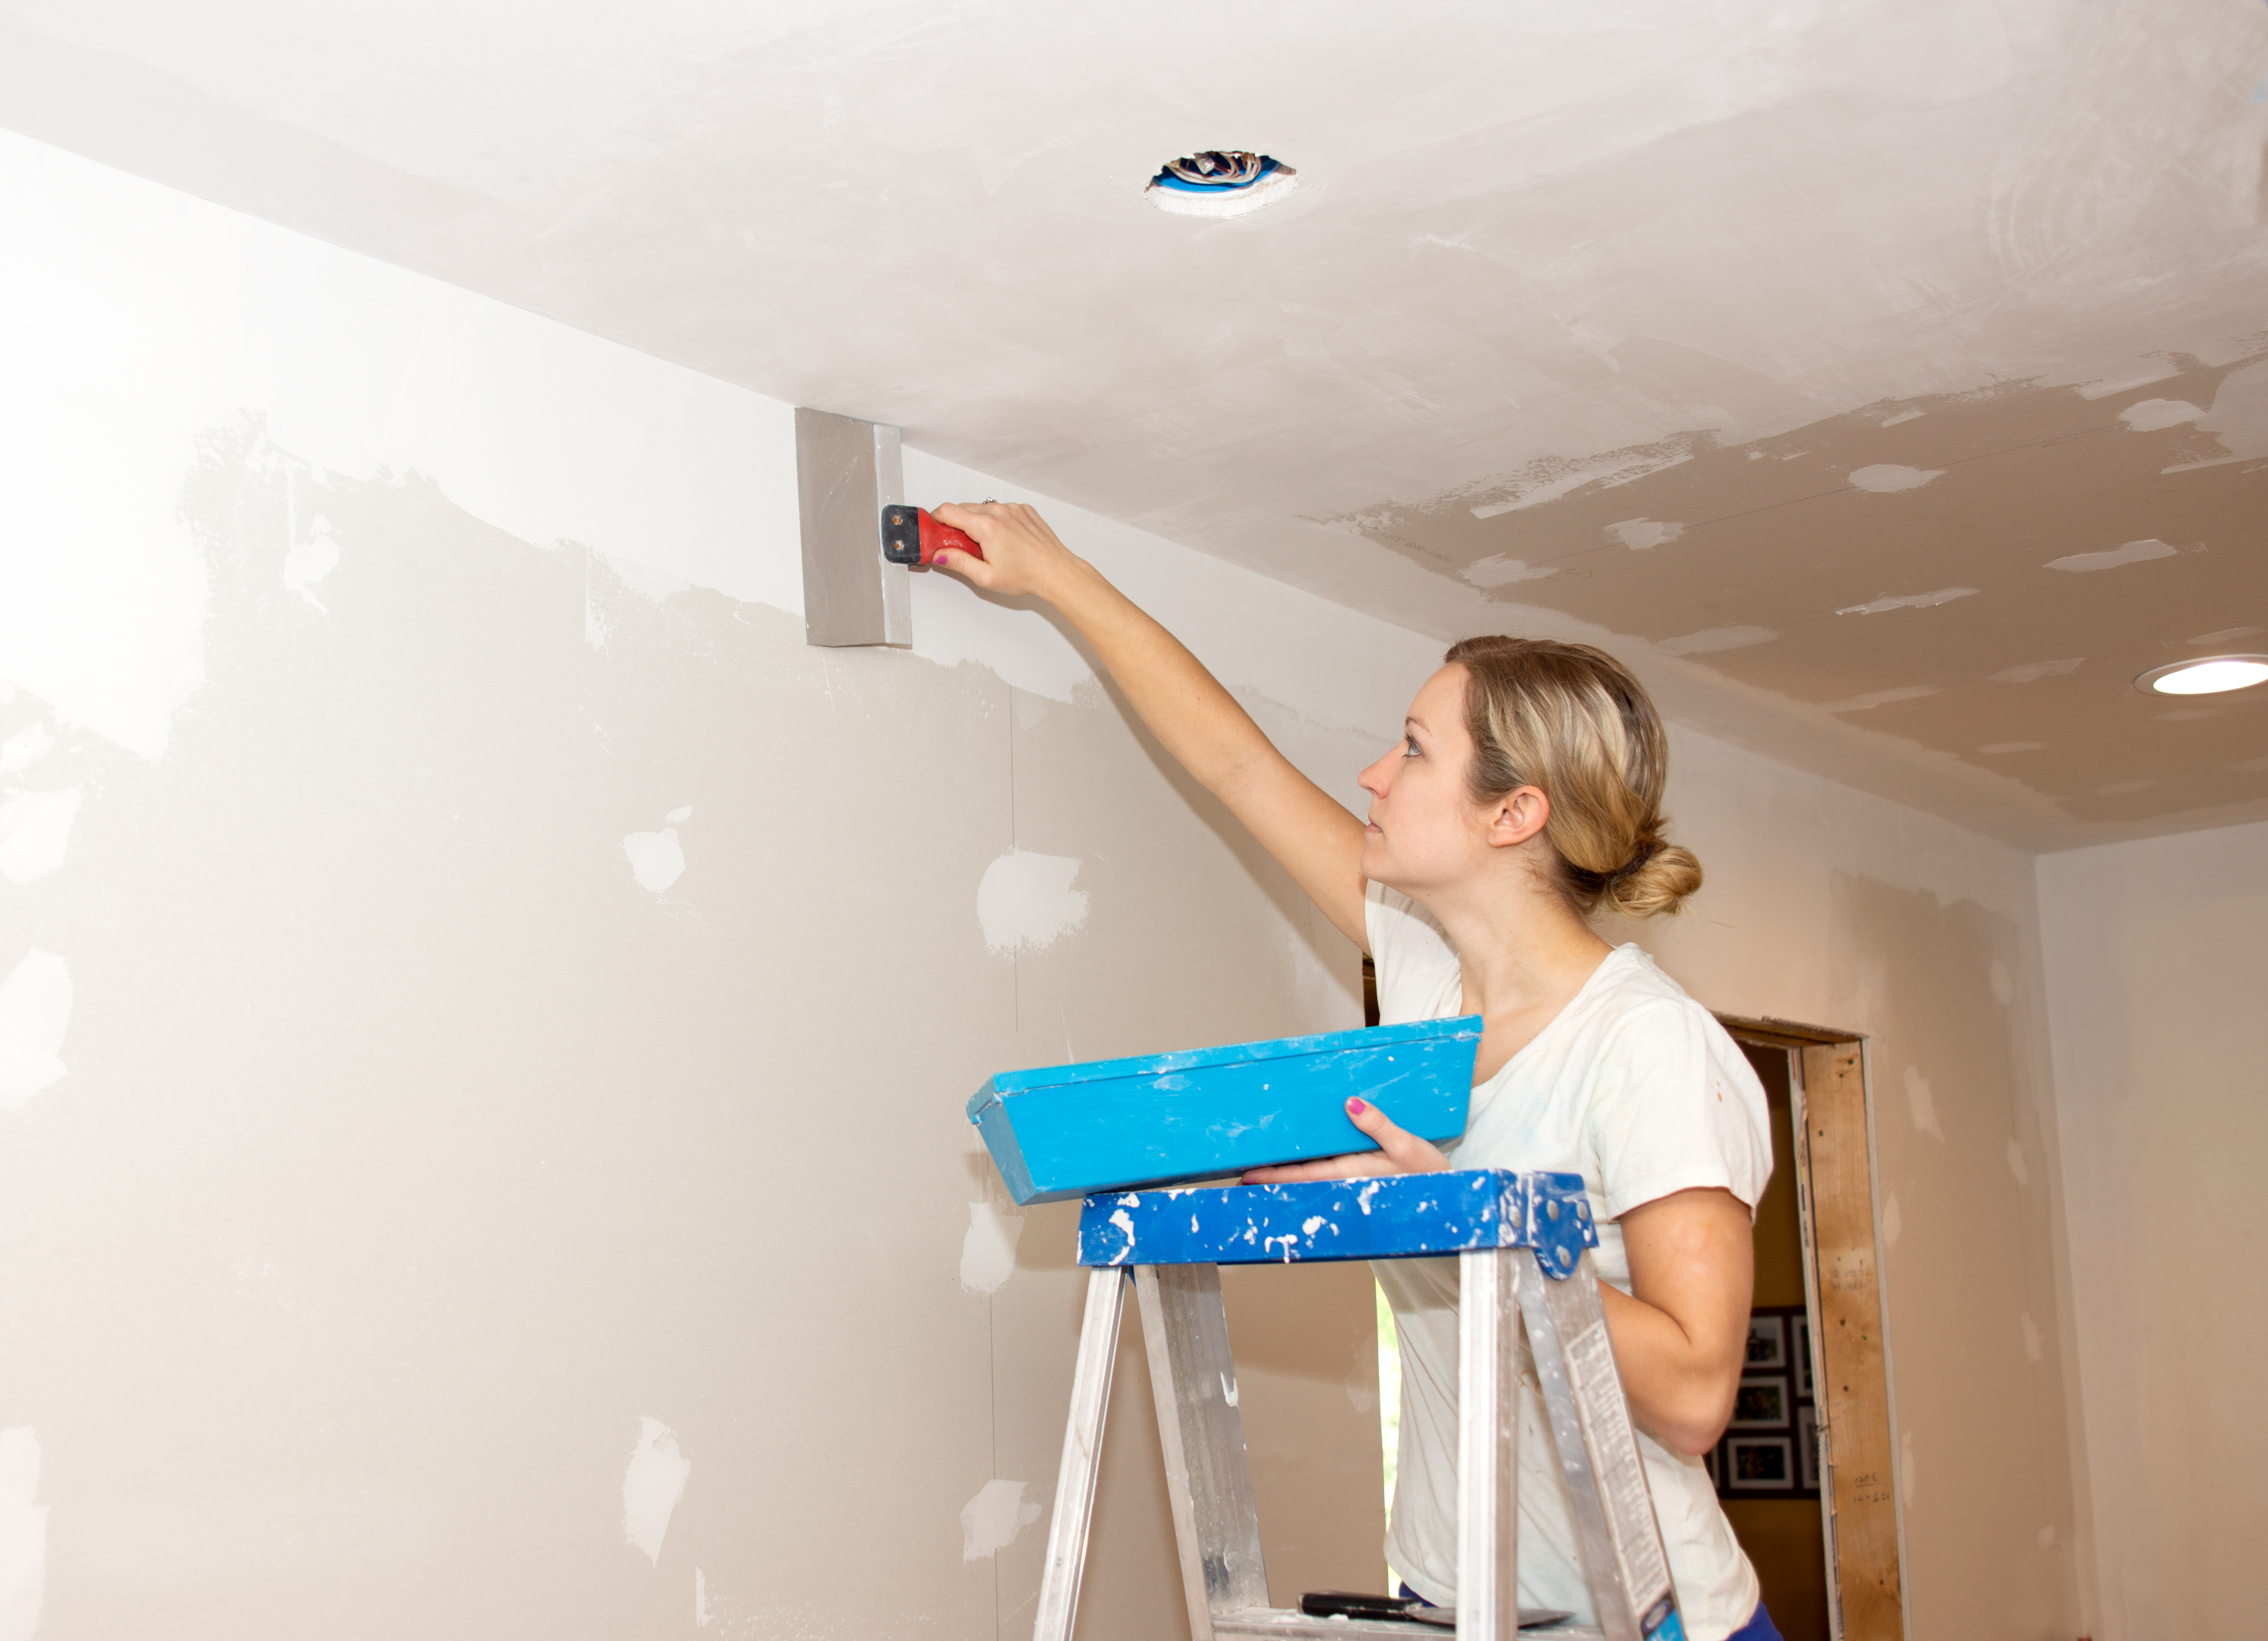
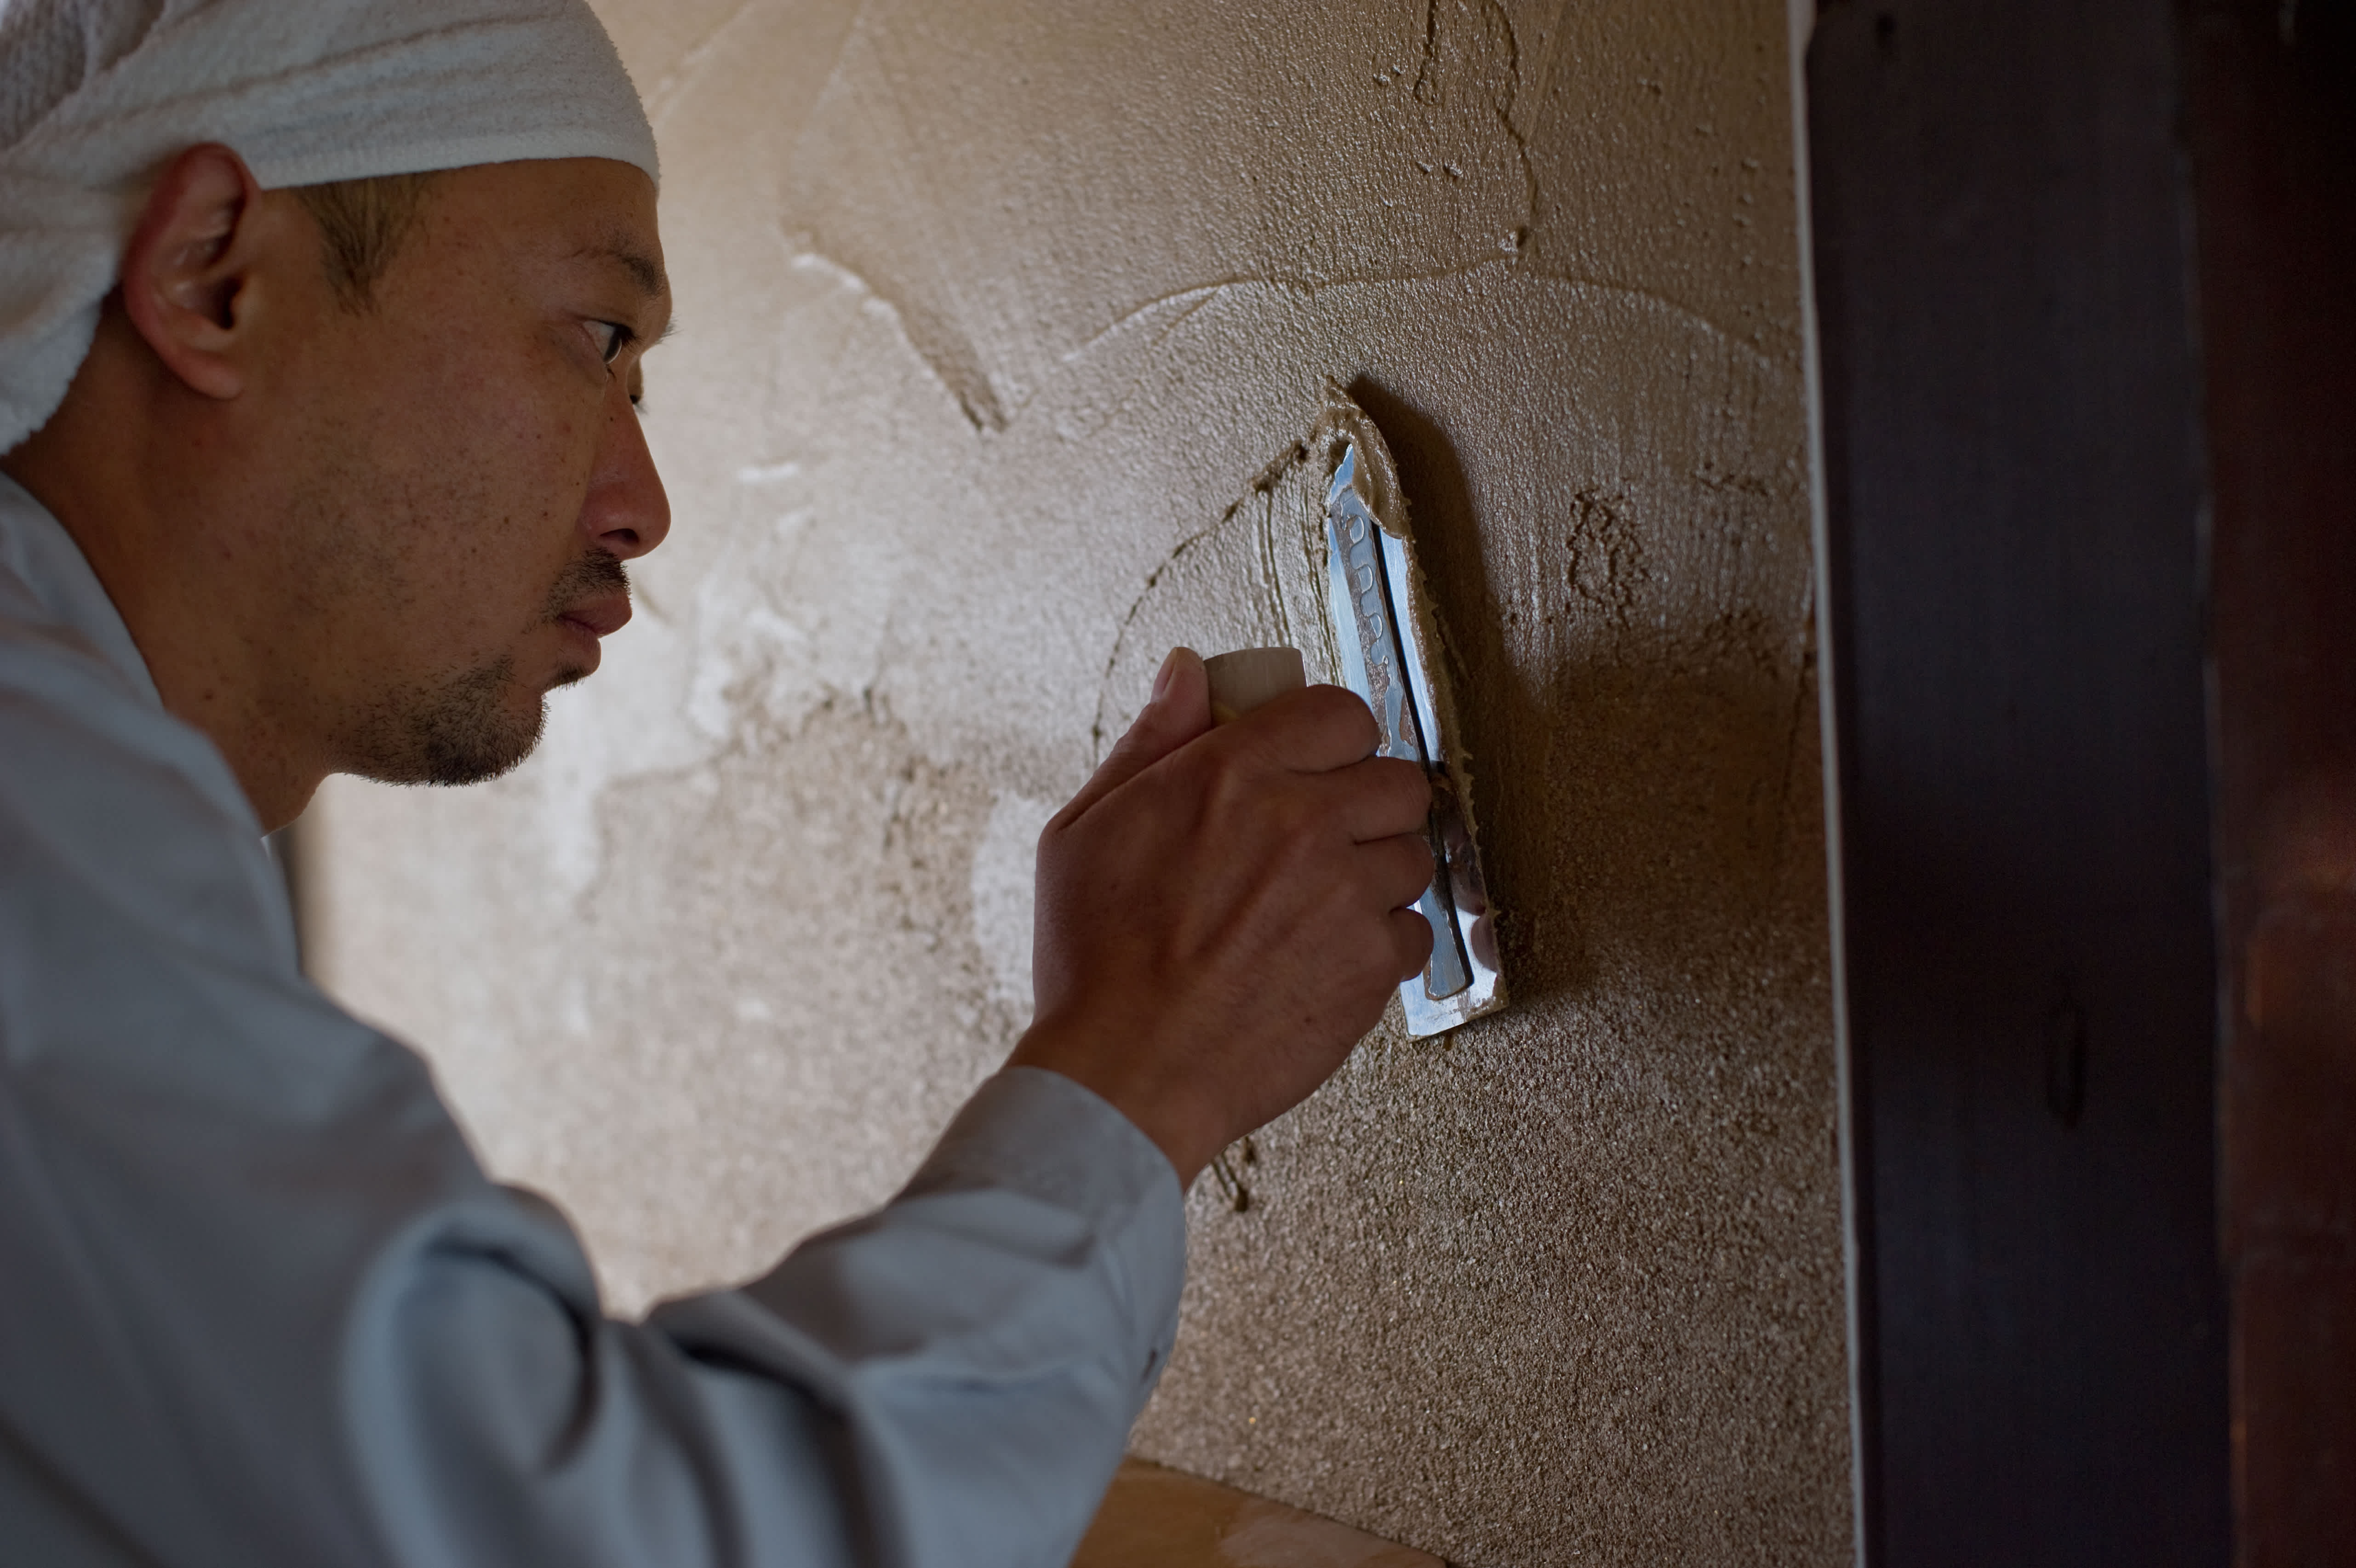
Apply your well-mixed joint compound evenly. Slathering too much of it will cause the wall to look uneven, plus it will take too long to dry. Scrape the wall with a trowel to spread the joint compound evenly, but don’t make it so thin that it dries before it has time to adhere properly between coats, which could lead to cracking.
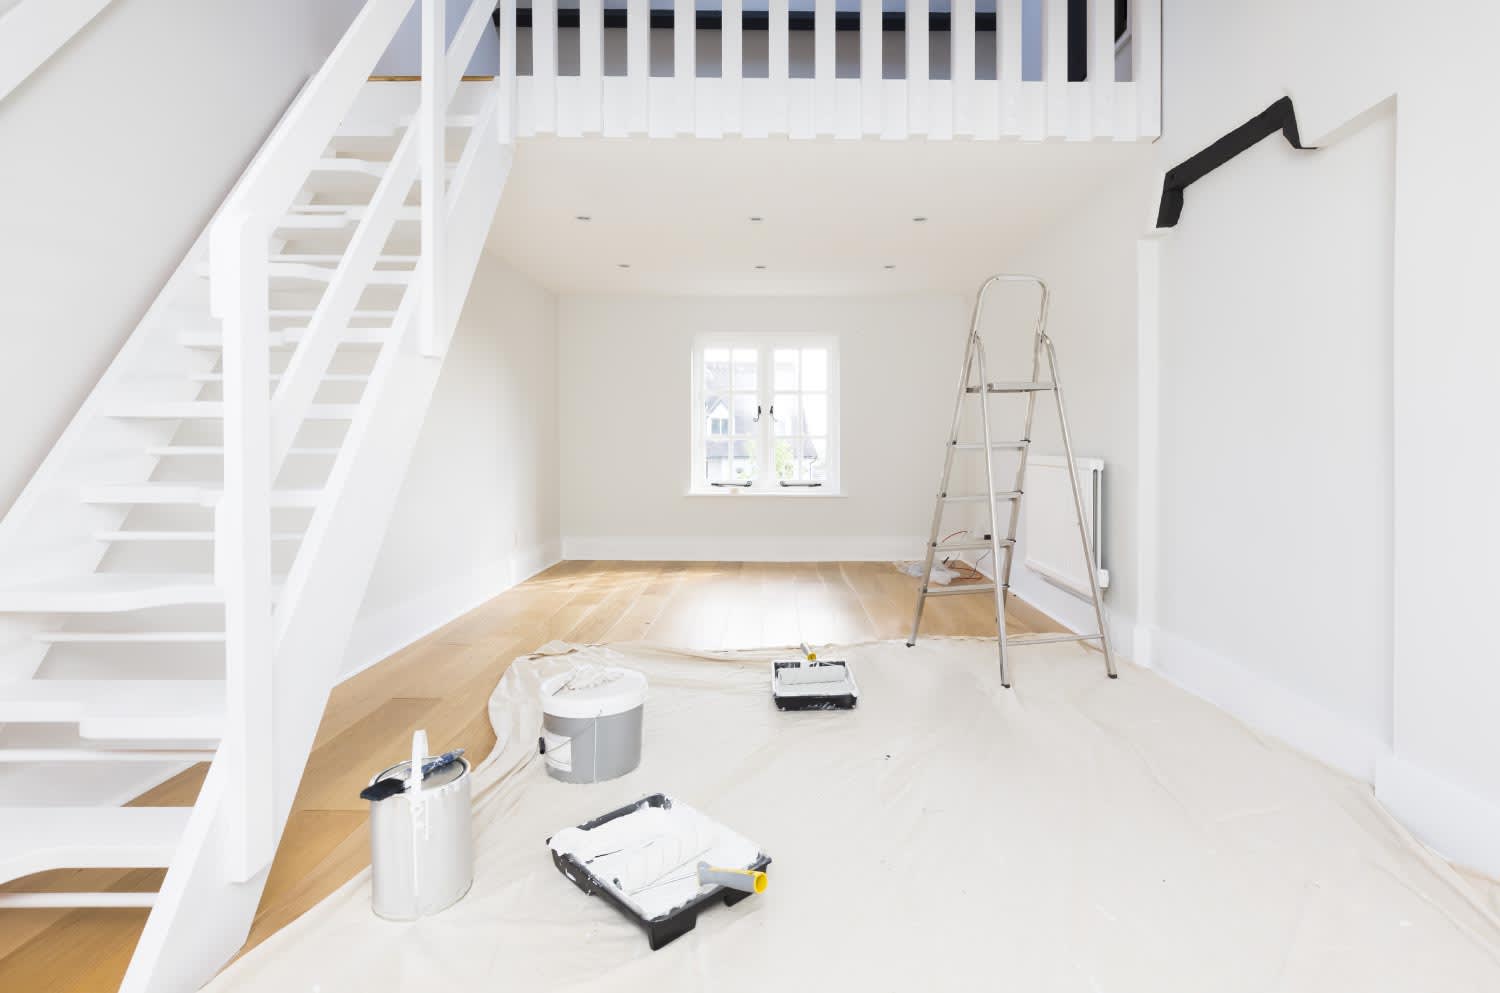
Just as you would wait for cooler, less humid weather to paint a room, you’ll want ideal conditions when applying joint compound to drywall, too. This doesn’t mean the weather has to be perfect, but it should be between 60°F and 70°F with humidity levels between 40% and 50% so that the joint compound can dry thoroughly.
You could always turn on a dehumidifier and crank up the AC to create those better conditions if you’re tackling a project in the summertime. This will help the joint compound dry more quickly between coats.
DIYers can apply joint compound to drywall successfully with the proper preparation and application technique. However, if you're concerned about whether you have the skill level needed to hang drywall, consider calling a professional drywall repair specialist near you to get the job done.
Cancelled appointment two hours after they were supposed to come for drywall work.
I would recommend this company to anyone! He showed up on time, was friendly, completed a very difficult repair on our dryer vent cover, was responsive, and pricing was extremely fair and competitive. I would have him back to do any of our repairs or cleanings without hesitation!
I cant stop admiring my newly painted walls. Custom Paint Jobs LLC made my house feel brand new.
Excellent experience with hiring Tether House to Mount our 77’ Samsung TV in our bedroom. Fast, friendly, and knowledgeable. Highly recommend.
Excellent customer service and knowledge. I was recommend to him from my neighbour. My front door and window came in great and were installed beautifully perfectly, I m very satisfied with their excellent work, so decided to order one more big bow window for my living room. I cant wait for...
Manuel Calvillo is the best option in the area for roofing and you won't be disappointed.
Would hire again. Wall looks great. Happy with job.
 Central Paving
Involved an extensive bathroom remodel, including removing tub & installing walk in shower, new drywall, custome tile work to ceiling, plumbing, etc. Overall, job was done on time and on budget. Nick & his team were very professional and had high attention to detail. Quality was great. Highly...
 Stamos Flooring and Remodeling LLC
We have had a great experience with Rising Height for the past five years on a number of miscellaneous renovation projects. They laid flooring for us and had a very good sub do the finish. Installed drywall for a vaulted ceiling, finished an attic/loft with new subfloor, framing and drywall,...
 Rising Height Unlimited
Mr. Lopez was super nice and professional. He repaired our drywall just as he described during the estimate phase. Our dining room wall looks great again! Thanks Mr. Lopez!
From average costs to expert advice, get all the answers you need to get your job done.
What is joint compound? In short, it’s a specific type of filler made of gypsum dust—but of course, there’s much more to know. We’ve got you covered.
As you prep for your next drywall project, you may be considering joint compound versus spackle. Here's how to decide which one is the best choice for you.

Bubbles popping up on your drywall is not only unsightly, but it might also mean there’s a bigger problem. Here are three reasons why your drywall is bubbling.

Tired of looking at the crack down the wall? Plaster can be tricky to work with, but you can learn how to fix cracks in plaster walls with this guide.
Sick of staring at popcorn walls or faux stucco? This guide will show you how to remove texture from walls like a pro. Here’s what you need to know.
If your plaster patch is not blending well, make sure you’re using the right repair techniques. Here are our top tips and tricks for a smooth finish.