
Hurricane shutter costs vary widely depending on many factors. Explore our breakdown of the elements that impact what you’ll pay for hurricane protection.
There’s no such thing as being over-prepared for hurricane season

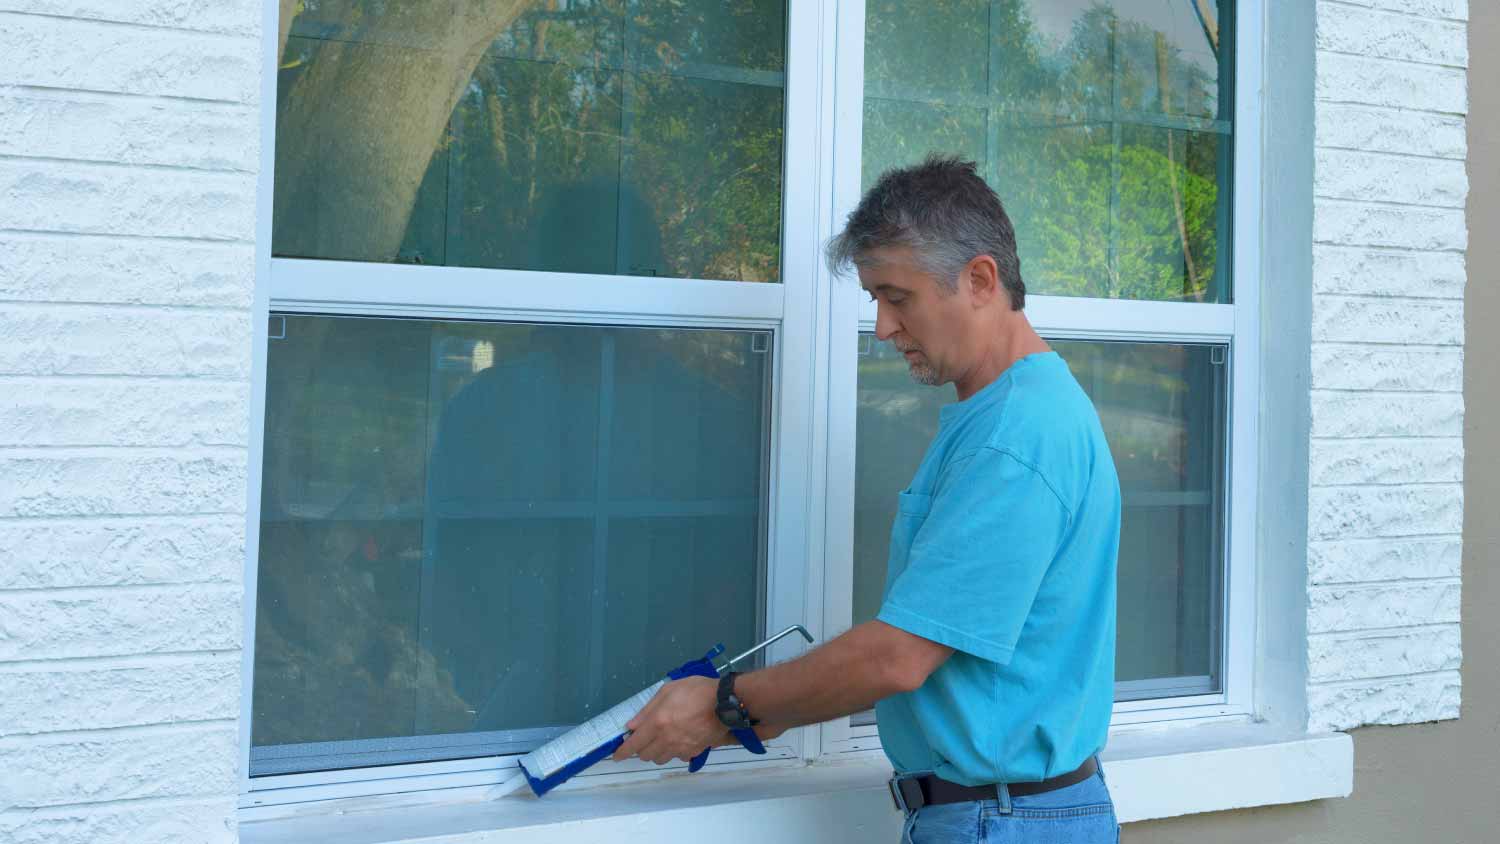
Hurricane fabric installation is a modern, excellent approach to protecting your windows during a hurricane. You can install hurricane fabric yourself or hire a professional. If you choose to take a crack at it, check out our guide below. With just a few items, you can follow these seven steps and add an extra layer of defense to your home’s windows.
Before beginning your hurricane fabric installation, consider the damage a hurricane can cause to your home through its weakest spots and openings, including windows, doors, and garage doors. Then, gather your tools and supplies from the list above. From there, start measuring the openings using the directions below.

For standard concrete openings, use a tape measure to get the width and the height. For door measurement, overlap the left side, right side, and top by 4 inches. Use the same process for garage doors, verandas, and sliding glass doors. When it comes to windows, add 4 inches to every side. This process means you’ll add 8 inches to both the width and the height.
If there’s trim or decorative molding around your window or door, measure enough past it to allow 4 inches of fabric against the wall. When it comes to standard wood-framed homes, you’ll need to place your anchors at the center of the 2-by-4 framing. To do so, measure 1 inch past the buck opening on each side. This process will add 2 inches to both the width and the height.
Keep in mind that you’ll attach the fabric on the two longest sides of your openings, meaning it will go on the tops and bottoms of spaces like garage doors and patio enclosures.

If your hurricane fabric isn’t precut, lay it out on a cutting surface. Using your sharp industrial scissors, trim the fabric to the correct measurements, allowing for the overlap recommended above. You can also use a precision knife to cut your hurricane fabric.
When installing hurricane fabric over a window, first remove the existing screws from the anchors around the first window using a power drill. Identify the screws first, and work with one opening at a time. You’ll want to store the screws for later use.

Check which sides of your opening will need clips. If you need to attach the fabric to the top of the opening, start there. Otherwise, start on the left side. Mark 2 inches from the corner, then mark the other clip positions along that entire side. Repeat these steps for the other sides that need to be attached.
Space clips apart using the proper clip spacing designated in your region. Most guidelines state that clips should be 12 inches apart. Attach the first clip, then slide the fabric between the pieces until the edge is even with the first notch. Then, reinstall the screws you removed earlier to keep the clips in place.
Attach the top corners of your hurricane fabric first. Attach the screws by hand until all screws are in place, then attach the rest of the screws along every side, and tighten them with the cordless screwdriver. Make sure that you don’t overtighten.
Center your hurricane fabric over the opening. Using your permanent marker, mark the upper left-hand corner. Drill a hole in that spot using your power drill. Use the driver bit to install the anchor into the hole, then fasten the fabric on that side. Pull the fabric across the opening, then mark the clip placement on the other side. Continue installing and marking all remaining anchors.
Hopefully, you’re getting the hurricane fabric installation done with plenty of time to spare before the next storm is supposed to hit. If so, don’t forget to leave an exit point open so you can easily come and go until it’s time to hunker down or leave the area. Keep an eye on the weather reports and install the fabric on your exit point as the storm gets closer to your location.
Once your hurricane fabric has been installed, mark it with an opening number to remember placement for next time. When it’s time to take it down, remove the fabric and place it in a storage bag. Clean your hurricane fabric, if necessary, with mild soap and water, then let it air dry. Make sure it’s completely dry before placing it in a storage bag.
While hurricane fabric installation is something you can DIY, you may want to hire a professional to save time and ensure it’s done correctly. Safeguarding your home in advance can help save money on repairing structural damage, cleanup, and more. Consider calling a local hurricane shutter pro who can install hurricane shutters to provide even more protection to your windows. A pro can help you choose the right materials and options for your house and the weather in your area.
Great company! Price was competitive, technician showed up on time and completed the job (exterior electric Radon fan replacement) quickly. Would hire them again.
Raven and crew does absolutely fantastic job. They are very professional if any concerns were to occur with any of her work she always took responsibility and finished out with a great job. I have worked with her business for a year and have always been satisfied. Very trusted business and...
Best cleaning I've had at my property
The Cisco team did an exceptionally good job of painting (very detailed), and they were professional, courteous, helpful and just pleasant to have in our home for a week. I have already recommended Cisco to some neighbors.
 Cisco Finishes
Supreme Brick & Chimney is one of the best service providers I’ve interacted with. Extremely efficient, knowledgeable, and thorough. They took the time to walk me through their detailed full-service inspection and were extremely professional. Not to mention their turnaround time was...
 Supreme brick & chimney
I had Ace Fireplace Services install custom chimney caps for my home, and the results are stunning. They fit like a glove and have added a touch of sophistication to my chimney. I can't recommend their services enough.
 Ace Fireplace Services
Custom Paint Jobs LLC gave our office a fresh new look. Clients love it!
The Mosby team went above and beyond for my project. They not only installed my light fixture; they also worked through an old, wonky, and as it turns out incorrect wiring issue from the work of prior contractors. Professional, thorough, conscientious, and kind. Five star experience. Thank you!
Storms Mobile Welding was great to work with. They were prompt, professional and did an overall excellent job on the project. I highly recommend.
On Sunday 2/26 I requested quotes via Angi from 4 refrigerator repair businesses. Northwest Appliance responded to me Monday morning (2/27) and my refrigerator was repaired by noon the same day. Great communication, they did everything they said they would. The technician had the parts on...
From average costs to expert advice, get all the answers you need to get your job done.
Hurricane shutter costs vary widely depending on many factors. Explore our breakdown of the elements that impact what you’ll pay for hurricane protection.
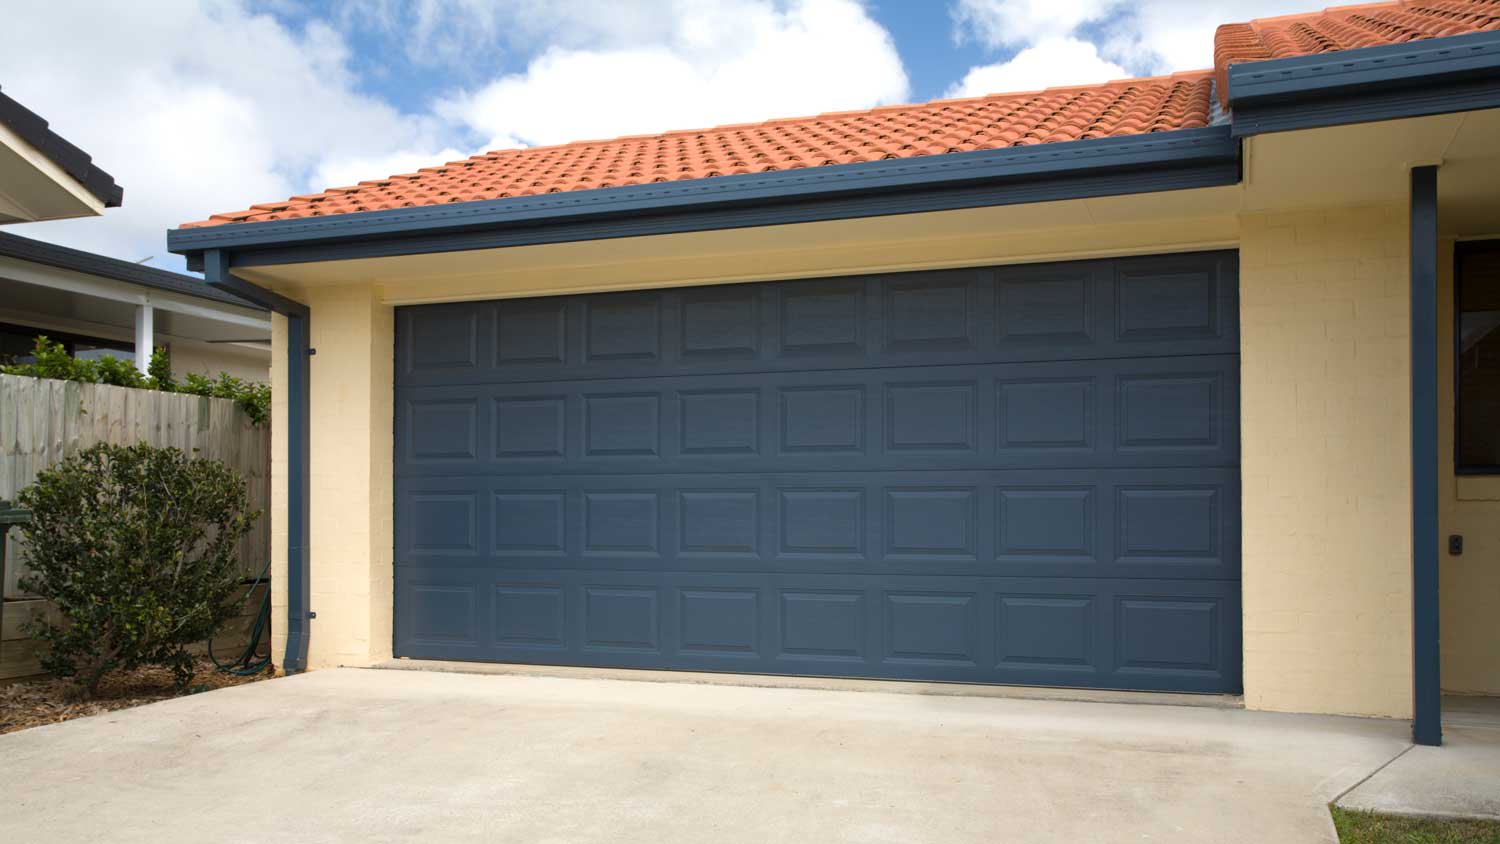
Want to ensure your home is secure for storm season? We discuss hurricane garage door costs and which factors influence the price tag.
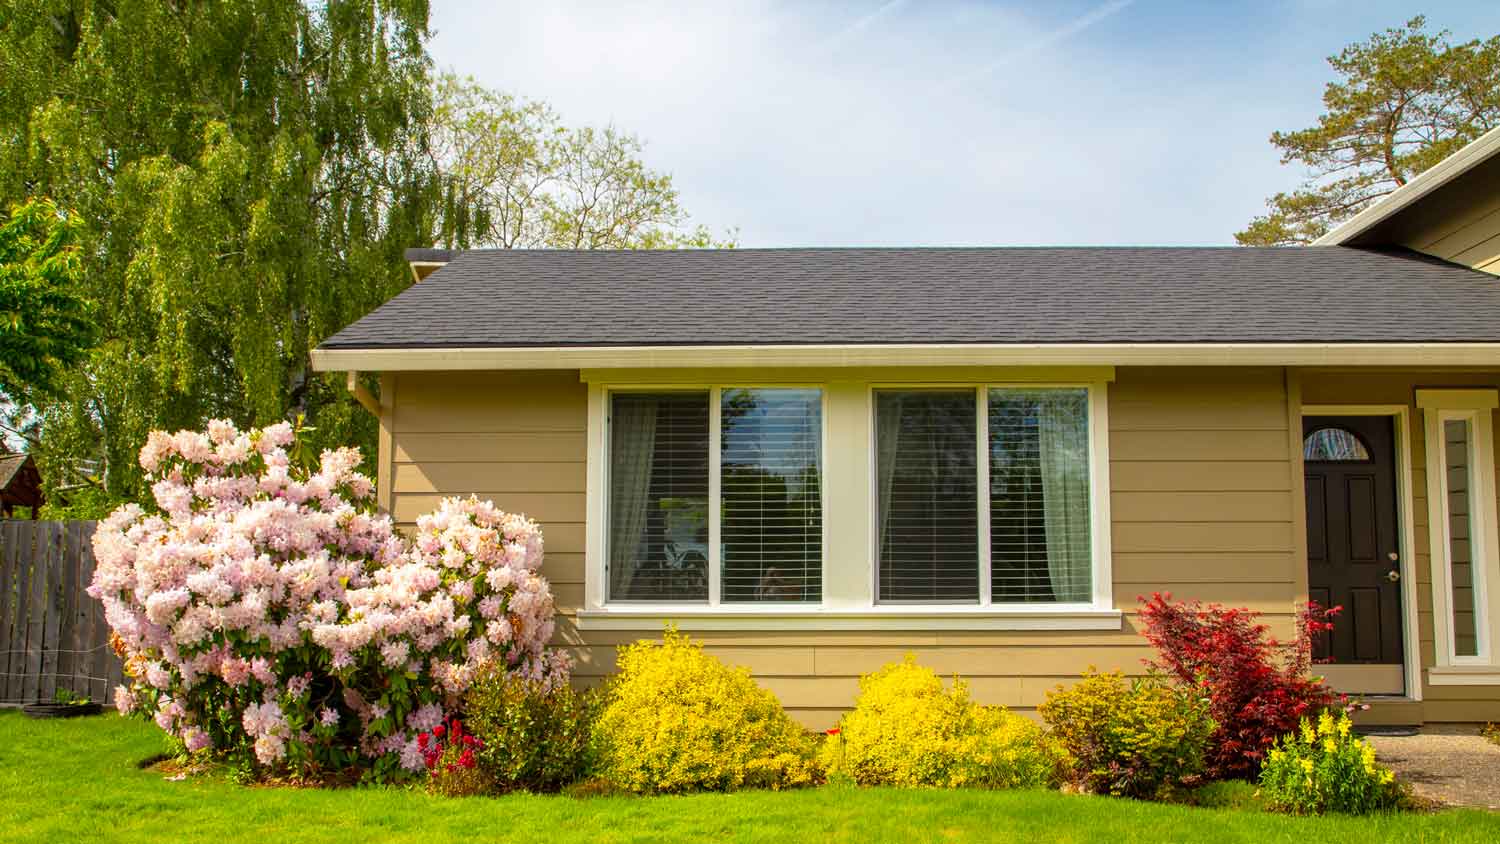
The average hurricane window cost varies by size, type, labor, and more. Read this guide to estimate the cost of your impact window installation.
Who can you call to install hurricane film on windows? There are a couple of contractors to choose from, but it depends on the severity of the storm.
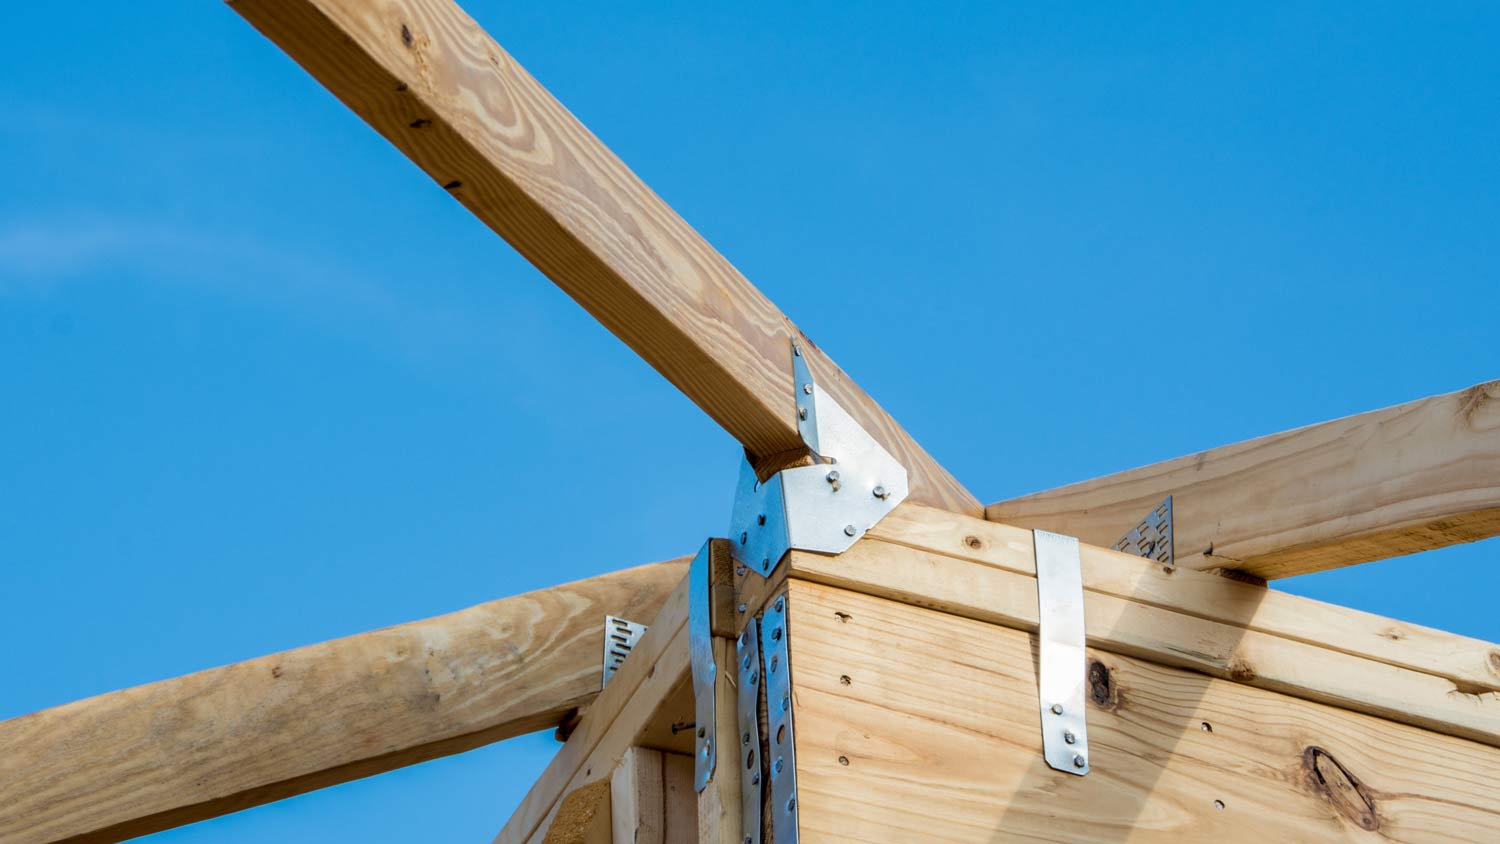
Follow these four straightforward steps to install hurricane ties. The number of ties and the demand load will impact the project.
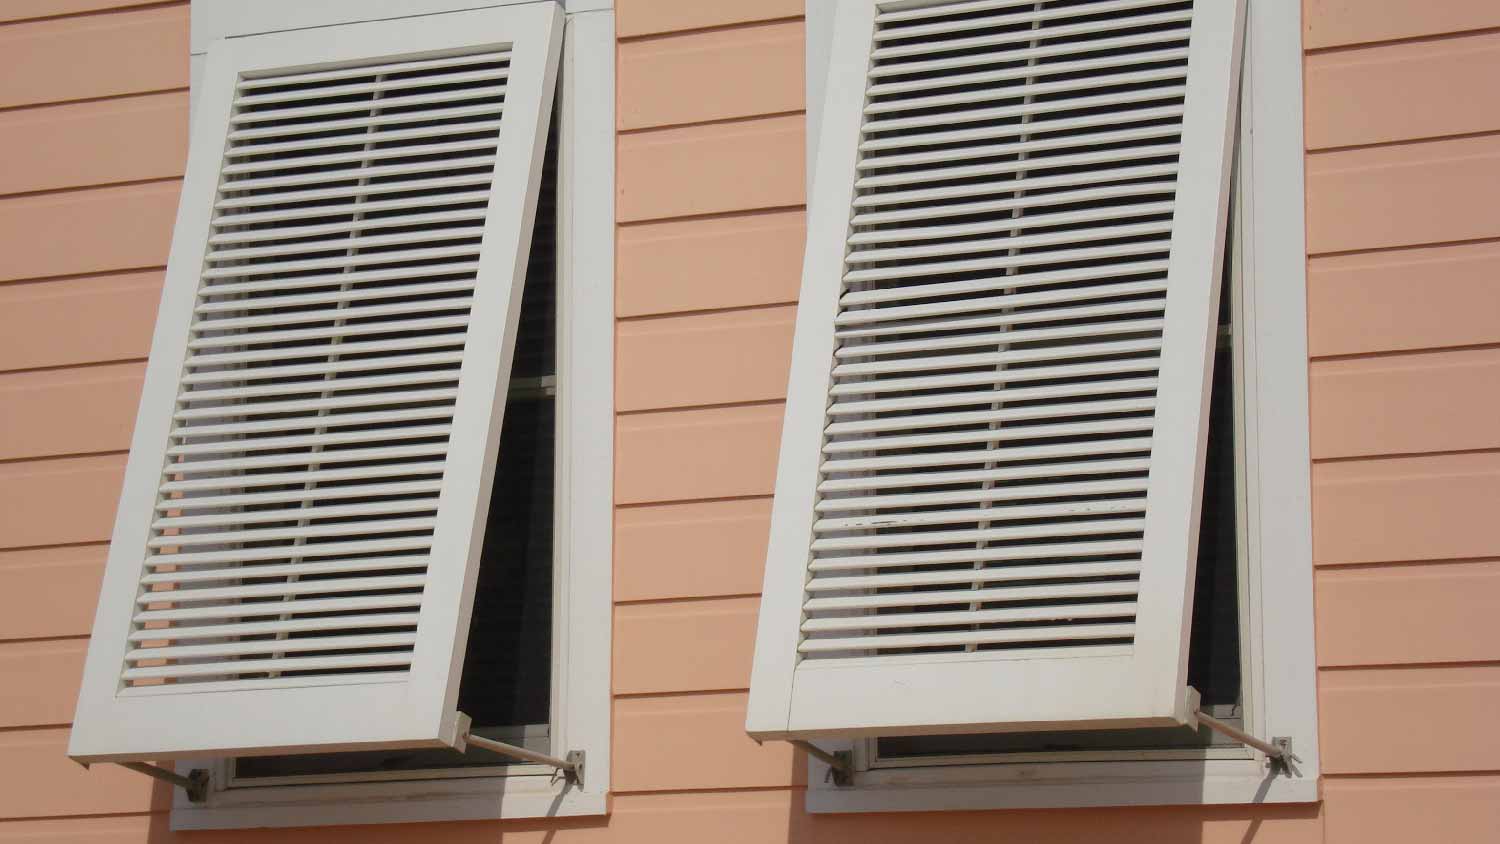
Hurricanes and tropical storms can wreak havoc on your home, but there are some ways to prepare. Find out how to protect your windows during the hurricane season.