The cost of a barbed wire fence depends mainly on how large your property is. If you have a longer fence, you can expect to pay a few thousand dollars.
Melt the metal, join the joints, correct the electrical connection

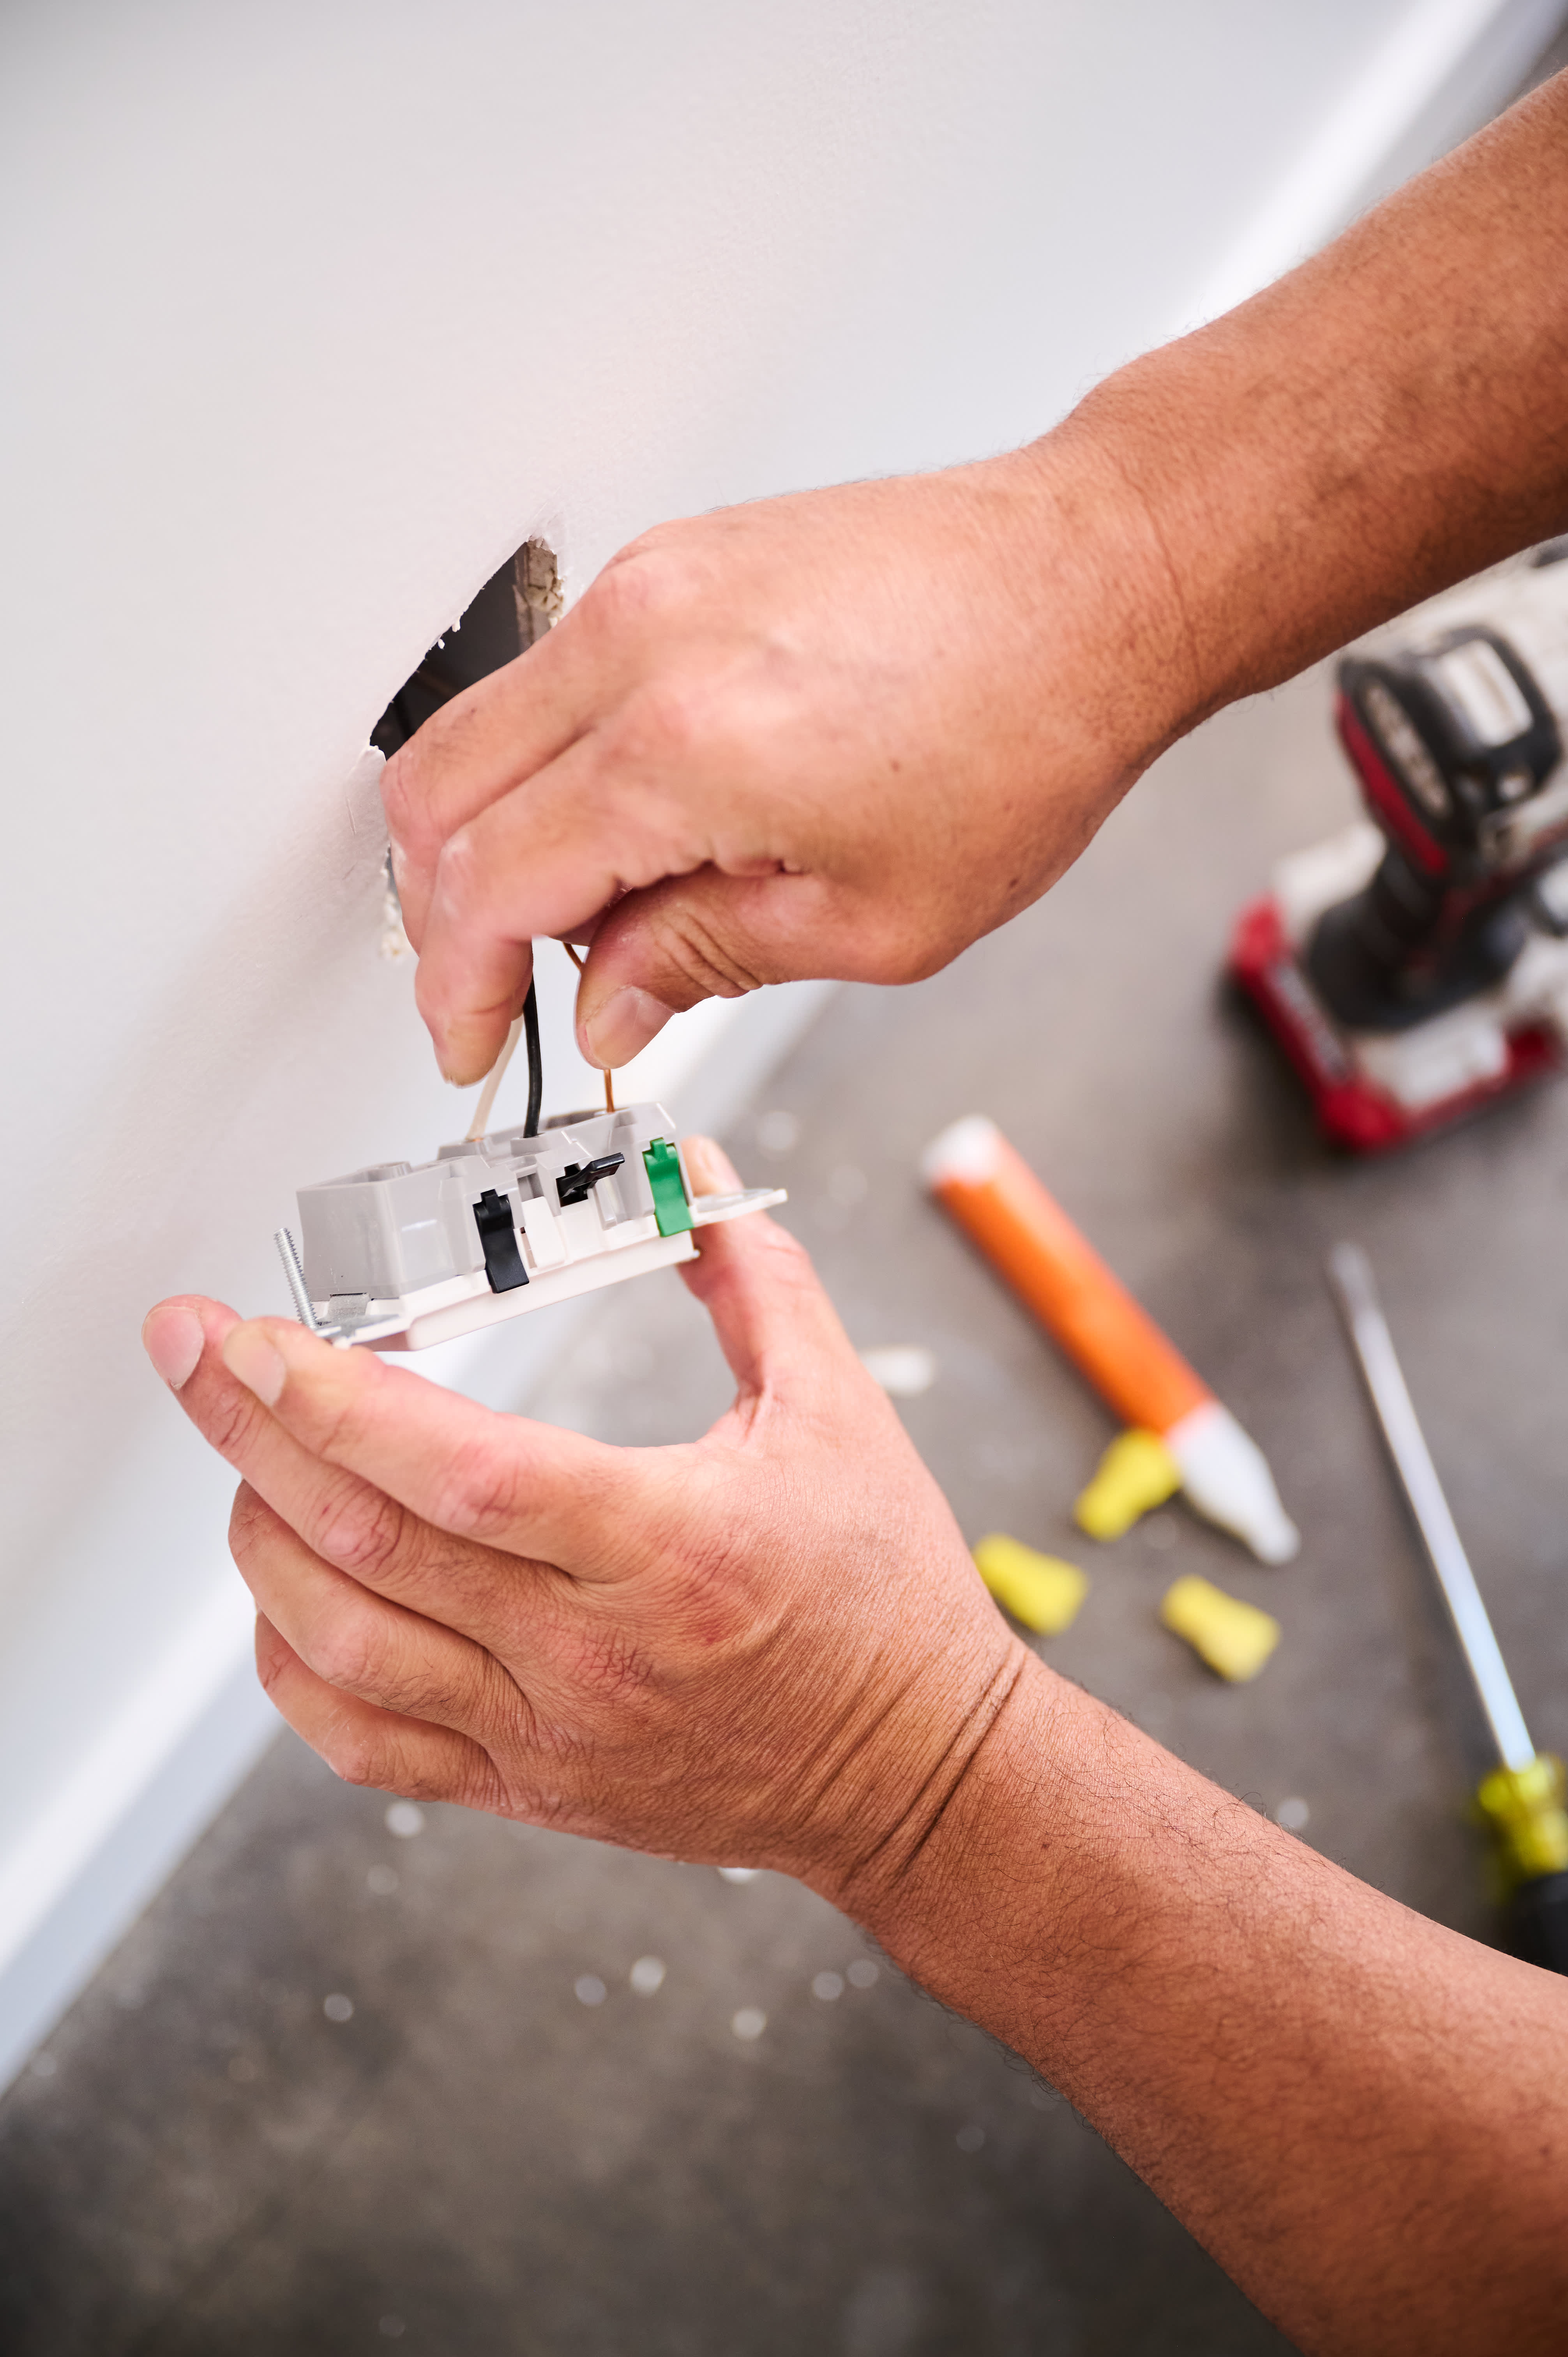
When fortifying your arsenal of home improvement tools, you might not think to buy a soldering kit, but these inexpensive tools can be handy for mending or improving the wire connections on electrical appliances.
With some practice, you can add soldering electrical wires to your list of handy homeowner skills— but this isn’t a job for slapdash DIYers. Soldering irons are high-temperature tools, and doing a poor or careless job can cause appliance burnouts, short circuits, or even fires. Below, our guide will teach you how to solder wires safely.
Keep yourself and the rest of the household safe by taking the proper precautions before you begin any soldering work.
Get out the goggles and gloves: Protect your hands and eyes from hot sparks and toxic materials.
Have a well-kept workstation: Soldering irons can reach over 600 degrees Fahrenheit in no time. You want to have a safe, clutter-free, non-flammable workspace.
Good ventilation is vital: Solder pastes and lead-based solder can cause respiratory issues in stuffy environments.
Try out some test runs: Practice with at least half a dozen test joints before you solder wires together on your prized appliance.
Calculate your wire diameter: You’ll need these measurements to buy the correct type of heat shrink tubing.
Turn off power to the wired appliance. Safety first.
If you’re already pretty familiar with electrical work, you can solder wires in just a few steps. Remember to use caution, take your time, and only attempt this work if you have experience.

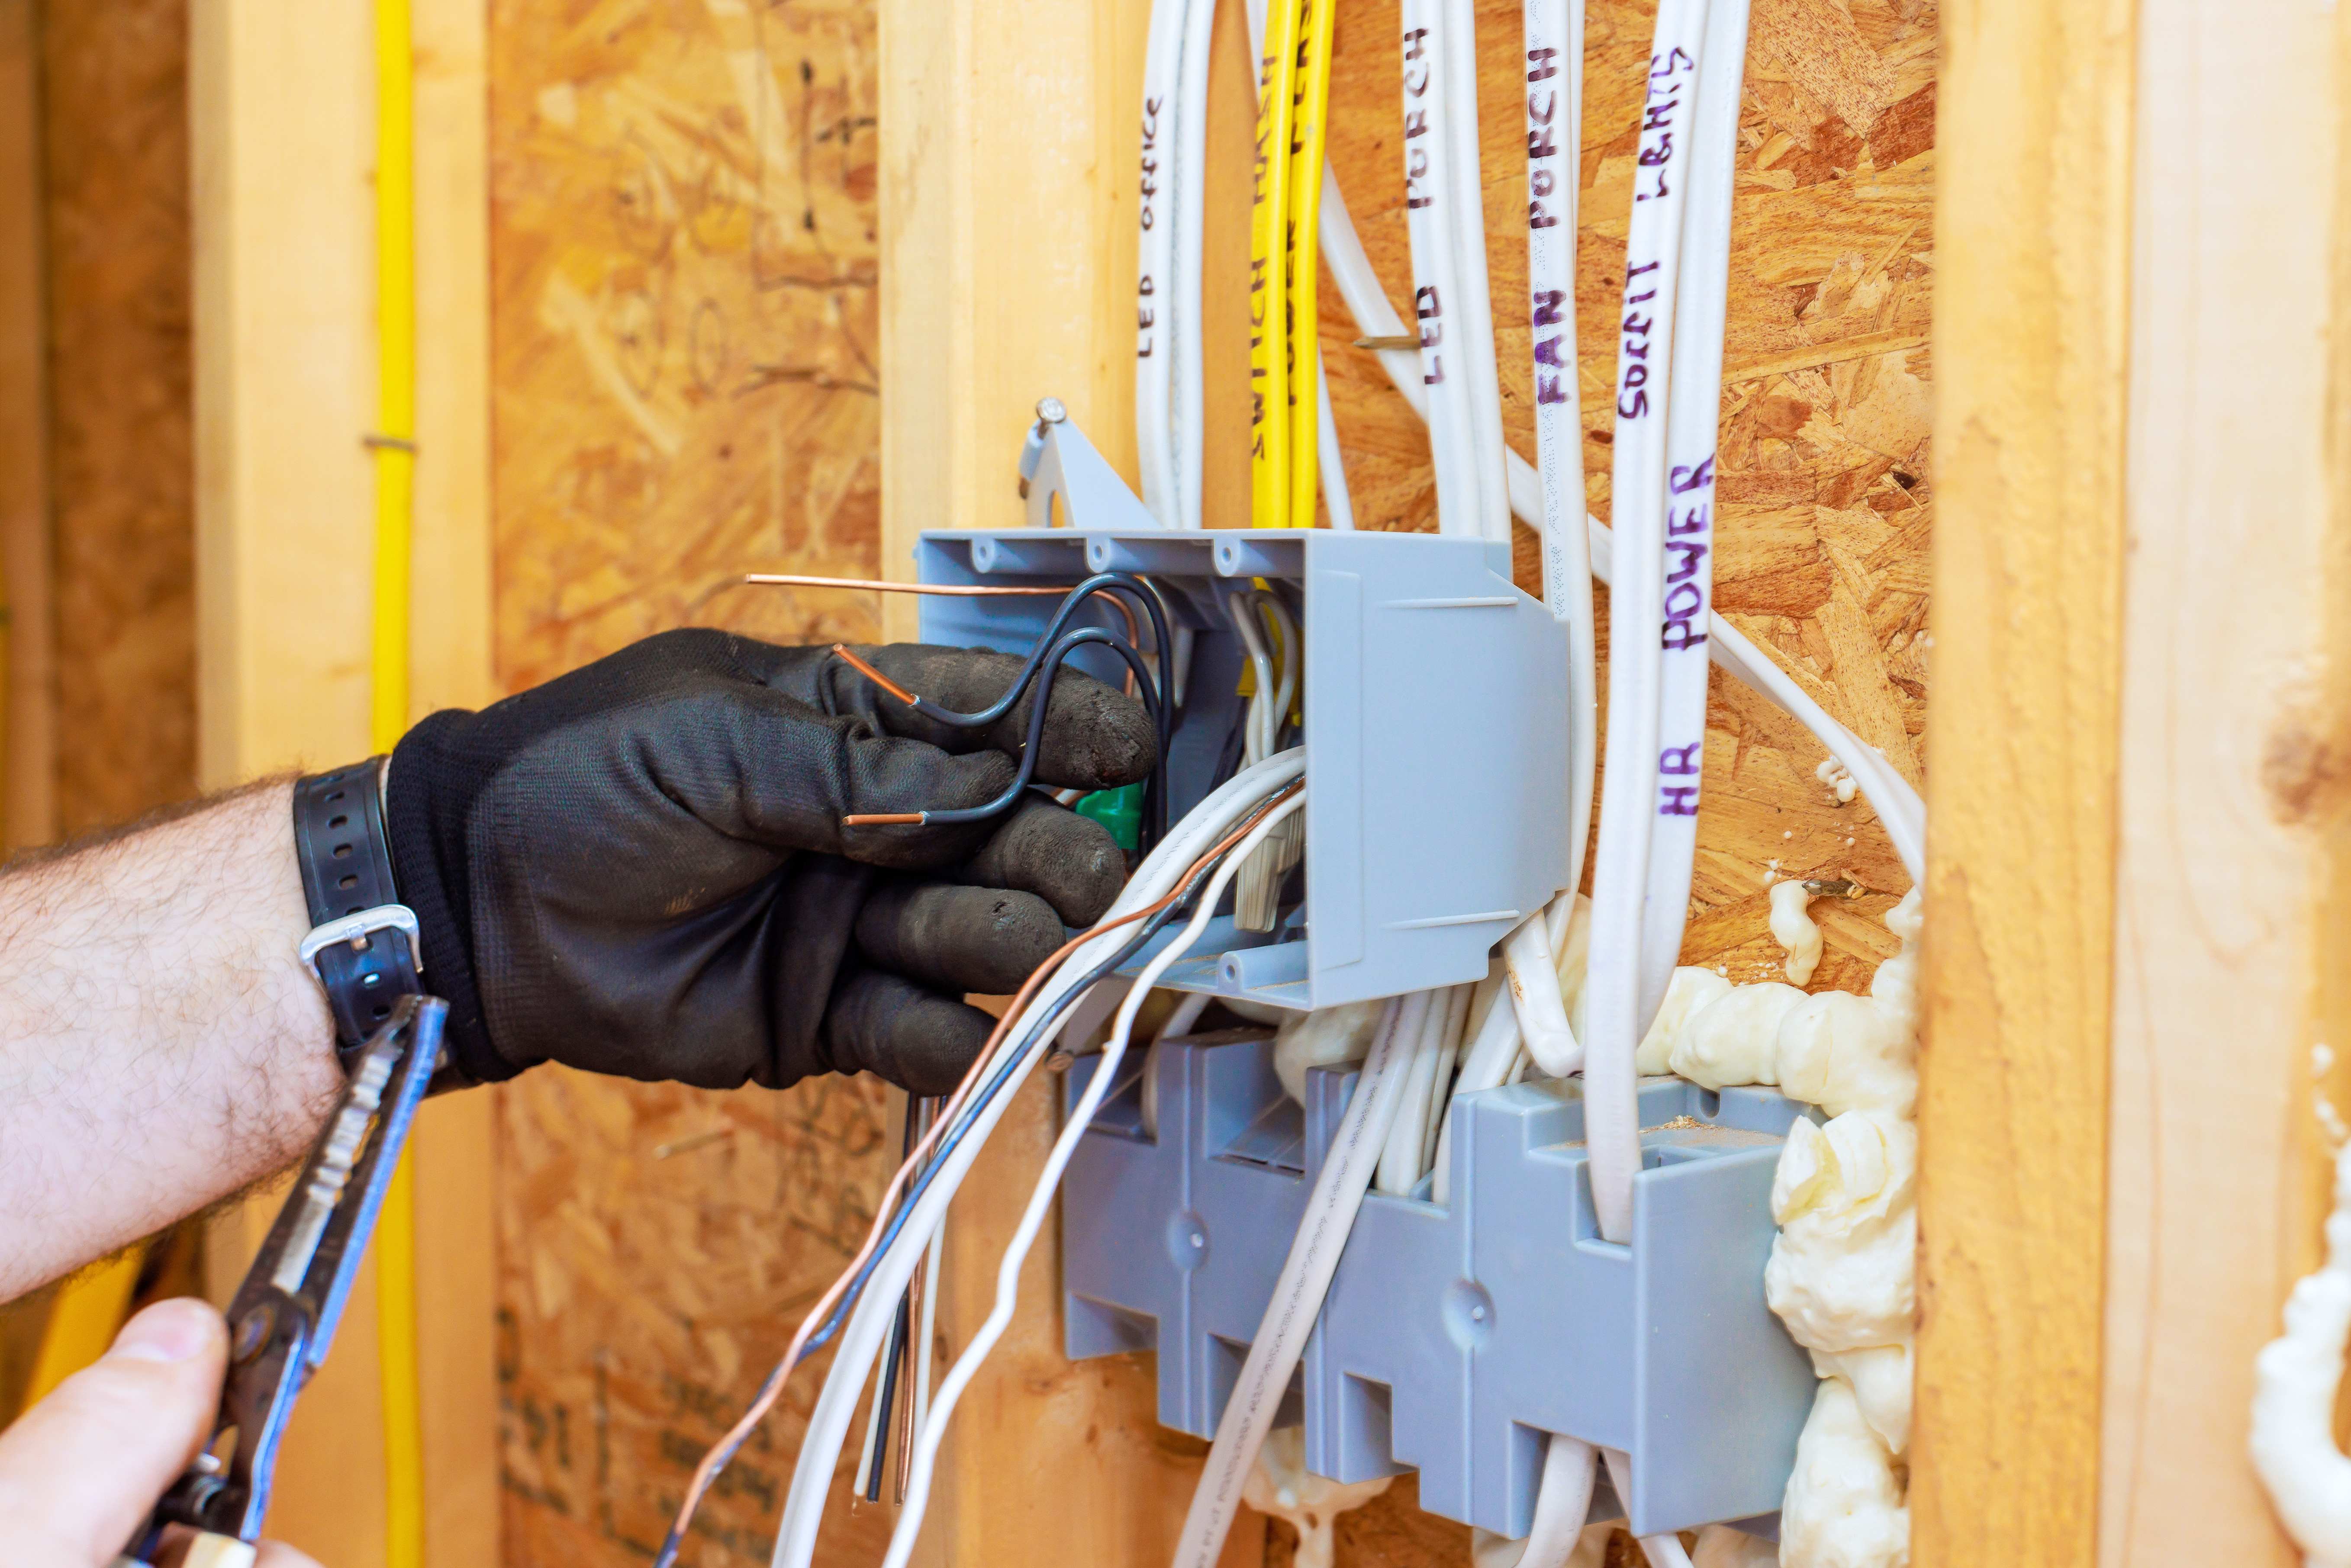
Use your wire stripper (on the correct gauge) or a sharp utility knife to cleanly remove around 1/2-inch to 3/4-inch of the colored plastic insulation coating from each of your wires. This is the right amount to strip to ensure you can solder correctly without using too much heat shrink tubing in the next step.
Take care not to damage the wires underneath—using the correct gauge wire cutting will help here. Scraping the plating exposes copper wires to oxidation, and you can compromise the electrical connections.
Next, grab your flexible plastic tubing designed to fit snugly over the wires. Make sure you buy the proper-sized tubing. Go too large, and it won’t shrink down to fit and insulate properly after the soldering. It shrinks at least 50% when you apply heat.
Cut a length that covers the splice plus 1/2-inch on either end. Slip the tubing over one of the wires. For now, slide it down the wire so that it rests a safe distance away from the exposed area you will solder later.
Twist the wires from both sections until they interlock to help reduce cracking in the solder joint and improve its integrity. They should twist tight enough that they are smaller in diameter than the heat shrink tubing. Don’t overdo it, though—this can make it difficult for the soldering action to penetrate.

Rub a little rosin flux paste across the wire to cover the join completely. This helps to pull the solder into the connecting wire strands.
To activate the rosin flux, touch the soldering iron tip close to the wire for a couple of seconds. The heat will cause the rosin flux to melt. When it starts smoking, this means the flux is activated.
If you’ve used the iron before, clean the iron’s tip with a damp sponge to remove any lingering oxidation residue. A clean tip will maximize conductivity and produce a clean joint. If you’ve purchased a few soldering iron for this project, you can skip this step.

Next up: The fun part. Grab your protective gloves and goggles before handling the soldering iron.
Turn on the soldering iron and unroll around four to six inches of solder ready to use.
Keep the heated soldering iron in its designated stable cradle or stand when not in use to prevent any scorch damage or fire risk. Turn it off if you need to leave it unattended at any point and only grab the iron by the insulated handle.
The solder and the solder tip should match the diameter of the existing wire as closely as possible.
Press the tip of the iron against the wire meshed strands.
Hold firmly for a few seconds to allow the solder to melt onto the iron.
Touching the solder lightly against the joint should immediately combine the wire strands.
Give yourself (and the solder iron) a moment to rest. Allow the solder to cool and solidify for a couple of minutes. Leaving the wires undisturbed while it’s drying promotes a solid connection.
Pull the heat shrink tubing over the soldered connection. Let it overlap with the original insulating tubing by at least 1/4 inch on either side, ensuring all parts of the exposed wire are covered.
Finally, grab your heat gun. Use it to shrink the insulating tubing around the wire. If you don’t have a heat gun, you can run a lighter close to the tubing instead.
Having the skill to solder together two wires is a bonus when working on basic electrical repairs around your home. However, dealing with electrical connections—especially if you lack basic industry know-how—isn’t something you shouldn't tackle without the right tools and experience.
Sometimes calling in a licensed electrician near you is the safer choice. The cost to hire an electrician ranges from $50 to $100 per hour, but this is money well spent if you’re nervous about soldering wires together yourself.
Great company! Price was competitive, technician showed up on time and completed the job (exterior electric Radon fan replacement) quickly. Would hire them again.
I conferred with 2 other contractors before Armstrong Electric. Nick and his crew showed me that the project was not as convoluted as the other contractors made it appear to be. They completed the entire project on time. They were professional, friendly and cleaned up after at completion. I...
 Armstrong Electric LLC
The techs on my project, Shawn and Cliff, were great. They were prompt, courteous, and efficient. I am very happy with the results and would definitely contact Mr. Electric for any future electrical projects.
Victor was wonderful. He was on time, professional, and explained everything he was doing. He was thorough and figured out that the problem was electrical instead of with my HVAC system. Very knowledgeable. I will be using this company in the future for any HVAC needs. Thanks!
 Hubbs Heating & Air LLC
They were excellent. They did a great job. I was totally satisfied. They put tremendous effort in making sure the work was completed. They were great. They provided immediate response to any inquires I made. I would hire them again. I would recommend them to anyone who needs electrical work....
 Property-Tech Industries, LLC
Initially, the repairman could not find the problem. Apparently, there was some electrical shortage, but he could not find the definite problem. He left, but called back later to say he had a new idea. He returned and replaced the light switches on the doors. The refrigerator seemed to return...
 Appliance Pro LLC
The initial quoted price from a walk-through seemed high, but we discussed that the quote represented worst case scenario (re-wiring to two floors) and we were excited about the opportunity to have the work done in a timely manner with closing for fire safety reasons, etc. When the job was...
I have to tell you I am all about customer service - I will go out of my way and even pay more for it if you give me great customer service. <br> <br>In a world where this is hard to find, these guys were awesome! I can not sing their praises enough. They were prompt, personable, funny, got...
 Waibel Electric
When I challenged the markup on the generator, Bruder Electric withdrew its bid. They only want naïve customers.
We had no power to any of the electrical outlets in the MBR. We'd had an intermittent problem for a few years and they finally went out all together. We live on the 3rd floor of a 100 year old building and I know from past experience the wiring has been added to in hodgepodge ways over the...
From average costs to expert advice, get all the answers you need to get your job done.
The cost of a barbed wire fence depends mainly on how large your property is. If you have a longer fence, you can expect to pay a few thousand dollars.
Discover the average cost of home theater wiring, including labor, materials, and key factors that impact your total price. Learn how to budget and save on your project.
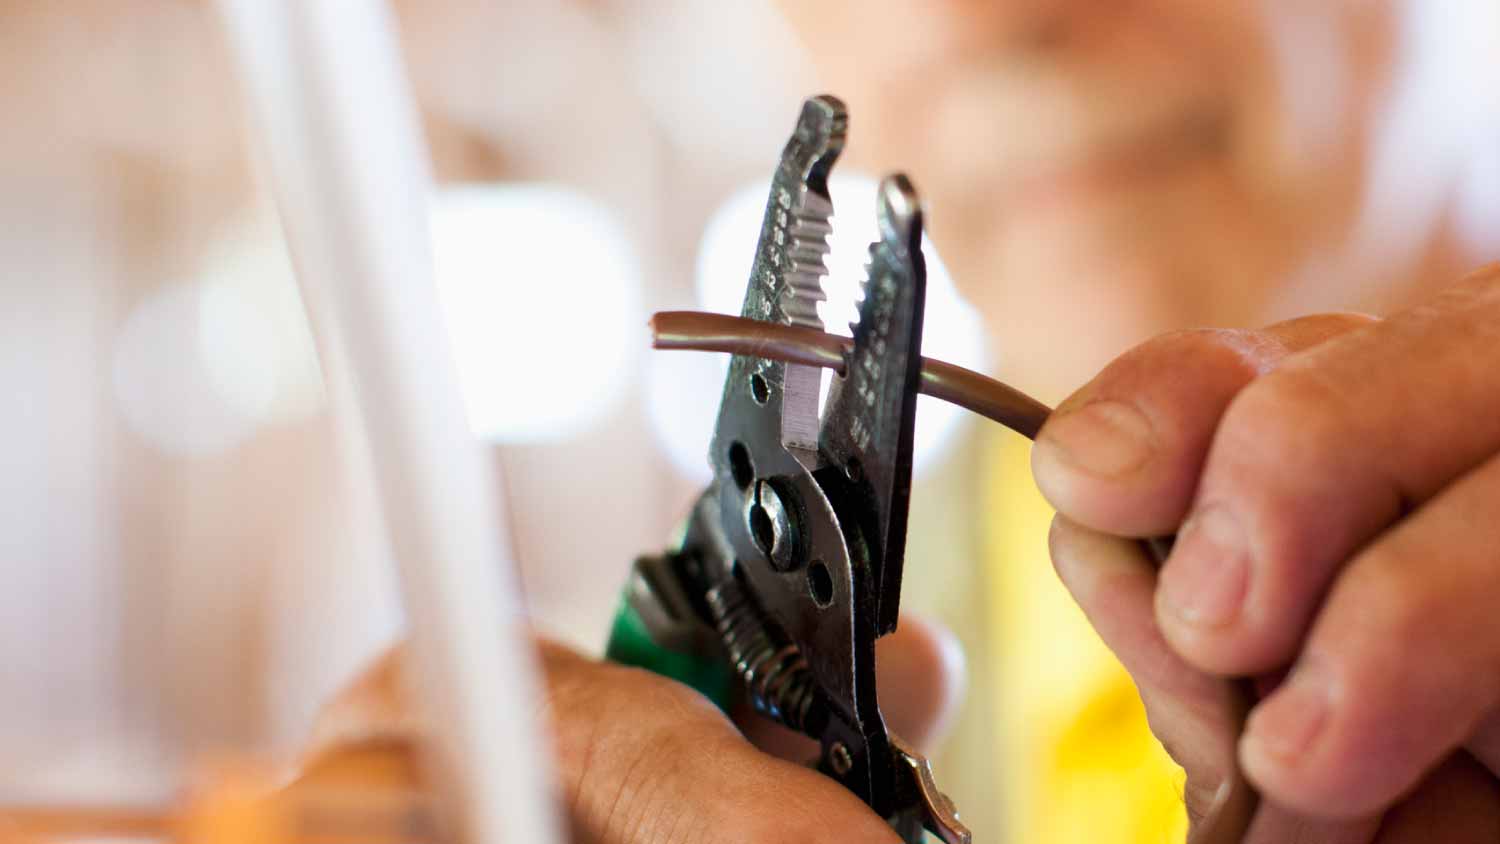
Learn how to strip wire safely and effectively with these tools and techniques.

You can find several types of electrical wires in your home, but do you know which one is which? This chart of electrical wire types will help you identify the wires you’re working with.

Learn how to find wires in your walls so you can avoid danger the next time you need to drill holes in a wall for a DIY project.
Do you know if the black wire is positive or negative? If not, stop right now and check out our guide on differentiating electrical wires.