
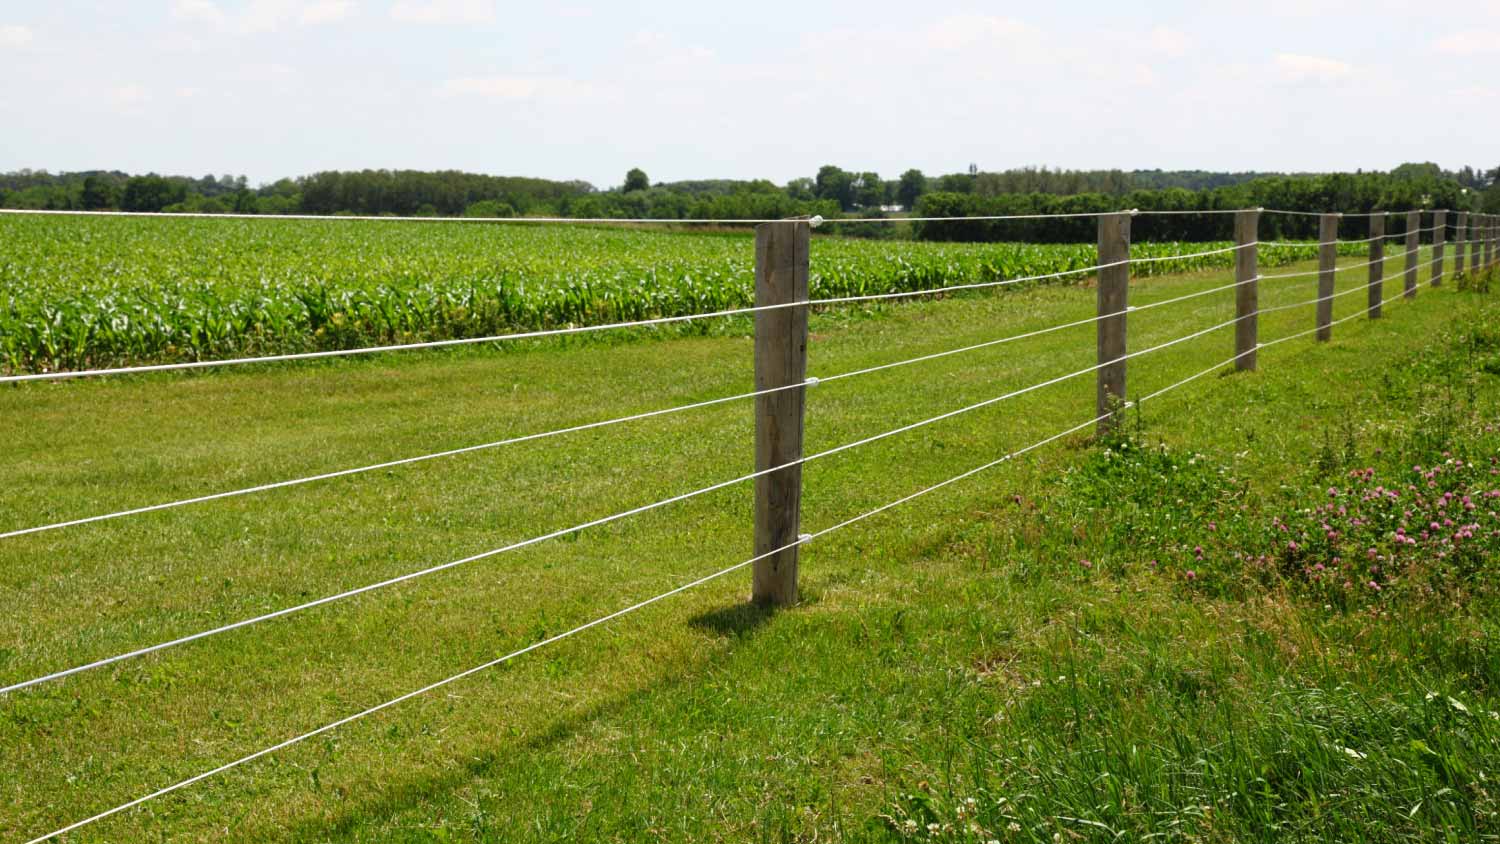
Wire fencing offers reliable property boundaries, livestock containment, and garden protection. Use this guide to learn how much wire fencing costs based on factors like type and material.
Keep the juice flowing smoothly with the right wire stripping tools

The best way to strip a wire is with a self-adjusting wire stripper or a standard wire stripper with gauge-specific holes to avoid nicking the conductor inside.
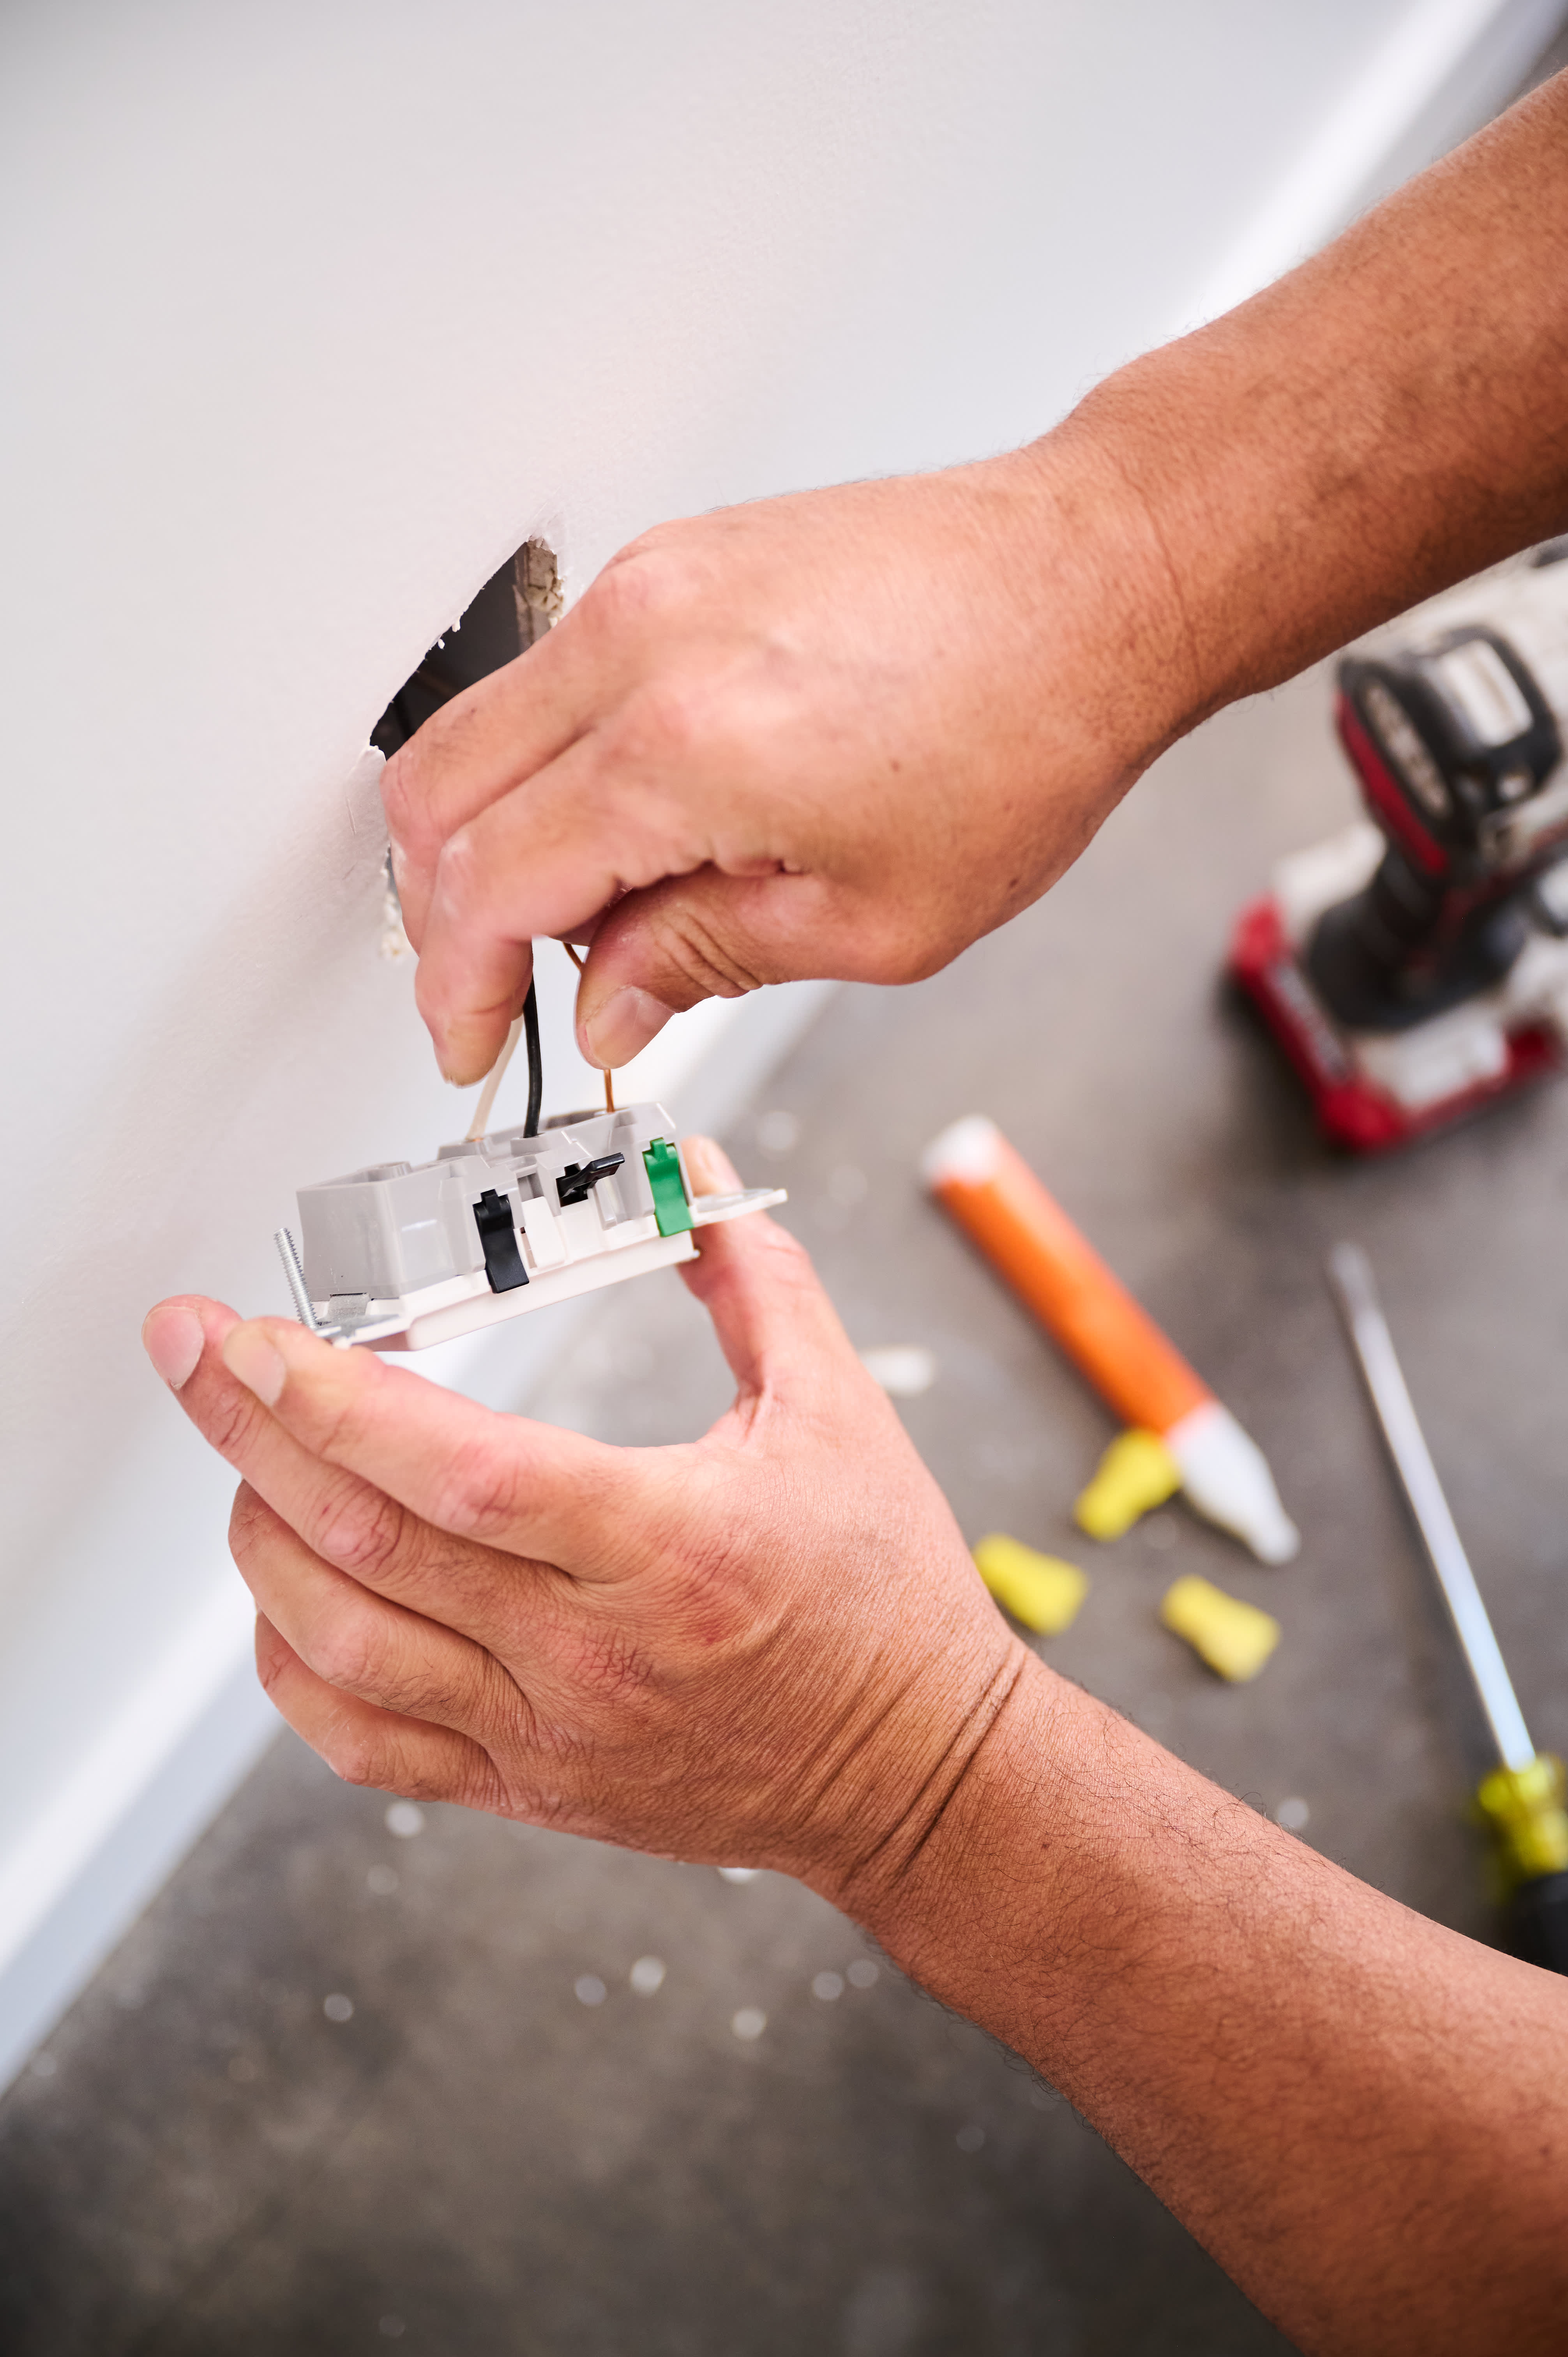
Electricians charge $50 to $150 per hour for electrical work, and outlet grounding or GFCI installation ranges from $130 to $300 per outlet.
You should turn off the power and check wires with a voltmeter before stripping, ensuring you work on de-energized circuits to prevent shocks or fires.
Hiring a local electrical professional provides reliable support for home wiring projects, keeping your electrical system safe and up to code with proper installation and repairs.
Learning how to strip a wire properly can make some DIY tasks more manageable, like rewiring a lamp or other appliance. We recommend calling a local electrician to install electrical wiring in your home. Regardless of why you need the plastic coating removed from your wire, you can use a number of different tools and techniques to get that shiny copper wire out in the open.
If you’re stripping wire for electrical purposes—as opposed to stripping it for scrap—it’s important to avoid nicking, scratching, or cutting into the wire(s) inside the plastic coating. Let’s take a look at how to do it.
We don’t recommend doing any electrical work yourself unless you have extensive training and skill. If you have enough know-how and want to attempt some rudimentary wiring, please follow these basic safety tips:
Turn off the electricity to the area you’re working on. Never attempt any electrical work on live wires.
Check the wires with a voltmeter. Even if you think you’ve shut off the correct fuse because it was labeled correctly in the fusebox, it’s better to be safe than sorry and check the connection with a voltage tester.
Do not use equipment with exposed or frayed wires.
Keep the work area dry, and do not let wiring or equipment come into contact with water or wet areas.
Wear non-conductive gloves and eye protection.
Remove conductive items like chains, watches, and other jewelry before doing electrical work.
Assume a wire is live unless you’ve checked it first.
Barricade the work area to keep pets, children, and others out except someone working with you.
Consult a professional electrician if you have questions or need help.

If you’re stripping wires to repair small appliances or motors, it’s important that you don’t damage the metal wire inside the sheathing in the process. Cuts, nicks, and other damage to the wire can cause shorting and faulty connections and weaken the wire, likely shortening its life span.

Average cost: $30
This tool will most likely do the cleanest job without damaging the wire. However, this will also be the most expensive and most complicated option. Using it may also be challenging because of its size and weight; it’s bulky and more awkward to handle than a regular wire stripper/cutter. This tool is used primarily by professional electricians. It’s important to ensure that the tool can handle the size of wire you’re stripping.
For example, some models work on 8-24 AWG solid wire and 10-22 AWG stranded wire. Wire gauges indicate the thickness of the copper wire or combination of wires inside the sheathing. The smaller the number, the thicker the wire and the more amperage it can handle. Following are some of the more common AWG (American Wire Gauge) sizes:
18-gauge
16-gauge
14-gauge
12-gauge
10-gauge
8-gauge
6-gauge
4-gauge
2-gauge
Here are the basic moves with the self-adjusting wire stripper/cutter. As always, follow the manufacturer’s specific directions for the tool.
Set the parameters to match the wire gauge you’re cutting.
Insert the wire and squeeze the handles. The tool should adjust, cut the sheath, and strip the sheath to expose the wire core.

Average cost: $12
A wire stripper looks like a flat pair of pliers with a series of different-sized holes for clipping and cutting the plastic coating on different wire gauges. This tool makes cutting and stripping insulation from wires an easy DIY job. Follow these steps:
Find the hole that matches the gauge of the metal wire you want to strip. Make sure that the hole is smaller than the overall thickness of the wire with the coating on it, but bigger than the wire inside the coating so that you only cut the plastic insulation and not the wire inside.
Determine how much wire you need to expose. Measure and mark the spot with a pen or marker.
Open the wire stripper and place the wire in the correct hole size at the mark (if you made one). Double-check that the wire is in the correct gauge size.
Close the wire stripper on the wire and squeeze to cut the plastic coating. You may hear a small click as the tool cuts the sheathing.
Keep the tool clamped and rotate around the wire to ensure the insulation is cut.
With the tool still clamped, pull along the wire to slide the coating off the wire, exposing the metal inside.
Important note that applies to each method: Make sure to not cut, gouge, or nick the wire itself, as this can keep the wire from functioning properly. If the wire is damaged, clip that section of wire off and start over.

Average cost: $12
This method is a last resort move because of the higher probability of damaging the wires by cutting too deeply. If you don’t have a wire stripper available, a sharp pair of scissors couldwork. You’ll want a heavy-duty pair of scissors rather than the ones kids use in school. This method requires more care as to not cut or damage the metal wire inside while cutting the plastic sheathing.
Place the wire in the open scissors where you want to cut.
If you can, roll the wire to spin it against the blades to score the sheathing slowly. If you can’t roll the wire, rotate the scissors back and forth around the wire to score the plastic coating.
Check the depth of the cut frequently to be sure you don’t cut too deeply.
Once you’ve cut deeply enough, pull the plastic sheathing off to expose the wire.
Average cost: $3 to $5
As with the scissors option, this method is discouraged. We highly recommend getting one of the stripper/cutter tools mentioned above. This process is similar to using scissors, except you only have one blade. Make sure you have a fresh blade, so it’s sharp and cuts more easily into the sheathing.
Rest the wire on a piece of wood or something rigid.
Rest the utility knife blade against the wire where you want to cut it.
Roll the wire between the wood and the blade, slowly pressing harder so the blade cuts into the plastic sheathing.
Check frequently how deeply the blade has cut, making sure you don’t cut too deeply.
When you’ve cut through the sheathing, twist it with your fingers and pull it off the end of the wire.
Stripping wire is a relatively easy job you can do yourself, especially if you’re working on small household appliances or motors. However, if you’re stripping wire for work on the electrical system in your home or apartment, you should contact a local electrician. Most professional electricians charge between $50 and $150 per hour for labor. You can always watch how they strip wire and with what tools. You may be stripping wire for some of the below projects, and if you find you’re already in over your head, it may be easier to hire an electrician.
| Project | Average Cost |
|---|---|
| Replace an electrical outlet | $9–$35 per outlet |
| Ground a two-pronged electrical outlet | $135–$300 per outlet |
| Add a GFCI outlet | $130–$300 per outlet |
Great company! Price was competitive, technician showed up on time and completed the job (exterior electric Radon fan replacement) quickly. Would hire them again.
I conferred with 2 other contractors before Armstrong Electric. Nick and his crew showed me that the project was not as convoluted as the other contractors made it appear to be. They completed the entire project on time. They were professional, friendly and cleaned up after at completion. I...
 Armstrong Electric LLC
The techs on my project, Shawn and Cliff, were great. They were prompt, courteous, and efficient. I am very happy with the results and would definitely contact Mr. Electric for any future electrical projects.
Victor was wonderful. He was on time, professional, and explained everything he was doing. He was thorough and figured out that the problem was electrical instead of with my HVAC system. Very knowledgeable. I will be using this company in the future for any HVAC needs. Thanks!
 Hubbs Heating & Air LLC
They were excellent. They did a great job. I was totally satisfied. They put tremendous effort in making sure the work was completed. They were great. They provided immediate response to any inquires I made. I would hire them again. I would recommend them to anyone who needs electrical work....
 Property-Tech Industries, LLC
Initially, the repairman could not find the problem. Apparently, there was some electrical shortage, but he could not find the definite problem. He left, but called back later to say he had a new idea. He returned and replaced the light switches on the doors. The refrigerator seemed to return...
 Appliance Pro LLC
The initial quoted price from a walk-through seemed high, but we discussed that the quote represented worst case scenario (re-wiring to two floors) and we were excited about the opportunity to have the work done in a timely manner with closing for fire safety reasons, etc. When the job was...
I have to tell you I am all about customer service - I will go out of my way and even pay more for it if you give me great customer service. <br> <br>In a world where this is hard to find, these guys were awesome! I can not sing their praises enough. They were prompt, personable, funny, got...
 Waibel Electric
When I challenged the markup on the generator, Bruder Electric withdrew its bid. They only want naïve customers.
We had no power to any of the electrical outlets in the MBR. We'd had an intermittent problem for a few years and they finally went out all together. We live on the 3rd floor of a 100 year old building and I know from past experience the wiring has been added to in hodgepodge ways over the...
From average costs to expert advice, get all the answers you need to get your job done.
Wire fencing offers reliable property boundaries, livestock containment, and garden protection. Use this guide to learn how much wire fencing costs based on factors like type and material.
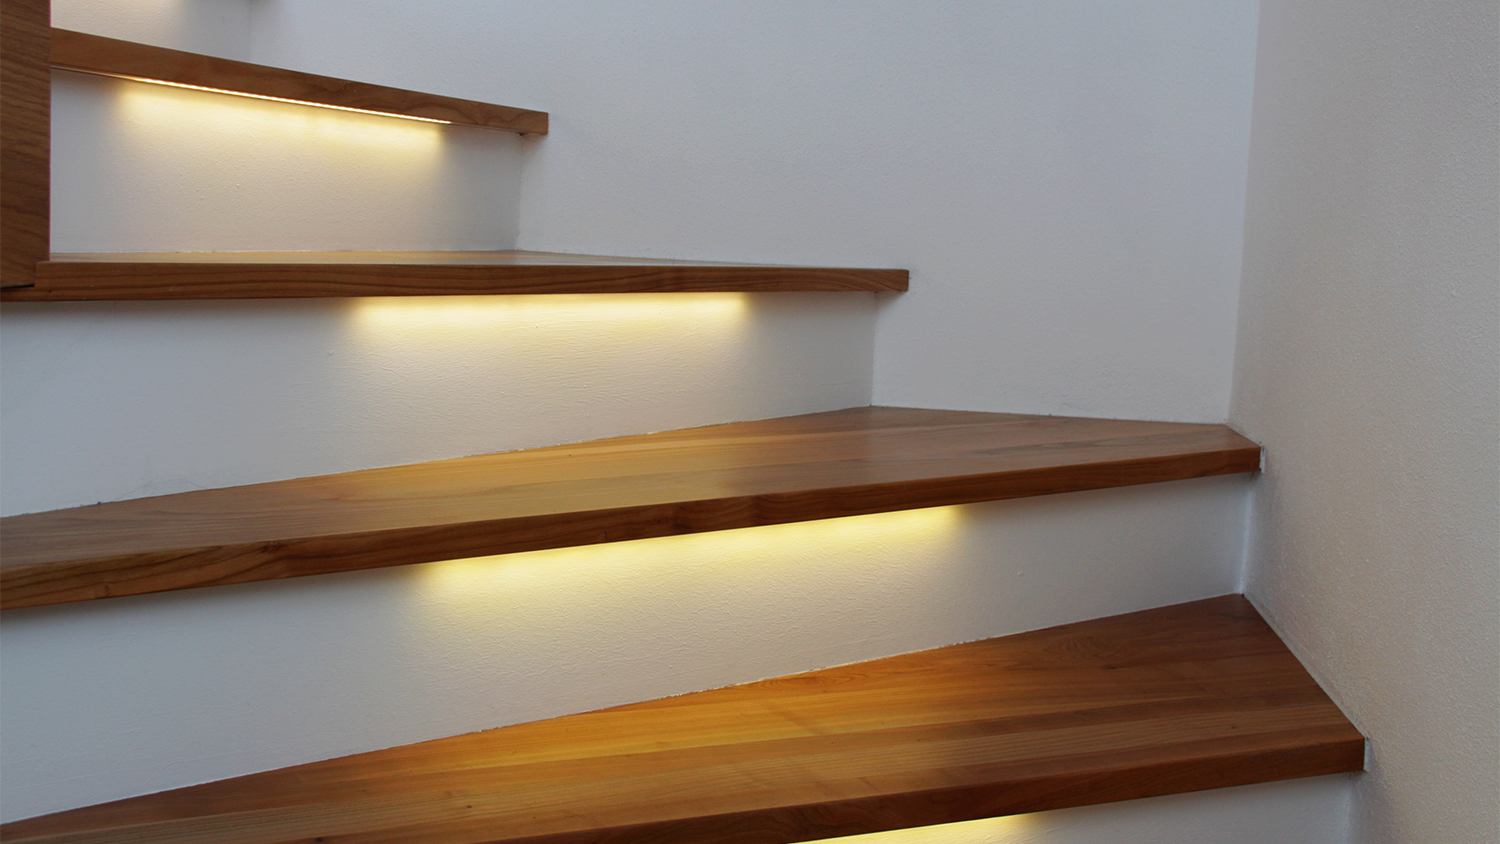
LED lights can add playful colors or an automated light source to any hall, staircase, closet, or cabinet. Learn how to install LED strip lights with this guide.

If you want a secure, reliable, high-speed internet connection, a hard-wired solution might be for you. Here’s how to wire your house for ethernet.

Learn how to find wires in your walls so you can avoid danger the next time you need to drill holes in a wall for a DIY project.
Do you know if the black wire is positive or negative? If not, stop right now and check out our guide on differentiating electrical wires.

A stripped screw is frustrating and time consuming. Don’t cause further damage—learn how to remove a stripped screw the right way with one of these methods.