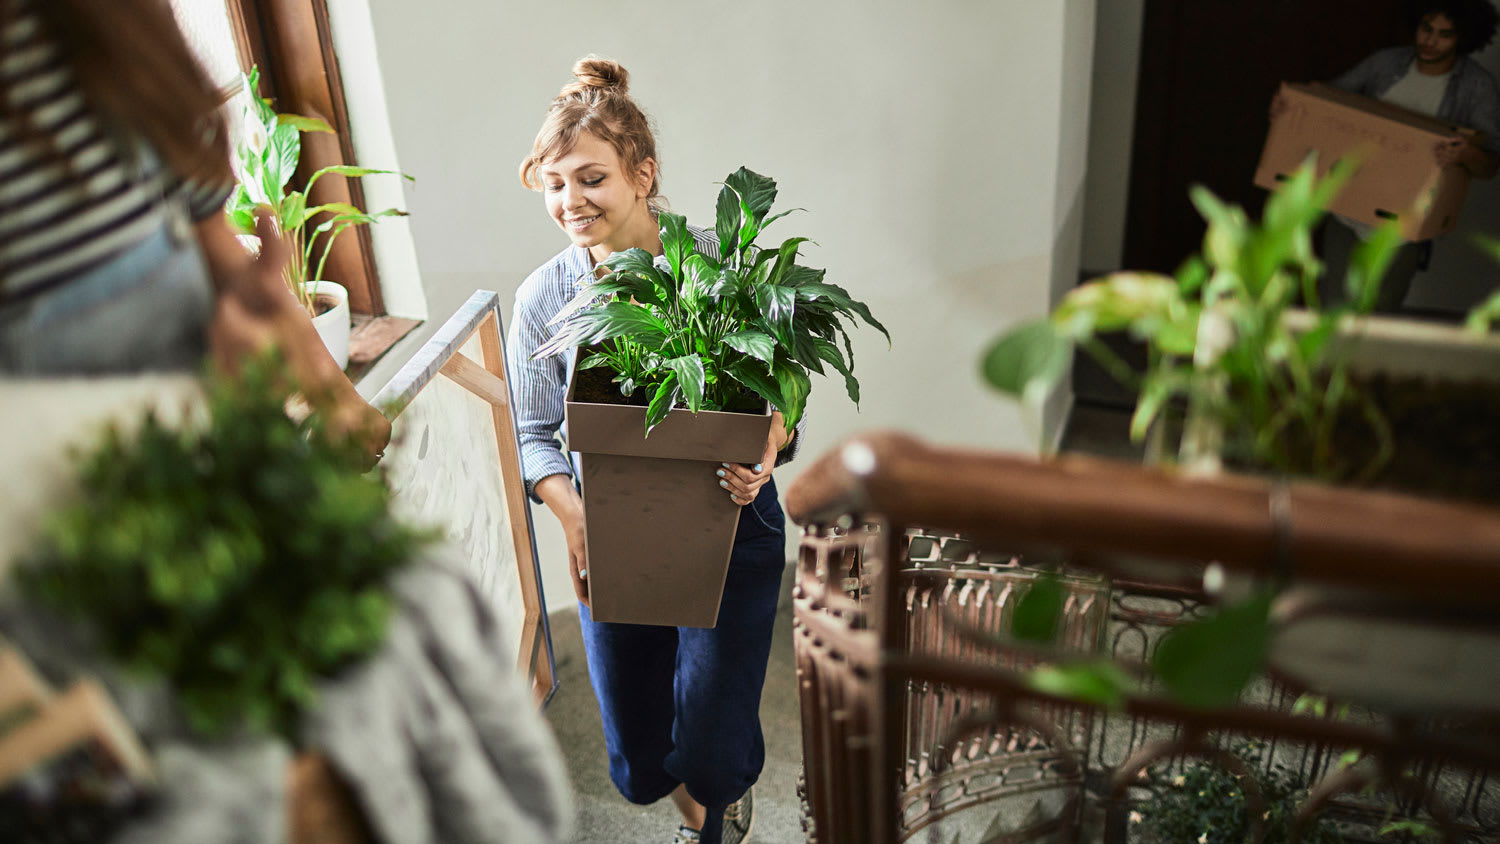
Packing houseplants for a move is often overlooked until the last minute. Learn how to pack your plants for a safe move, even in extreme conditions.
You won't question your green thumb again

Repotting a plant gives your houseplant fresh soil and room to grow, especially when roots form a ball or slip through drainage holes.
Expect to pay up to $25 for repotting supplies like fresh potting mix, a new container, and basic tools to complete the project.
You should choose a pot one inch larger in diameter than your current container to prevent overwatering and give roots space to spread properly.
Hiring a local gardening professional takes the guesswork out of container selection and soil mixing, keeping your plants healthy as they adjust to their new home.
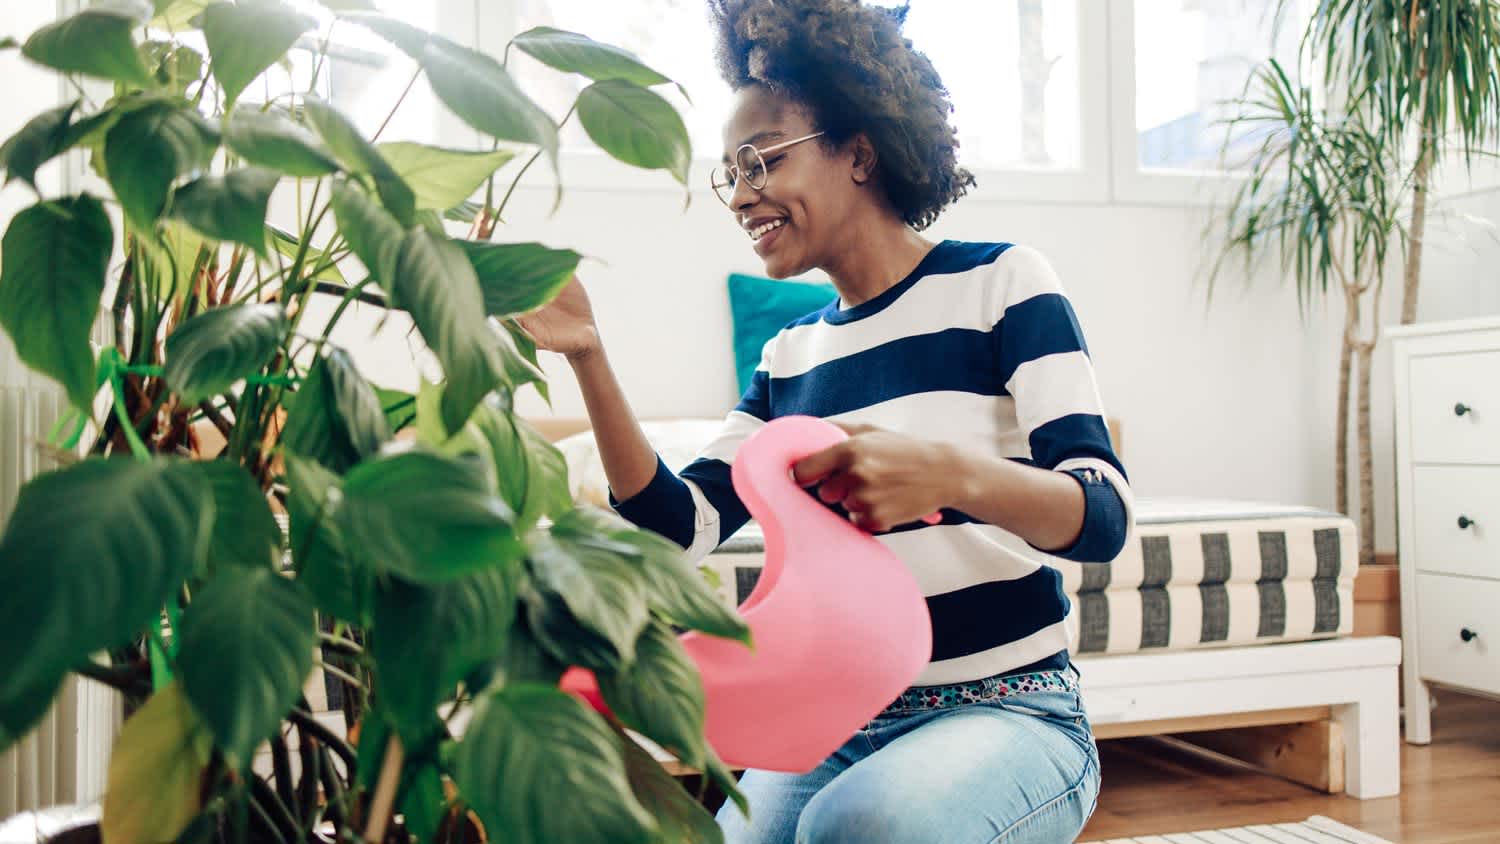
If your prized houseplant is looking a bit tired, don’t worry—it most likely has simply outgrown its living space and needs to be re-homed. Fortunately, repotting a plant is a quick and easy way to keep your plants thriving and lush. Use this step-by-step guide to learn how to repot a plant and how to pick the best pot and soil to keep it happy and healthy in its new home.
First things first—you may wonder when it’s time to repot a plant. In general, spring is the best time, right before the new growing season. For young indoor plants or fast-growing plants, you will need to repot them every 6 months to a year for the best outcome. If you have a more mature potted plant, however, you can wait for a few years before repotting them.
You can tell a lot by looking at the plant and its soil. If the plant has been in the container for too long, it could be root-bound—meaning the roots have outgrown the container. In this instance, you may see the roots have formed a ball or can see roots slipping out from the drainage holes in the bottom of the container.
Check the soil as well when determining whether or not to repot the plant, as discolored soil can indicate it’s outgrowing its current home. Also, if the leaves are wilting despite normal watering, or if you notice the white rocks on the top of the soil turning yellow, it’s time to repot the plant.
Follow this step-by-step guide to learn how to repot a plant and add this skill to your plant-parent repertoire.

Finding the right pot for your plant will provide it with a healthy environment to thrive in. Remember, you don’t always need to go up a size when repotting a plant, as you may be able to simply replace the old potting soil with new potting soil. However, if you notice signs of damage, or it looks like it’s root-bound, you will need a larger container.
When selecting a new container, it’s important not to go up too many sizes, as this poses the risk of over watering the plant, which can result in root rot due to the excess water. Try to choose a pot that’s about one inch larger in diameter than the current one.
In terms of pot materials, there are different options available, such as terra cotta, plastic, and clay. Terra cotta and clay pots can absorb moisture from the soil, and they work well for plants that thrive in dry conditions, such as succulents or drought-tolerant perennials. Plastic pots, however, are better-suited for plants that prefer moist environments, such as herbs, flowers, or vegetables.
You may also notice that decorative pots without drainage holes fit your style preferences better than terra cotta, clay, or plastic pots. In most cases, however, it’s recommended to keep plants in pots with drainage holes to ensure water doesn’t get logged in the container—especially if it’s a plant that thrives in moist environments. For a more visually appealing solution, consider keeping the plant in a plastic container with drainage holes, then putting the plastic container in a decorative pot of your choosing without drainage holes.

Once you’ve found the right container, you can start making the switch from the old pot to the new pot. Wearing gardening gloves, tilt the plant sideways and gently tug the plant out of place. If it won’t budge, it may be particularly root-bound. In this instance, it can help to water the plant, and loosen the soil around the perimeter with a trowel to give it some slack. Then, attempt to gently twist the plant away from the pot, taking extra care not to break any roots while doing so.
Once the plant is removed, scrape off any excess soil with a butter knife, without damaging the roots. Discard old soil from the pot so you can start fresh with rich soil once you move it to the new pot.

Holding the plant, use your hands to manually loosen and untangle the root ball to stimulate growth by helping the roots to evenly spread apart in the new soil. For extremely stubborn or root-bound plants, you can soak the root ball in water for a few hours, then try untangling it with your hands. You may need to make a few small cuts with shears to the base of the root system to better help nutrients reach the plant.

Now it’s time to add the fresh soil to the new pot. Selecting the right type of soil can help your plant to thrive and acclimate to its new home. For most types of houseplants, generic potting soil works the best, as it contains added ingredients, such as peat moss, to promote more moisture retention. Keep in mind, if you have a more fussy variety, you may need a specialty potting mix, specific to your plant.
You can also add a homemade compost mixture to the potting soil to give the plant more nutrients after repotting. Moreover, if you’re repotting a succulent or a plant that thrives in desert conditions, consider adding a mix of potting soil and sand for a simulative environment.
Once you’ve chosen the proper soil, add a few scoops of the mixture to the bottom of the pot before placing the plant inside. It can be helpful to place a dryer sheet or coffee filter under the pot’s drainage holes to avoid leaving a mess behind when transferring it to a larger pot.

Once you’ve formed a solid base, place the root ball on top of the fresh potting soil. Check to make sure the root ball will sit below the rim of the new pot to ensure fresh soil can be added to the top of it without overflowing. You may need to adjust it by removing some of the soil from the base.
Once it’s at the right height, position the plant so it's centered and straight. Add the potting mixture around the sides of the root ball, gently patting it down as you fill. Continue adding the mixture until there’s ¼ inch space between the soil and the top of the pot.
Then, lightly pack down the soil and test it with your finger. If you touch your finger to the top of the soil and it easily pokes through, you need to pack it down more firmly. This is because roots thrive when they can establish themselves by rooting into tightly compacted soil. Once it’s at the right consistency, you can remove the dryer sheet or coffee filter from the bottom of the pot.

Once your plant is settled in its new nest, give it a thorough soak with a watering can. While the drainage holes will drain any excess water, it’s important not to water it to the point of oversaturation to avoid root rot. If you notice the leaves yellowing, water your plant a bit less. As the roots are growing in, try to avoid keeping it in direct sunlight for a few days while it’s adjusting to its new environment.
Wonderful. I am going to have them remove and replace my driveway in the spring.
 All Star Paving and Sealing
We were having 2”x 2” tile installed . There was a small installation error and the new additional replacement tile was from a different lot and the colors didn’t match. Joe assured us that he would rectify everything , which he did without hesitation. We decided to go with the 18” x 36” tile...
 CarifaTile
We had a 20+ year old landscape lighting system that needed replacement. Midwest Lightscapes worked with us to design a much improved lighting system, lighting the exterior of the house and the back yard. Installation of the 45 light system took one and one-half days, and went very smoothly....
 Midwest Lightscapes
Did an amazing job transforming my yard. Also installed sod in places, would recommend to everyone.
We hired Jim to replace our hardwood floors with new hardwood. He and his helper Jerry did a fantastic job. Their work ethic is impeccable!! We would highly recommend McColl Floors!
They show up and they did take us on as a client which seems to be a problem with other lawn care providers. We have multiple properties and this one was located close to downtown and no one really wants to mess with it.
The worker came out when he was supposed to come. He informed me he would honor the Angie's List deal, but would not do any more work for me since my son in law owns lawn care company as well, even though they do not do the same type of work. He said he did not feel comfortable giving me...
 Bello Giardino LLC
E & L Lawn Care was super. They were very responsive before and after service. They were efficient and were able to complete the job within 1 day. I have had concern about one section of sod - the owner was pro-active and did a visit to evaluate. I have no doubt they will stand behind...
 E&L lawn care
From average costs to expert advice, get all the answers you need to get your job done.
Packing houseplants for a move is often overlooked until the last minute. Learn how to pack your plants for a safe move, even in extreme conditions.

Epsom salt can work wonders in a garden—especially if your soil is lacking. Here’s how to use Epsom salt for plants.
Before you set off on vacation, you’ll want to make some preparations for your plants. Learn how to keep your plants alive when you’re out of town in this guide.
Preparing your plants for a safe move is easier than you think. For a head start, use these tried-and-true tips for a smooth move.

Hoping to reinvigorate your current garden with a few new blooms, veggies, or trees? We'll take it step by step, from choosing new plants to helping them grow.
Your indoor plants can still feel the outdoor wrath of the elements—especially in winter. Here are 10 top tips to keep your houseplants thriving all year long.