
Replacing your chimney increases home value and prevents hazardous structural damage. Learn how much to budget for chimney replacement costs.
Time to grab a ladder and mix some mortar

Installing a bathtub liner gives your existing tub a fresh look without the full replacement cost, as long as your tub has no cracks or drainage issues.
Expect to pay $500 to $2,800 for DIY materials or around $6,400 for professional installation, while tub replacement costs $2,000 to $9,400.
You'll need to clean your tub thoroughly, remove all hardware, apply primer and adhesive, then carefully fit the liner to avoid trapping moisture underneath.
Hiring a local bathtub repair professional provides reliable help with proper sealing and adhesive application, preventing water damage and mold from improper installation.
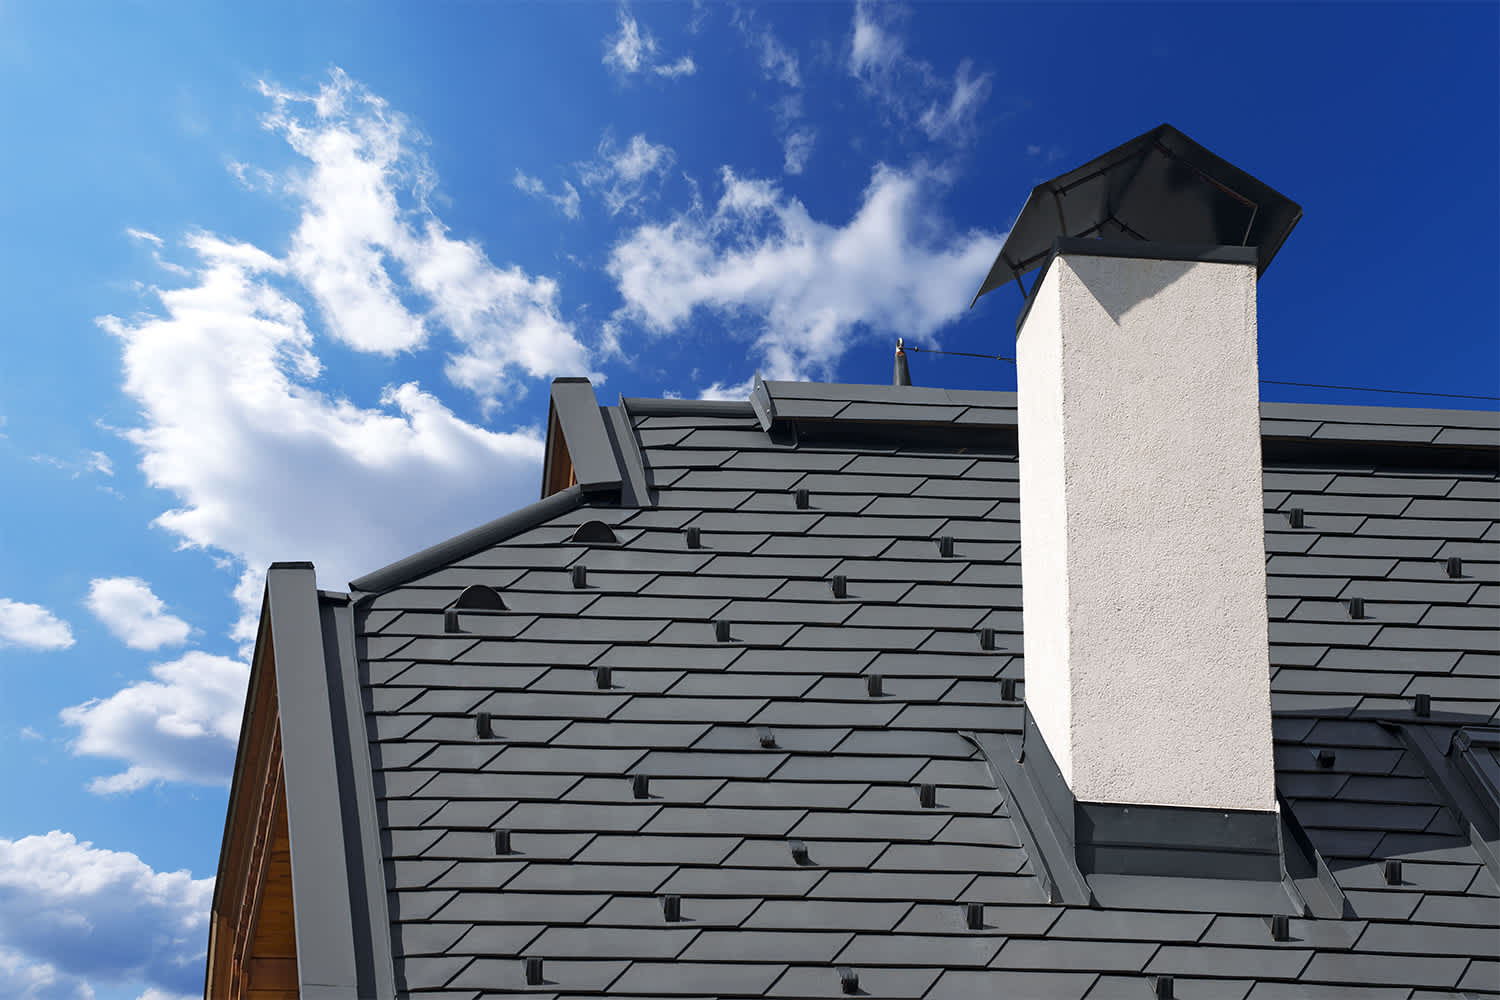
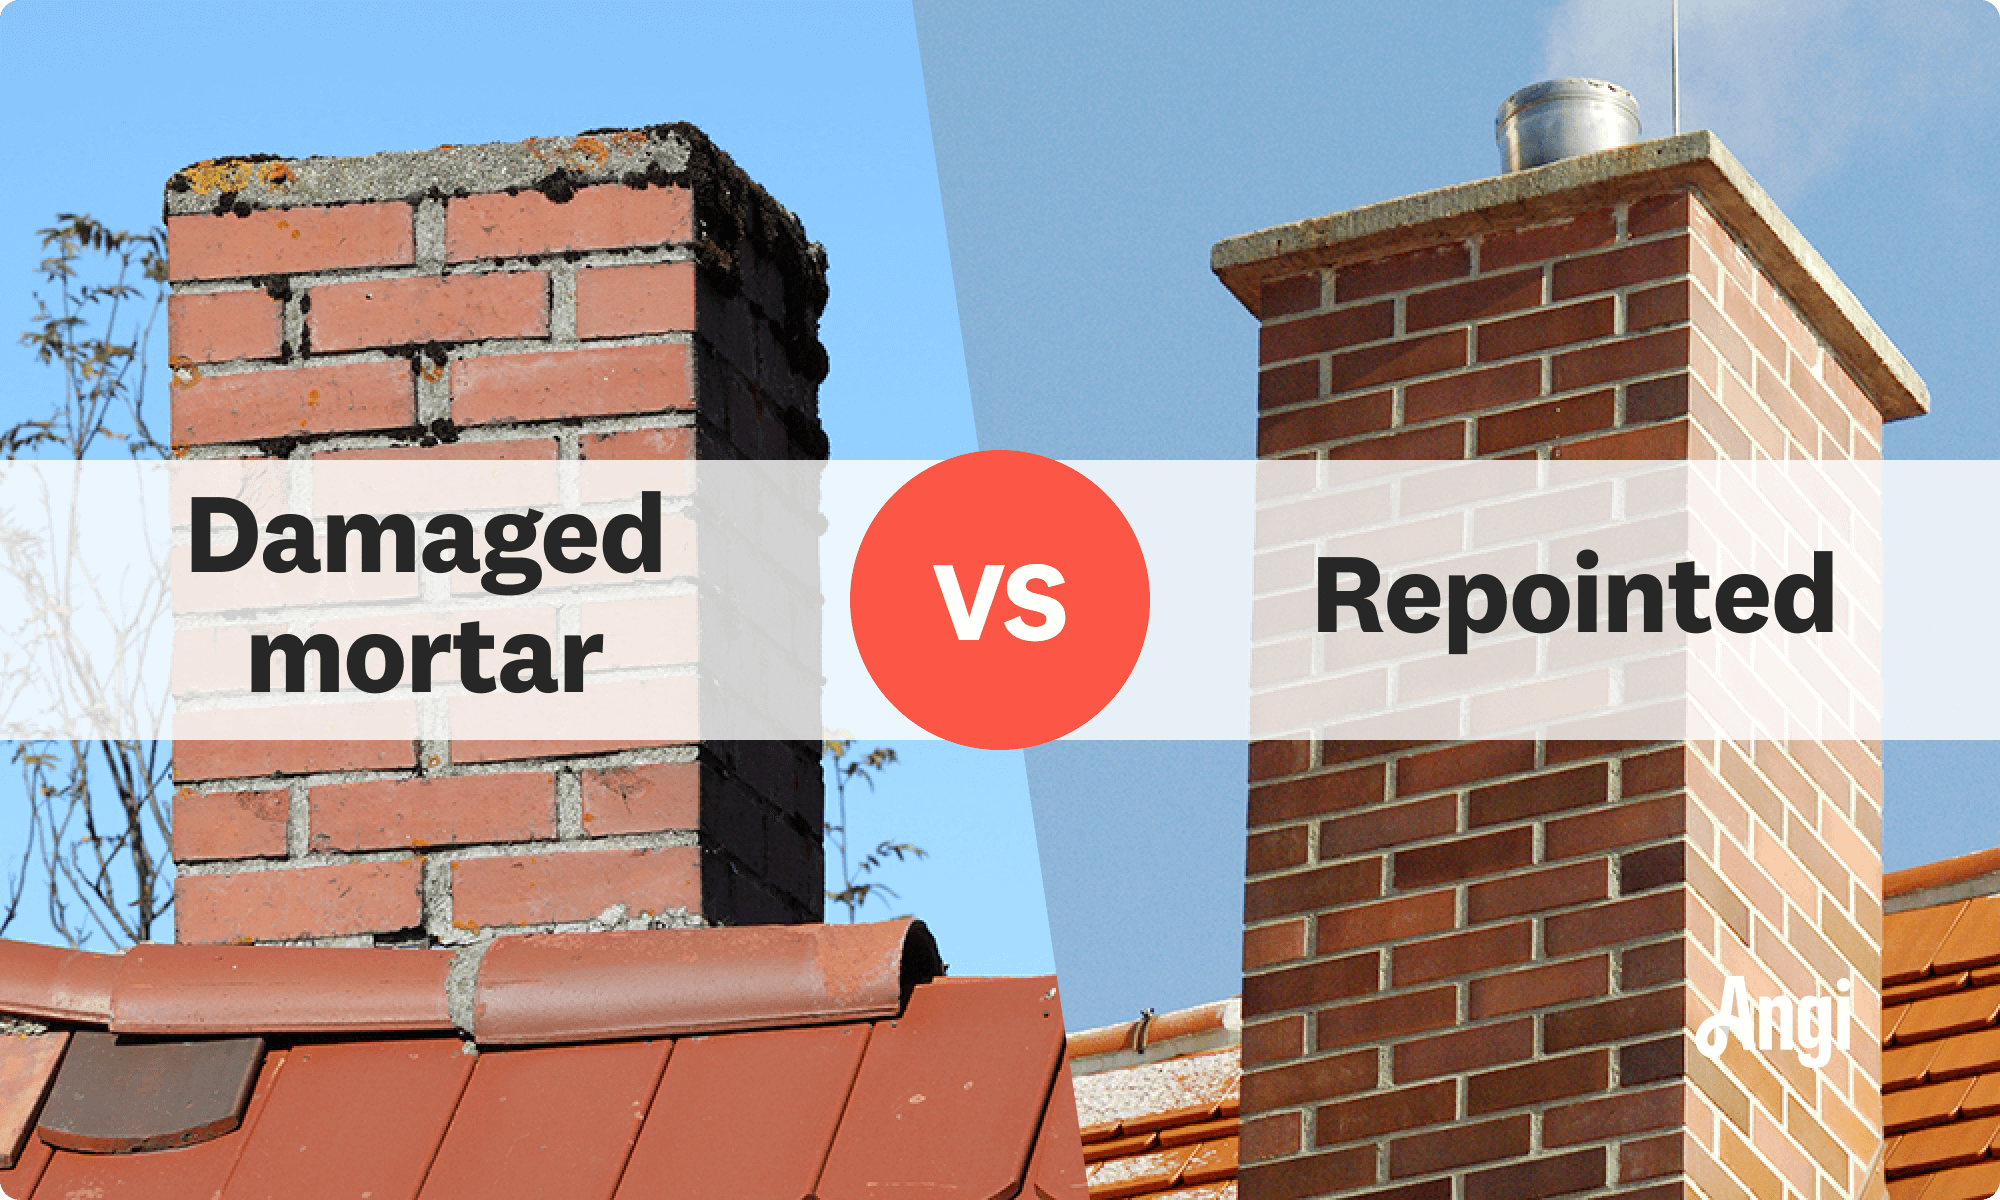
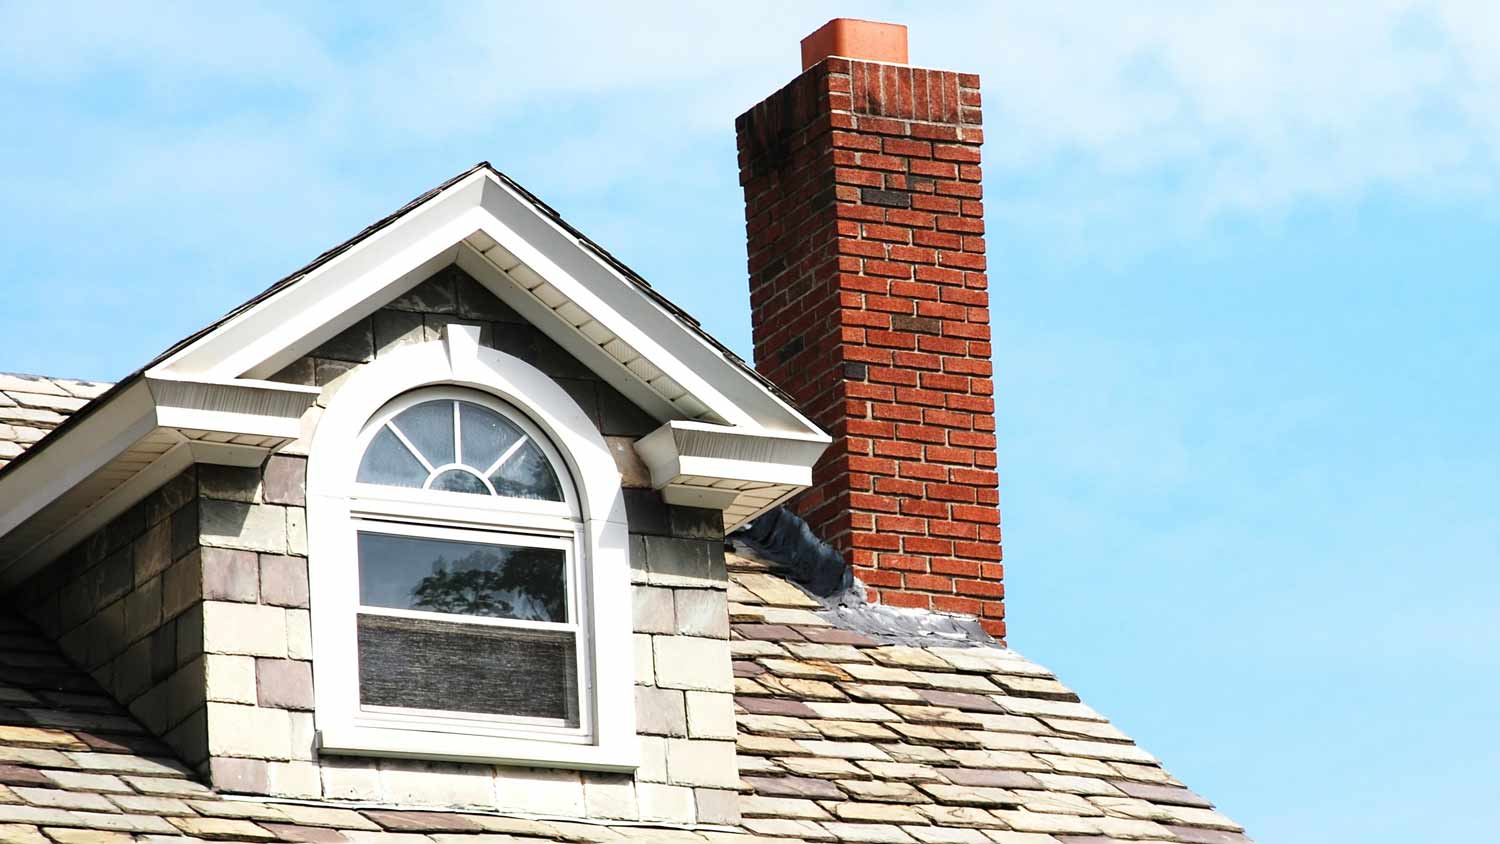
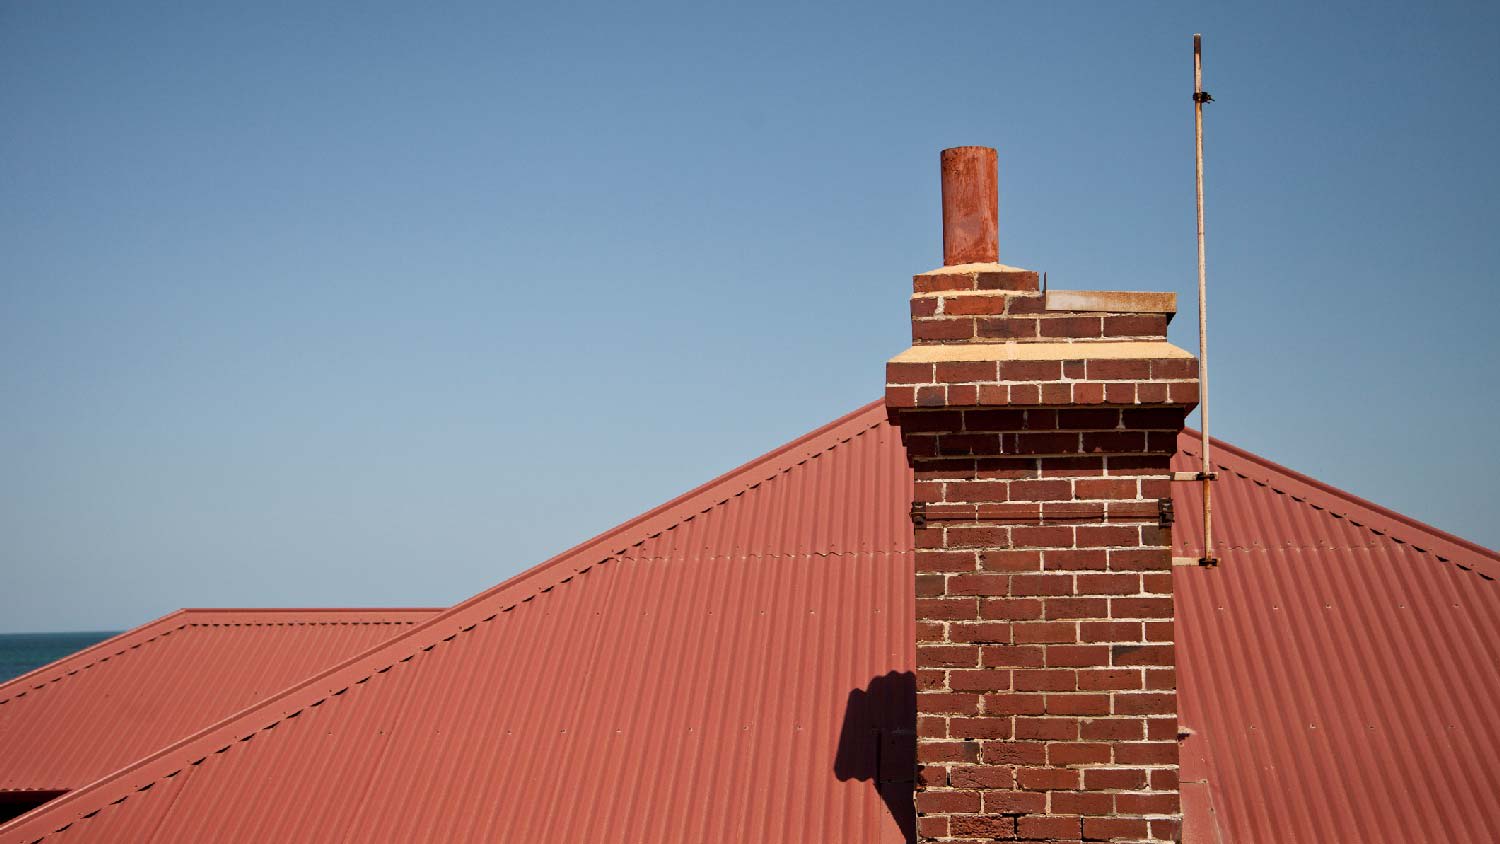
Repointing a chimney is the process of removing damaged mortar around chimney bricks and replacing it with new mortar, which can strengthen your chimney, protect it from leaks, and give you an instant boost to your curb appeal. If you’re more experienced in roof and chimney repair, you can follow these steps on how to repoint a chimney. However, for most homeowners, it’s best to leave this project to the pros since it requires some masonry skills and climbing a ladder.

In the worst cases, you may already see crumbling mortar and bricks even from afar. But if you suspect it’s time to repoint your chimney but aren’t sure of the true condition of the mortar, you’ll need a ladder and a pointing chisel or screwdriver to test the condition of the mortar.
Put pressure on the mortar and see if it crumbles easily under the pressure of the tool. You can also do a visual inspection to see if there’s any erosion of mortar from the surface of the bricks greater than 6 millimeters.
Alternatively, you can hire a chimney inspector near you to assess the condition of your mortar and identify any other potential chimney problems.
Dust, debris, and falling pieces of broken brick can all damage your roof material. Make sure to set up a way to contain the mess to avoid paying for repointing and roof repairs. Lay a plastic sheet or moving blanket around the chimney to help catch debris and soften impacts.
Using a drilling (or club) hammer and a pointing (or plugging) chisel, start working along the lines of mortar to cut out the eroded parts. Tap the hammer against the end of the chisel to scrape out the old mortar. Only go about 25 millimeters, around 1 inch, deep to avoid cutting back too much mortar and causing the bricks to destabilize.

Use a dust extractor vacuum to sweep up the dust and debris before you begin applying new mortar. This ensures the mortar has the best grip between bricks.
You may want to remove a few cracked bricks here and there for a totally refreshed chimney look. However, if several bricks are in disrepair, it’s time to have a pro come in to complete the chimney repairs. Removing multiple broken bricks could make the chimney vulnerable to collapsing.
If just one or two bricks need a refresh, you can use a hammer drill, then a hammer and chisel, to carefully break up each brick. Then, remove the remaining pieces of brick by hand and chisel away the excess mortar to prepare for a new brick install. Again, if you aren’t sure how to remove the brick or have trouble, call in a pro at this point.
You need to wet the bricks and remaining mortar on the chimney. Otherwise, these materials can absorb the water from the freshly mixed mortar and cause it to dry too quickly, leaving it cracked and vulnerable to more erosion. Use a spray bottle to apply water on the bricks and mortar.

Now, it’s time to mix up the new mortar that you’ll apply all over the chimney. Use a lime-based mix for homes built before 1920. For modern homes, opt for a Type N premixed mortar or a mortar with three parts sand to one part cement.
Follow the mixing instructions on the mortar’s label. You can hand-mix it using a trowel or mix the mortar with a power drill and a paddle attachment.
If you removed broken bricks, now you can move on with replacing them. Apply mortar in the brick opening, making sure to apply it on the base and sides of the opening but not the top. Then, use a trowel to apply mortar across the base of the brick and slide it into the opening with the mortared side down. Use a trowel to straighten the brick.
Removing and replacing broken bricks can be a tricky part of repointing, so be sure to hire a pro if you’re having trouble with this step.
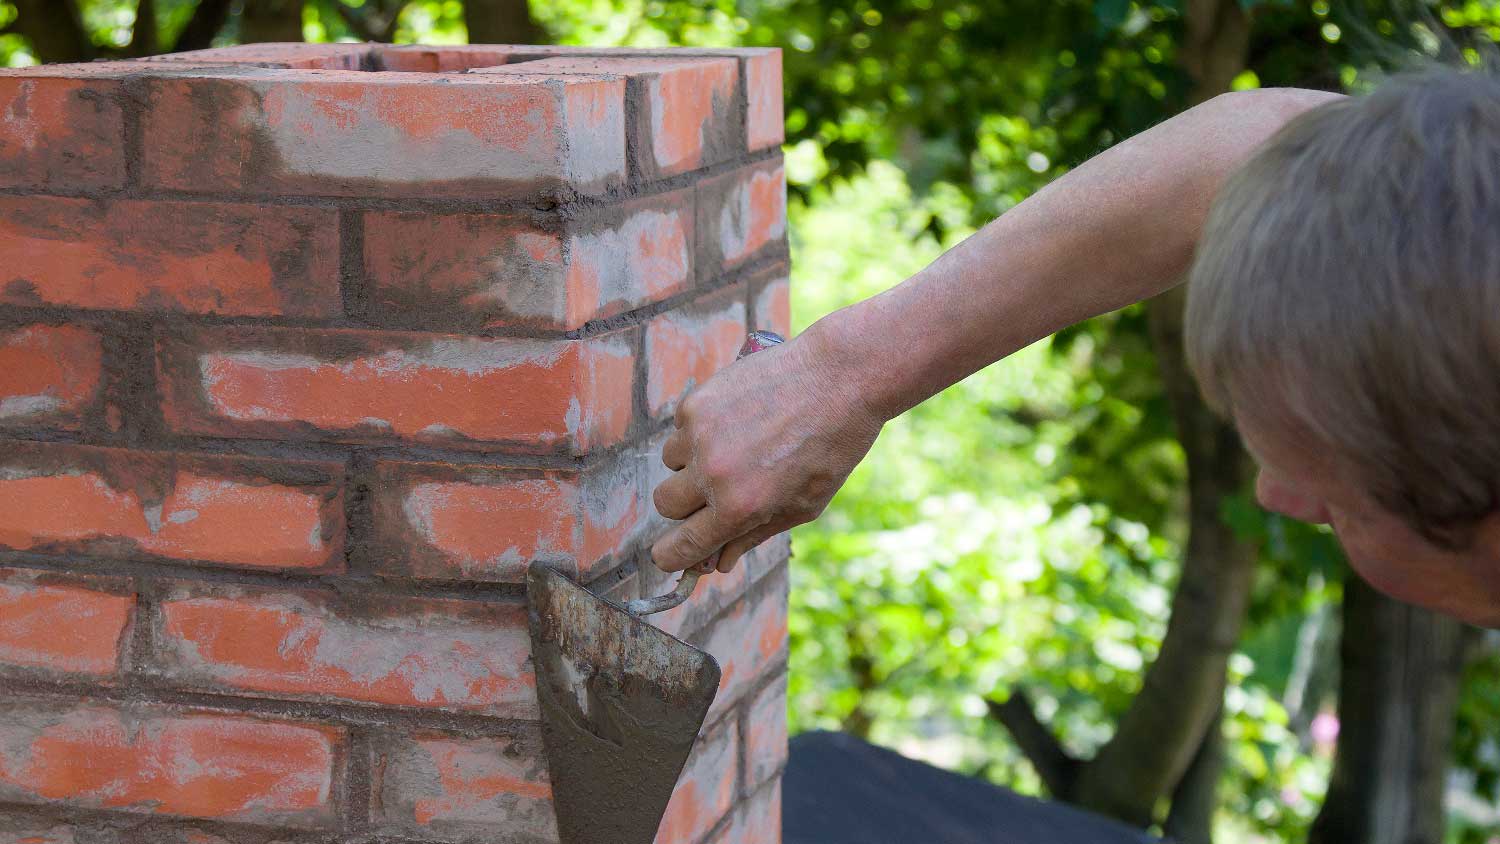
Finally, it’s time to apply the freshly mixed mortar to the chimney. You can apply mortar to a masonry hawk to hold mortar while you work. Then, starting from the top of the chimney, use a trowel to apply mortar to the joints. Work from the top, moving right to left or left to right before moving downward.
Use a tuck pointer, a great tool for getting clean lines when repointing or tuckpointing a chimney, to smooth out the lines of mortar. Be sure to scrape any excess mortar off the brick surfaces before it dries.
For your safety and comfort, as well as the stability of the new mortar, it’s best to repoint a chimney in spring, early summer, or early fall. Aim for a two-day period with mild temperatures and no rain, and look for days with lower humidity levels. High heat can make it uncomfortable to work, while rain can make working on the roof slick and more dangerous. You want to avoid high humidity or cold temperatures to give the mortar the best conditions for curing.
Although you may not spend much money on chimney repointing costs when you DIY, there are other costs to consider. This job involves working on a roof while handling various tools and mortar, which can be challenging for anyone who isn’t an expert in these types of chimney repairs. There are risks of injury if you slide or fall, and improper repointing can leave your chimney vulnerable to more expensive damage.
Instead of going the DIY route, it’s best to leave repointing and other rooftop projects to a local chimney repair pro. Not only can you trust that the job is done correctly and safely, but you’ll also get your weekend back.
Positive experience. As previously stated, the replacement/repair could not be completed (no fault of the plumbing tech) b/c misinformation was rec?d by property management maintenance. Thanks to the plumbing tech for your efforts. Appreciate you!
 The Waterworks
Carpet repair done well. Scheduling was easy. Showed up on time.
I would recommend this company to anyone! He showed up on time, was friendly, completed a very difficult repair on our dryer vent cover, was responsive, and pricing was extremely fair and competitive. I would have him back to do any of our repairs or cleanings without hesitation!
Ace Fireplace Services came to the rescue for my chimney repair. They were quick to pinpoint the issue and worked their magic to fix it. My chimney is now in excellent shape, and I'm a satisfied customer.
 Ace Fireplace Services
100% satisfied with the work done by Supreme Brick & Chimney. Josh responded to my Angi request very quickly and squeezed our house into his schedule only a couple business days out. The chimney cleaning process was extremely clean with ZERO dirt going anywhere besides in Josh's vacuum. Very...
 Supreme brick & chimney
On Sunday 2/26 I requested quotes via Angi from 4 refrigerator repair businesses. Northwest Appliance responded to me Monday morning (2/27) and my refrigerator was repaired by noon the same day. Great communication, they did everything they said they would. The technician had the parts on...
Great experience all together. Dog friendly, courteous, great results and honest with recommendations. Will certainly be using Cardinal in the future for any carpet repairs
Description says they handle window repair including rotten hardwood - they called me back right away but didnâ t leave a voicemail. I followed up 3 days later and they said they donâ t do that kind of work.
They arrived on time repairs performed quickly very porvesinal
Mike and his crew did a great job working through a very challenging task. The job required a full demolition of our ceiling, removing the blown in insulation and removing all the material from the site daily. It involved multiple inspections from the city and many challenges to get the...
 Rising Height Unlimited
From average costs to expert advice, get all the answers you need to get your job done.
Replacing your chimney increases home value and prevents hazardous structural damage. Learn how much to budget for chimney replacement costs.
Chimney repair costs can vary by the type of chimney you have and the required repairs. Use this guide to help you estimate project costs.
Discover the average chimney tuckpointing cost, key price factors, and expert tips to help you budget and save on your next chimney repair project.
What is repointing a chimney? Repointing a chimney is a necessary repair to keep your structure leak-free. Find out what’s needed and how long it lasts.
Here’s a closer look at the key differences between tuckpointing vs. repointing so you can decide which masonry repair technique is right for you.
What is tuckpointing a chimney? Tuckpointing a chimney involves replacing old, damaged mortar to preserve its structural integrity and enhance its appearance.