

Explore the common types of oven repairs and how much they cost based on the problem, the part, and the type of oven. This guide will tell you the average cost to repair an oven.
Turn up the heat on your DIY skills with this simple swap

The coil at the bottom of your oven is called the heating element. It uses electric resistance to heat up. You will need to replace the heating element in your oven if heat no longer radiates from it, there is no electrical current, or your food is cooked unevenly.
While the terms oven, range, and stove, are often used interchangeably, they are different. Range and oven refer to units with both an enclosed cavity and an open-air cooking surface. Stove refers solely to an enclosed cavity (wall ovens) and stovetop, or cooktop, refers solely to an open-air cooking surface.

These units don’t break often but when they do, replacing it is a simpler DIY task and can save you hundreds of dollars in labor costs should you choose to do it yourself.

Trust us, the low cost of this DIY is the only shock you’ll want to experience while replacing your oven’s heating element. There may or may not be a switch on your oven to turn off the power. Flipping it to the off position is a good idea. If you can locate a plug, unplug the appliance as well. Just to be extra careful, locate the circuit breaker in your house and switch off power to the entire room where the oven is located.
At this stage, use a multimeter to confirm that the power is off. You can do this by touching the probe against the exposed wires.

Although it isn’t completely necessary, it’s a good idea to put on some general-purpose work gloves at this stage. Sometimes the oven has tiny shards of metal that you wouldn’t want lodged in your skin. Another optional step is to remove the oven door. If you can replace a heating element in an oven without doing so, you don’t need to add this extra step. Remove all oven racks at this stage. Once removed, clean the oven if it’s dirty. If the element or the oven itself is damaged, consider potential oven repair costs.

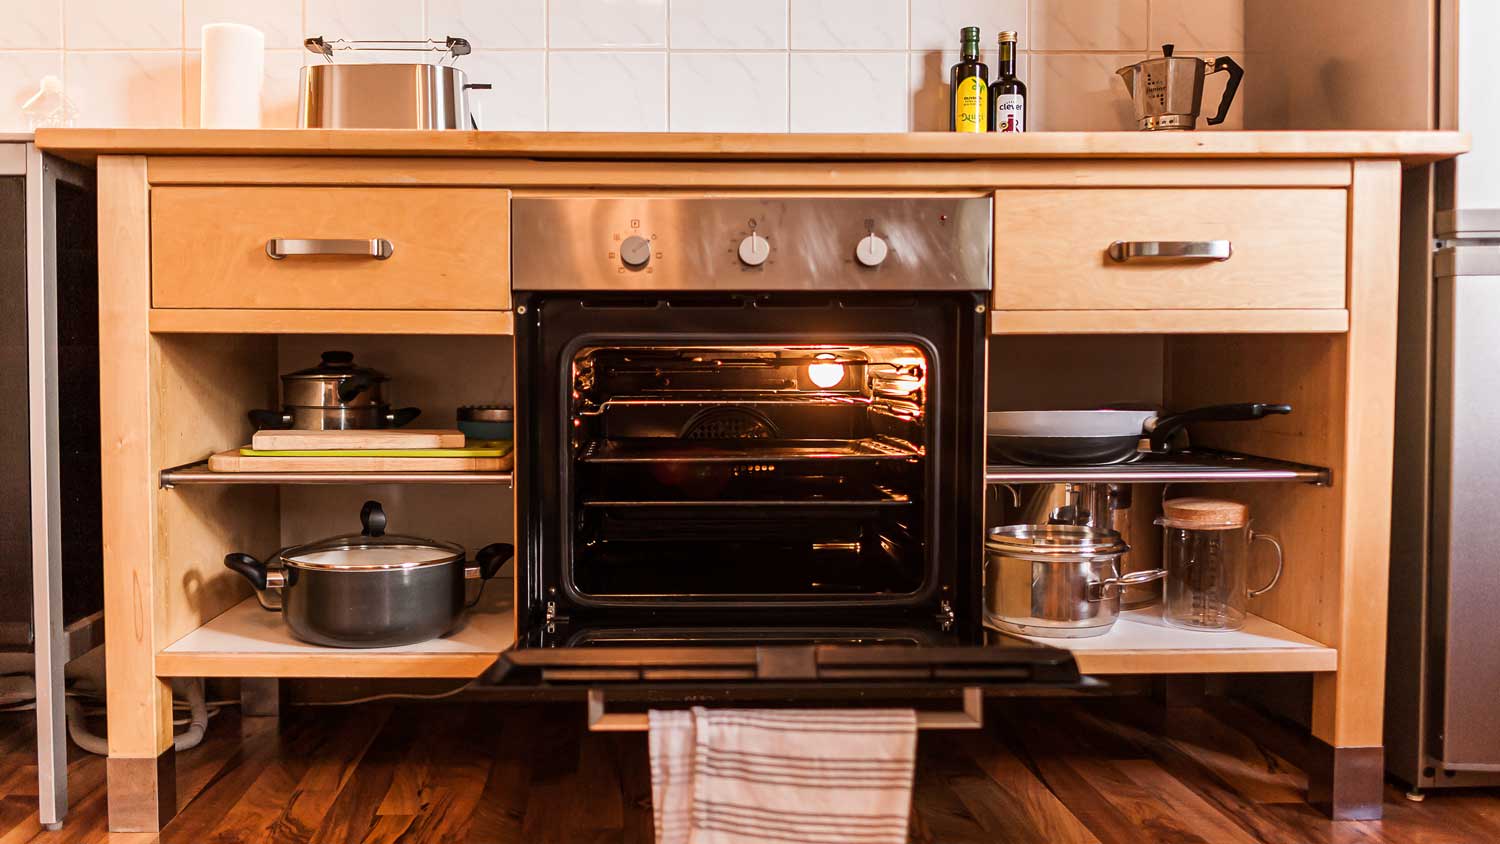
Locate where the heating element is attached. Usually, it is in the main body of the oven, at the back or side and is often a matchbox-sized attachment with two screws. Use the screwdriver and remove the screws, pull out the mounting bracket once they’re removed. Disconnect each spade wire connector with pliers, then simply pull the heating element out of the oven.
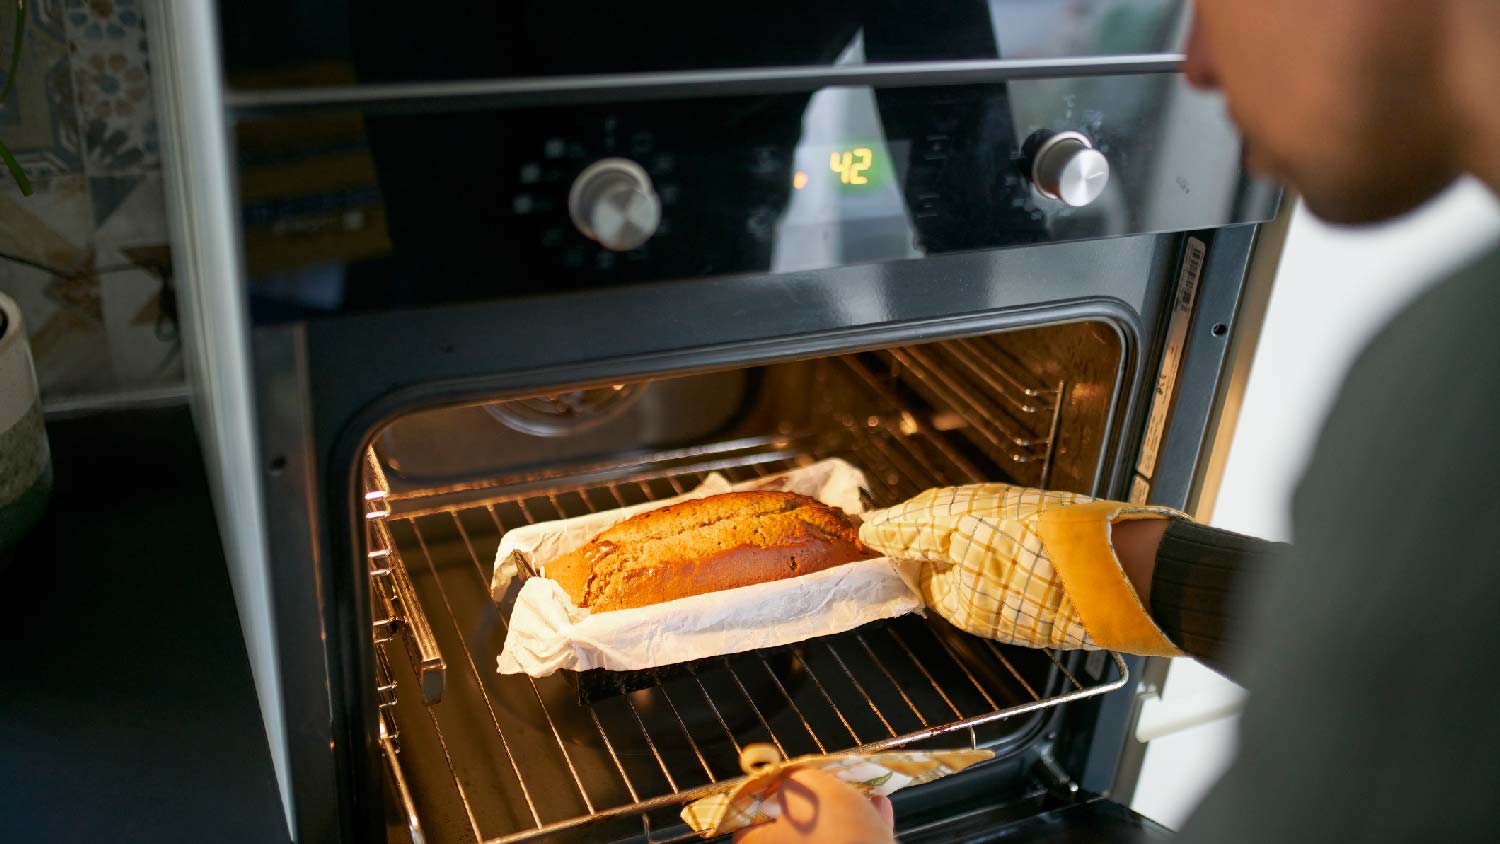
You’re over halfway done! All you need to do is reverse the steps. First thing, slide the new heating element into the oven and reattach the wire connectors onto each probe. You may need pliers to clamp down the spade, ensuring it’s a tight fit. Once you know they are secure, reattach the mounting plate by placing it back into the oven and insert the mounting screws. Make sure everything is tightly secured.

Now that everything is in place, you’ll need to turn the power back on. Start by plugging the oven back into the wall—even though there isn’t power—and then flipping the power back on the circuit breaker. Once you’ve confirmed power is on in the room, turn the oven on. The new heating element should glow orange. You’ll want to calibrate your oven by using an oven thermometer to ensure the oven setting of 350 degrees Fahrenheit matches the thermometer.
If you can turn a screwdriver and locate the power unit for your kitchen, there really isn’t a need to hire a professional. Even while working carefully and methodically, this simple DIY fix shouldn’t take much more than 30 minutes.
However, you may not be able to complete the task because of an injury, such as a broken wrist or bad hip, which can prevent you from accessing or removing the heating element. Another reason you may choose to use a pro is if you don’t consider yourself much of a DIY’er. In this case, you’ll need to hire a local electric appliance installation professional to replace the heating element in an oven. Professionals may charge between $50 to $150 per hour. Due to the job’s simplicity, you should also expect a service fee of around $50 to $100.
Wondering how your oven stacks up against other Angi customers? According to Angi data, nearly 51% of customers cite having an electric oven, while almost 47% report having a gas oven.
Positive experience. As previously stated, the replacement/repair could not be completed (no fault of the plumbing tech) b/c misinformation was rec?d by property management maintenance. Thanks to the plumbing tech for your efforts. Appreciate you!
 The Waterworks
Carpet repair done well. Scheduling was easy. Showed up on time.
As usual with ECO, tech Jordan was outstanding, very professional, very knowledgeable, and very thorough with repairs made to tankless water heaters. Very highly recommend ECO!!!
 Eco Plumbers, Electricians, and HVAC Technicians
I would recommend this company to anyone! He showed up on time, was friendly, completed a very difficult repair on our dryer vent cover, was responsive, and pricing was extremely fair and competitive. I would have him back to do any of our repairs or cleanings without hesitation!
Everything from initial contact to completion was absolutely top notch. We contacted the business during off hours to leave a message, and the owner still reached out to feel out the issue within minutes. We were scheduled and repaired within 48 hours. I cannot say enough about the...
 Supreme brick & chimney
Ace Fireplace Services came to the rescue for my chimney repair. They were quick to pinpoint the issue and worked their magic to fix it. My chimney is now in excellent shape, and I'm a satisfied customer.
 Ace Fireplace Services
On Sunday 2/26 I requested quotes via Angi from 4 refrigerator repair businesses. Northwest Appliance responded to me Monday morning (2/27) and my refrigerator was repaired by noon the same day. Great communication, they did everything they said they would. The technician had the parts on...
Excellent! We were very satisfied with the service provided and the entire experience from start to finish. Very friendly and professional staff. I was able to instantly get in contact with them for a quote and the response time and overall communication remained quick and easy throughout the...
 Prime Cleaning Service
Description says they handle window repair including rotten hardwood - they called me back right away but didnâ t leave a voicemail. I followed up 3 days later and they said they donâ t do that kind of work.
I needed reliable, affordable help the day of with moving a couple of appliances and misc items. It was a relief to hear back from Tanzillo almost instantly that morning so I could stop looking and move on to plan and prepare. Every part of the move was friendly and professional. Next time I...
From average costs to expert advice, get all the answers you need to get your job done.
Explore the common types of oven repairs and how much they cost based on the problem, the part, and the type of oven. This guide will tell you the average cost to repair an oven.
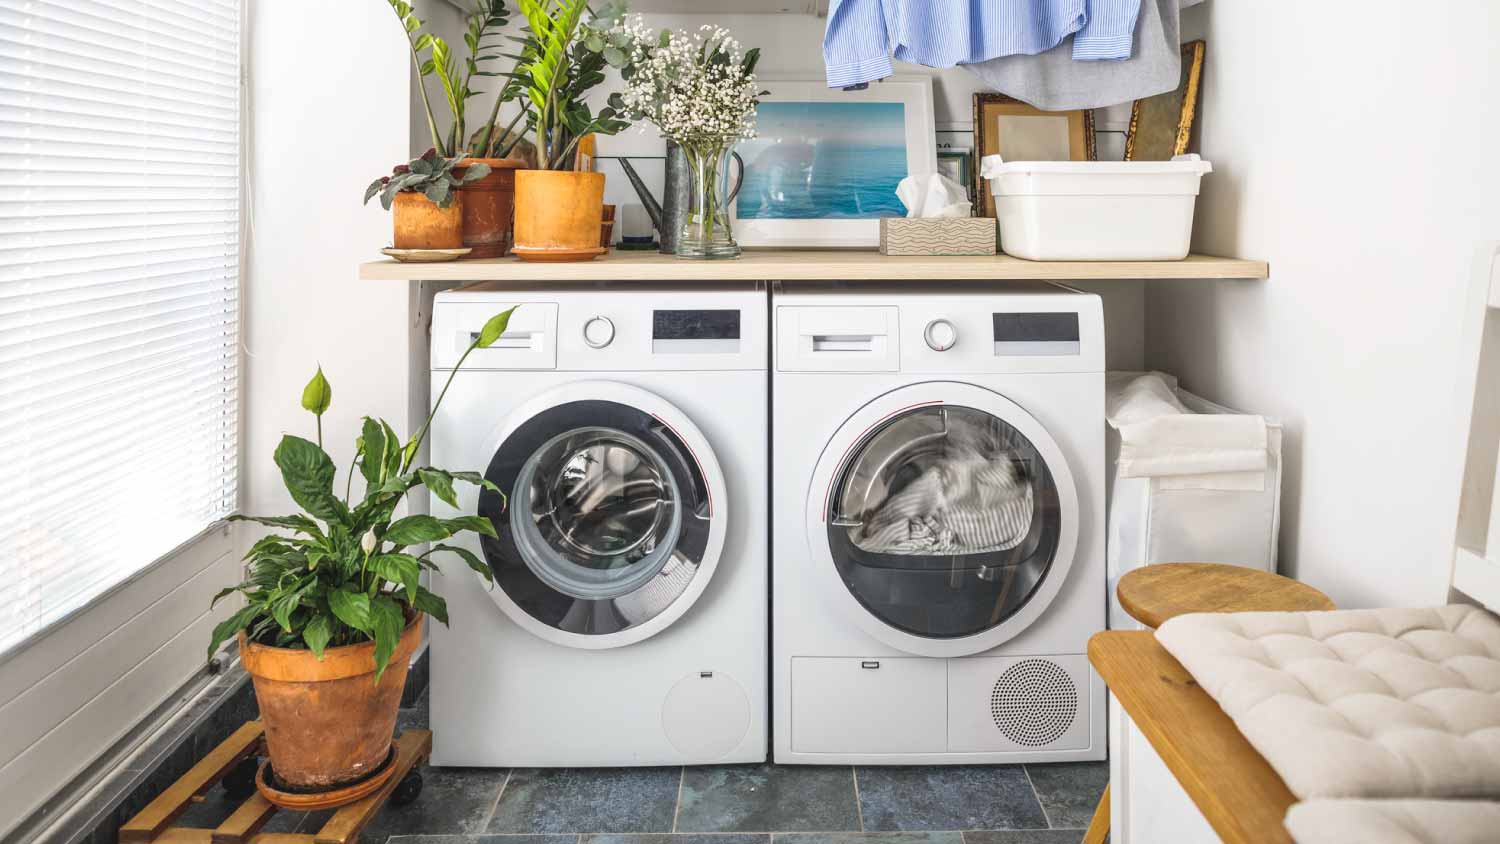
Depending on repair needs and machine age and type, the cost to replace a heating element in a dryer can vary. Learn the average repair costs.

Your oven is the centerpiece of the kitchen, but how do these appliances work, and what are their major components? Keep reading to learn about oven parts.
Wondering "why is my electric oven not heating up?" From a tripped breaker to a broken door seal, here are five possible reasons your oven is staying cold.

Is repairing your oven worth it, or should you consider a replacement? There are several factors to consider when deciding to repair or replace.
Different parts of an oven serve different purposes. Know what each part does so you can troubleshoot next time something isn’t working.