

•
Get transparent wallpaper removal cost info to learn average prices, key cost factors, and tips to save on your wallpaper removal project.
It’s time to smooth things over


Repairing walls after wallpaper removal may seem simple, but it’s often messy and time‑consuming. Hiring a pro gives you a smoother, faster finish and fewer headaches.
DIY attempts can leave behind rippled drywall, leftover adhesive, and uneven surfaces that show through paint or new wallpaper.
A professional brings the right tools and knowledge —including patching torn drywall, skim‑coating larger areas, and matching wall texture—so you avoid costly correction later.
Since the cost difference between DIY and hiring a wallpaper pro near you is small for many jobs, spending a bit more now can save you repeated fixes down the road.
You’ve finally peeled off the last strip of wallpaper, only to discover your walls look less than ready for their next act. Whether you’re planning to paint, re-paper, or simply enjoy a clean slate, repairing post-removal damage is a must. Whether it’s lingering glue or torn drywall, this guide to repairing walls after removing wallpaper will walk you through how to get your walls smooth and prepped for whatever comes next.
Removing wallpaper—especially older, glued-down types—can leave your walls in rough shape. You might notice leftover adhesive, gouges, torn drywall, or uneven surfaces. Whether you plan to paint or apply new wallpaper, these imperfections will stand out and compromise your final results. Taking the time to restore your walls will give you a smooth, professional-looking finish and help prevent future peeling or bubbling.

Here are some signs your wallpaper didn’t come totally clean:
Sticky or rough textures: Leftover adhesive or residue after wallpaper removal will need to be cleaned off before you cover your walls with anything else.
Torn drywall paper: You might see brown or fuzzy patches where the drywall facing was accidentally ripped.
Cracks, holes, or gouges: Scraping tools or overzealous removal can damage the wall surface.
Uneven paint or texture: Regardless of the reason, painting over damaged areas without first repairing them will make the flaws even more noticeable.
Restoring your walls, even if you followed all the steps to remove wallpaper correctly, takes patience. However, it’s the key to achieving a clean, professional-looking finish. Whether you’re prepping for a fresh coat of paint or new wallpaper, here’s how to bring your walls back to life.
Even after the wallpaper is gone, sticky paste often lingers. Failing to remove it can prevent paint from adhering or cause new wallpaper to bubble. To remove wallpaper paste, fill a bucket with a solution of warm water and soap, or add in your choice of baking soda and vinegar. Or, you can use a commercial wallpaper glue remover. Soak a sponge or cloth in the solution and gently scrub the walls in small sections. After washing, rinse the area with clean water and wipe it down to remove any loosened glue. Allow the surface to dry fully.
You can also try a sanding sponge or a pole sander to gently smooth out rough patches or remaining adhesive residue. This method can help remove thin glue films or raised areas that weren’t fully addressed during cleaning. However, be sure to apply light pressure and avoid oversanding.
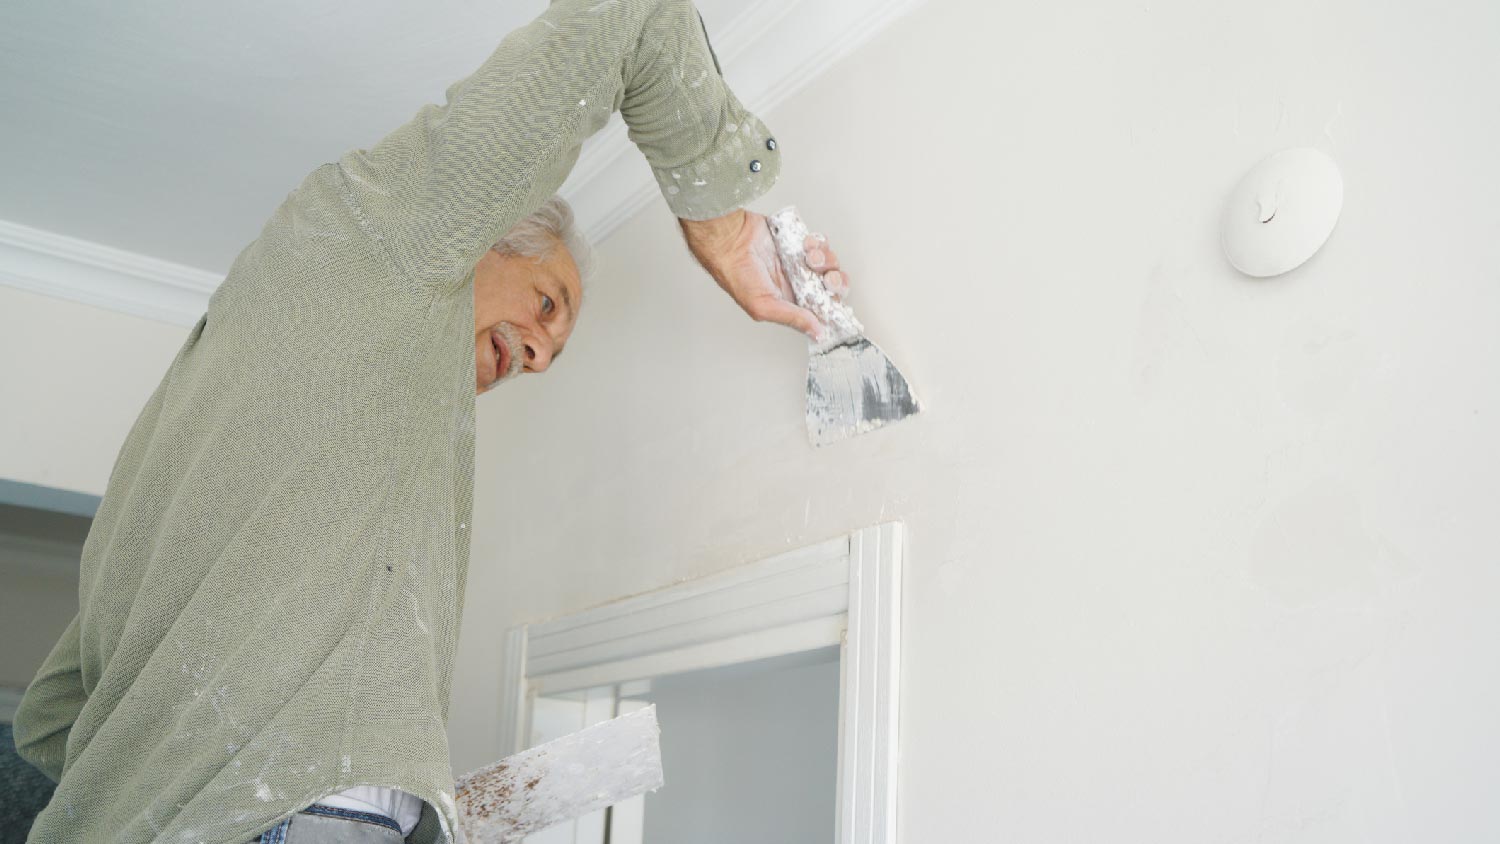
Aggressive wallpaper removal often peels away the top paper layer of drywall, leaving behind brown, fuzzy patches that can bleed through paint or bubble under new wallpaper. First, cover these exposed areas with a product designed to seal problem surfaces, which is available in the paint section at most hardware stores. Once the sealant dries, apply a thin layer of joint compound (also known as mud) with a putty knife. Feather out the edges to blend in with the surrounding wall. After it dries, sand the area smooth with a fine-grit sanding sponge and wipe away dust with a damp cloth.
Scraping tools can leave behind dents or gouges. Wherever you spot imperfections, patch drywall holes using lightweight spackle or pre-mixed joint compound. For larger and deeper areas, apply the product in layers, allowing each layer to dry before adding the next. Smooth the compound with a putty knife, sand the repaired spots once they’re completely dry, and wipe away any sanding dust. The goal is a perfectly flush surface that disappears once painted or re-wallpapered.
If your wall feels lumpy or blotchy even after minor patching, skim coating can help. This process involves spreading a thin layer of joint compound over the entire wall to create a consistent surface. Mix your compound to a smooth, spreadable consistency, then use a wide drywall knife or trowel to apply the coat from top to bottom in sweeping motions. Once dry, sand lightly and repeat as needed for a flawless finish. It’s a time-consuming step, but it’s often the only way to fully erase extensive damage.

Once your walls are smooth, clean, and dry, priming is essential. A good primer seals your repairs, evens out surface texture, and ensures paint or wallpaper adheres properly. Choose a high-quality primer designed for drywall or previously wallpapered surfaces—some even come with stain-blocking properties to cover discoloration from old adhesive or drywall damage. Apply with a roller or brush in thin, even coats, and allow it to dry thoroughly before painting or papering. This final prep step takes your walls from DIY to professional-grade.
If all else fails and your walls are still bumpy or uneven after repair, you can apply a wall liner to smooth them out. A thick wallpaper made to cover imperfections, it acts like a blank canvas that can be painted or wallpapered over.

Want to make future wallpaper removal smoother and keep your walls in better shape? A few smart prep steps can save you hours of repair work down the road. Here’s how to protect your drywall from damage before, during, and after your wallpapering projects.
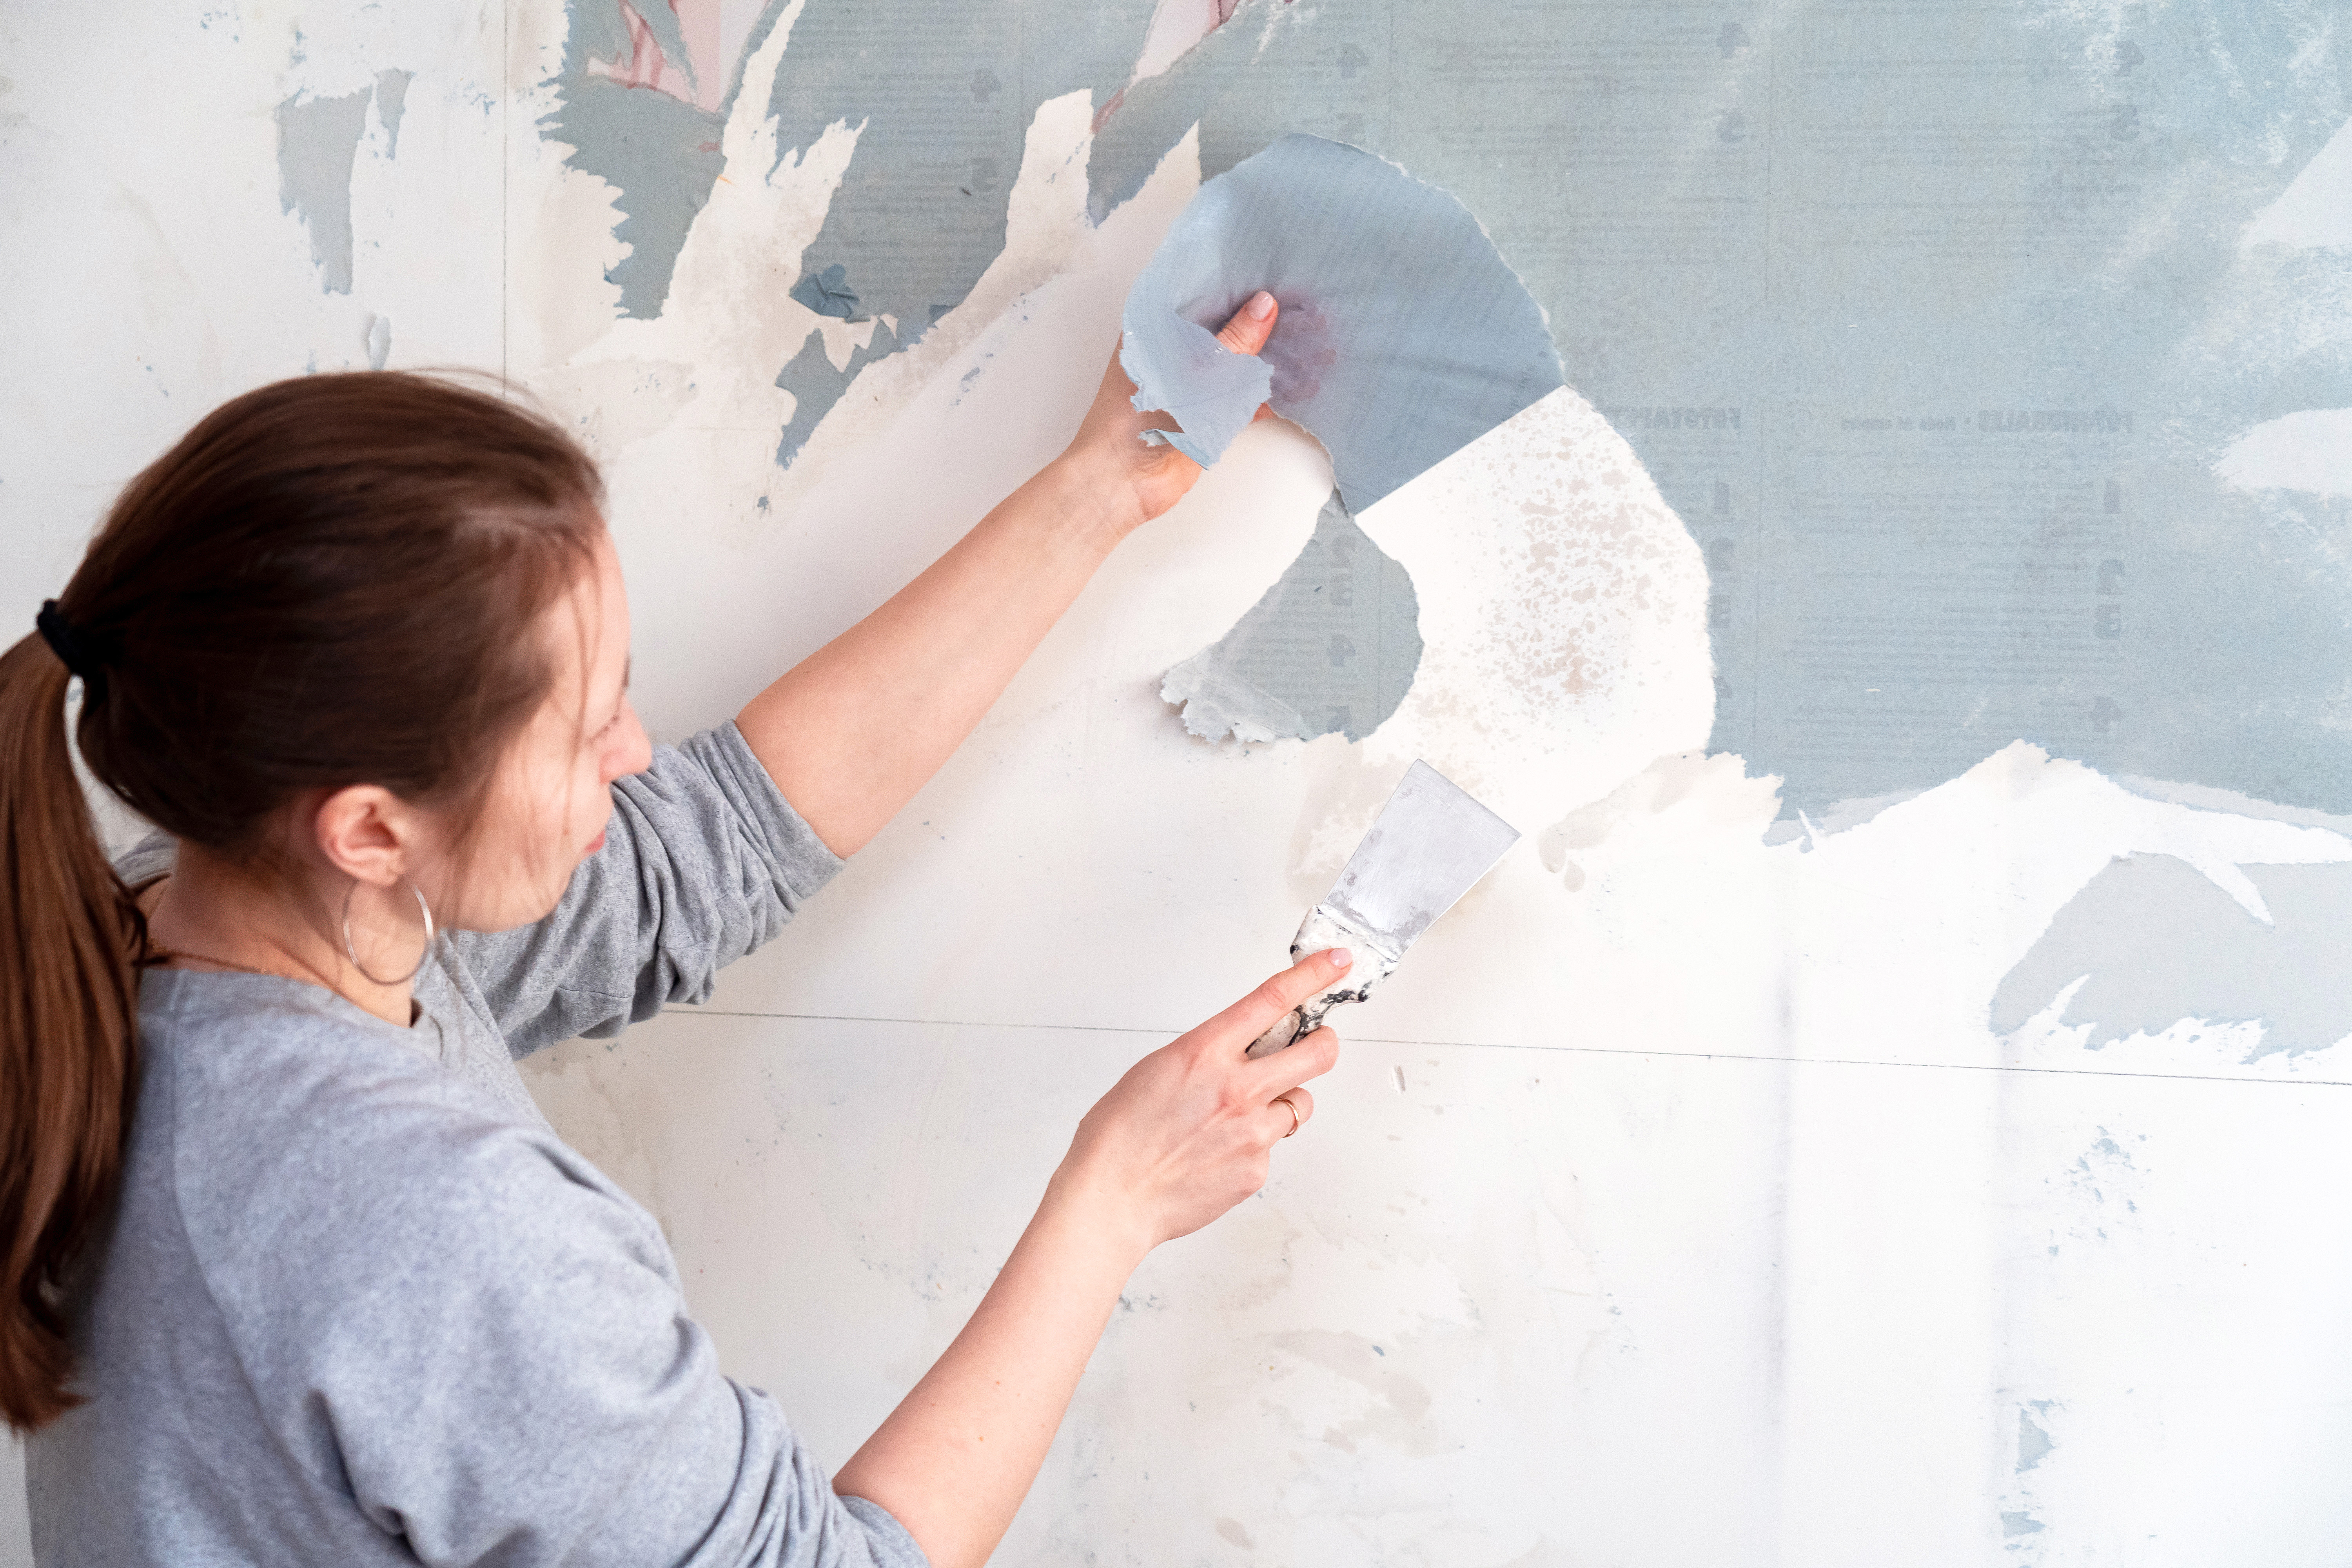
Don’t skip this step if you’re dealing with traditional pasted wallpaper. Use a wallpaper scoring tool to create small tears on the paper’s surface. This allows the wallpaper removal solution to seep behind the top layer and loosen the adhesive underneath. Let it soak for at least 15 to 20 minutes before peeling. The more thoroughly you saturate the paper, the less effort it will take to remove it.
A metal scraper may seem like the quickest route, but it can easily dig into the drywall, causing gouges. A plastic scraper or putty knife is much gentler on your walls, and it’s just as effective with soaked wallpaper. Hold the scraper at a low angle and work slowly to lift the paper without damaging the surface underneath.
Although we know it’s not your favorite task, removing wallpaper too quickly or scraping too hard can rip the drywall paper or leave adhesive streaks you’ll have to remove later. Put on a good podcast, work in small sections, and take your time with the tough spots.
A primer designed for wallpaper creates a smooth, sealed surface that helps paper adhere properly and makes future removal significantly easier. Skipping primer can lead to wallpaper bonding too tightly to the drywall, increasing the risk of damage the next time you want to make a change.
Wall repair after wallpaper removal can feel like a time-consuming and messy process. If your walls have significant damage, require skim coating, or you’re short on time, you may want to consider hiring a local wallpaper removal professional. On average, drywall repair costs between $20 and $120 for small holes, while plaster repair costs around $48 per square foot. If you choose to DIY repair, plan to pay around $10 to $55 for small areas, depending on what equipment you need to purchase. If you decide to hire a pro, consider having them repair walls throughout your home to help meet any project minimums.
From average costs to expert advice, get all the answers you need to get your job done.
Get transparent wallpaper removal cost info to learn average prices, key cost factors, and tips to save on your wallpaper removal project.
Wallpaper removal requires physical labor and can be a sticky mess. Consider these tips on the best ways to remove wallpaper to make the process as smooth as possible.
Whether you want to replace or remove your wallpaper, these handy tips for stripping wallpaper will make the process as easy as possible.

Wallpaper border can be difficult to remove. Learn five methods to remove wallpaper border effectively and without damaging your walls.

Taking down wallpaper is a tedious and time-consuming job. Here are some tips on how to hire someone to remove wallpaper for you to make your life easier.