

Removing tile flooring is a labor-intensive process. Here’s how much it costs to remove tile flooring, whether you hire the project out or do it yourself.
Give that outdated tile the boot

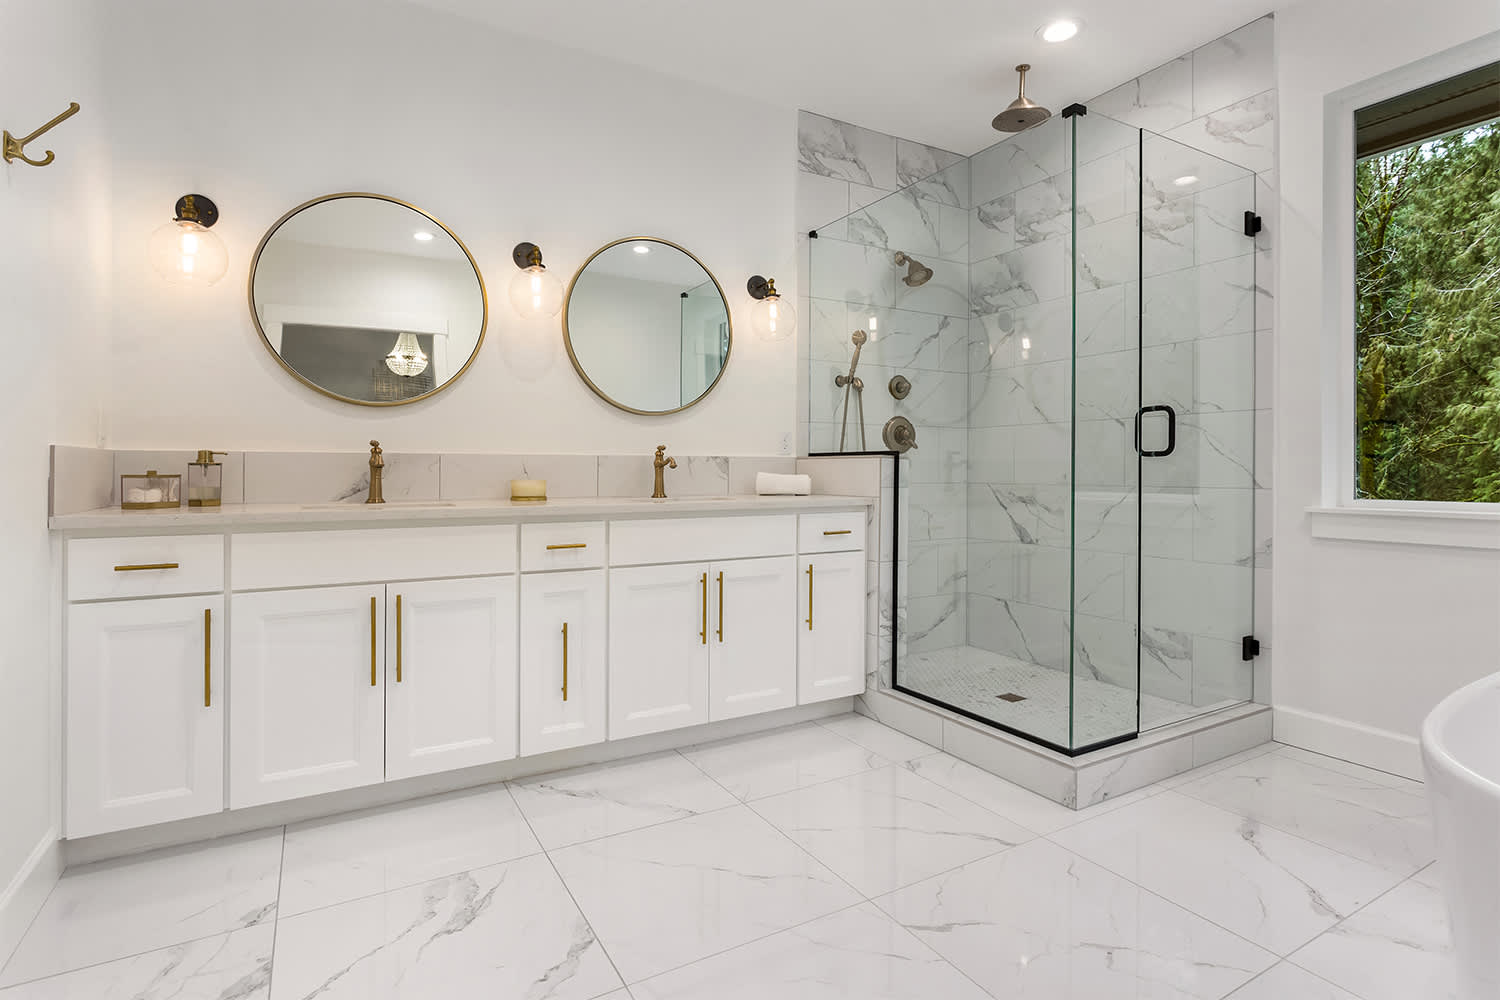
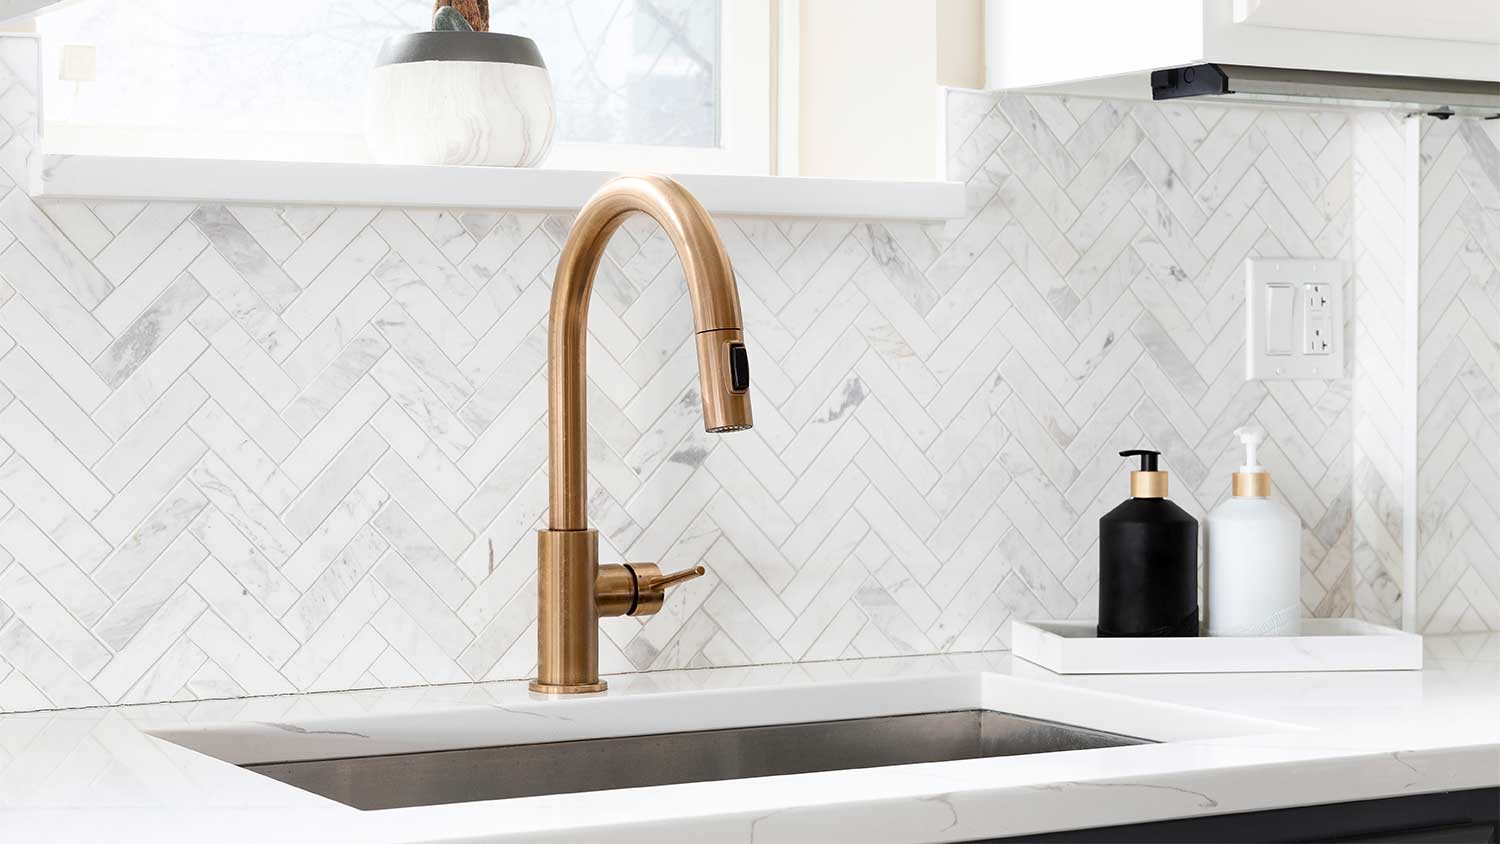
Your mosaic tile was a staple piece in your home that took your countertops to the next level. But now, you’re ready for something new and want to learn how to remove tile from walls so you can be out with the old (and in with that new ceramic backsplash you’ve been eyeing). In this guide, get a step-by-step play on this removal project and when to phone in a pro.
From broken-up tile pieces to wayward dust—removing tile from your walls can be a tedious safety hazard. So you’ll want to prepare yourself and your area for the job. Use this time to keep traveling dust confined by:
Opening windows
Covering drains and ducts with painter’s tape
Sealing off the area with plastic sheeting
Removing anything that doesn’t need to be in your workspace
Use plastic sheeting and tape to protect anything you can’t remove from the site.
Wear a long-sleeved shirt, heavy-duty work gloves, safety goggles, pants, and a dust mask to protect yourself from dust and falling tile pieces.
Once you’re ready, look for the weakest point on your wall to start your project. See an area where a little grout started chipping away, or there’s a loose tile? Start there. If you don’t see anywhere on your wall like that, pick a spot you’re comfortable with to start removing your grout.

When tiling a wall, grout keeps it in place. So, you’ll need to get rid of this before tackling your tiles. If you’re trying to salvage most of your tiles, removing the grout surrounding them is best. However, if you don’t want to reuse or repurpose your tiles, focus on extracting more grout near the floor or ceiling than in other areas.
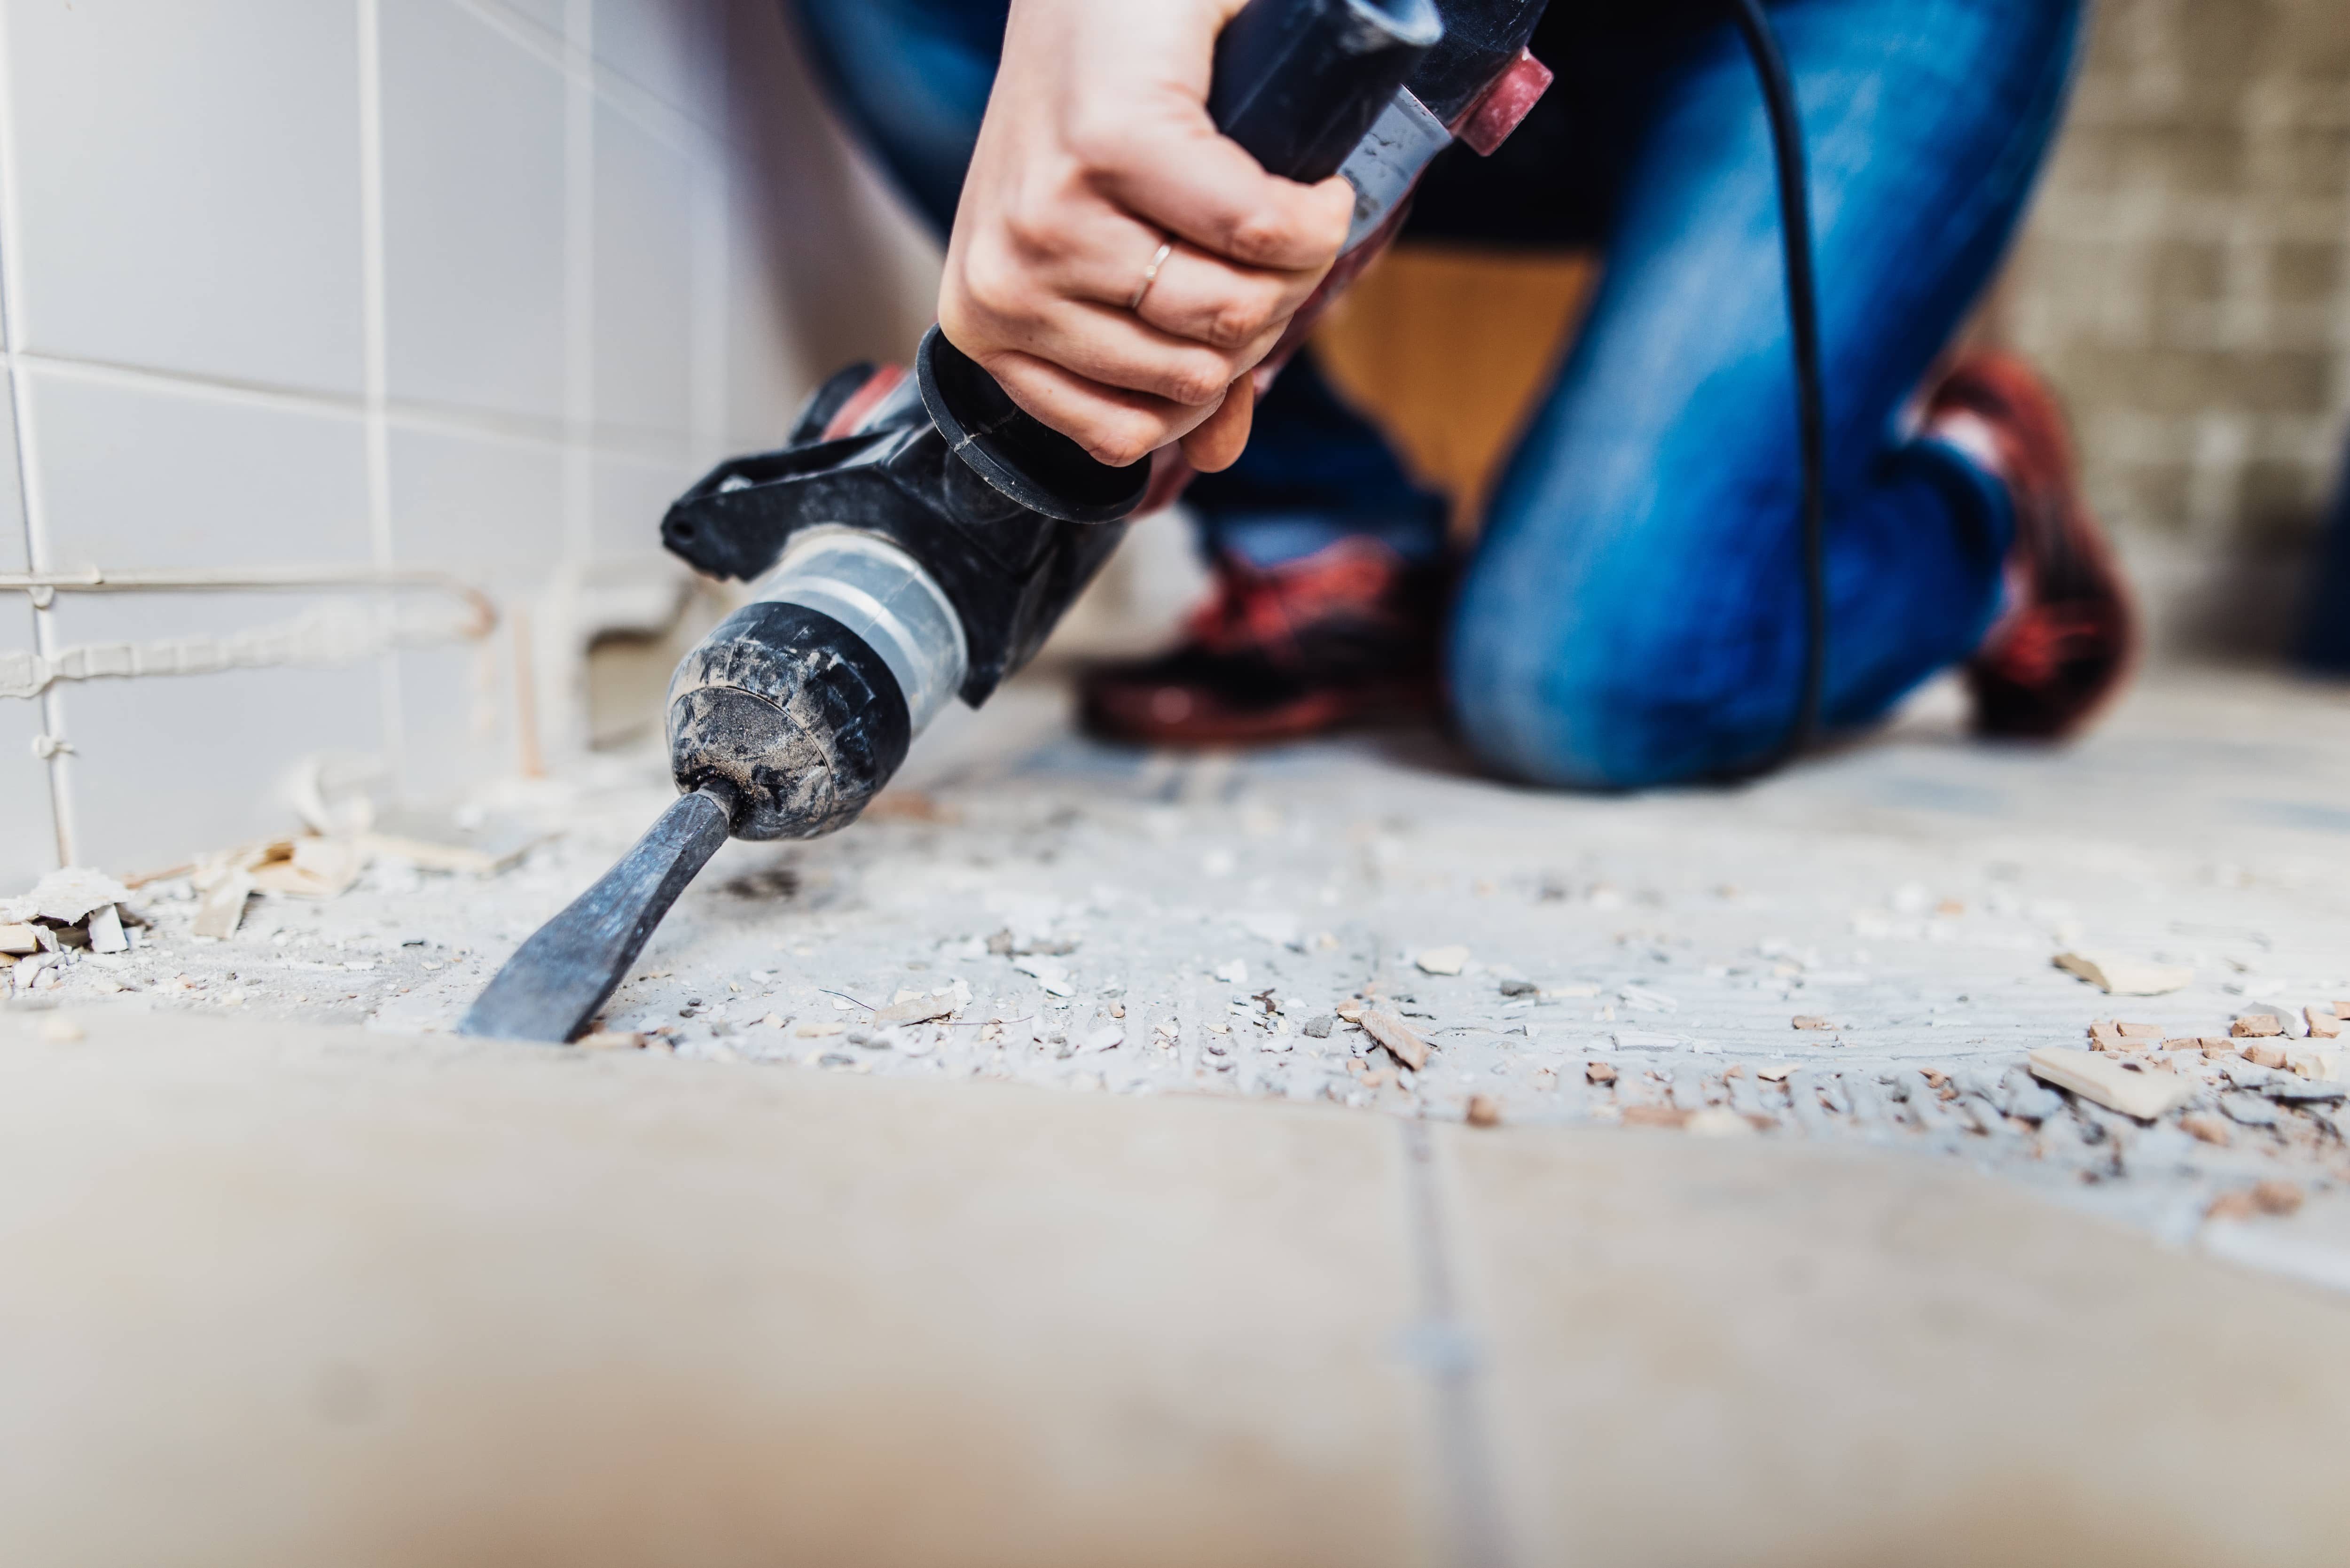
The most effective way to remove grout is with an oscillating tool using its grout-removal blade. If you’re using a battery-powered tool (not one that’s corded), lightly spray the grout with water to minimize the dust created. Then, position it at the center of the grout’s seam. If you’re working on a vertical grout line, you’ll hold your tool vertically and hold it horizontally for horizontal lines. Once it’s in position, turn it on and gently press the blade into the grout. Avoid pressing too hard since this can damage your tile or the drywall.
After removing a good chunk of the grout, slightly angle your blade to remove more near the tile joints. If there’s still grout left over, use a utility knife (with a few extra blades handy in case it starts to get dull) to finish the job.

After removing as much grout as you can, it’s time to start working on the tiles. Place your putty knife behind a loosened tile and strike down with a hammer in two or three spots until your tile pops off. If your tile is set into the mortar, you’ll have to break it to remove it.
Using a chisel and hammer, lightly tap your tile to start prying it from the wall. If you can, get someone to help you catch the fallen tiles to prevent shards from flying everywhere. Continue this process until all the tiles are removed.

After all the tiles are gone, the tile adhesive and spacers are the next part of this project that you’ll focus on. Position your putty knife at a low angle to remove the adhesive, and lightly tap on it with a hammer if you need more force.
Don’t try to rush through this step. Take your time chipping away at as much of it as you can. You likely won’t be able to remove all the adhesive, so try to remove enough so that it won’t interfere with adding new tiles. To remove spacers, use a pair of pliers to break them off.
After removing tiles, use a broom to sweep up all the dirt, dust, and debris from your project and place it inside a construction-grade trash bag. Once all the large pieces are out of the way, use a wet-dry vacuum to pick up any dust and debris you couldn’t get with the broom.

Removing tile from your wall can get fairly messy and make your wall look worse for wear. Use this time to inspect it and patch up drywall damages. Fill in dents and tiny holes with a lightweight spackle using your fingers. Let it dry for 30 minutes, then sand the area with a fine-grit sandpaper.
For holes that are slightly larger, but smaller than 4-by-4 inches, use a drywall patch kit and follow the manufacturer’s instructions. You’ll need to remove and repair that portion of the wall for damages greater than 4 inches.
While learning how to remove tile from your wall is possible for a handy DIYer, it’s a tedious, dusty process. Due to this project’s time (and effort) consuming nature, it’s one better left to a tile contractor near you. They’ll have all the tools to remove the tile, take care of patchwork, and dispose (or recycle) your tile for you. Plus, with them removing the tile for you, you can focus more on the tile size and design that’ll shine in your newly available space.
Terrible experience. Walls/trim/floors/cabinets/doors all have drip marks, overspray, etc. Tiling at the fireplace had to be redone by another vendor due to incorrect and shoddy install by Profect. Contractor had his children in our house while he was on site without prior authorization or...
 Profect painting & exteriors
It was wonderful working with Yordy and his team. They were very professional and are experts in what they do. They have completed the work on time, with better quality and with in fairly reasonable price. We just started with backsplash work , but liking his work, we went on to provide...
We were having 2”x 2” tile installed . There was a small installation error and the new additional replacement tile was from a different lot and the colors didn’t match. Joe assured us that he would rectify everything , which he did without hesitation. We decided to go with the 18” x 36” tile...
 CarifaTile
For several months I was looking for somebody to tile a wall in my master bath and move lighting fixtures, and could not find anybody who was responsive. I contacted Rowe through Home Advisor and within days they came by to assess the job and provide an estimate. The cost was very...
It went very well! The end product was amazing and we keep getting a lot of compliments from friends! M&E were very professional and they made sure we were happy with the product before leaving. They met with us in our home and at the tile shop to make sure we were okay with our tile and...
 M&E Remodeling
Involved an extensive bathroom remodel, including removing tub & installing walk in shower, new drywall, custome tile work to ceiling, plumbing, etc. Overall, job was done on time and on budget. Nick & his team were very professional and had high attention to detail. Quality was great. Highly...
 Stamos Flooring and Remodeling LLC
Very pleased with the service and level of professionalism. Courteous and very unobtrusive in performing service. Unlike several other companies, Bradford Xteriors was willing to perform work on a three story home with a clay tile roof. <br />
 Bradford Xteriors
This company did a very good job on the brick wall and it looks just amazing. The staff was always professional and was practically OCD on how the bricks were stacked and how they were laid. Although it took longer than expected, I am willing to sacrifice time over perfection anyday. The...
 My Handy Mate LLC Improvement & Remodeling
He did the tile work and he was good at it. He used other subcontractors for the rest of the work (like putting in the cabinetry) and they were okay but not great. He was a great guy! He was easy to work with and had a good eye for the detail of his work. There were a couple of things that I...
 Brian Miller Custom Remodeling
I was very impressed with Miller Cantrell! I live in an old home in which the sewage line that runs from my home to the sewage system is a line of clay tile. These eventually collapse and need to be replaced - an expensive problem and sure to happen at the worst time. I told them that my...
From average costs to expert advice, get all the answers you need to get your job done.
Removing tile flooring is a labor-intensive process. Here’s how much it costs to remove tile flooring, whether you hire the project out or do it yourself.

Need to open up your living space or make room for a home addition? Use this guide to estimate the cost to remove a wall in your home before you start.
Get clear answers on asbestos tile removal cost, including average prices, cost factors, and tips to save money on safe, professional removal.

If you’re hoping to restore a painted tile floor to its former glory, the first step is learning how to remove paint from tile. Get started with these tips.
You don’t need a pro to remove old tile flooring. This helpful guide tells you how to remove floor tile yourself in seven easy steps.
With the right planning and technique, you can achieve beautiful results from your wall tiling project. Find out how to install wall tiles.