

If your crown molding has edges or seams, you may want to caulk it. You can DIY this work or hire a pro—use this guide to learn the cost for both.
Let’s talk the talk and clean the caulk

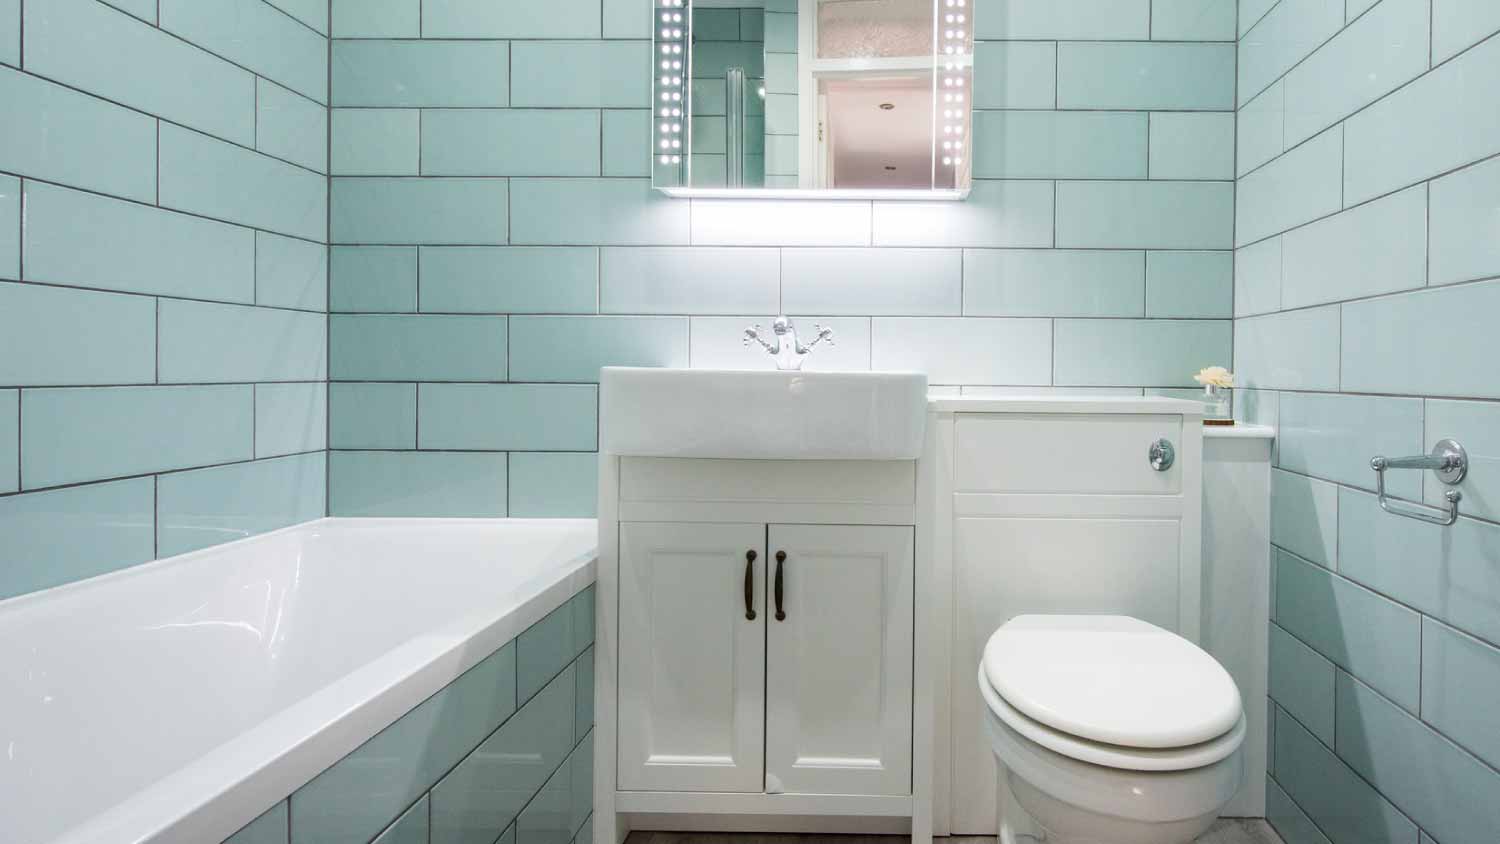
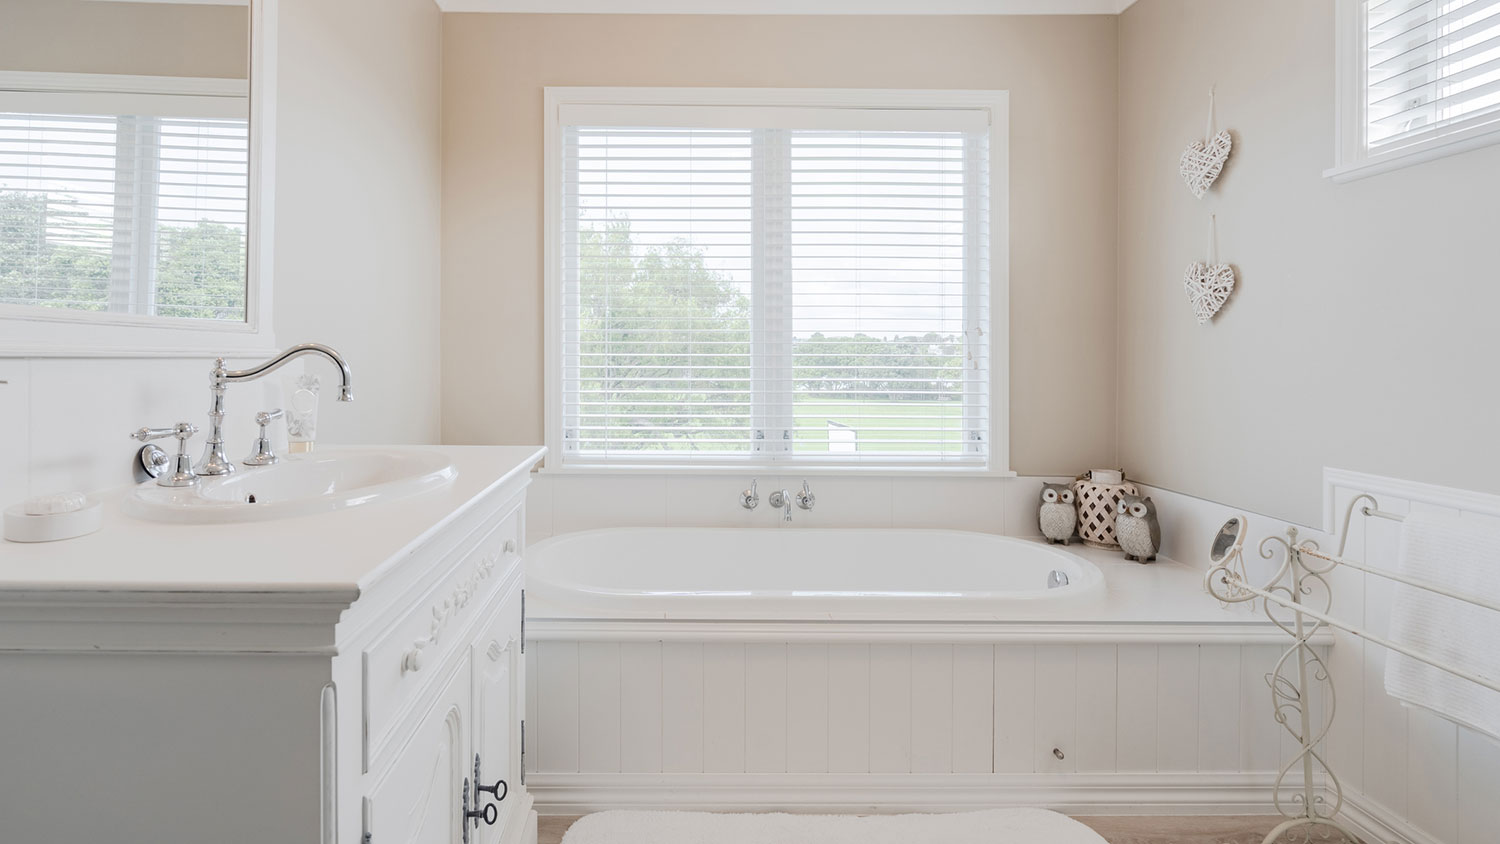
Silicone caulk cleaning becomes necessary when moisture gets trapped underneath, creating an ideal breeding ground for mold in your bathroom or kitchen.
Mold behind silicone caulk responds well to undiluted white vinegar, hydrogen peroxide, or baking soda paste, which you apply and let sit before scrubbing.
You should remove and replace old or damaged caulk when mold has deeply penetrated the silicone, ensuring a clean surface before applying fresh caulk.
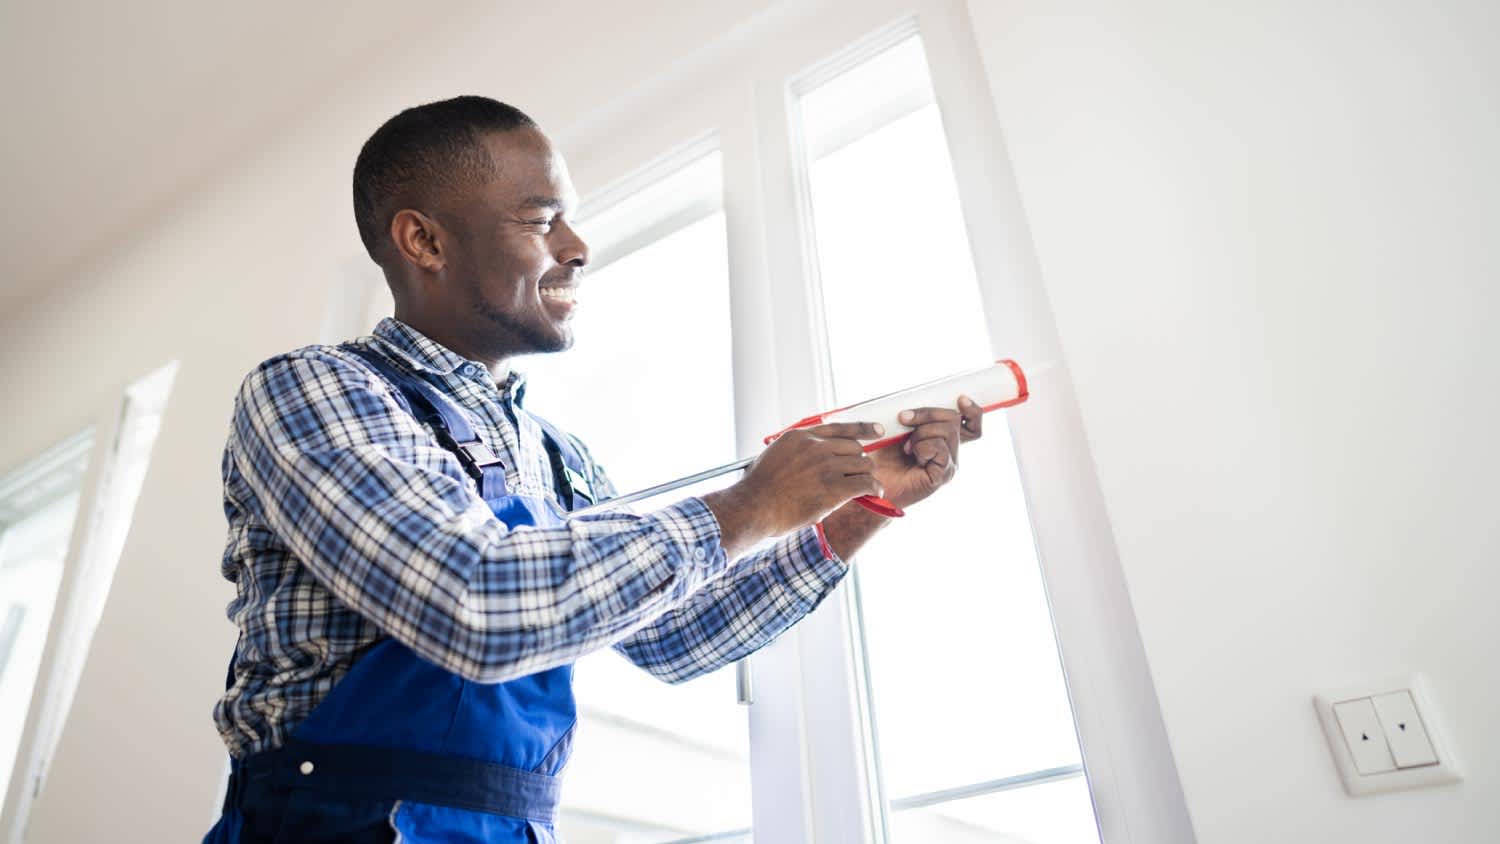
Hiring a local caulking service professional provides expert help with removing stubborn mold and reapplying caulk to prevent future mold growth and moisture problems.
Discovering mold in your bathroom or kitchen can be frustrating. Not only does it clash with your decor, but it can also pose health risks and damage your home's structure if left untreated. Understanding how to remove mold from under silicone caulk is essential to maintaining a clean and healthy living environment. That’s why we’re diving deep into the reasons mold forms under silicone caulk, effective methods to remove it, and ways to prevent future mold growth.
Mold thrives in warm, damp environments, making areas around bathtubs, sinks, and showers prime locations for mold growth. Silicone caulk is commonly used in these areas to create a watertight seal, but it can sometimes trap moisture, providing an ideal breeding ground for mold. Several factors contribute to mold growth under silicone caulk, including:
Poor ventilation: Inadequate airflow in bathrooms and kitchens can cause moisture to linger, promoting mold growth.
Water leaks: Leaks in pipes or fixtures can introduce water under the caulk, leading to mold.
Improper application: If silicone caulk is not applied correctly, gaps can form, allowing moisture to seep underneath.
Old or damaged caulk: Over time, caulk can deteriorate, crack, or peel away, creating opportunities for mold to grow.
Removing mold from under silicone caulk may seem daunting, but with the right approach and tools, it's a manageable task. Below, we'll outline the steps you need to take to effectively eliminate mold from this type of caulk and restore it to its original condition.
Prioritize your safety before diving into the mold removal process. Mold and mold-removing agents can pose health risks if not handled properly. Here are some key precautions to take:
Ventilation: Work in a well-ventilated area to reduce exposure to mold spores and fumes.
Protective gear: Wear gloves, long sleeves, and a respirator mask to protect your skin and lungs from mold and cleaning agents.
Containment: Use plastic sheeting to contain the work area and prevent mold spores from spreading to other parts of your home.

When it comes to removing mold from under silicone caulk, several cleaning agents can be effective. Your choice of cleaning agent will depend on your personal preference and the severity of the mold problem.
Harsh chemicals like bleach and ammonia should not be used on a regular basis because they can damage silicone over time and pose their own health risks. That’s why we recommend milder yet equally effective solutions.
For mild cases of mold under silicone caulk, undiluted distilled white vinegar is an excellent choice. Vinegar is a natural, non-toxic cleaning agent that effectively kills mold and mildew. To remove mold from your silicone sealant using vinegar, follow these steps:
Pour undiluted distilled white vinegar into a spray bottle.
Spray the vinegar directly onto the moldy caulk.
Let it sit for at least 30 minutes to allow the vinegar to soak in and kill the mold.
Scrub the area with a toothbrush or scrubbing brush.
Rinse the area with water and dry thoroughly.
For moderate mold issues on larger areas, hydrogen peroxide is a powerful option. It’s tough on mold, and you can easily apply it to widespread areas. To clean mold with hydrogen peroxide:
Pour hydrogen peroxide (3% concentration) into a spray bottle.
Spray the peroxide onto the moldy caulk, ensuring full coverage.
Allow it to sit for 10 to 15 minutes to penetrate and kill the mold.
Scrub the area with a toothbrush or scrubbing brush.
Rinse the area with water and dry thoroughly.
A baking soda paste is highly effective for stubborn mold issues. Baking soda not only kills mold spores but also absorbs moisture, preventing immediate new mold growth. To use a baking soda solution:
Mix baking soda with either water or hydrogen peroxide to create a thick paste.
Apply the paste to the moldy caulk.
Cover the paste with plastic wrap to keep it moist and allow it to sit undisturbed for several hours or overnight.
Scrub the area with a toothbrush or scrubbing brush.
Rinse the area with water and dry thoroughly.

In some cases, just cleaning silicone caulk may not completely eradicate the mold. If the mold has deeply penetrated the caulk or if the caulk is old and damaged, you may need to remove and reapply the silicone caulk. Here's how to determine if you need to re-caulk and the steps to do so:
Inspection: Examine the caulk for signs of extensive mold growth, cracks, or peeling. If the caulk is in poor condition, remove and replace it.
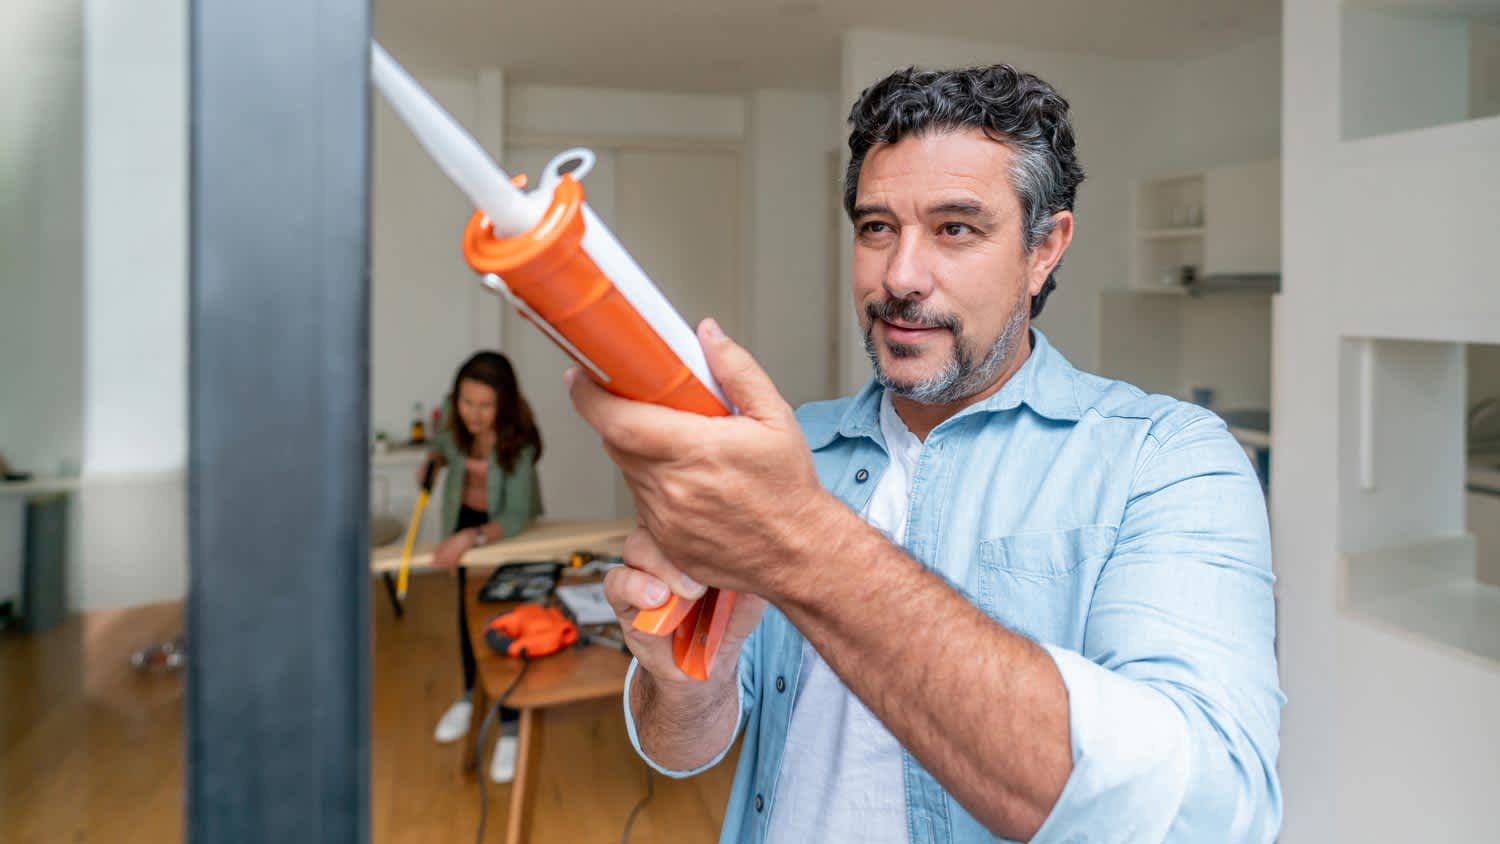
Removal: Use a caulk remover tool or a utility knife to carefully cut and remove the old caulk. Be sure to clean and dry the area thoroughly before applying the new caulk.
Reapplication: Apply a fresh bead of silicone caulk, ensuring it forms a smooth, continuous seal. Allow the caulk to cure and dry completely according to the manufacturer's instructions before using the area.
While most caulking becomes dry to the touch in 60 minutes, wait 24 hours before using the shower or tub to let it cure fully.

Preventing mold from forming under silicone caulk is essential to maintaining a mold-free home. Here are our top tips to keep mold at bay:
Mold thrives in wet, humid environments. That’s why you should ensure that bathrooms, kitchens, and other moisture-prone areas are well-ventilated. Use exhaust fans, dehumidifiers, or open windows to promote airflow and reduce humidity levels.
Catching mold growth at the early stages makes for easier removal. This means you should clean and dry surfaces regularly, especially in areas prone to moisture. Use mold-resistant cleaning agents to prevent future mold growth.
If there’s an underlying moisture problem in the area, you’re going to struggle with mold until you fix the core issue. Address any leaks in pipes, fixtures, or your roof immediately to prevent water from seeping under silicone caulk.
One of the best caulking tips for bathrooms and other moisture-prone areas is that, when reapplying caulk, you should opt for mold-resistant silicone caulk to provide an extra layer of protection against mold growth. You may spend a bit more money up front, but the caulk will quickly pay for itself when you don’t have to constantly reapply it due to mold issues.
Based on the responses of 11,800 Angi customers, bathroom tile and grout cleaning is the most commonly requested service at 42.4%, followed by kitchen tile and grout cleaning at 34.0%. While outdoor tile and grout cleaning is less commonly requested at 2.3%, it is also an option. Regular cleaning can help remove mold from silicone caulk, preventing discoloration and buildup, and keeping bathroom and kitchen surfaces clean.
If the mold issue is minor to moderate and you’re comfortable with the skill level of the project, DIY mold removal is certainly more affordable than hiring a professional. You only need to invest in cleaning agents and protective gear.
However, DIY mold removal has its challenges. It can be time-consuming and labor-intensive. Plus, severe mold infestations should always be handled by a pro. Professional caulkers near you have the experience and equipment to expertly remove mold on silicone caulk and prevent it from returning. They can also identify and address sneaky issues that may be contributing to mold growth for a long-term solution.
I had FabClean 614 clean my apartment, and she did an outstanding job. She was so professional and efficient. My apartment looks absolutely spotless every surface, every corner, all cleaned to perfection. Definitely highly recommend FabClean 614 if you're looking for top-notch cleaning...
Best cleaning I've had at my property
Fantastic group, very communicative, and they really did a great job cleaning my condo. Will be hiring them for recurring cleaning!
Excellent the crew was great did what I ask cleaned up and the price was awesome
 All Star Paving and Sealing
On time, clean and finished fast. Windows seem sturdy and the finish is good. Caulking was done with no smudges. Would recommend.
I definitely recommend Ramonaâ s cleaning service! I have booked services with her many times and she arrives on time, ready to work and provides a great service.
Mary Cleaning Service is fantastic! The entire team is professional and pay a great deal of attention to detail. They do such a thorough job of cleaning my house. I would definitely recommend!
It was just fine. They did a good job. They cleaned what needed to be cleaned.
 Dezired Cleaners LLC
They cleaned my very dirty basement. They were prompts, quick, thorough and their price was fair.
Excellent! We were very satisfied with the service provided and the entire experience from start to finish. Very friendly and professional staff. I was able to instantly get in contact with them for a quote and the response time and overall communication remained quick and easy throughout the...
 Prime Cleaning Service
From average costs to expert advice, get all the answers you need to get your job done.
If your crown molding has edges or seams, you may want to caulk it. You can DIY this work or hire a pro—use this guide to learn the cost for both.
Discover the best methods for how to clean silicone caulk and prevent mold. Keep your bathroom and kitchen spotless with our expert cleaning tips.
Master your caulk extraction skills and bid stubborn seals, outdated sinks, and countertops goodbye! Here’s how to remove caulk and reseal with finesse.

Curious pets, water exposure, and old caulk are possible causes of damaged or broken baseboards, trim, or crown moldings. Restore this wood to protect it from dust and insects with these simple, low-cost tips on how to fix baseboards.
Discover why your silicone caulk is not drying and learn effective solutions to fix the issue. Ensure a flawless finish for all your sealing projects.
Caulking isn’t as easy as it looks, but with some tricks, even a beginner can do it like a pro. This guide will show you how to caulk in nine simple steps.