

Sealing your grout goes a long way toward extending its life span. This guide breaks down the cost factors for sealing grout, including size, materials, and labor.
The unsung hero of tilework

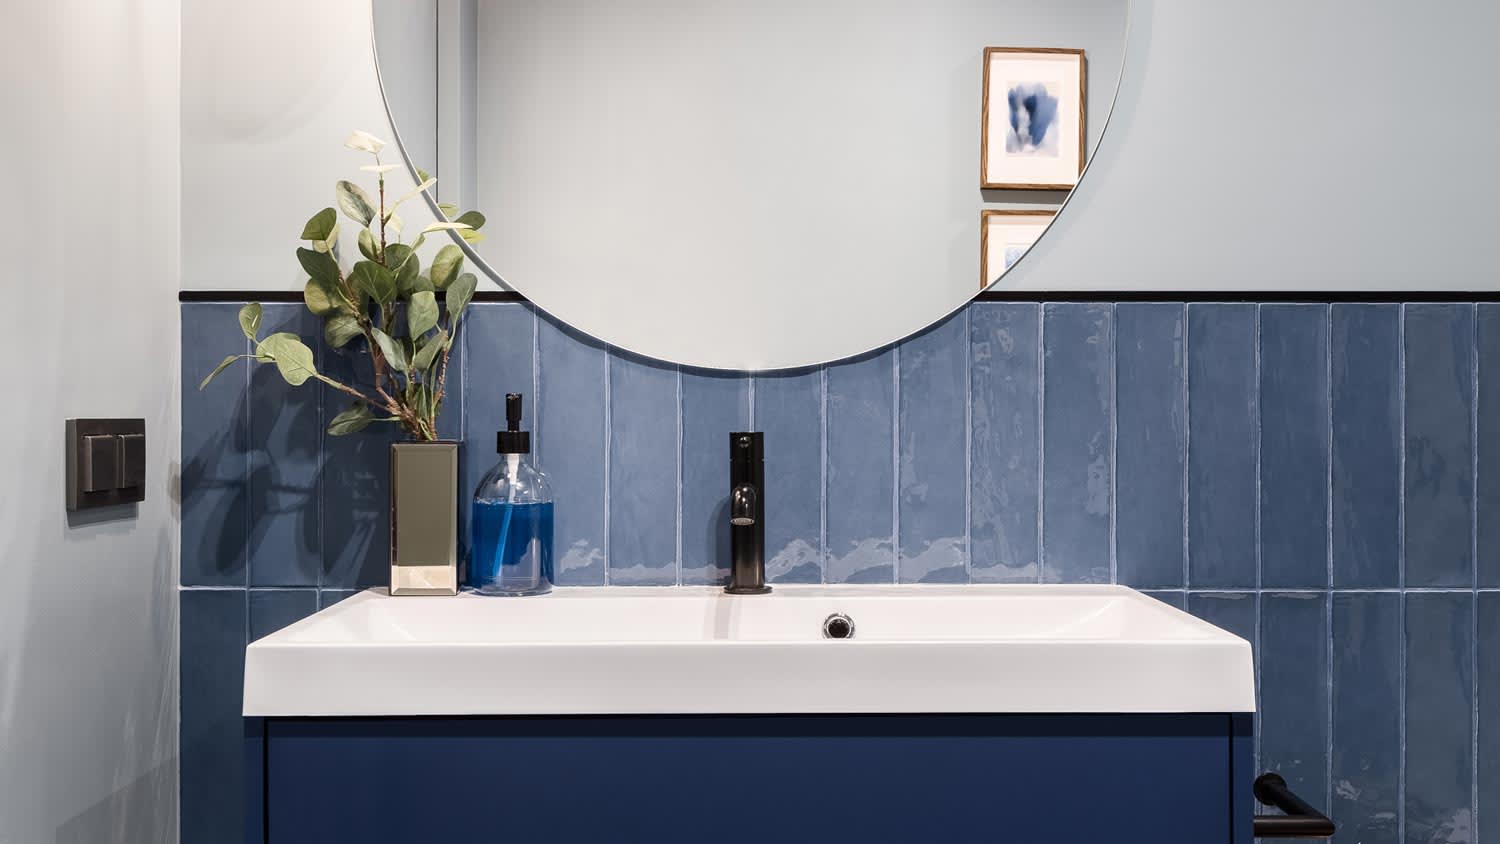
Choosing the right grout type for your tile project ensures durability, as sanded grout works best for wider joints while unsanded or epoxy grout suits narrow joints and moisture-prone areas.
Working in small sections of about 3 square feet at a time keeps grout workable, giving you enough time to apply, clean, and perfect before it hardens on your tile surface.
Sealing your grout between 48 and 72 hours after curing protects cement-based grout from moisture, mold, and stains, keeping your tile looking clean and polished for years.
Hiring a local grout tile cleaning professional provides expert help when stubborn haze or buildup resists DIY cleaning, keeping your tile surfaces looking their best without the frustration.
Grouting is a key part of any tile project, but it’s also one of the messiest and most detail-oriented steps. A great tile job can be undermined by sloppy grout lines, dried haze, or early wear if you don’t take the right precautions. These tips for grouting tile are designed to help you work smarter (not harder) so your finished project looks clean, polished, and holds up.
The most important part of learning how to regrout tile floors, backsplashes, and other surfaces is using the right grout type. Sanded grout works well on wider joints because it's durable and resistant to cracking. Narrow joints and delicate tiles like glass perform best with unsanded grout. Epoxy grout works best in moisture-prone areas like showers or backsplashes. However, it's trickier to apply than other types of grout. When figuring out how much grout you need, you'll need to determine the size of your surface.
Grout is notoriously hard to clean off porous or textured surfaces, so mask off areas like painted walls, fixtures, or countertops with painter’s tape before you start. This extra prep step can save you a ton of cleanup time and prevent accidental staining or damage to adjacent surfaces.

A common grouting mistake is mixing the grout too dry or too soupy. You're aiming for a texture similar to peanut butter — smooth, thick, and spreadable. Grout that’s too dry won’t bond properly, and overly wet grout can shrink and crack as it cures. Take your time with mixing, because a well-mixed batch makes the whole process easier.
Grout dries quickly, especially in warm or dry environments. If you try to cover too much area at once, you risk letting the grout harden on the tile surface before you have a chance to clean it. Stick to manageable sections—around 3 square feet at a time—so you can apply, clean, and perfect as you go.

Press the grout deep into the joints at a 45-degree angle rather than just drag the float over the surface. Applying firm pressure helps eliminate air pockets and ensures that every gap is completely filled. Move the grout in multiple directions to really pack it in.
Once the joints are filled, hold your float at a sharper angle (closer to 90 degrees) and scrape off the excess grout. This helps keep the tiles clean and reduces how much cleanup you’ll have to do later. Try to leave just enough grout in the joints without smearing it all over the tile face.
After letting the grout set for about 15 to 30 minutes, grab a damp (not dripping wet) sponge and wipe down the surface using gentle, circular motions. Rinse your sponge frequently and work with a light touch. Too much pressure can pull grout out of the joints. This first cleaning phase is all about removing the bulk of the haze while the grout is still workable. If you're having trouble getting the surface fully clean, consider hiring a local grout tile cleaner.
Even after a good sponge cleaning, a light haze can remain once the tiles dry. That's normal and easy to fix. Use a soft microfiber cloth to gently buff away the cloudy film, revealing clean, polished tile beneath.
The average time it takes grout to cure is between 48 and 72 hours—then it's time to seal it. This step is crucial for cement-based grouts, as it protects against moisture, mold, and stains. Apply a penetrating grout sealer with a small brush or applicator bottle, wipe away any excess, and let it fully dry. If you've used epoxy grout, you can skip this step since it's already waterproof.

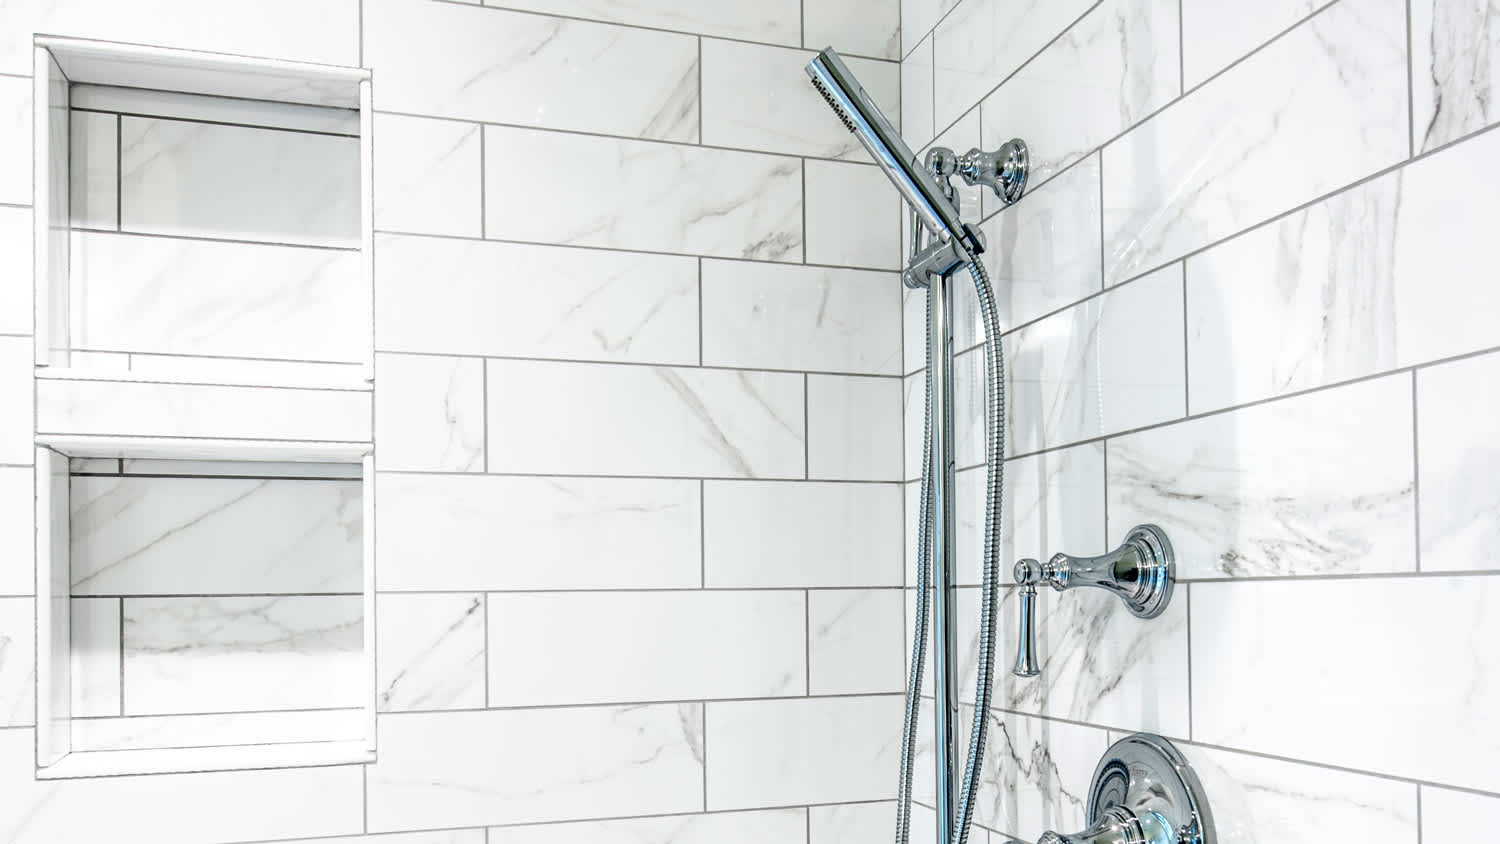
Grout is prone to cracking where tile meets another surface, like at corners, along countertops, or between a tile wall and a tub. Instead of grouting these areas, use a flexible, color-matched caulk to prevent cracks and water intrusion over time.
Grout can harden fast—not just on your tile, but also on your tools. To avoid the frustration of scraping dried grout off buckets and floats later, rinse your tools thoroughly right after use. A quick cleanup now saves you hours of work later and helps extend the life of your gear.
Terrible experience. Walls/trim/floors/cabinets/doors all have drip marks, overspray, etc. Tiling at the fireplace had to be redone by another vendor due to incorrect and shoddy install by Profect. Contractor had his children in our house while he was on site without prior authorization or...
 Profect painting & exteriors
It was wonderful working with Yordy and his team. They were very professional and are experts in what they do. They have completed the work on time, with better quality and with in fairly reasonable price. We just started with backsplash work , but liking his work, we went on to provide...
We were having 2”x 2” tile installed . There was a small installation error and the new additional replacement tile was from a different lot and the colors didn’t match. Joe assured us that he would rectify everything , which he did without hesitation. We decided to go with the 18” x 36” tile...
 CarifaTile
For several months I was looking for somebody to tile a wall in my master bath and move lighting fixtures, and could not find anybody who was responsive. I contacted Rowe through Home Advisor and within days they came by to assess the job and provide an estimate. The cost was very...
It went very well! The end product was amazing and we keep getting a lot of compliments from friends! M&E were very professional and they made sure we were happy with the product before leaving. They met with us in our home and at the tile shop to make sure we were okay with our tile and...
 M&E Remodeling
Involved an extensive bathroom remodel, including removing tub & installing walk in shower, new drywall, custome tile work to ceiling, plumbing, etc. Overall, job was done on time and on budget. Nick & his team were very professional and had high attention to detail. Quality was great. Highly...
 Stamos Flooring and Remodeling LLC
Very pleased with the service and level of professionalism. Courteous and very unobtrusive in performing service. Unlike several other companies, Bradford Xteriors was willing to perform work on a three story home with a clay tile roof. <br />
 Bradford Xteriors
This company did a very good job on the brick wall and it looks just amazing. The staff was always professional and was practically OCD on how the bricks were stacked and how they were laid. Although it took longer than expected, I am willing to sacrifice time over perfection anyday. The...
 My Handy Mate LLC Improvement & Remodeling
He did the tile work and he was good at it. He used other subcontractors for the rest of the work (like putting in the cabinetry) and they were okay but not great. He was a great guy! He was easy to work with and had a good eye for the detail of his work. There were a couple of things that I...
 Brian Miller Custom Remodeling
I was very impressed with Miller Cantrell! I live in an old home in which the sewage line that runs from my home to the sewage system is a line of clay tile. These eventually collapse and need to be replaced - an expensive problem and sure to happen at the worst time. I told them that my...
From average costs to expert advice, get all the answers you need to get your job done.
Sealing your grout goes a long way toward extending its life span. This guide breaks down the cost factors for sealing grout, including size, materials, and labor.
Find out what happens if you grout tile too soon and learn tips to avoid this costly mistake in this guide.
Tile grout can become dirty or discolored over time, but regrouting your tile can give your floor new life. Here’s everything you need to know about grouting tile floors, along with whether you should hire a professional for the job.

Whether you’re shopping for grout for your kitchen flooring, bathtub surround, or backsplash, these tips will help you select the perfect grout.

Knowing how to grout peel-and-stick tiles can help you achieve a high-end look on a budget. This guide will show you how to do it.
Dealing with moldy, dirty, or stained shower tile grout but not sure how to clean it? Learn seven quick and effective tips that’ll help you restore your grout to its former glory.