

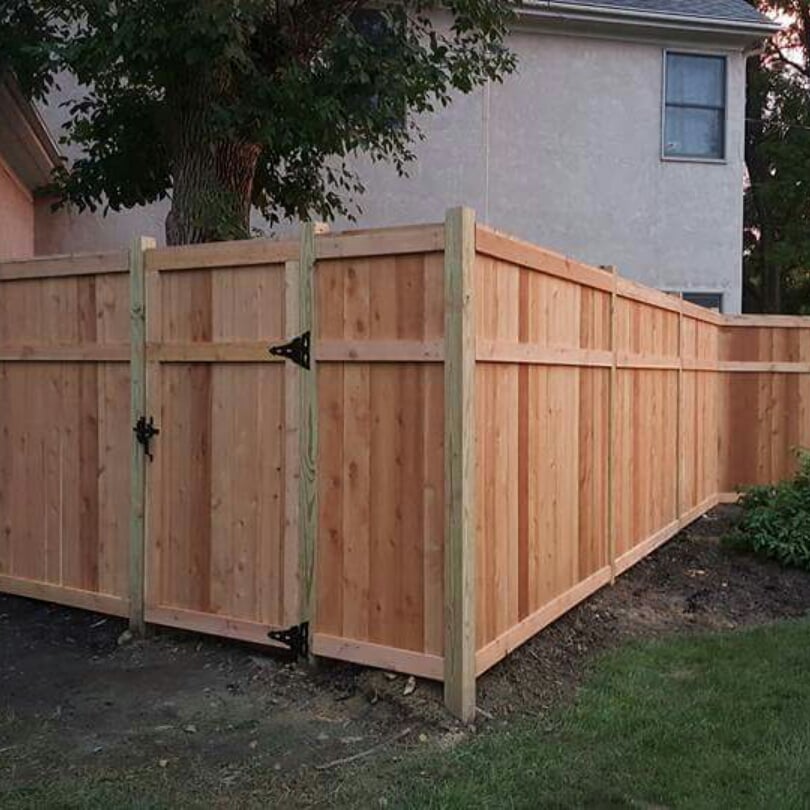
Gate installation costs depend on the material your gate is made of, and the type of gate you want to install. Explore all the gate installation cost factors in this guide.
Your new entryway hinges on this DIY guide

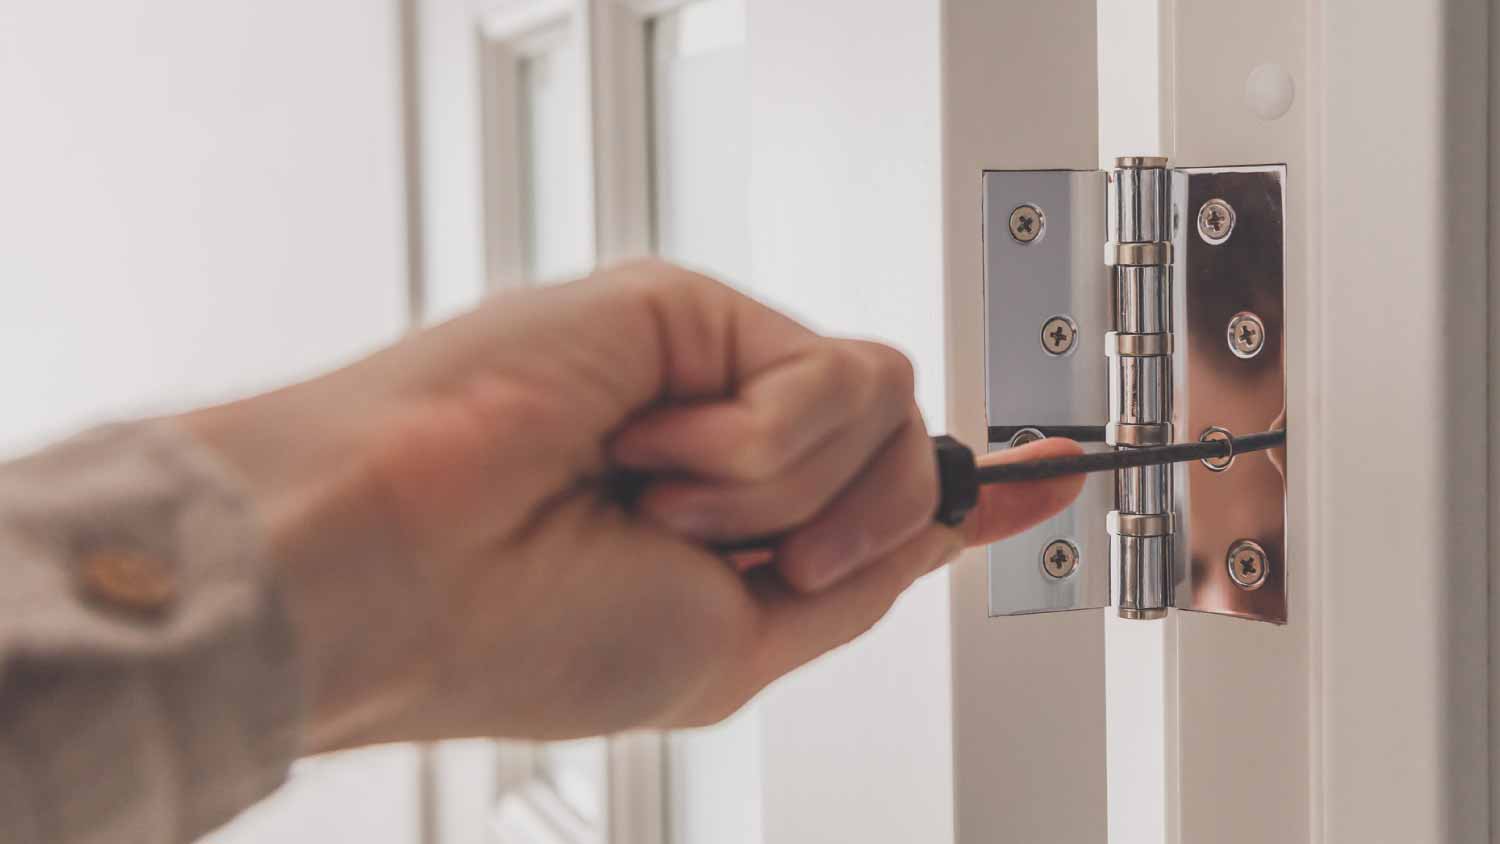
We don’t give gate hinges enough credit. Imagine fighting with your fence whenever you come home because the gate doesn’t swing smoothly. But hinges can be tedious to replace or install—when installing a gate hinge, every part must line up exactly to function. We’ll walk you through how to install gate hinges so you can stroll through your entryway without a hitch.
The first thing you need to do is purchase your hardware and be sure it works with the type of gate latch you have installed. While there’s a wide variety available, there are some hinge types that are more common for gates, including:
Mortise hinge: This type, also known as a butt hinge, is made up of two leaves and has a knuckle in the center that houses the pin. It allows a gate to open from the left or right.
Strap hinge: A decorative hinge that extends out on either side and typically in an ornate pattern, a strap hinge is ideal for lightweight, self-closing doors.
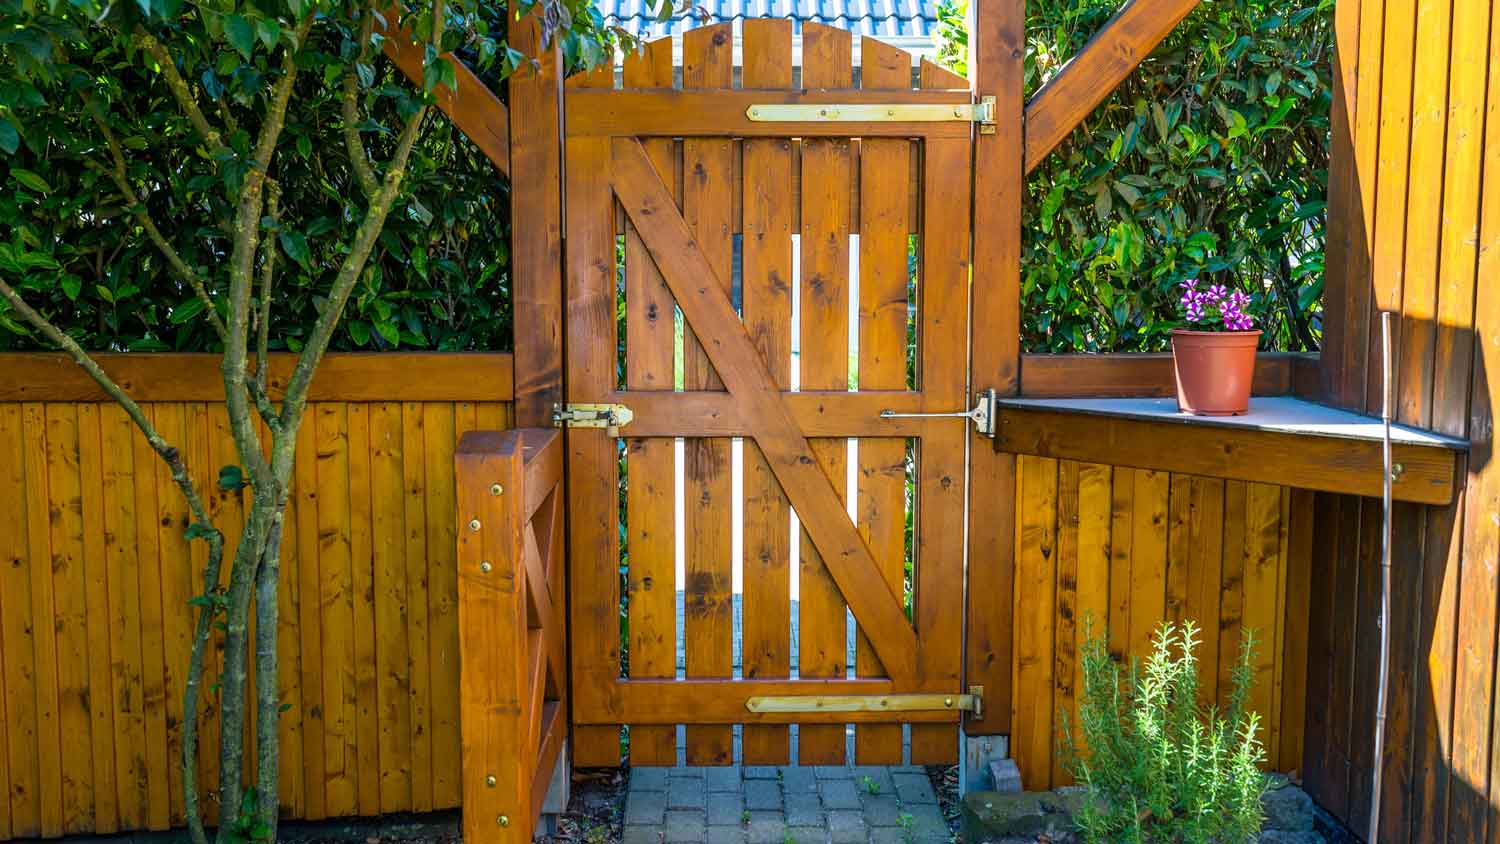
T-hinge: A popular option for wooden gates, T-hinges combine butt and strap hinges and come in a variety of materials, including rust-resistant options.
Continuous hinge: A hinge that runs the length of a door jamb. It’s highly specialized and typically requires professional installation but may be necessary for tighter security.

Using a grease pencil, mark the location on the gate where you plan on installing the hinge. Depending on which type of hinge you’re working with, it will determine if you need to install it on the exterior or interior of the gate, but you’ll ultimately choose the location based on what direction you want it to swing.

Double-check that your measurements are correct and that the direction you’ve chosen for the gate to open works with your space. Then, using your power drill with a drill bit attached, drill pilot holes where you’ve marked the location on the gate.
Before installing the hinge, it helps to take it apart and work with the smaller pieces instead of trying to install one entire piece simultaneously. Replace your drill bit with the screwdriver bit as you prepare for installation.
Get the hinge ready for installation by placing the concrete block or board on the ground to support the weight of the gate while you install the hinge. Use a level to ensure your gate is even.

Using your screwdriver bit, install the hinge screws and tighten them as much as possible. Once installed, swing the gate open a few times to make sure it’s in the correct position and that the hinge is exactly where you want it. If the gate swings and stops where it’s supposed to, you know it’s level.
If you’re not interested in a DIY project or simply don’t have the time, hire a local fence repair company to install the hinges for you. While installing gate hinges may not take as much time as other fence repairs, the cost for a professional fence repair typically ranges from $300 to $925.
A reliable team for moves across state. My switch to a new place needed careful lifting through tight hallways. The movers checked the doorway first, then carried heavier pieces with slow, controlled movements. Their patience helped prevent damage, and I?d choose them again.
We have used Window Warriors many times with no issues. They arrived on time and were very professional . We have pets and Window Warrior team treated them very well, well trusted team.
We have bought and sold numerous times over the past 50 years. Sherman Hall and Top Line are top notch. Thorough and detailed, he explains every possibility, probability, and eventuality. High class and pleasant. The best.
 Top Line Home Inspections, LLC
Our homes curb appeal skyrocketed thanks to Custom Paint Jobs LLC s exterior painting.
Window Depot did an amazing job on my deck. I wasnt sure what I wanted to do, but their composite decking was affordable and will last a long time. I am excited to have family over, and I am no longer embarrassed by my backyard. Jeff and the ground crew were polite, respectful, and caring for...
Great job...edging and pre clean up went well with a great job with seal coat. Friendly, efficient and professional.
 All Star Paving and Sealing
Did an amazing job transforming my yard. Also installed sod in places, would recommend to everyone.
Manuel Calvillo is the best option in the area for roofing and you won't be disappointed.
We hired Andrew and the team from Midwest Lightscapes for a custom lighting design and installation on a Victorian Village home. The house had outdated low-voltage halogen outdoor lights and many of them were not working. Andrew designed and installed a new system including uplighting on the...
 Midwest Lightscapes
The work was completed in a day and a half. They cut small trees, pulled out an old swing set, pulled out railroad ties and left the place spotless when the job was complete. I am very happy with the fence and their efforts were above and beyond my expectations.
 Elite Fence
From average costs to expert advice, get all the answers you need to get your job done.
Gate installation costs depend on the material your gate is made of, and the type of gate you want to install. Explore all the gate installation cost factors in this guide.
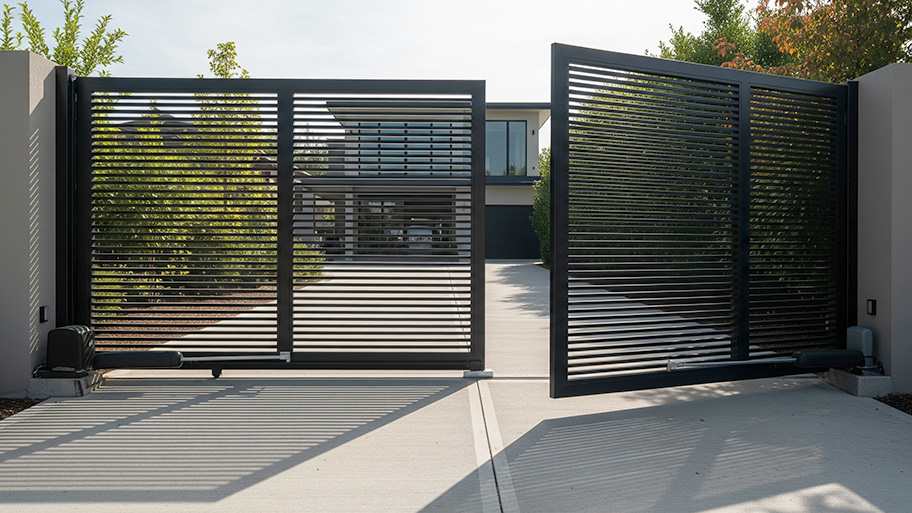
Discover the average automatic gate installation cost, key price factors, and ways to save. Get expert tips for homeowners planning a new automatic gate.

Discover gate hinge types for every need—T hinges, barrel hinges, butt hinges, and more—and learn how to choose the best hinge for your project.
We’ve compiled the pros and cons and best uses for the nine most common types of hinges to make your hinge shopping experience as smooth as possible.
A good, working gate latch keeps your property secure. Read this guide to find out how to install a gate latch in five quick steps.
If you'd like to learn how to adjust your cabinet hinges, you've come to the right place. Check out this comprehensive guide for everything you need to know.