
Chimney liners are important for fire safety and energy efficiency in your home. Learn how much chimney liners cost based on type, size, material, and other factors.
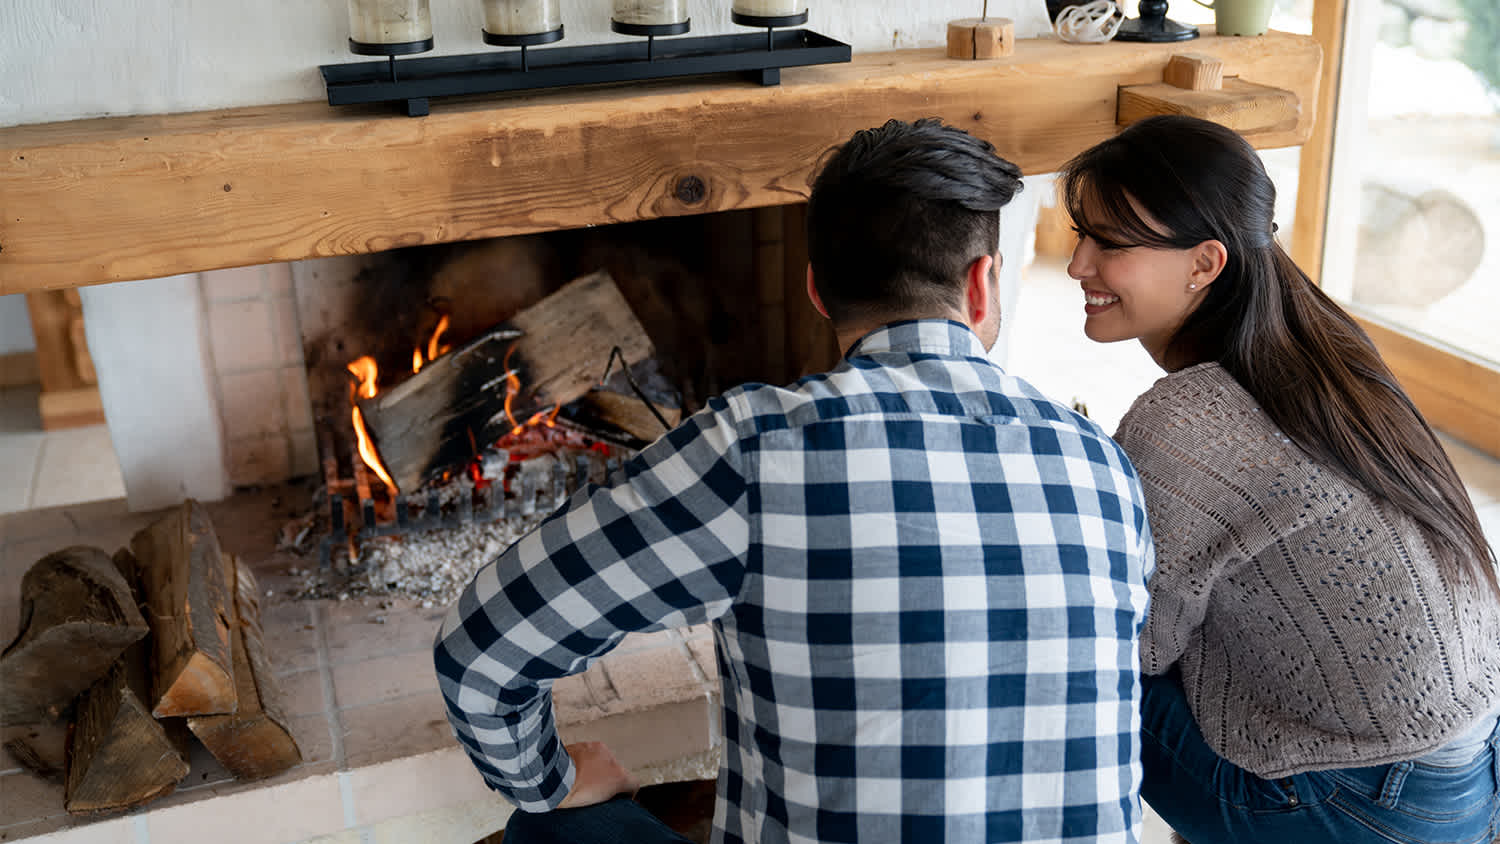
Don’t fire up your fireplace without a clean, working flue liner in place

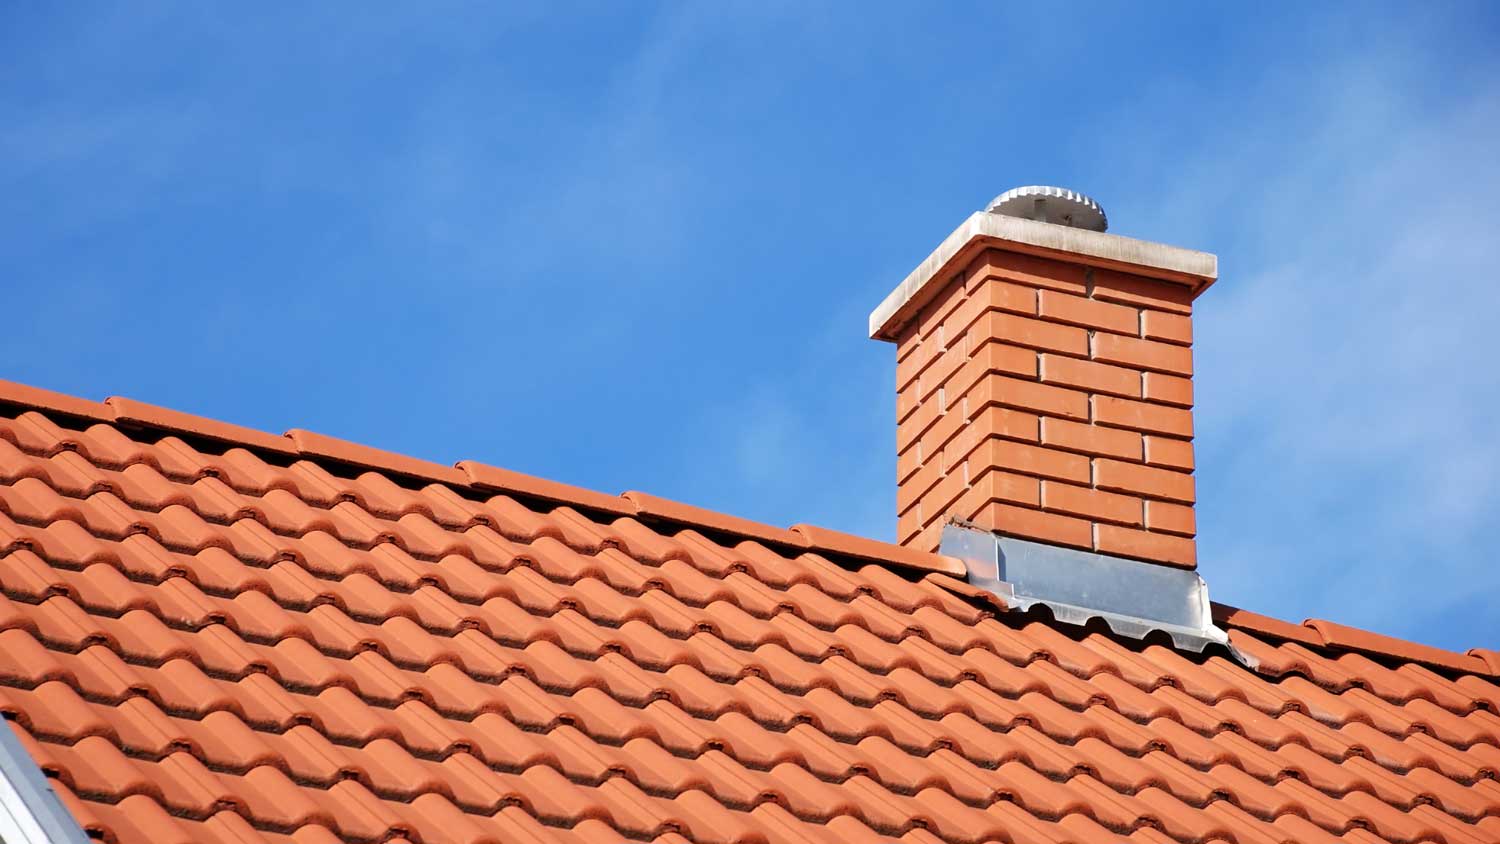
Before the cold winter weather sets in, make sure your fireplace is inspected, cleaned, and ready to fire up so that you have no issues when you’re ready to get nice and cozy. But before you can settle in with your hot cocoa, your fireplace will need a chimney liner or flue liner, which is responsible for directing combustion gasses up and out of the top of the chimney. Wondering how to install a flue liner? Follow this guide to learn how professionals install this essential fireplace part.
Please note that installing a flue liner for a chimney is a complex job, and if it’s done improperly, it can increase the risk of fire or carbon monoxide leaks. As such, this job is best left to professionals.
Before you install a flue liner, it’s important to have a chimney professional perform an inspection. If there are any damages inside the chimney, these will require repair before you can move on to installing the flue liner. Professionals will use powerful lights and an inspection camera to thoroughly look inside the chimney for any signs of damage. They can also note any obstacles, like bends, that could make it more difficult to pull the liner through during installation.
You’ll need to know what diameter flue liner you need to buy. If you have a wood stove or a fireplace insert, you can find the liner diameter in the user manual. Otherwise, you should consult with a chimney flue liner pro to determine what diameter liner is best based on your fireplace size and the size of your insulation blanket that will attach to the liner.

After consulting with the user manual or a chimney liner installation pro, you’ll need to measure the length of the chimney, from the top of the chimney crown, which is the concrete, metal, or stone slab at the top of the chimney opening on the roof, all the way down to the connector on the wood stove or fireplace insert or to just above the open fireplace.
You’ll need to note down the diameter and length to purchase the correct flue liner materials. Add about 12 inches to the length total when buying the liner to give yourself some wiggle room.
Head to a home improvement store or order the appropriate flue liner materials when working with a professional chimney installer. For DIY flue liner installation, the easiest option is typically a flexible stainless steel or aluminum flue liner kit.
Just keep in mind that some materials may not work for all fireplace types and DIY kits often don’t last as long as professionally installed flue liners. For instance, aluminum flue liner kits only last about five years and are only suitable for use in gas fireplaces.
In addition to the flue liner, you’ll need to purchase blanket or pour-in insulation. Blanket insulation is recommended if you have more than a 2-inch gap between the liner and the chimney walls, while pour-in insulation is better for gaps under 2 inches.
Roll out the flue liner from its coil into a straight line and secure it that way with a hose clamp. Gently tighten the clamp with a wrench, but don’t overtighten, or you’ll damage the liner.
To add blanket insulation, measure the circumference of the bottom termination connector, where the flue liner will stop. Then, multiply that measurement by 3.14 (or pi), and add about 1 more inch to make sure you have enough insulation. Apply a spray adhesive on the liner to attach the blanket insulation.
When the insulation is fully applied, you can unclamp the liner and use foil tape to close the seam along the side of the flue liner. The installation kit will include wire mesh to protect the liner and installation from damage during installation. You can now cover the liner with the mesh and use a wrench and hose clamps to hold it in place at the top and bottom of the flue liner. Trim excess wire mesh that extends past the flue liner.
For pour-in insulation, follow the product’s instructions to apply the insulation.

You’ll need a ladder to access the roof, and you’ll need to recruit a friend or neighbor to help with the following steps. If you’re not comfortable getting on the roof to place the flue liner inside the chimney, now is a great time to call in a pro for assistance.
Attach a rope to the flue liner’s bottom connector and climb up the ladder to the roof. Have a friend on the ground start to carefully push the flue liner up to you until you have the liner and the bottom connector, rope included. Now, that friend should head indoors to the fireplace or wood stove area.
You’ll carefully drop the rope down the chimney to your friend. Then, with the bottom connector centered in the chimney opening, start lowering it down while the person at the bottom guides with the rope to avoid snagging the liner on the inside of the chimney. Continue until the bottom connector is where the flue is set to stop, and clip any excess at the top of the flue liner, leaving at least 4 inches of liner above the chimney crown.
If you are installing a flue liner that will connect to a wood stove or fireplace insert, position that appliance against the flue liner to make sure it will fit properly before securing the top of the flue liner to the chimney crown.
Ask your helper to hold the bottom of the flue liner steady in place while you secure it at the top. To secure the flue liner, apply silicone caulk and then quickly press the chimney top plate down over the flue liner top to seal it with the caulk.
Attach the flue liner and top plate to the chimney with a quick-connect clamp and masonry screws. If you are dealing with concrete, use concrete screw anchors, such as Tapcon brand screws, to hold the liner and top plate in place before you install the flue cover.
If you have a flue cap or cover, which can help keep pests, rain, and debris out of the chimney, install it over the top plate of the chimney with silicone caulk.
For a wood stove or fireplace insert, you’ll need to connect the flue liner to the appliance. Place the stovetop adaptor into the appliance, and use clamps to attach it to the liner. Or, you may need to use tin snips to attach a tee body to the tee snout at the base of the flue liner, depending on the type of fireplace you have and the flue liner you are installing. For a tighter seal, you can also apply furnace cement by following the cement product instructions.
Once the flue liner is installed, make sure the flue is open, and then you’ll be ready to enjoy the warmth of your fireplace.
Installing a chimney liner costs anywhere from $10 to $250 per square foot just for the liner materials, with aluminum costing on the lower end and options like stainless steel or cast-in-place liners coming at a higher cost. Additionally, you may need to invest in special equipment, like an inspection camera, to finish the job.
If you do have previous experience in chimney liner installation, you may save about $400 to $1,250 in labor. But even if you’re able to install the liner yourself, you should hire a pro to perform a fireplace and chimney inspection to make sure the chimney is in good shape before you get started.
Ultimately, hiring a professional to install a chimney liner is the best option for the safety of the fireplace. Improper installation can negatively impact the strength and durability of the fireplace and may increase the risk of fire. A professional chimney liner installer near you needs to handle this job to keep your home and family safe.
Positive experience. As previously stated, the replacement/repair could not be completed (no fault of the plumbing tech) b/c misinformation was rec?d by property management maintenance. Thanks to the plumbing tech for your efforts. Appreciate you!
 The Waterworks
Carpet repair done well. Scheduling was easy. Showed up on time.
I would recommend this company to anyone! He showed up on time, was friendly, completed a very difficult repair on our dryer vent cover, was responsive, and pricing was extremely fair and competitive. I would have him back to do any of our repairs or cleanings without hesitation!
Ace Fireplace Services came to the rescue for my chimney repair. They were quick to pinpoint the issue and worked their magic to fix it. My chimney is now in excellent shape, and I'm a satisfied customer.
 Ace Fireplace Services
100% satisfied with the work done by Supreme Brick & Chimney. Josh responded to my Angi request very quickly and squeezed our house into his schedule only a couple business days out. The chimney cleaning process was extremely clean with ZERO dirt going anywhere besides in Josh's vacuum. Very...
 Supreme brick & chimney
On Sunday 2/26 I requested quotes via Angi from 4 refrigerator repair businesses. Northwest Appliance responded to me Monday morning (2/27) and my refrigerator was repaired by noon the same day. Great communication, they did everything they said they would. The technician had the parts on...
Great experience all together. Dog friendly, courteous, great results and honest with recommendations. Will certainly be using Cardinal in the future for any carpet repairs
Description says they handle window repair including rotten hardwood - they called me back right away but didnâ t leave a voicemail. I followed up 3 days later and they said they donâ t do that kind of work.
They arrived on time repairs performed quickly very porvesinal
Mike and his crew did a great job working through a very challenging task. The job required a full demolition of our ceiling, removing the blown in insulation and removing all the material from the site daily. It involved multiple inspections from the city and many challenges to get the...
 Rising Height Unlimited
From average costs to expert advice, get all the answers you need to get your job done.
Chimney liners are important for fire safety and energy efficiency in your home. Learn how much chimney liners cost based on type, size, material, and other factors.
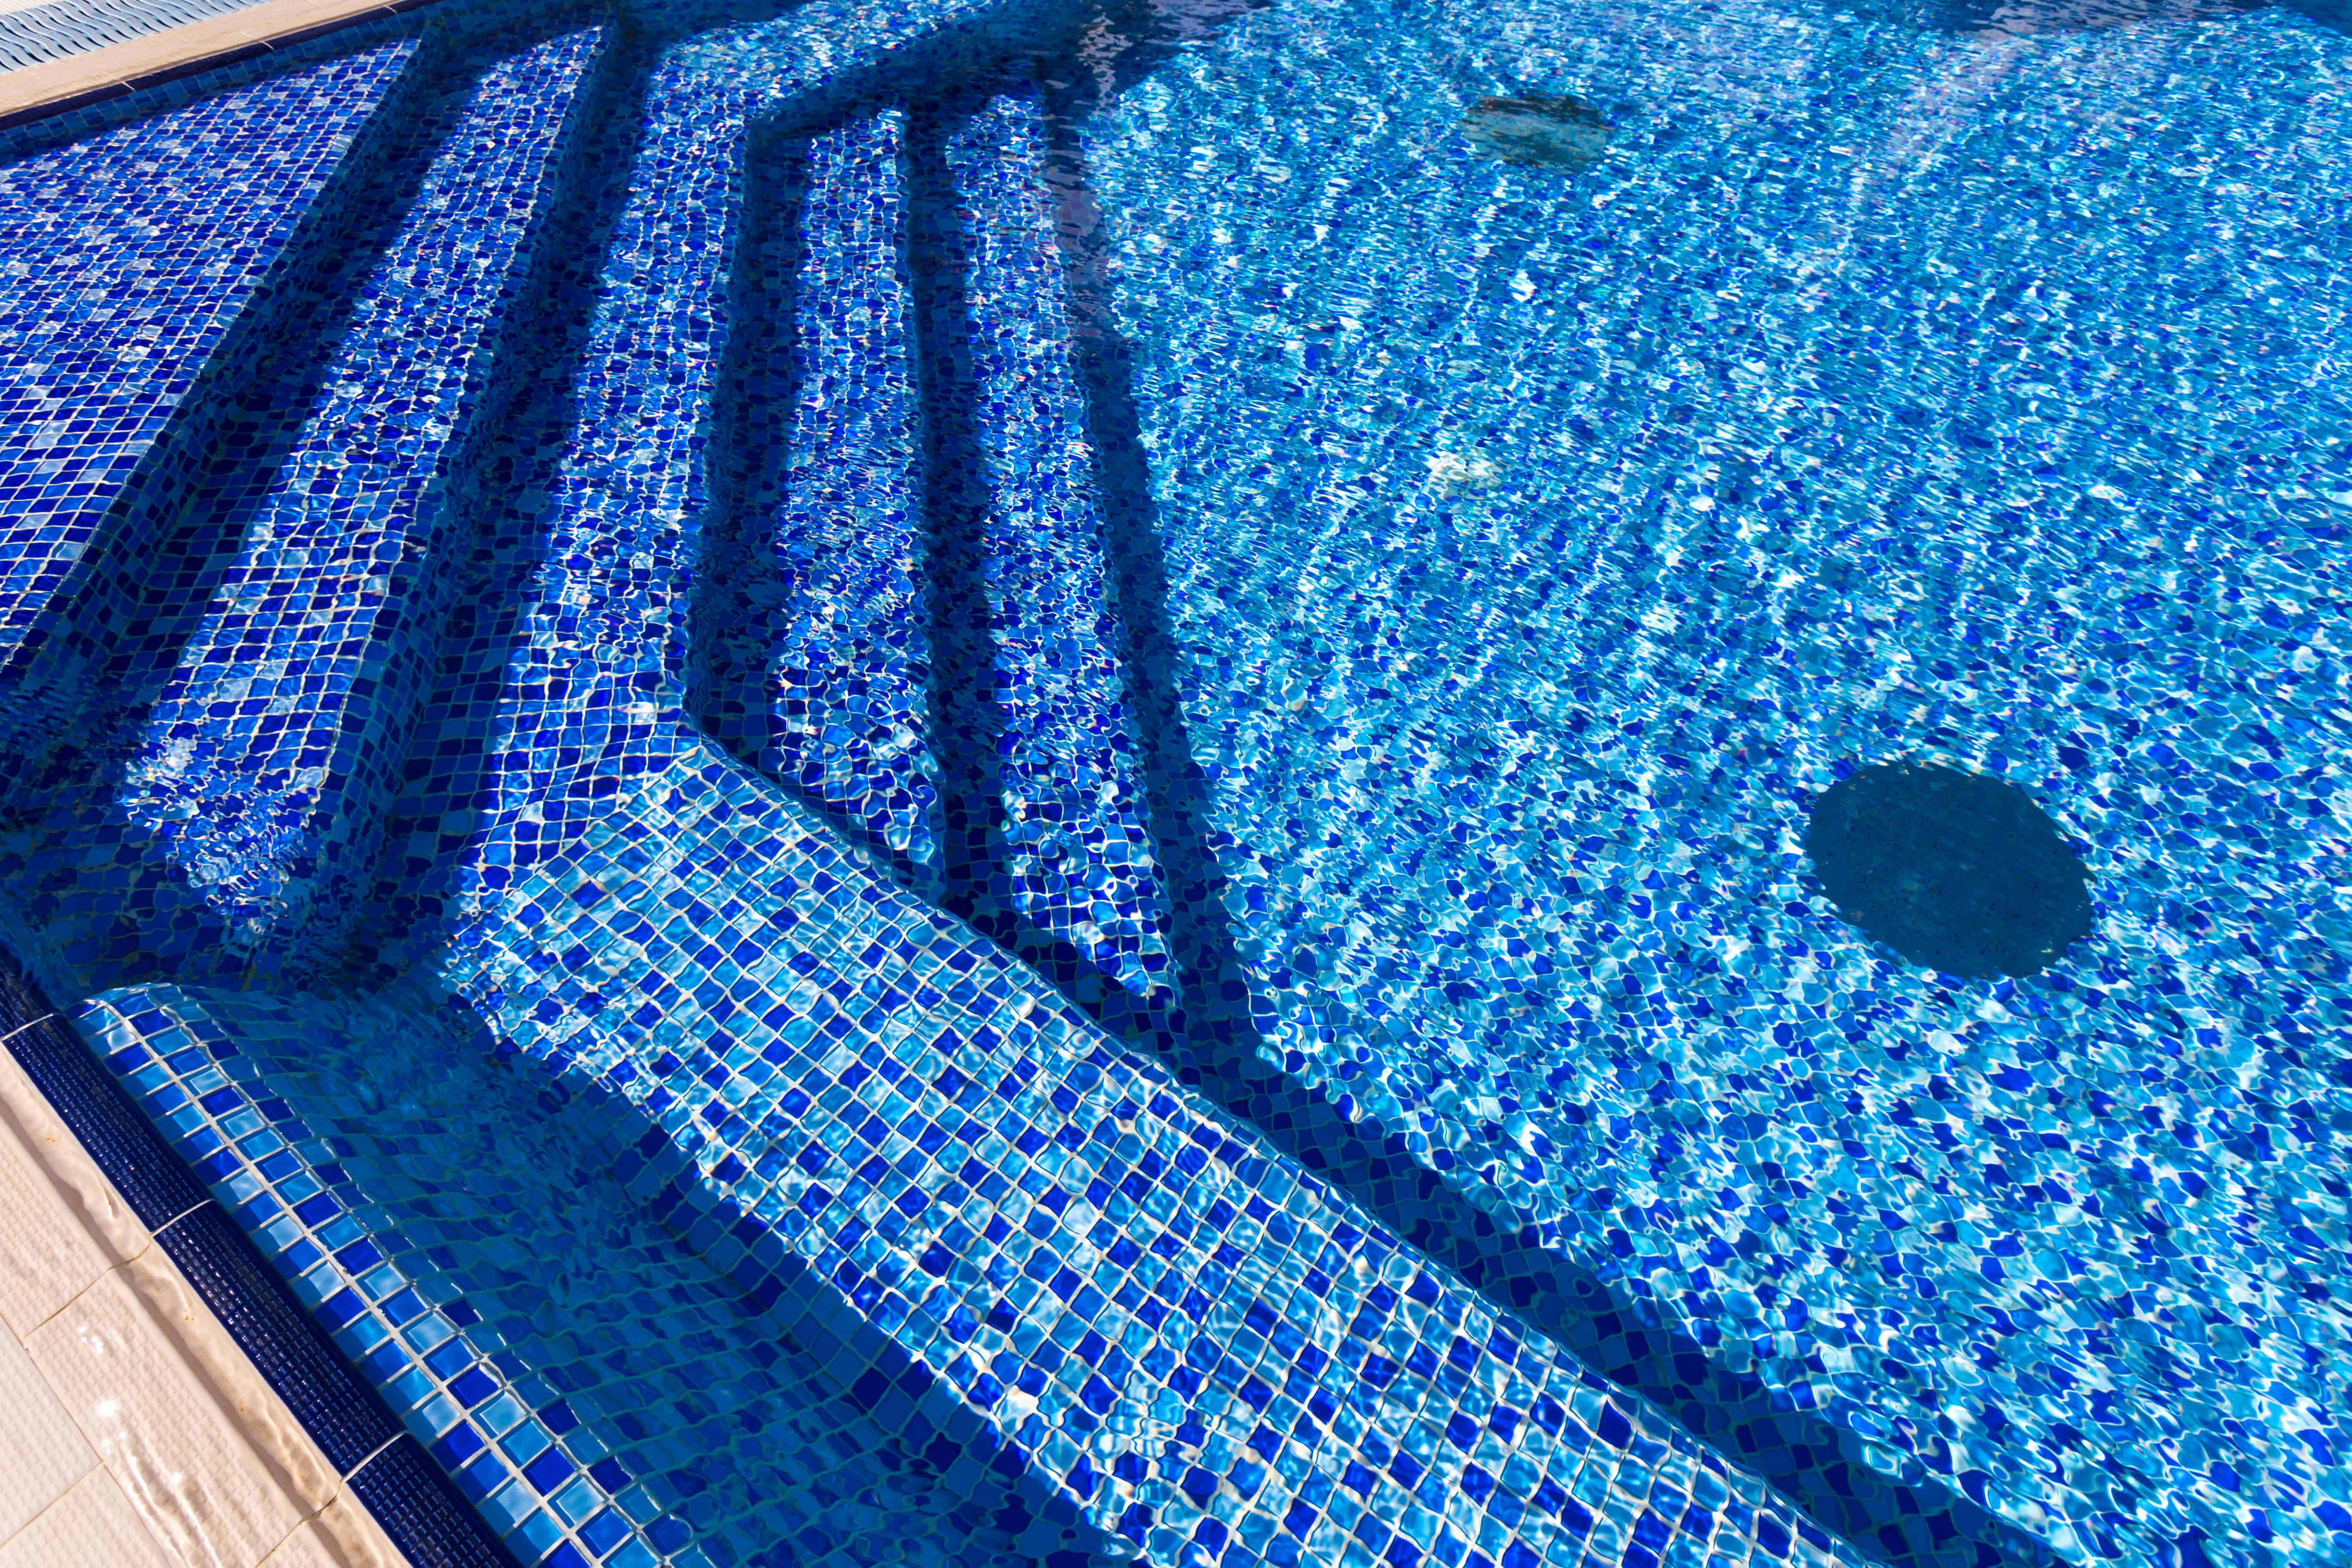
Need to update the look and feel of your pool? Use this guide on pool liner replacement cost to see how much this pool project will set you back.
The cost of installing a bathtub or a shower liner depends on the type of tub or shower, size, and features. This guide will show what you can expect to pay for your project.
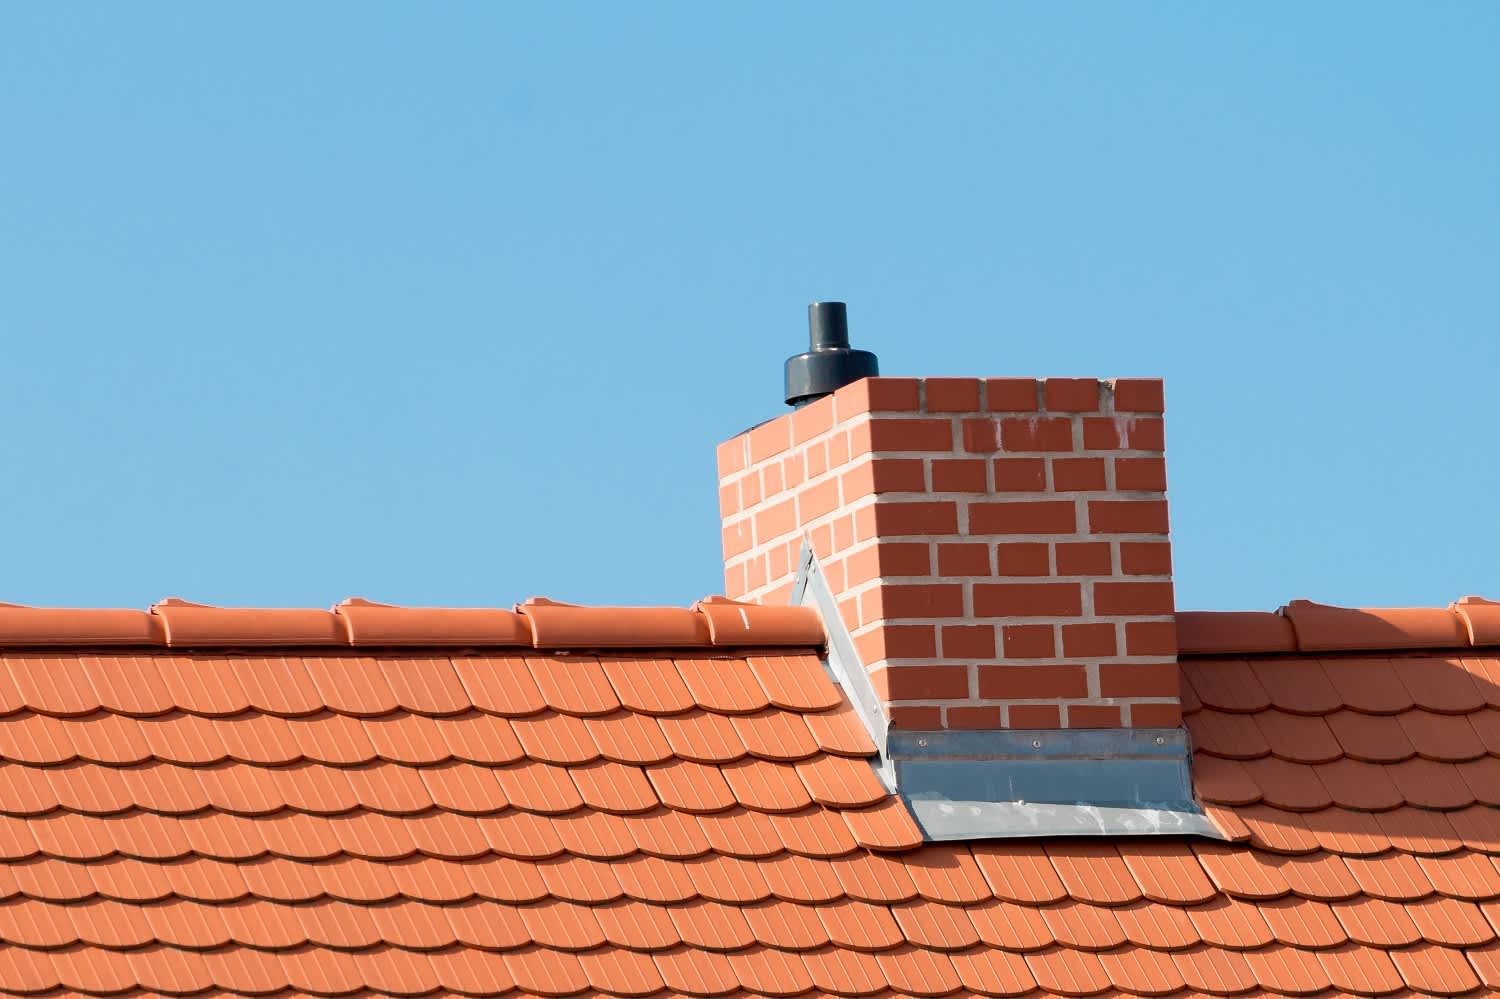
Your chimney liner is a major piece of your fireplace. But what is it and what does it do? Learn the different types of flue liners and whether you need one.

Install a pool liner by draining the pool, removing the old liner, and laying the new one. Keep reading to learn how to install a pool liner like a pro.
Ensuring the safety of your house is a homeowner’s primary concern. If you have a fireplace, you need to know “What is a chimney flue?”